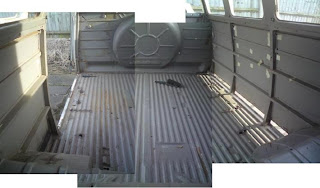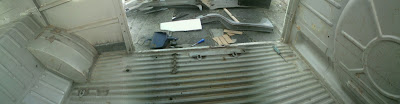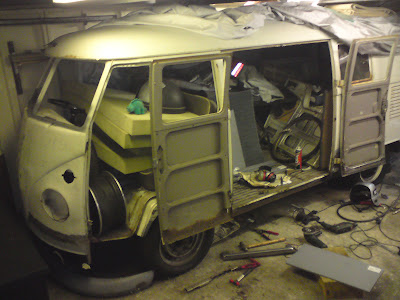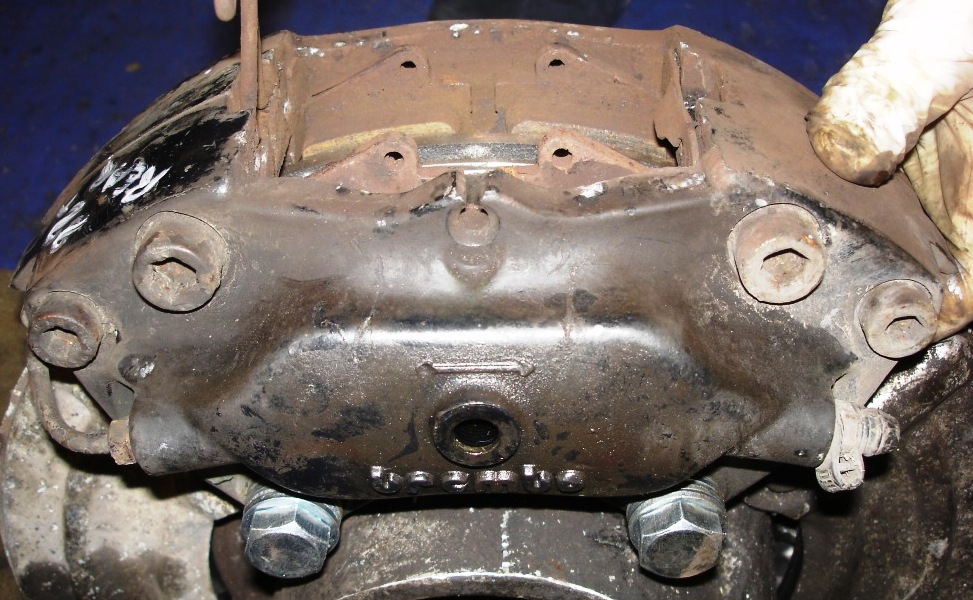
As for the forward and back cut edges where the floor is folded up and spot welded I went round and peeled these remaining strips away by pealing and twisting the metal strips causing the welds to pop away leaving a small raised weld to grind off. This is a lot easier that grinding off the whole strip or drilling each weld but it could distort the good panel which is easy enough to tap straight again, but in the worst case it could rip away the weld so be careful when you do this. The edge of the floor that attaches between the rear wheel arches and the lower part of the forward engine bay fire wall is S shaped and not a simple 90 degree L shape as I thought, so I'll be leaving this part in tacked until I see what the new floor looks like.


Hi welcome to my 1964 VW Type 2 split screen campervan restoration blog. This will be a record of the vans restoration, and hopfully share infomation about bringing a splitty back to life.
Cargo Bay Floor Removal Pt2
Cargo Bay Floor Removal Pt1
Cargo Bay Clear Out
The 4 or 5 holes in the corrugated floor had not got any bigger than the first time I found them years ago, but the struts and floor supports I could see through these holes are looking very corroded. I brought a floor repair panel, but the idea of seam welding corrugation doesn't sound too good and could take a while.
Rear wheel arch and Cargo door latch rod repair
Cargo door repair
Well its Bug Jam weekend and sadly I’m not there, so it's a good time to focus my VW passion somewhere else and get back into the garage. Fueled up with leftover Chinese and some classic Aerosmith on repeat, I've decided to skip any attempts to repair the front arched (dog legs) and move further around the bus and start on the cargo door bottoms.
I've had a pair of cargo door inners for a while from the first batch of panels I bought a long time ago. They have weathered well but the quality of these is something to be desired, so I've recently ordered another pair from Auto Craft Engineering, They actually look like the bottom of the doors, they also include a box section to help locate the door handle locking rods.
A bit unsure where to start, I decided to try and keep as much of the original door inners as possible while keeping the length of the doors wright, this meant starting on the inner panel and getting that all to fit before cutting away the outer skin. My first cut was just below the first inner radius, I then tried the repair panel against the inner door and found the top hat section of the repair panel is a little thinner than the original. To recover from this I flattened out the inner radius of the repair piece to give me the length to cover the bad material (gap I'd cut out), this would not have been a problem if I'd just cut the old bit out at either end.
How time flies by
It’s been a while since the van has been out from under its' cover, everyone who has a car project know how fast time goes by, and in the back of your mind you're thinking 'I must get something done on that car'. All the normal things in life have got in my way, lucky I don’t have kids otherwise I'd never get to see my van on the road. But a major part of garage time has been taken up by my other VW Beetle. Still on going
The van project is still on going but work and exams have taken up a lot of time at the mo, I hope to post more on the project before the new year.PB
OK so its been a busy Christmas as well, so it will be updates in the new year.
Machined front caliper mounts
A friend that knows their way around a CAD program was able to help me in a morning produce an engineers' drawing. We started drawing all the known dimensions e.g. brake disc size, caliper size and spindle mounting hole pitch, from these we were able to calculate all the dimensions required for the mount, then with an outline added we created the virtual caliper mount. This wasn’t far from the rough sketch I'd made in the garage to produce the wooden prototype, the hardest part was calculating the curve that would match the profile of the caliper inner mounting lug.
Van Restoration Relocation
Haven't had much time to get on with the panel repairs because the restoration has had to be relocated, I was able to find a nice big double garage with power and water, this means I'm now able to work on the side of the van and not just the front and the back. Amazingly, through a door in the back of the garage I found, tucked behind some bushes and an over grown garden a house that also had electricity and running water. My girlfriend was happy to stay there while I get on with the rest of the restoration.
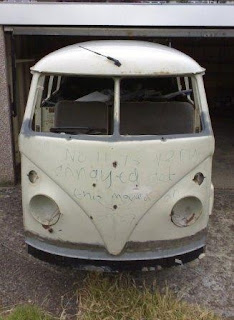
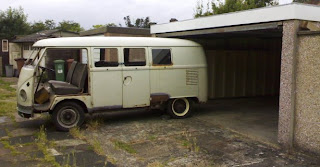
When I originally found the garage and measured it up for the fit, there was loads of room to work, but it was very close on height. I thought I may be pushing it in and out of the garage with flat tires, or having to start another project of raising the roof, and I don’t think I'll be able to keep a roof rack on for long.The vans trip to its new home went smooth, A few curtains twitch as a rusty heap was unloaded from the flat bed on to the street, Then, what I forgot to do was measure the width of the access lane to the garage. Pushing a van enthusiastically down an ally when you have 6in or less clearance either side and you don't have any breaks is a bit scary.
Having all this room In the garage didn't last long, to accompany the van came all the VW parts I’ve been hording for the last 10+ years (just in case I might just need that old rusty part), gear boxes, engines, tones of engine tin wear, exhausts, front beams and boxes of all the smaller bits. It's going to take some time to clear away the unwanted parts, and sort out a working garage, but in the end it should make getting the van back on the road so much more enjoyable.
Left "A" pillar and cab floor
Another patch in the floor that needs filling up, I wonder if it may be easier to replace the whole cap floor with the time it takes to cut, file, weld and grind each repair.

I'm still teaching myself to weld, with this patch after the tacks were in place I tried to run a continuous tack weld with a higher weld setting to get the penetration with a pause so the seam didn't get too hot, this did work but needs a bit more practice or a faster wire feed speed to get the weld deeper into the corners and looking cleaner.
Cab floor and door seal carrier repair
After cleaning up the A pillar skin under the seal carrier with rotary wire brush, probably one of the best rust eating tools I have come across so far. I cautiously welded up the holes and ground flush ready to weld the carrier back into place.
The bus also got it's first bit of sun for the summer.
Porsche brake conversion Pt3
The problem with the rear disc diameter being too small was solved with replacing the 944 >88 discs (289mm diameter) with 944t (928s2/928s4) 299mm diameter ones, these new rear discs are a little thicker at 22mm making it a squeeze fitting the caliper when they have new pads. The new disc cost an extra £30 a pair; this reminds me why I have a Vdub and not a Porsche.
Subscribe to:
Posts (Atom)