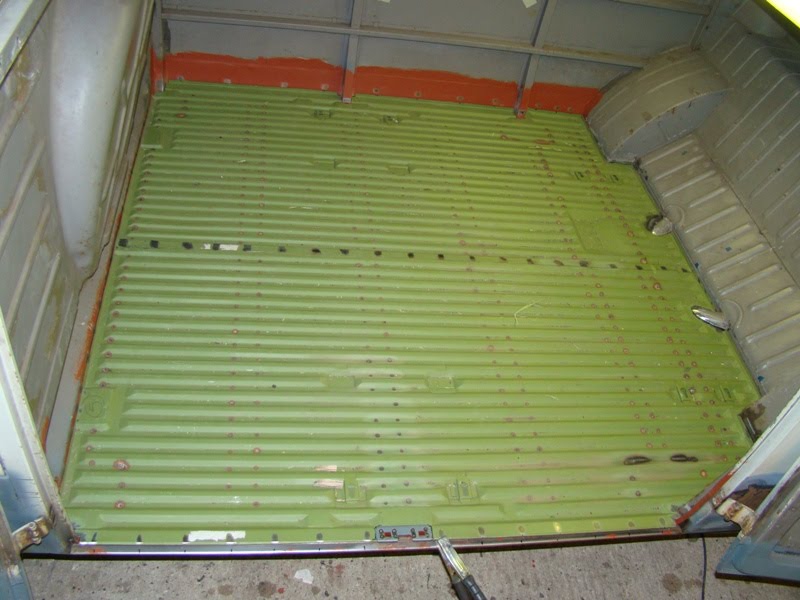
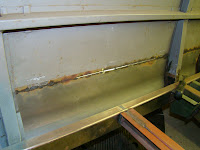
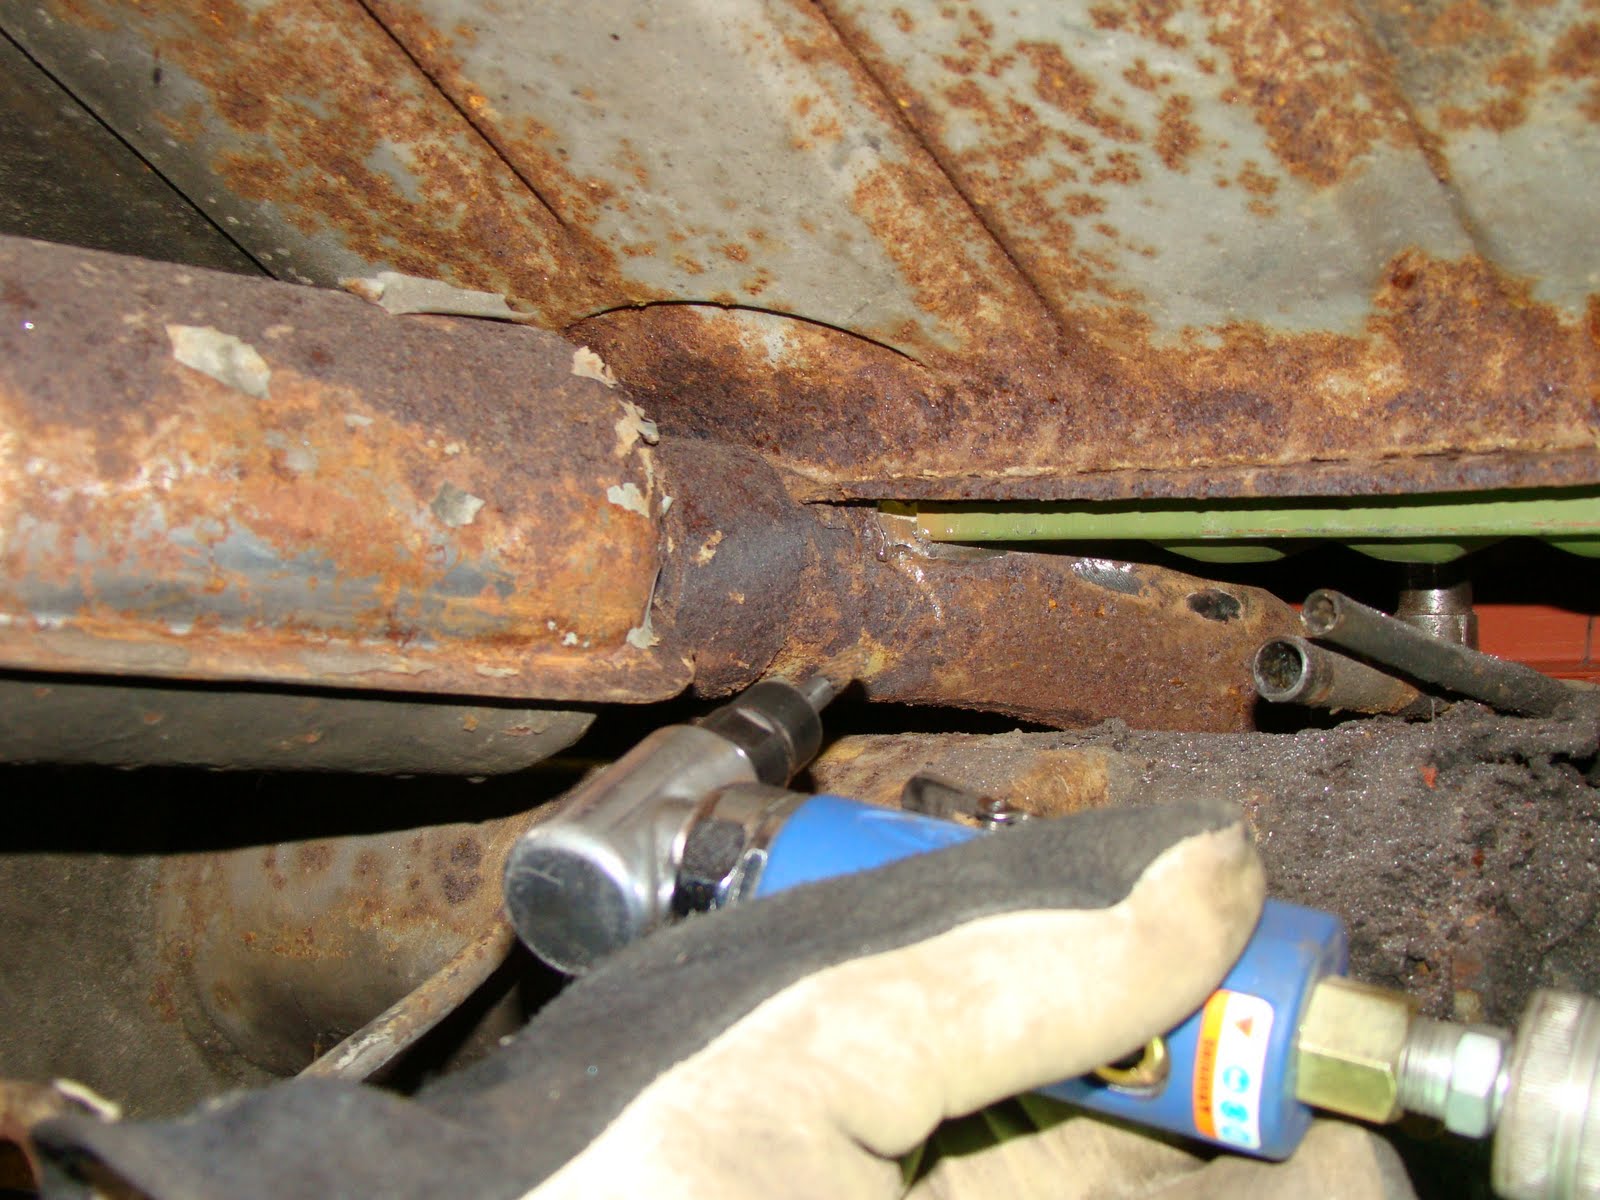
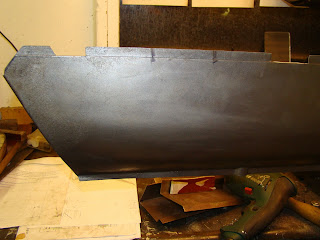
After taking the front beam off I ground out all the rust hiding under the beams upright. Here are a few pics of the repair patch.




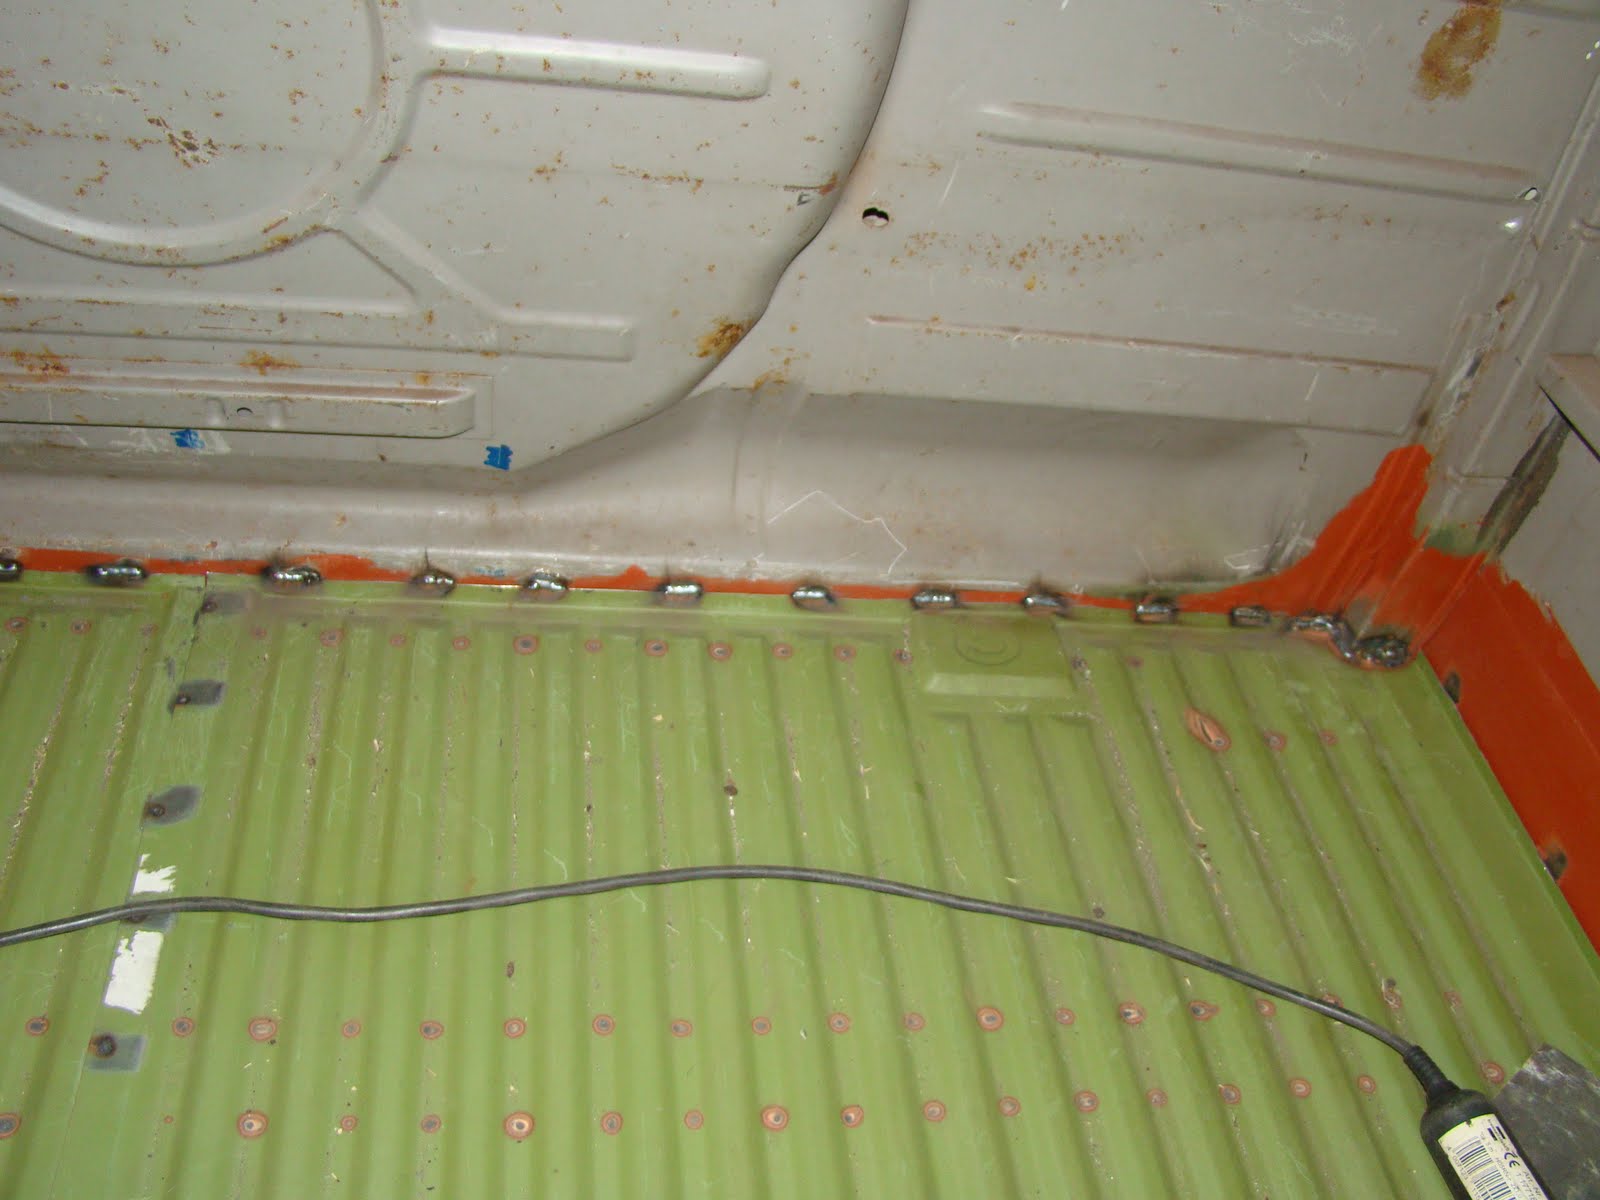
 Picking a hot clear day as I'm a fair weather welder, I got the van out of the garage to get it jacked up as high as it could safely go, then a bit higher. I decided to weld the floor from the underside, this meant I didn't need to grind down each weld between the corrugations, just work upside down. I marked each position I needed to weld and rubbed the paint off.
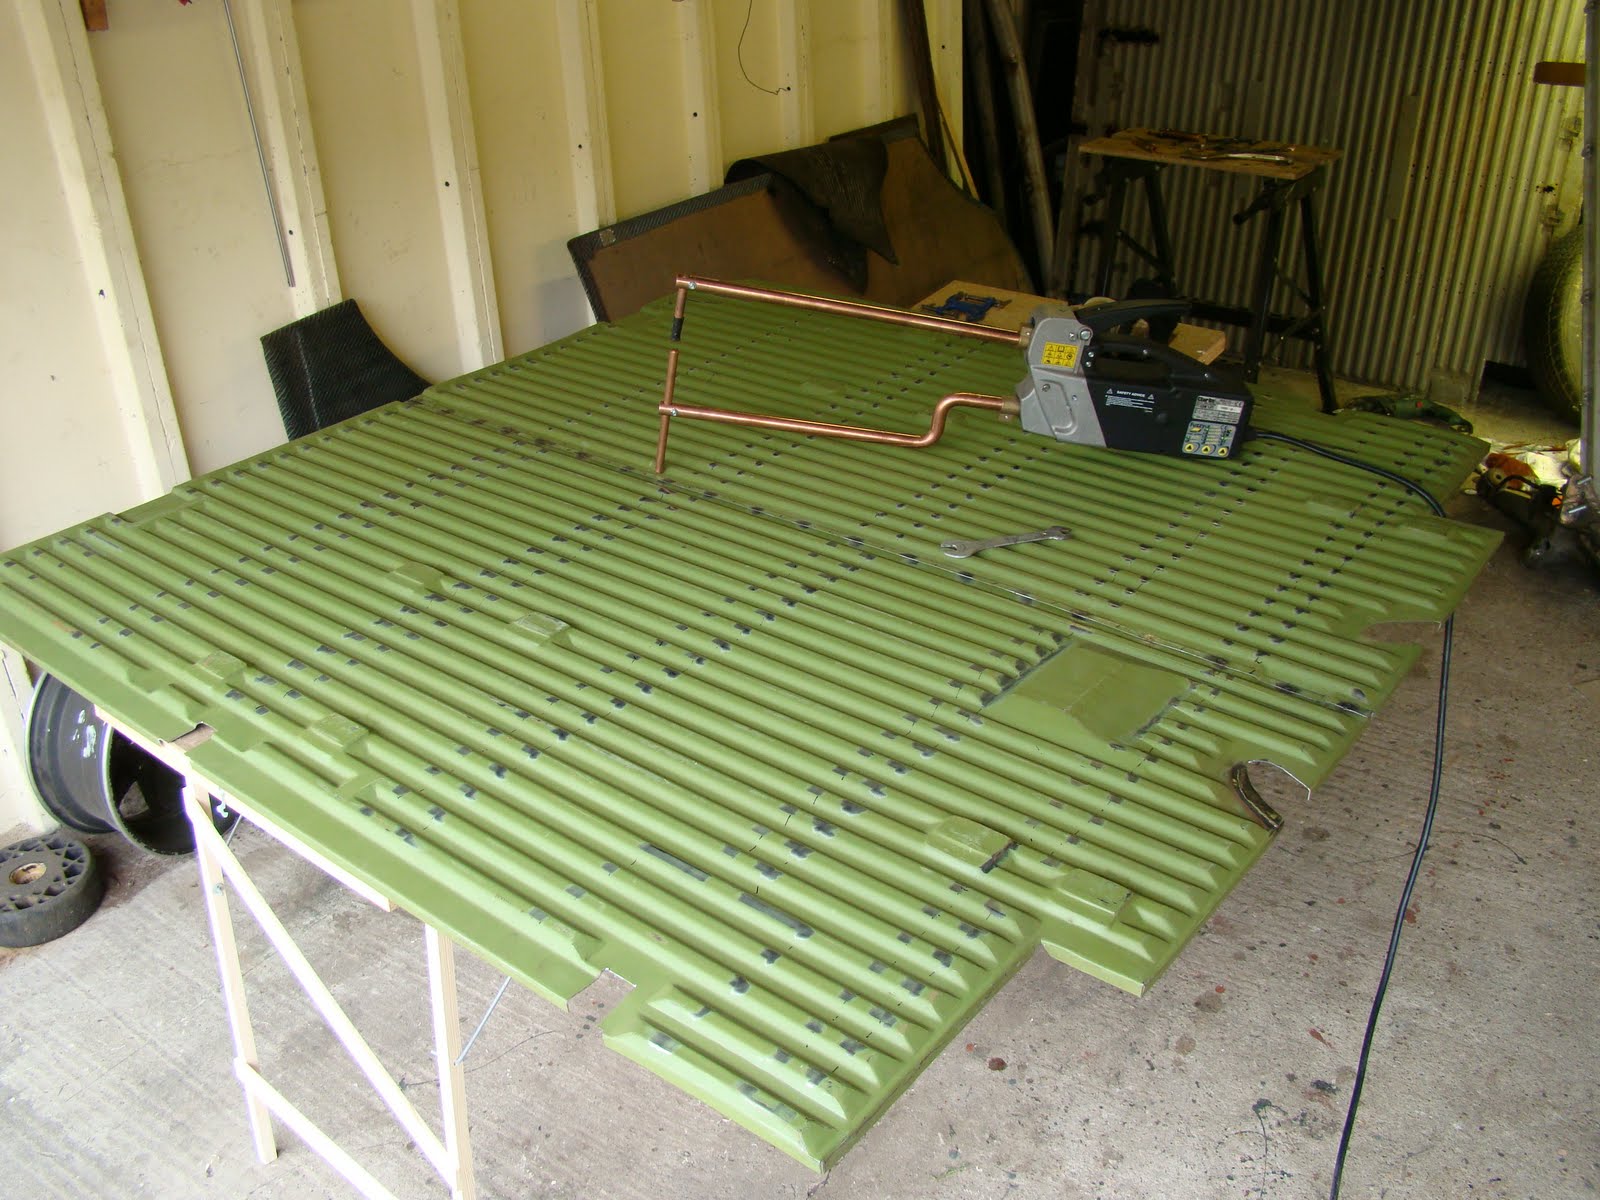 I set the two pieces of floor up on anything I could find. This being a cheap B&Q pasting table that's not very flat when it had the weight of the floor on it. I spot welded down the center as far in as I could, then tacked the rest of the centre together, This was hard to get both parts flat then welded without leaning on them and their very wobbly stand.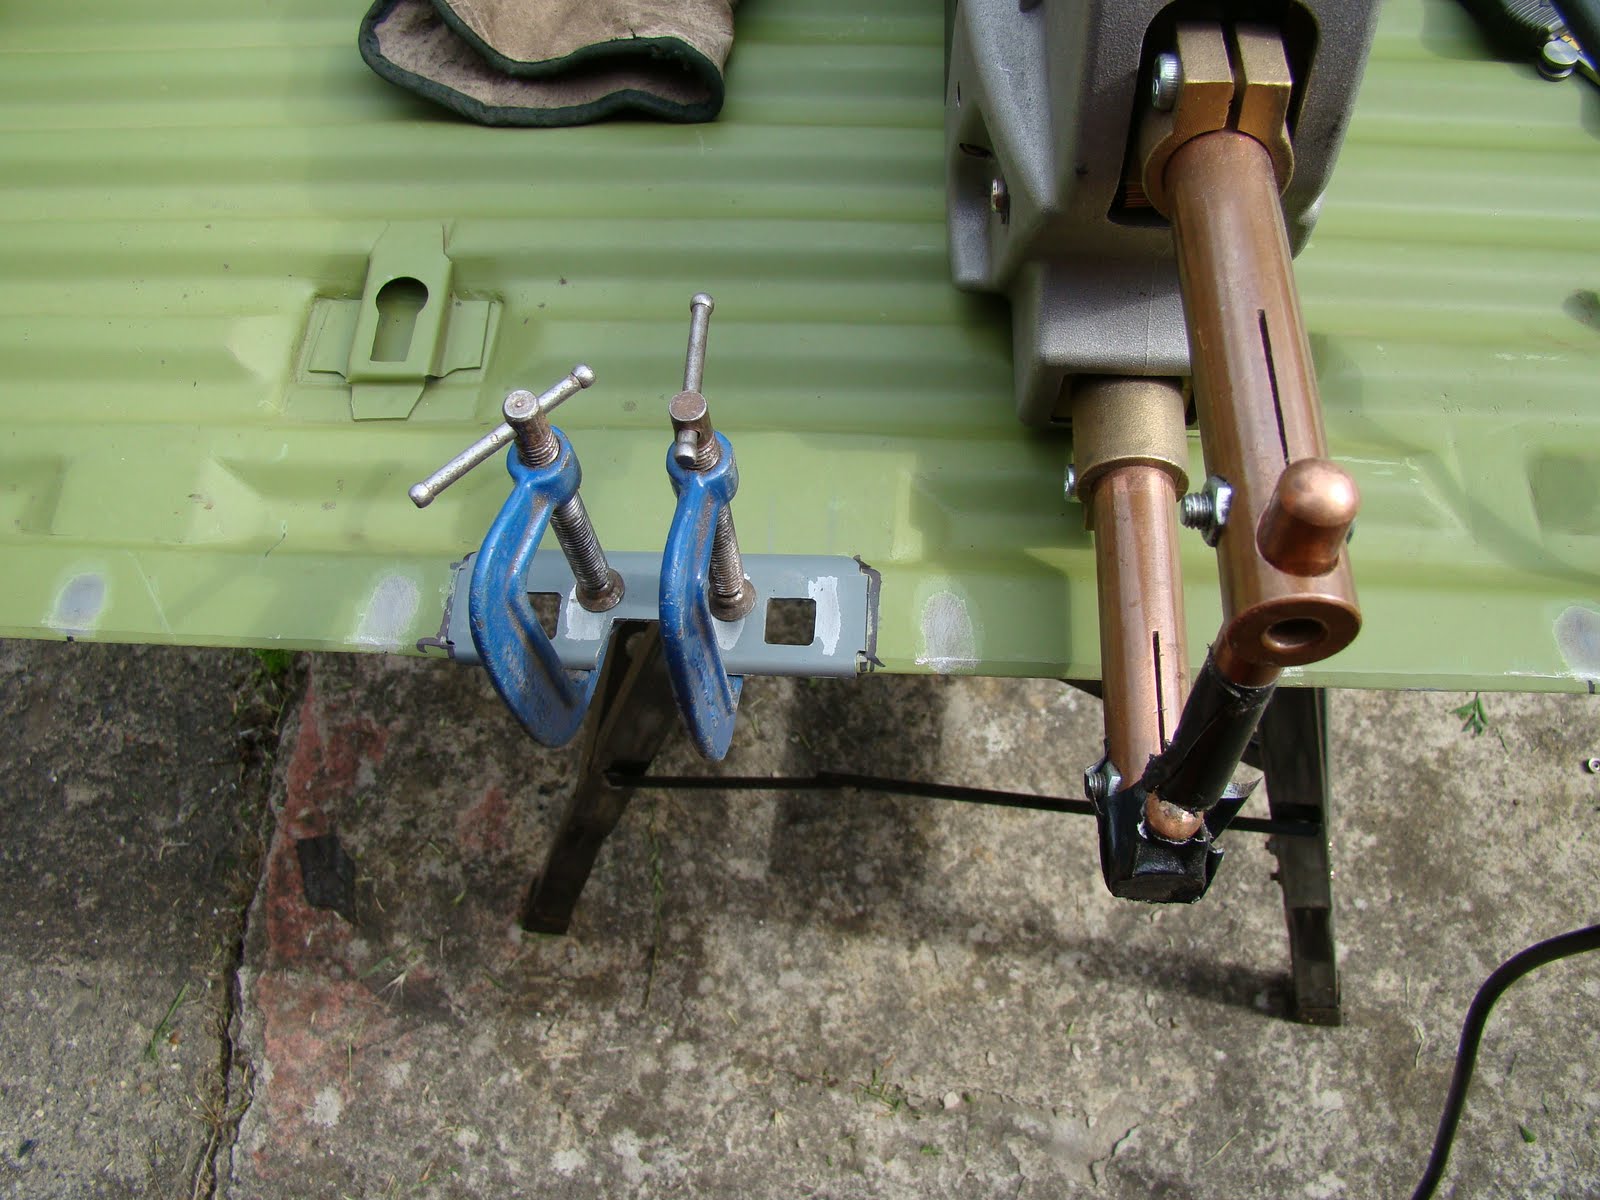
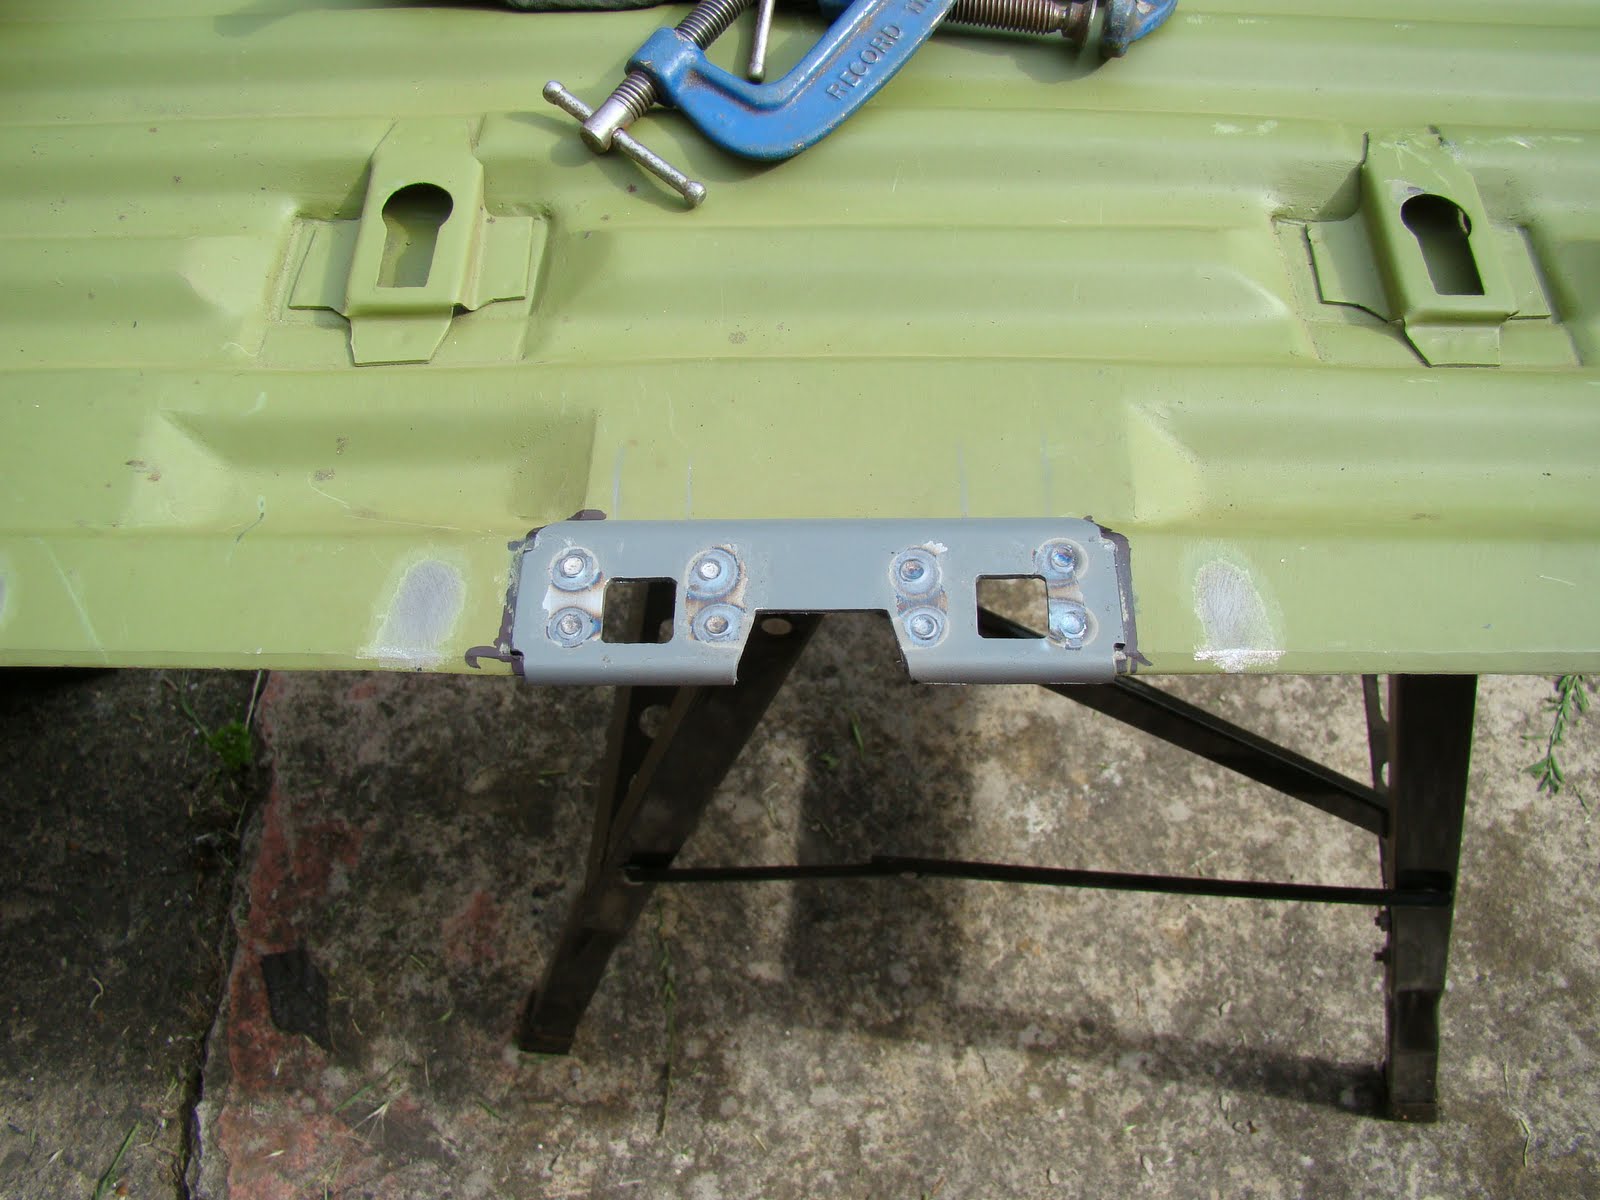

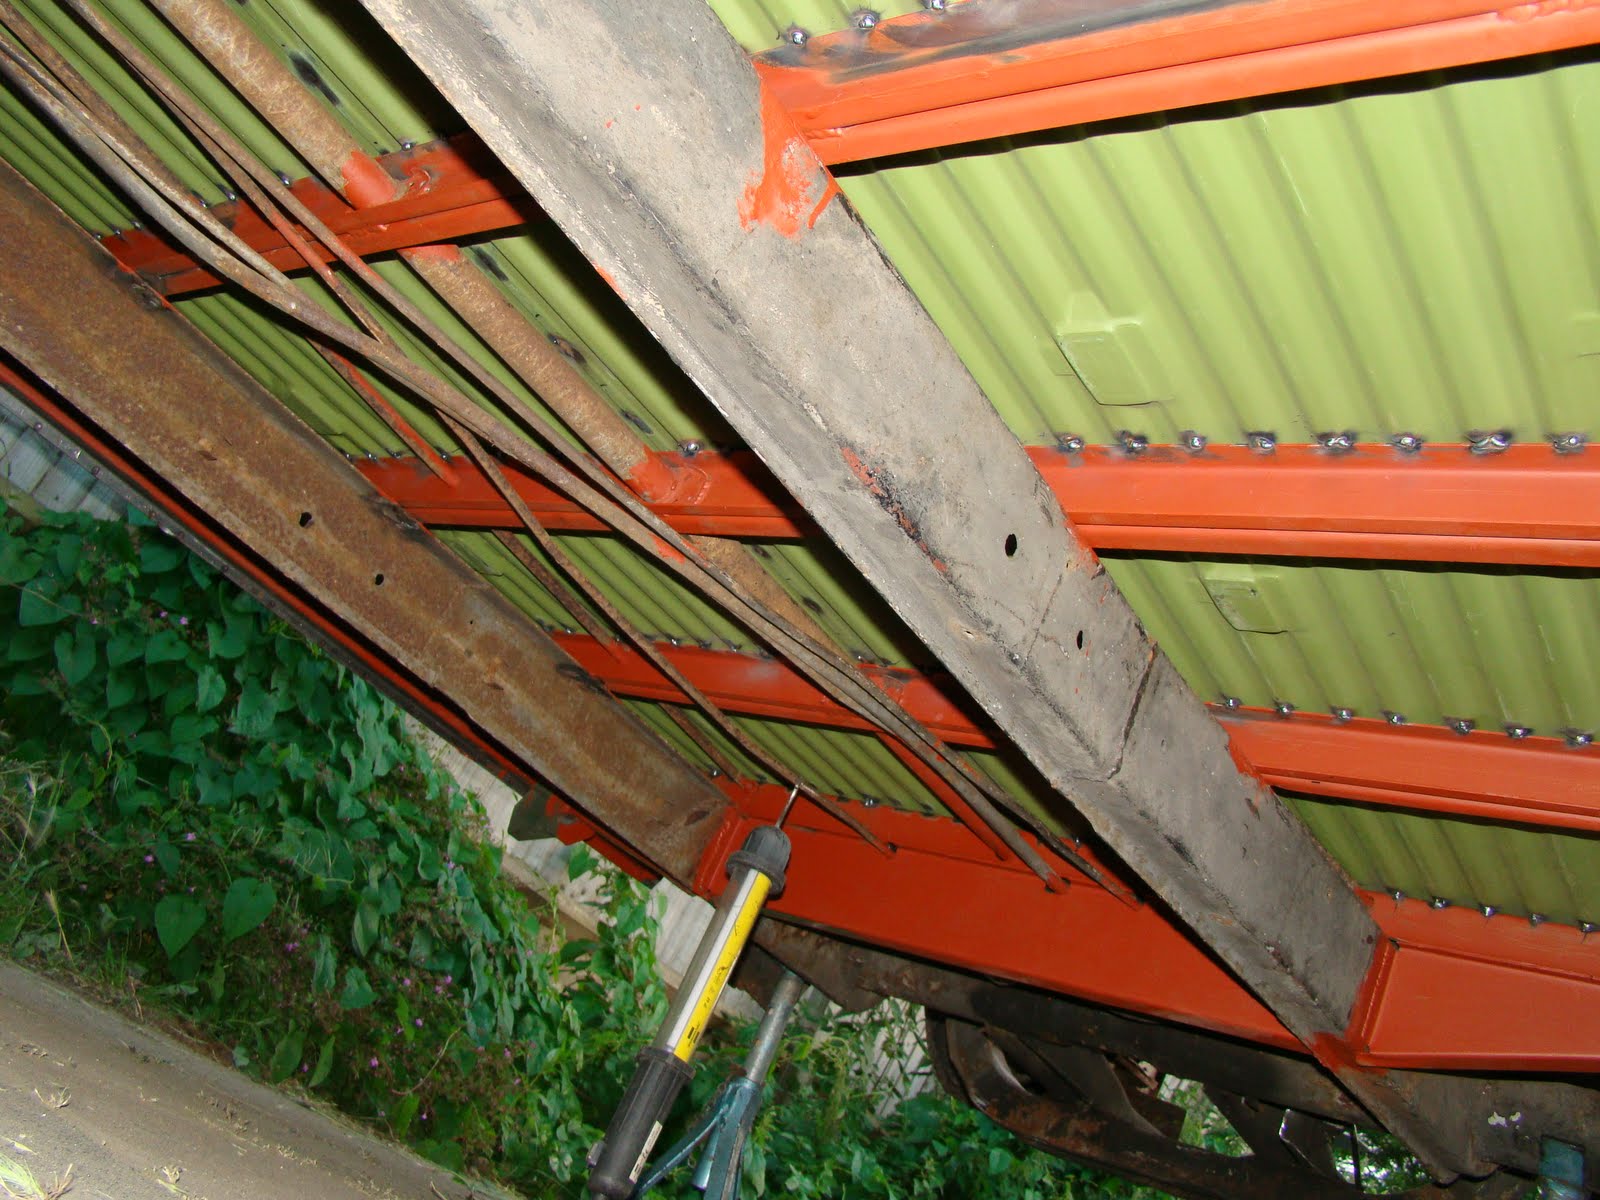

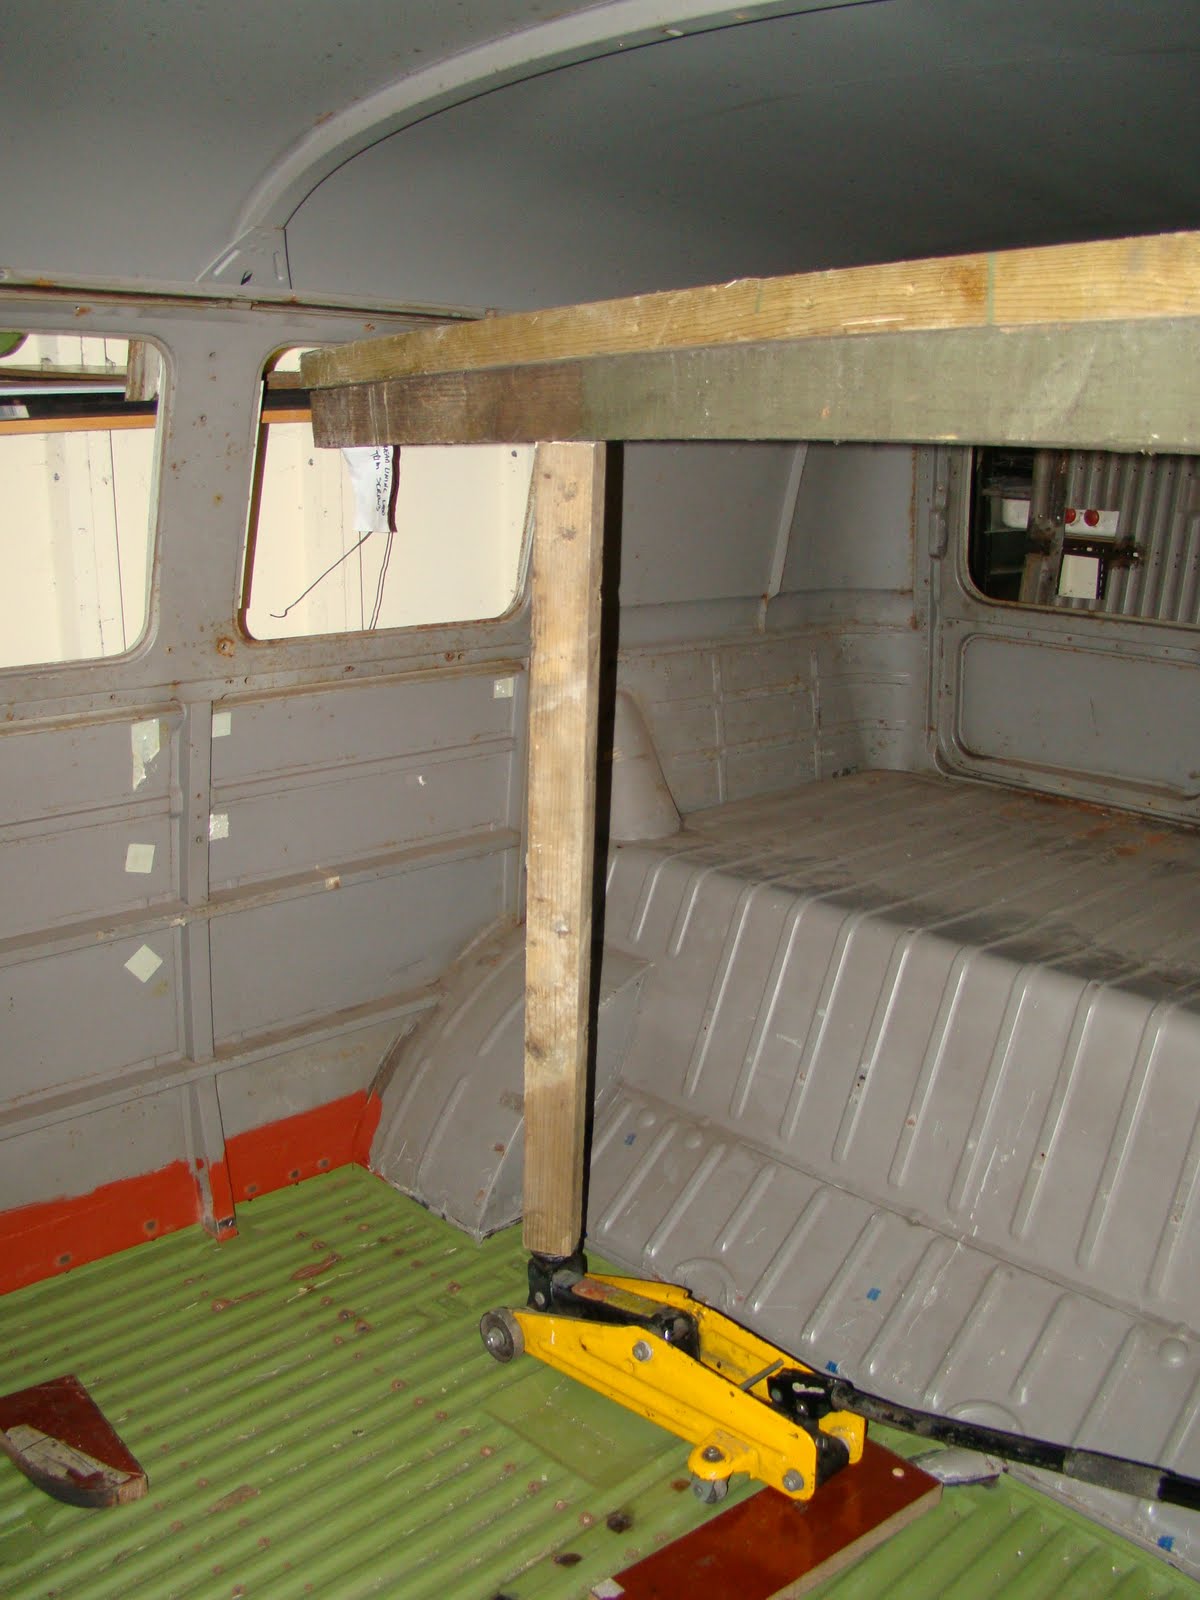
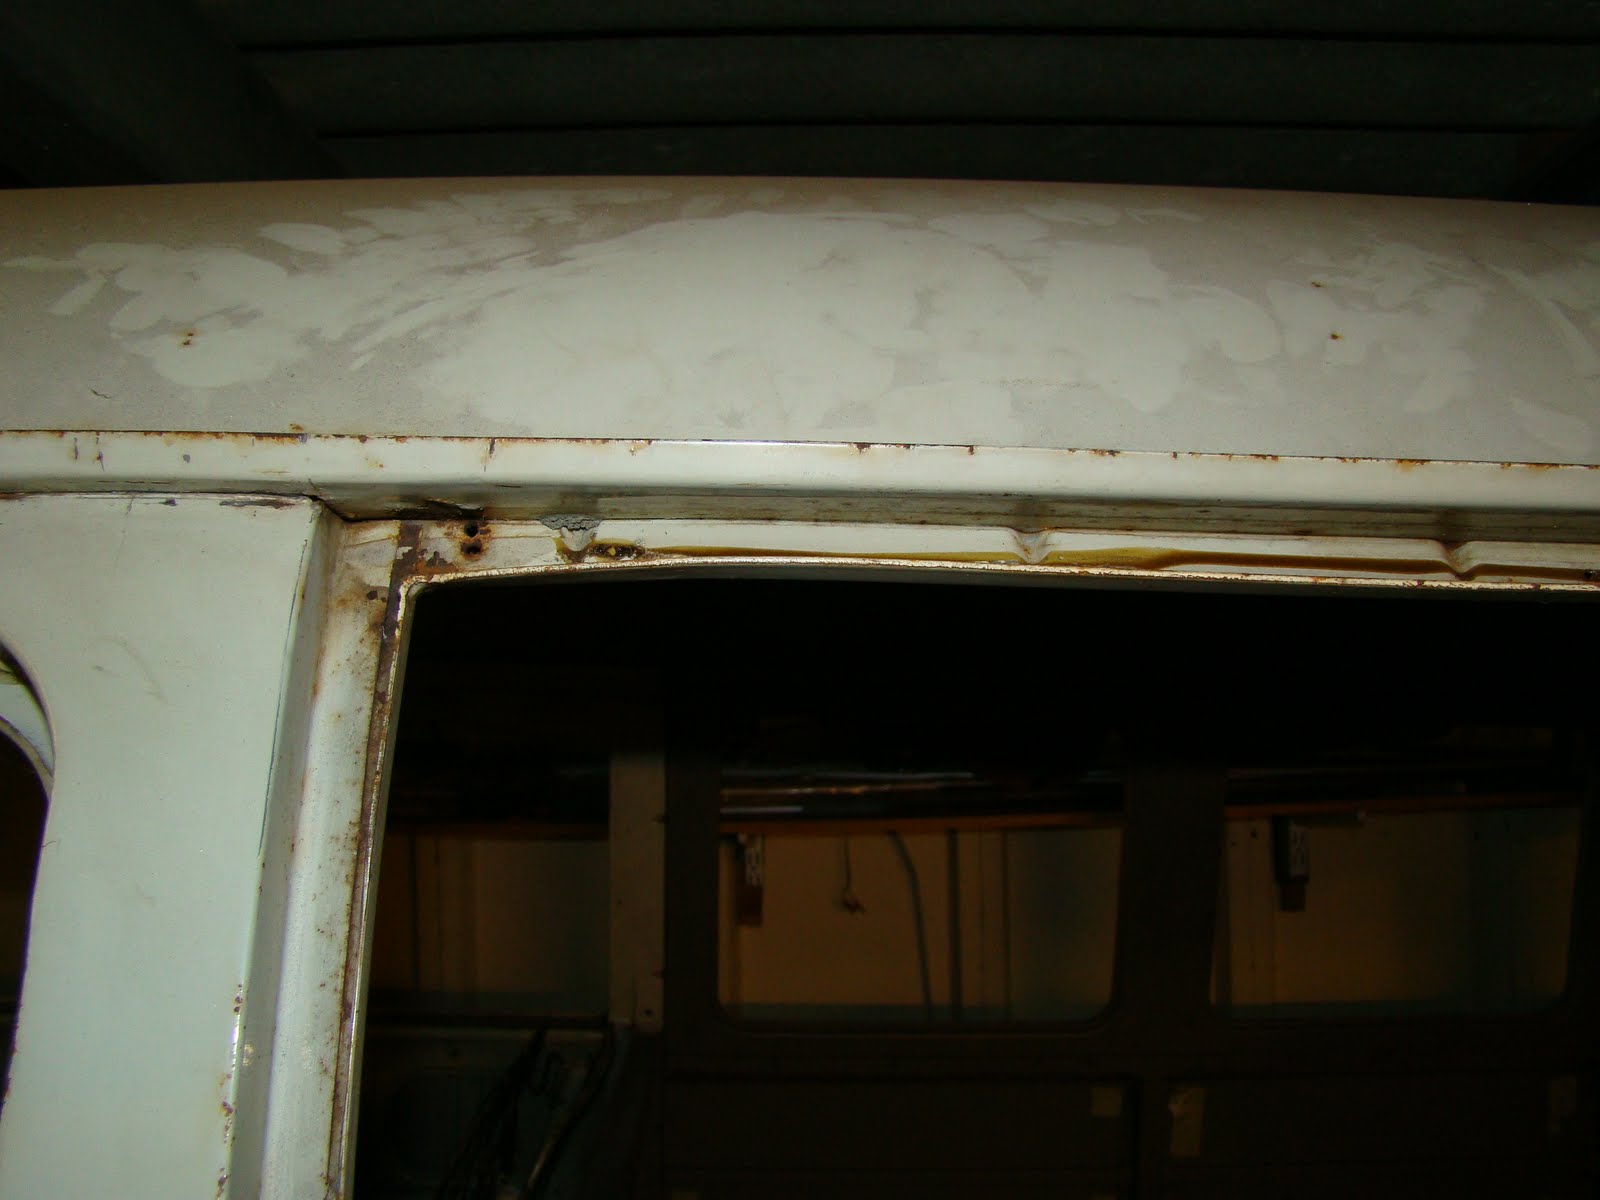
 This worked OK for the back welds but when I took the contraption apart to move it forwards to use it on the forward places that I needed to weld, I discovered I had pushed my window and door frame up (who would have guessed using a trolley jack inside a van...) This was a very silly mistake to make. The door frame I managed to persuade straight again but I'll need to make a dolly up to fit between the window frame skins.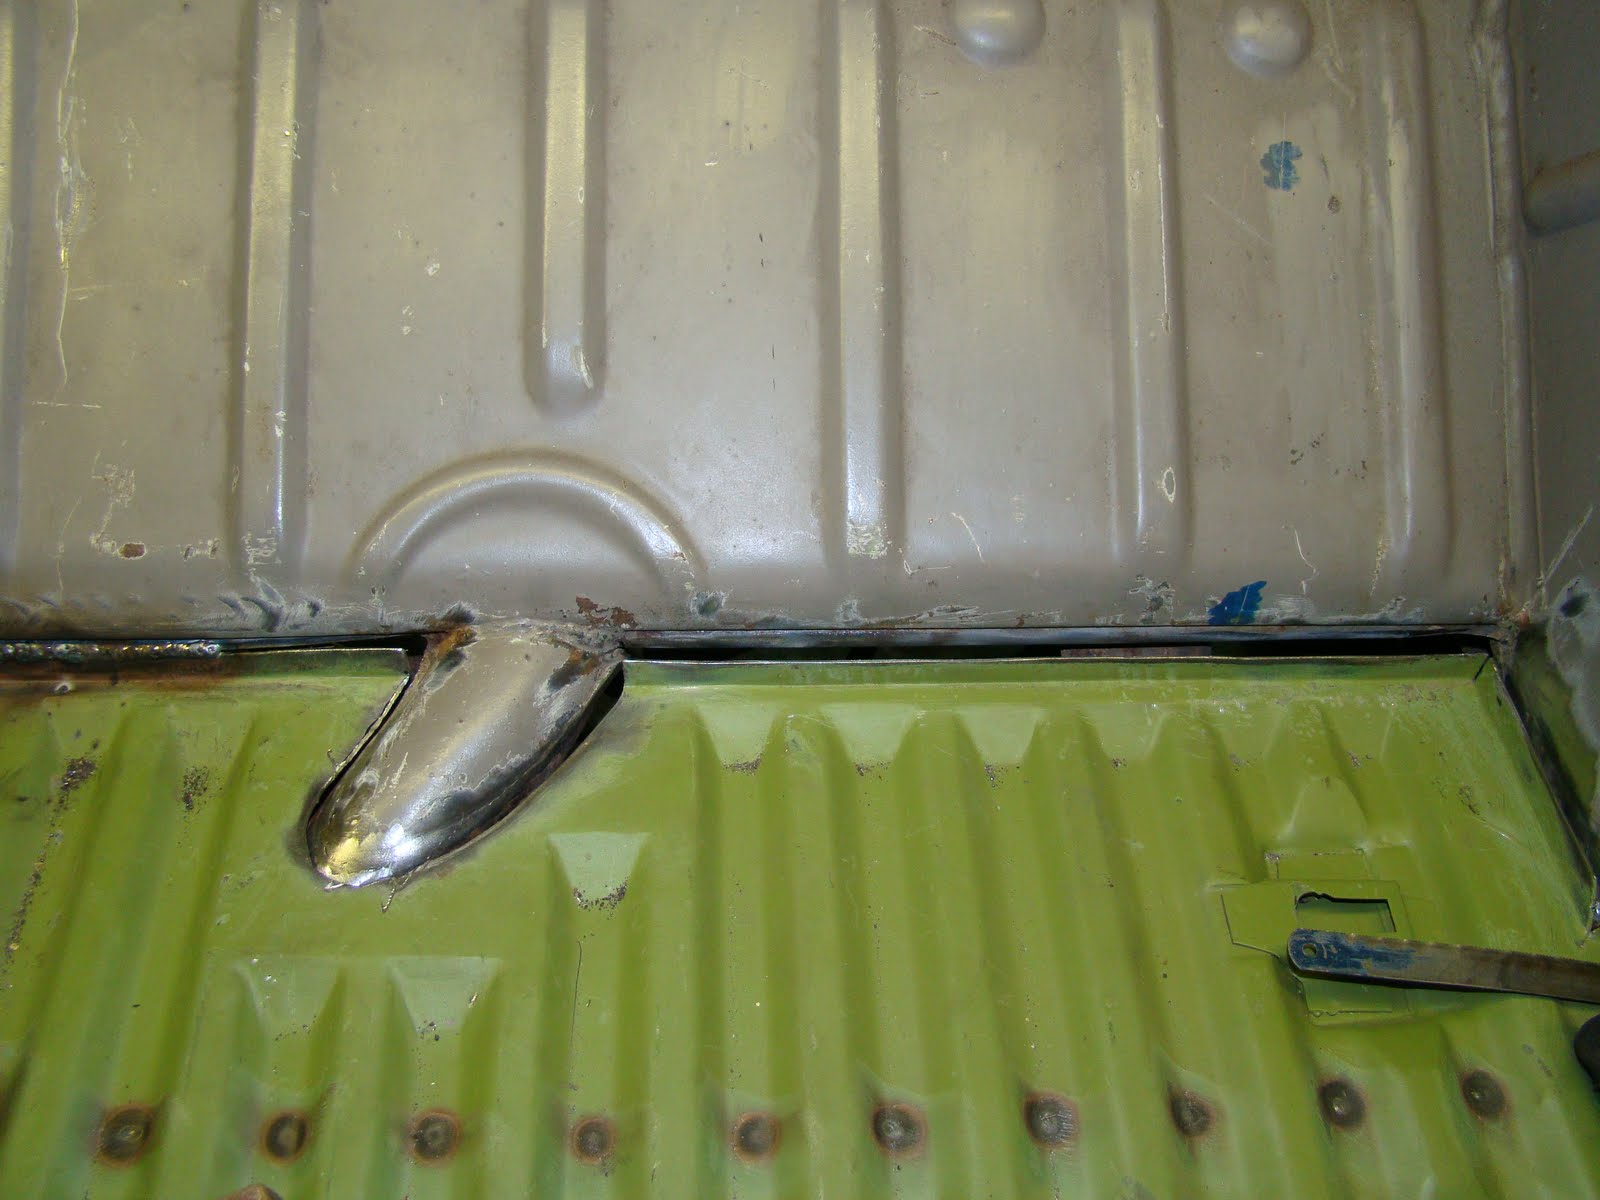
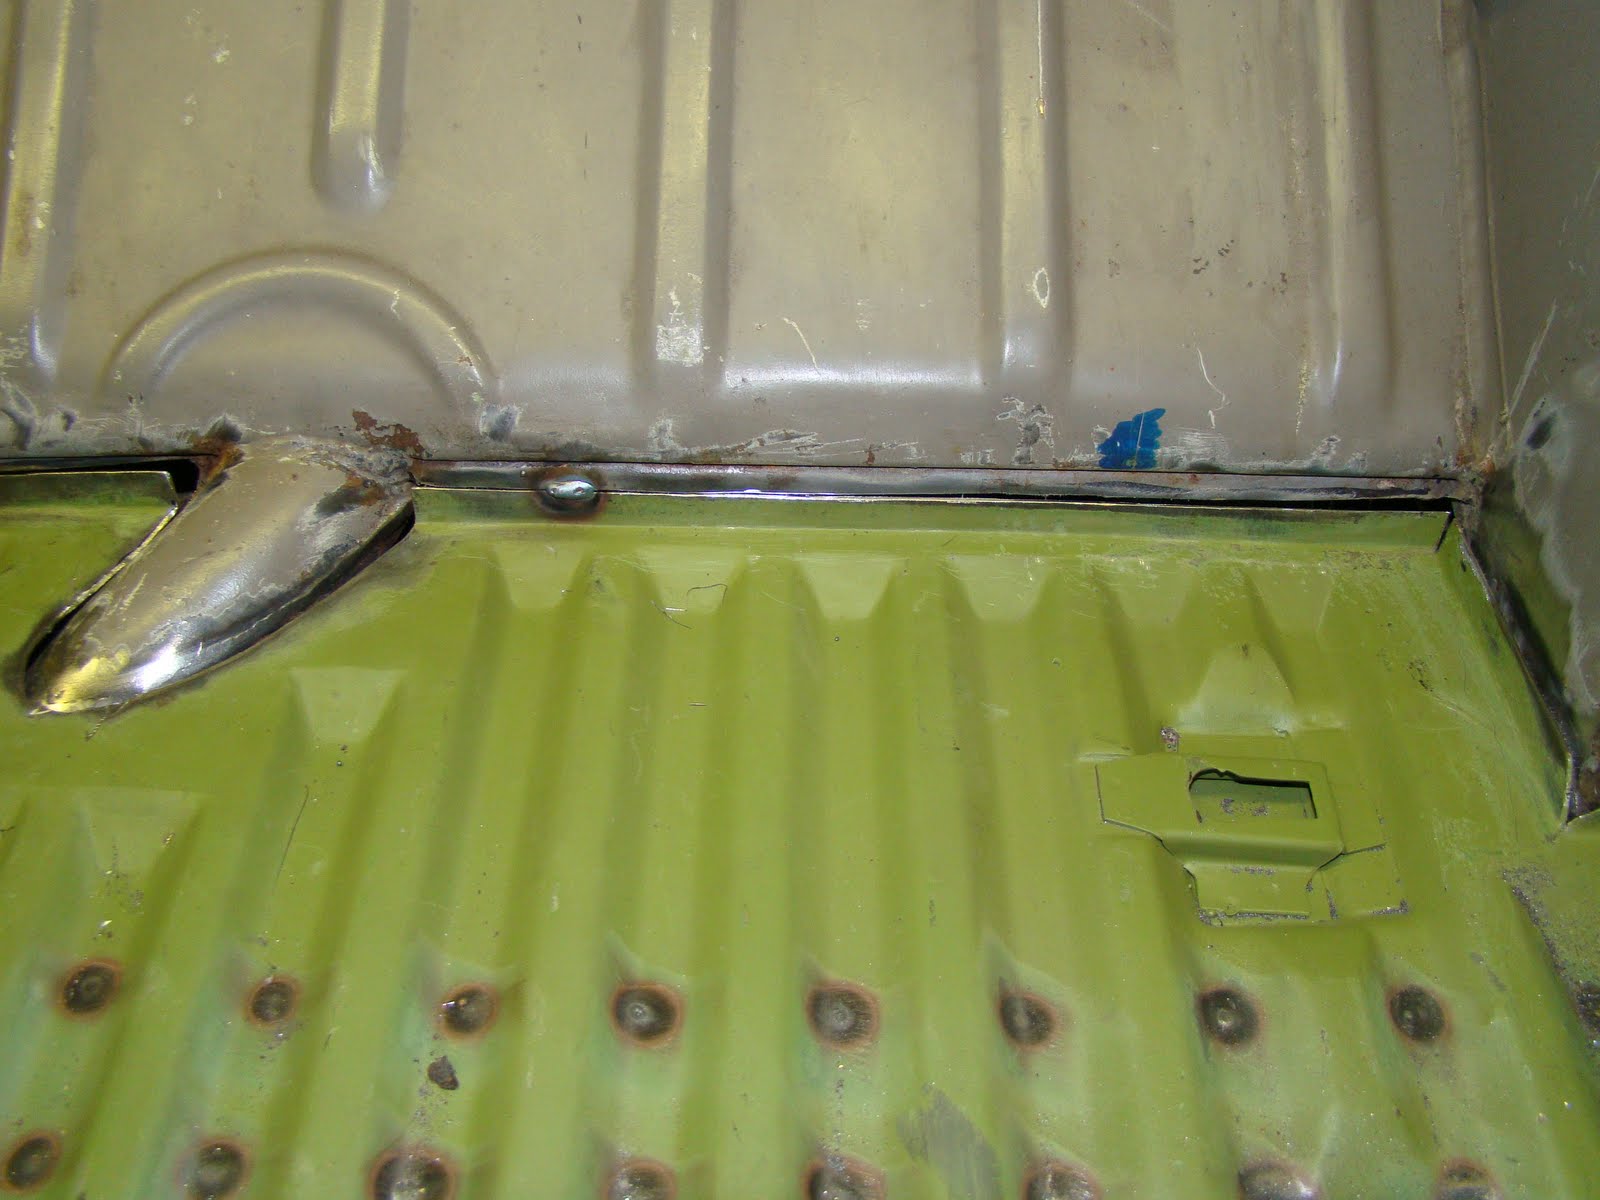

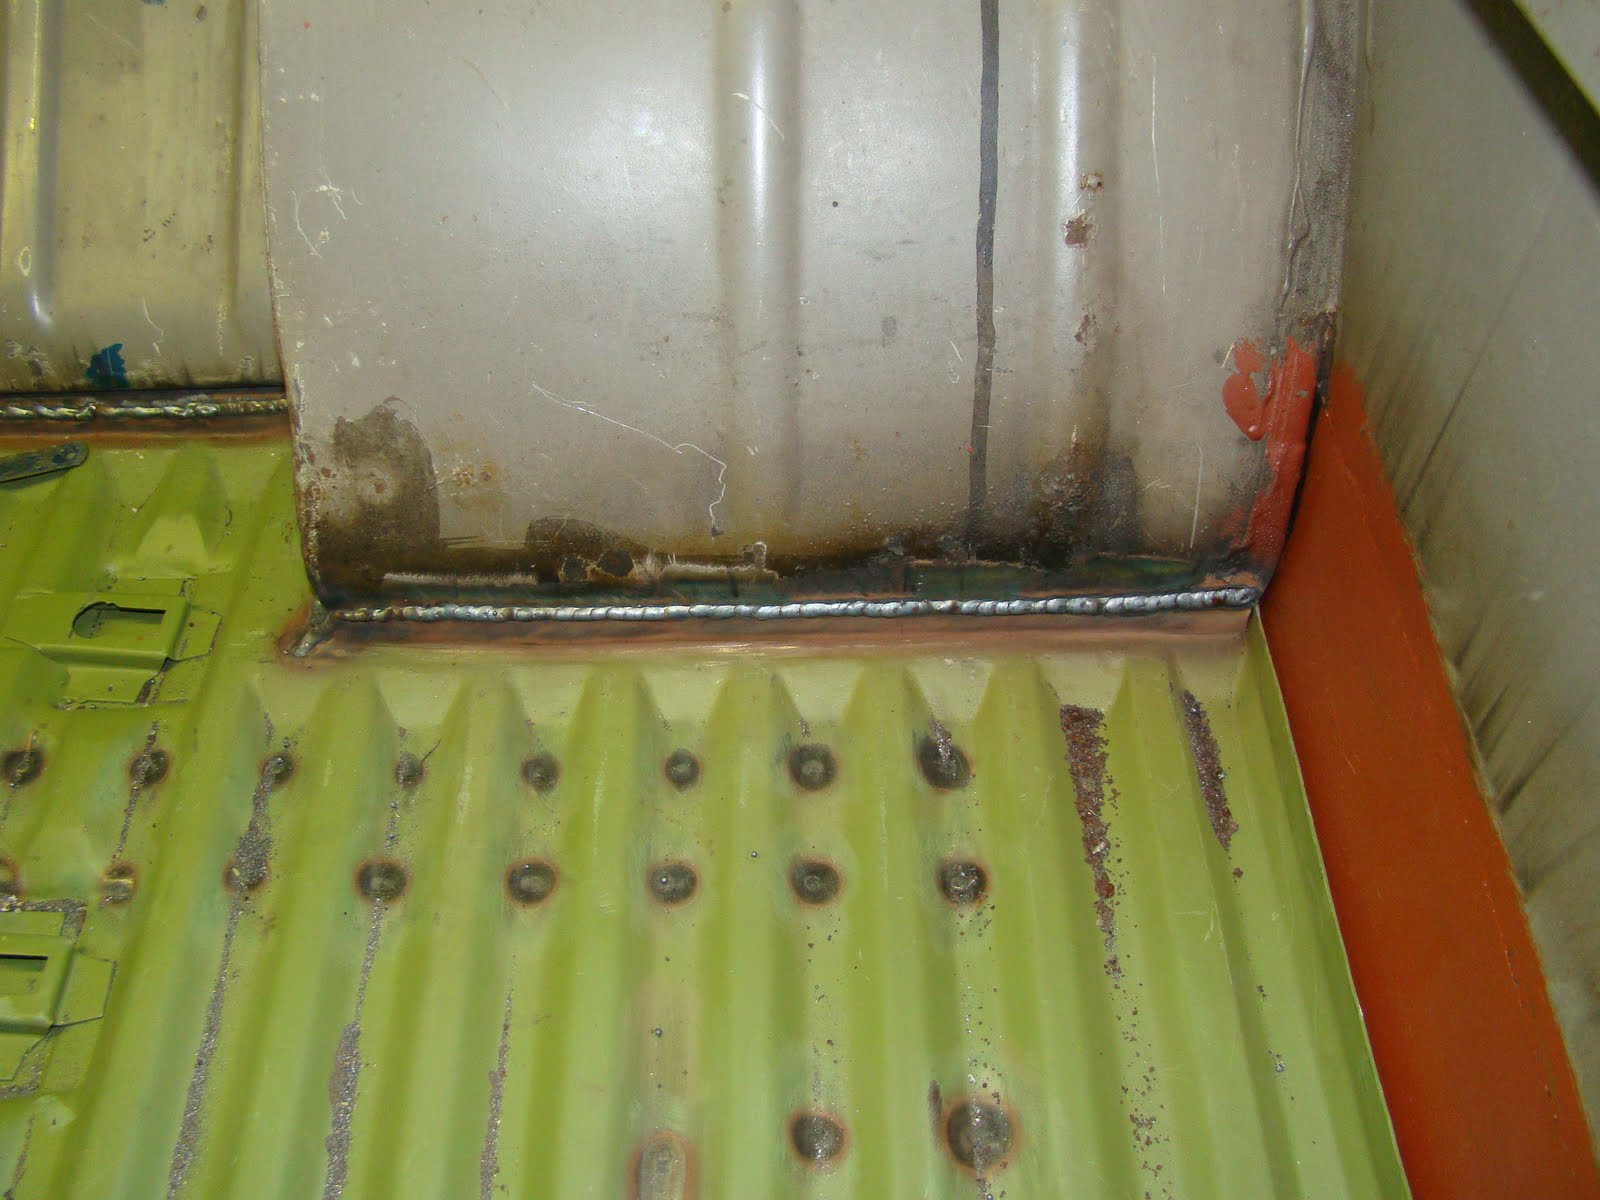

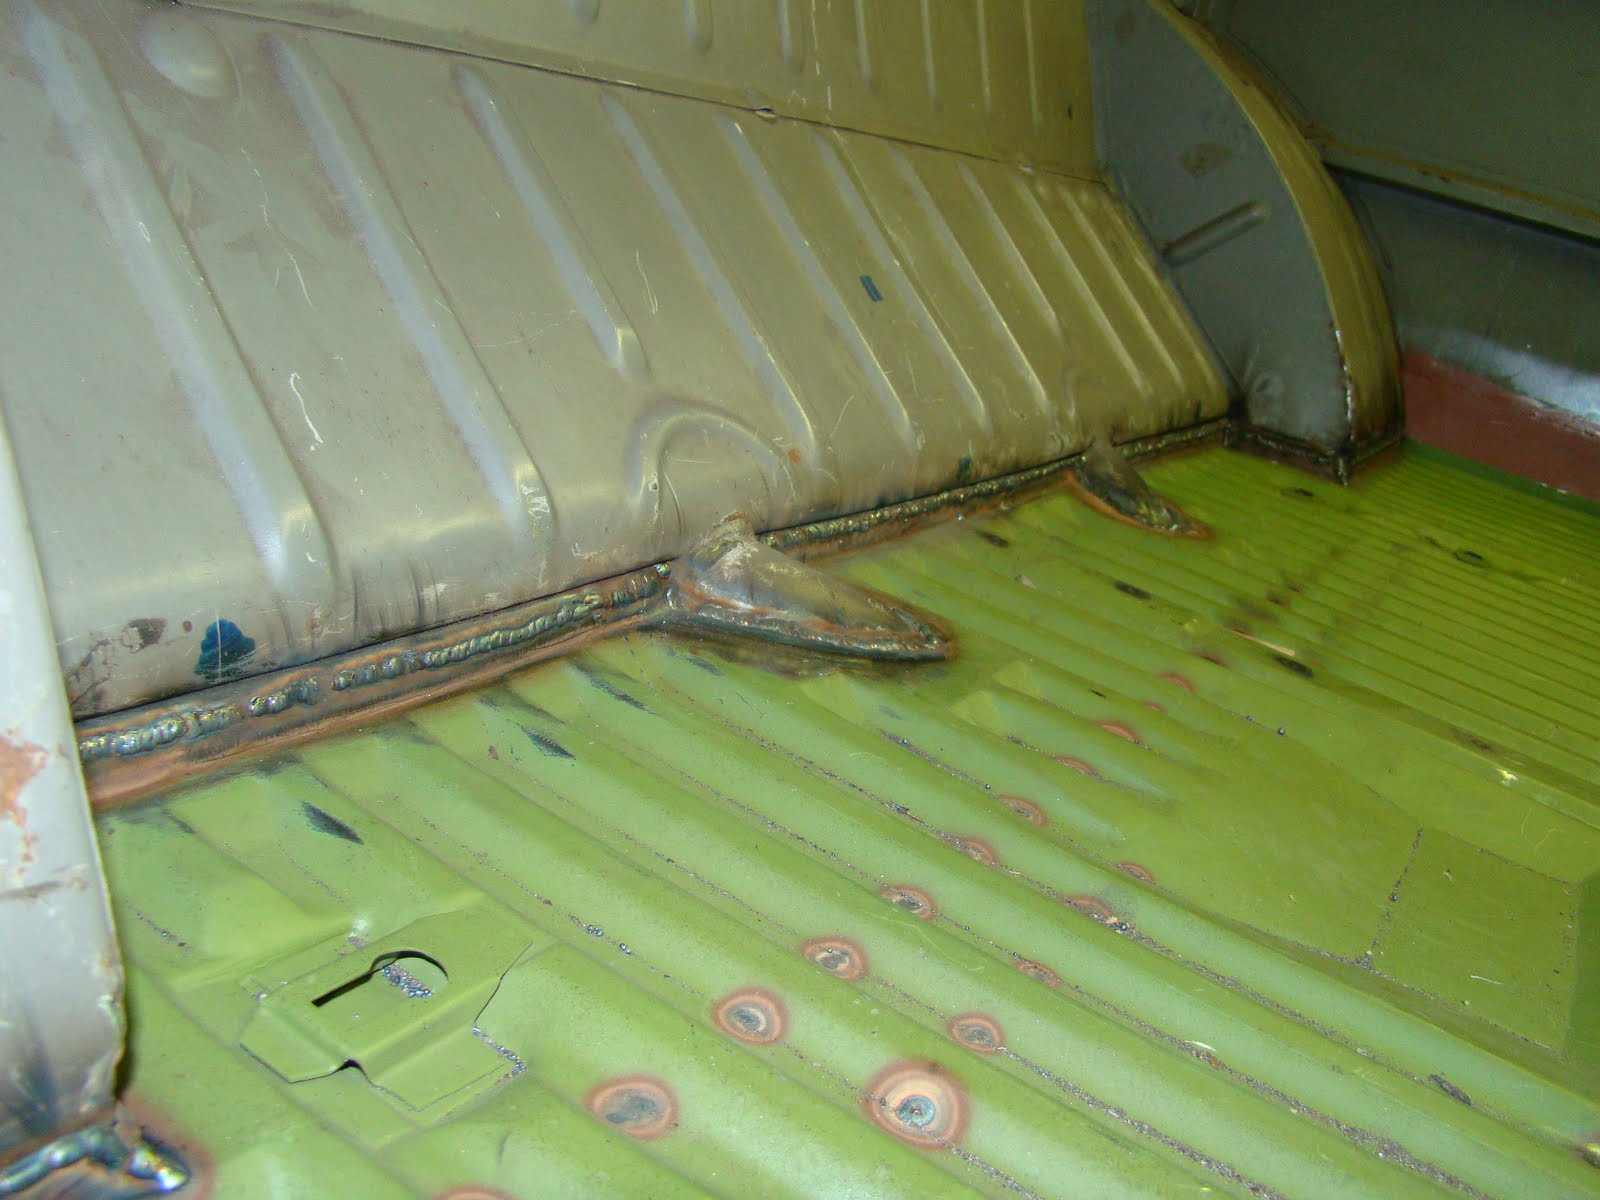




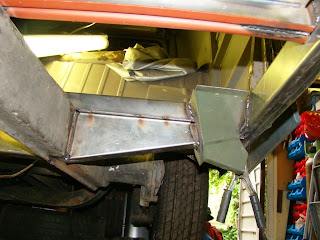 This is the right side fitted. I levelled and positioned it with a spirit level clamped across the beams like the Professional I deep down am. (Yes in the picture the spirit level is actually invisible)
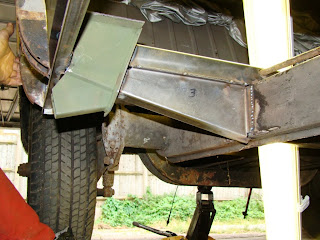


 Once both sills were fitted I cut the chassis rails out any way I could, trouble is I needed the tubes embedded within the rails. With a tiny 1mm cutting disc I delicately cut them free from the welded frame brackets.
 I also removed the brackets from the centre of the I beams that securely hold the gear link tube in position. To do this I again unleashed the 1mm cutting disc very carefully and gingerly (see what I did there?) using plenty of light to see what I was doing cut away the weld, wobbling the I beam regularly to break the weld. Once each rail was slid off the tube I drilled the 8 spot welds off each side.
 With the main chassis rails cleaned I placed all the cross members in their positions and using the datum marks and laser I marked out the centre and handbrake cable tube holes. When I hastily cut and folded all these parts originally I didn't order enough material to fold all three top hat sections, so the other two I picked up from the Autocraft engineering stall at Van Fest, the quality of these parts is spot on, and surprisingly fitted perfectly between my new fitted sills.
 - marking and cutting a 31mm tube hole without a pillar drill accurately in bent 2mm and 4mm sheet is not easy, requires patents and can be very time consuming, the only tool I thought was available for a pistol drill was a tapered drill bit. Backed up by wood I started drilling slowly, straight away skidding off my markings, then unable to control the awesome speed of the cutter I burnt out the drill and hardened the sheet steel, like an apprentice fitter I once was. All this trauma and it was still my first hole! I was having a bad day, it felt like I was wasting precious garage time on these parts that I'd made and I was getting really grumpy. I decided I would bit the bullet and order all the chassis parts I needed. The prices online came to over £200, again I changed my mind and decided that my local machine shop would save me, and do the drilling for me at £10 a hole (over £40 total). They sent me away with the advice to try an electricians' hole saw and come back if I had no success, or produced yet more warped glowing red sheet steel. With a good lunch and large bottle of Coke (other brands of pop are available) inside me and my new tool in hand I tried one more time. I was surprised how tough and accurate the hole saw cuts were but I do need to ask Santa for a pillar drill (if you're in New Zealand it's pronounced Sinta by the way). It's all about using the right tool for the job. Or buying one.