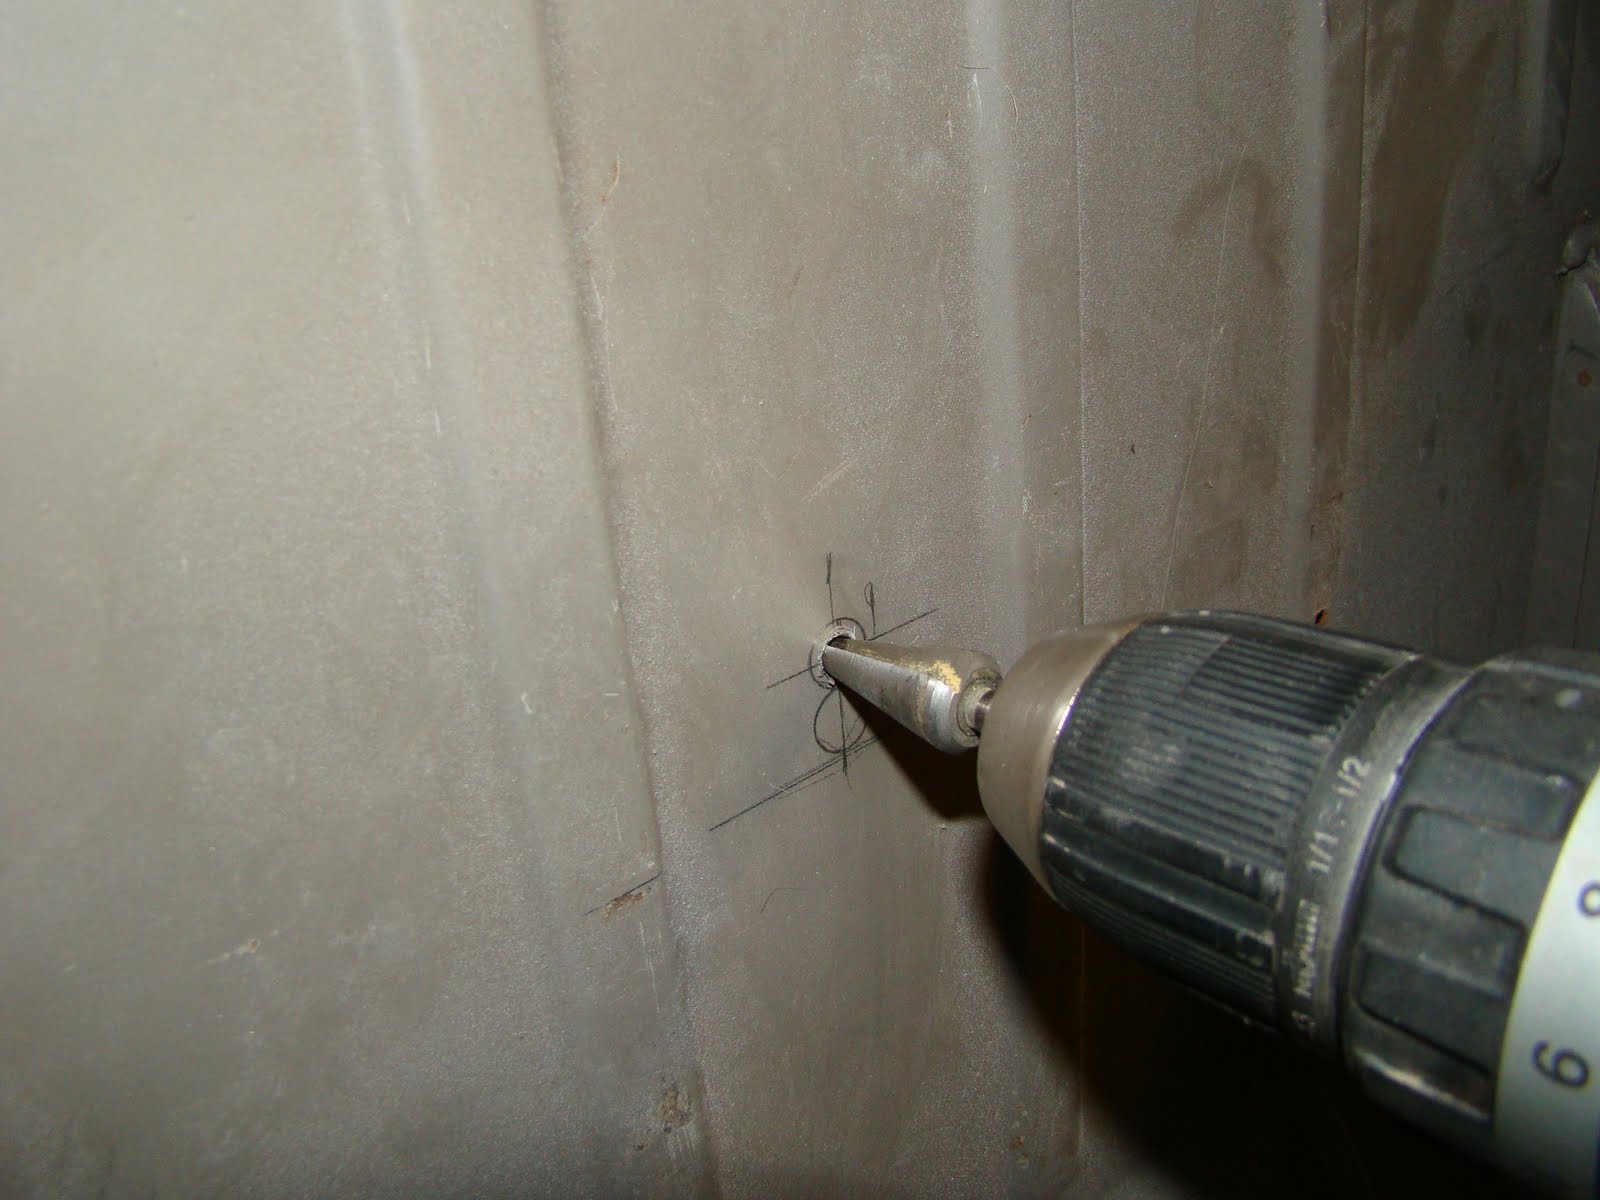
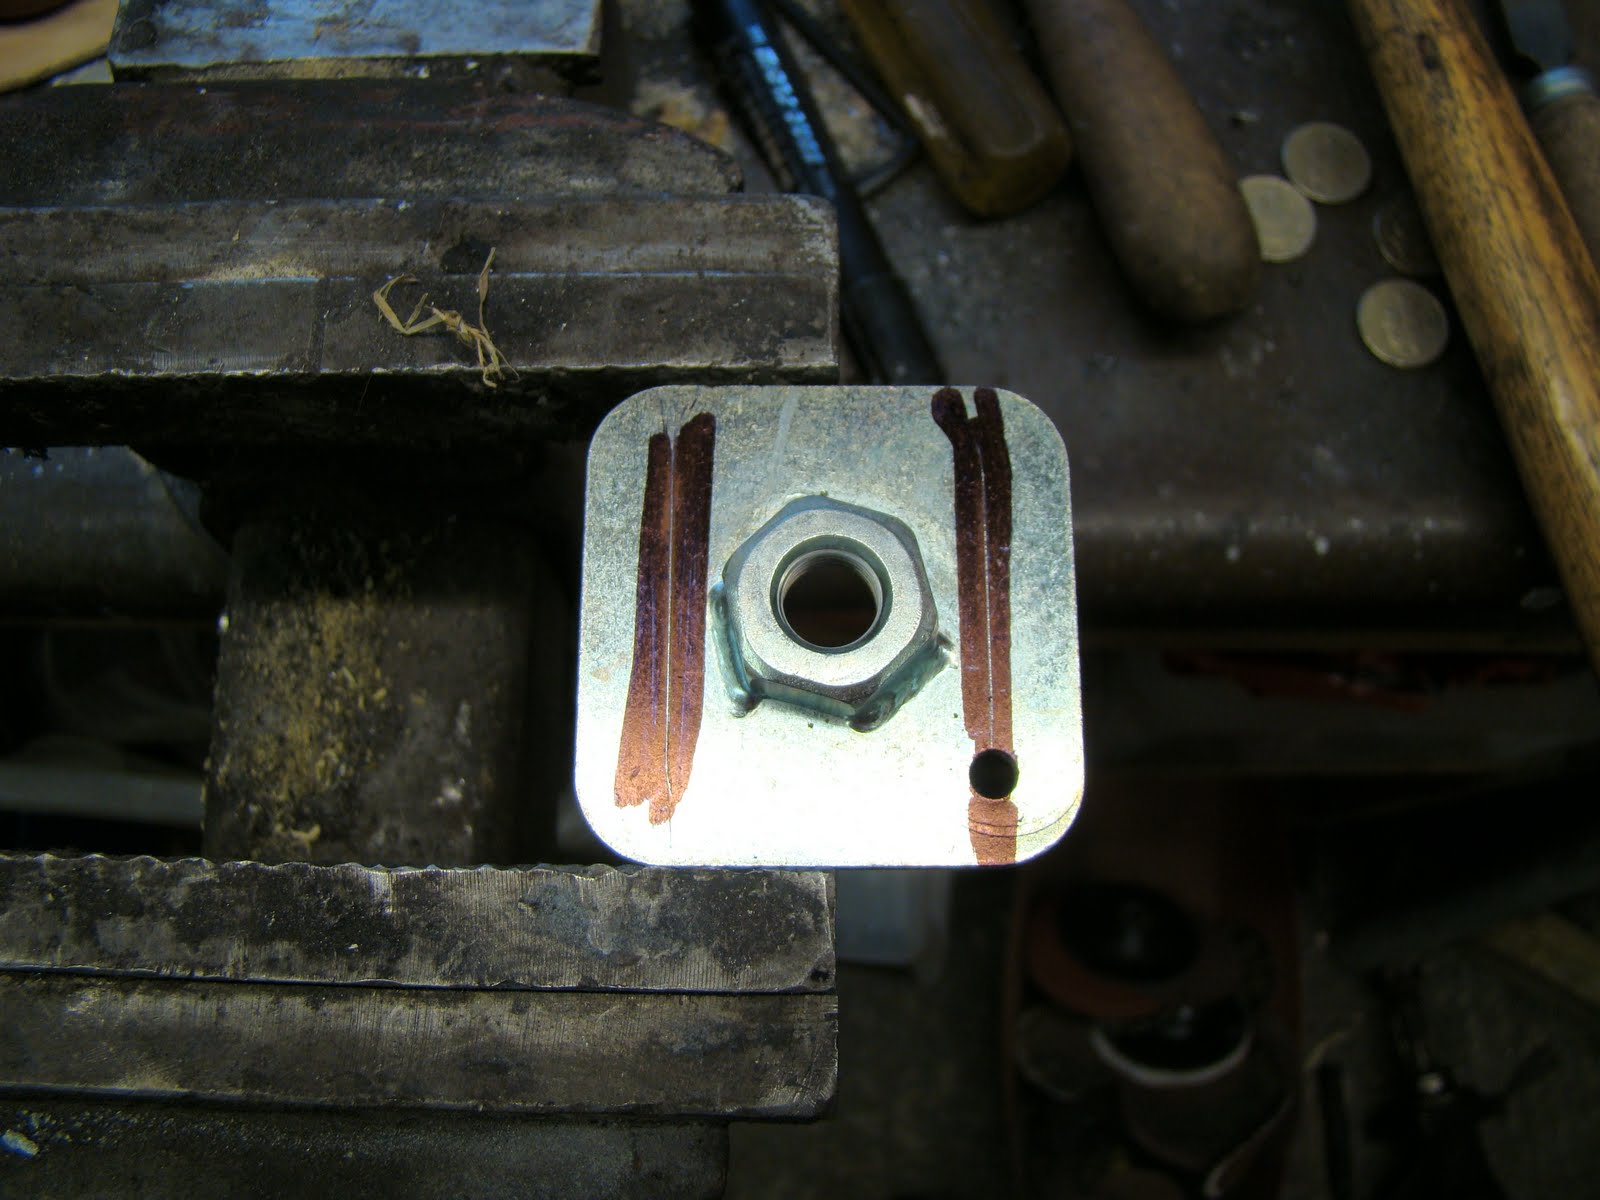
Previously I've fitted seat belt points for all but the rear seat shoulder points, this has always been a tough place to try and fit a mount as there is only the outer skin to attach to. I don't fancy welding a seat belt attachment plate to the out side of my van.
There are a few ways this has been done before, and there is a thread on the SSVC (splitscreen van club) forum where members have shared there designs and thoughts.
Here are a few of them. and the threads

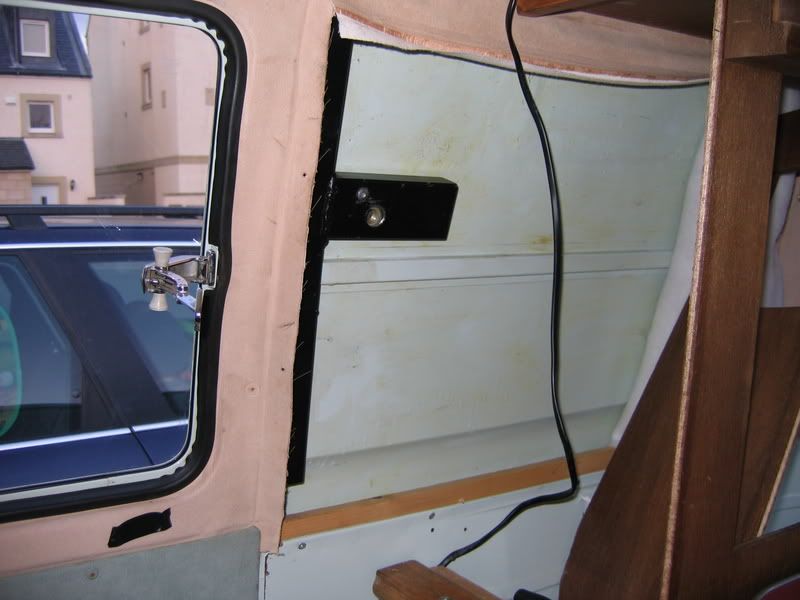
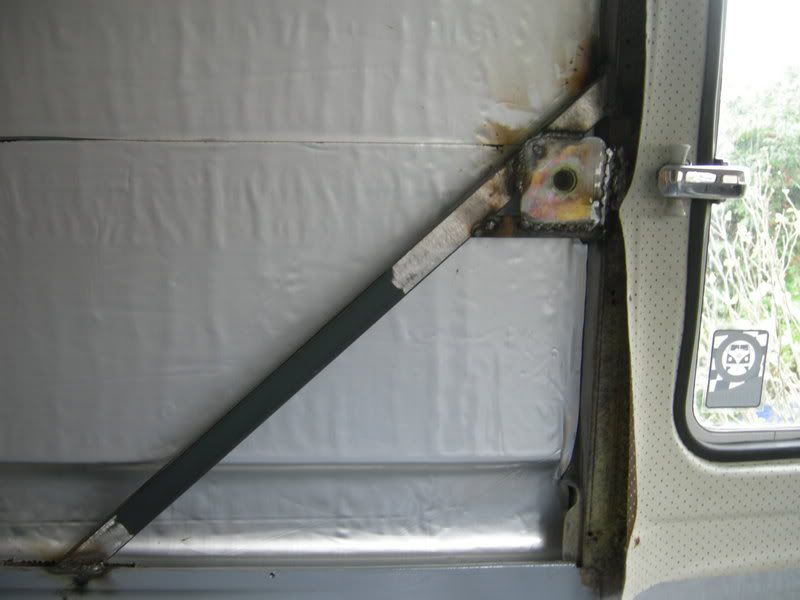
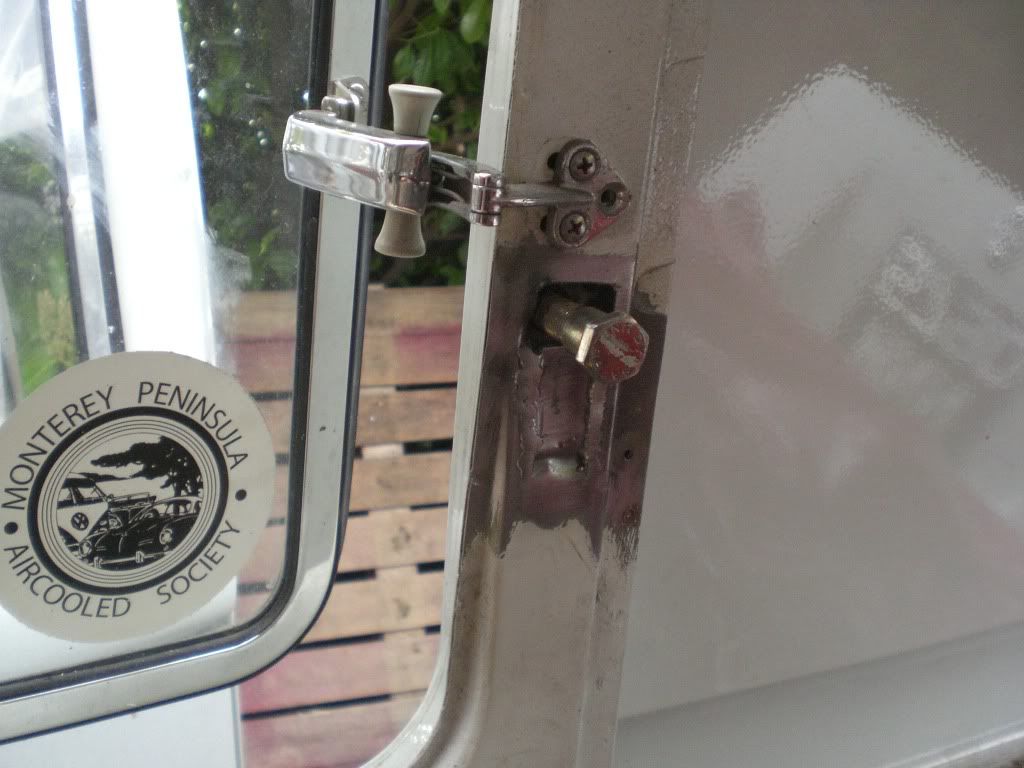
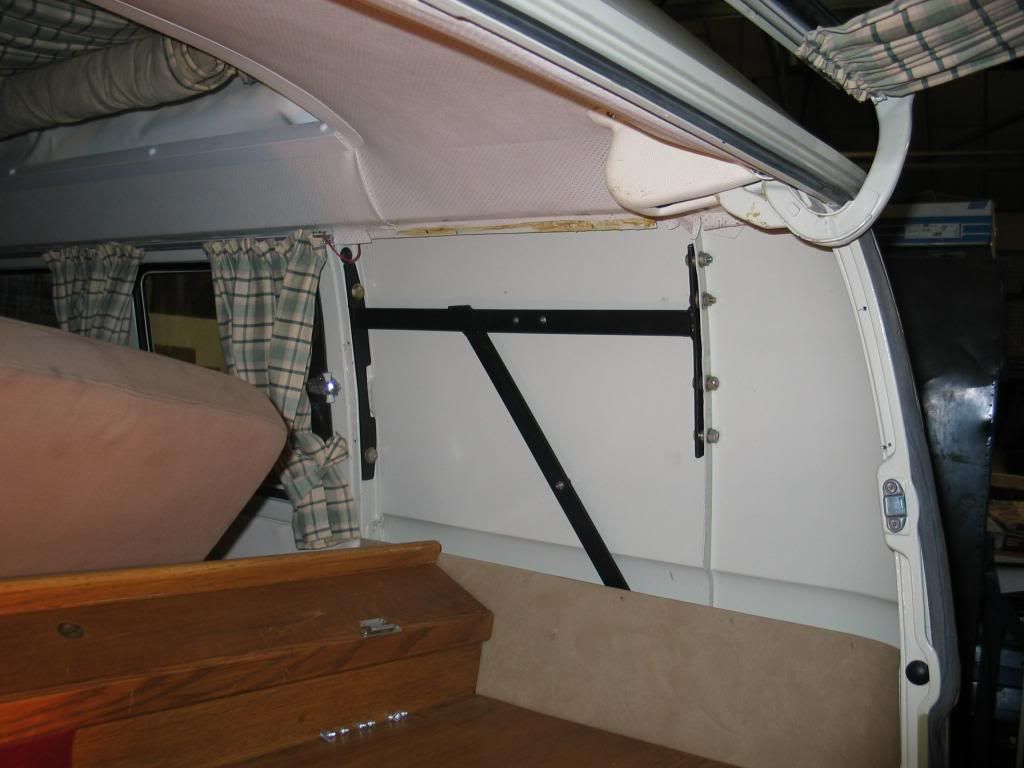


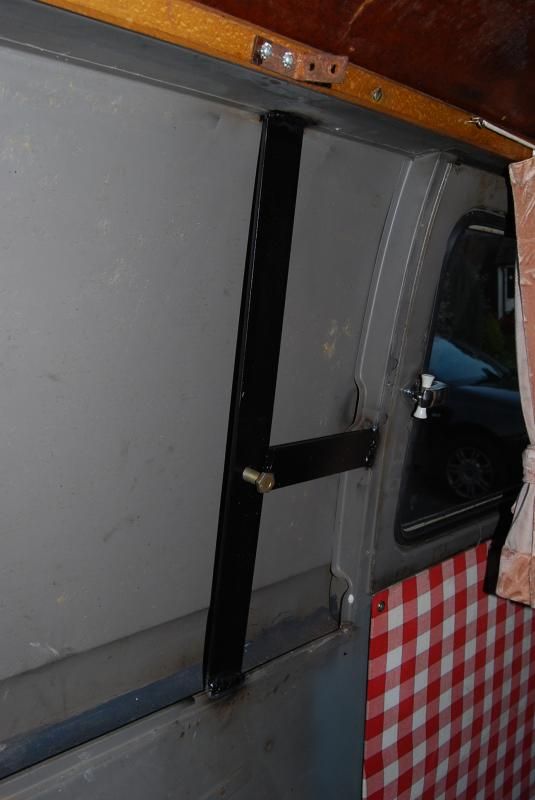

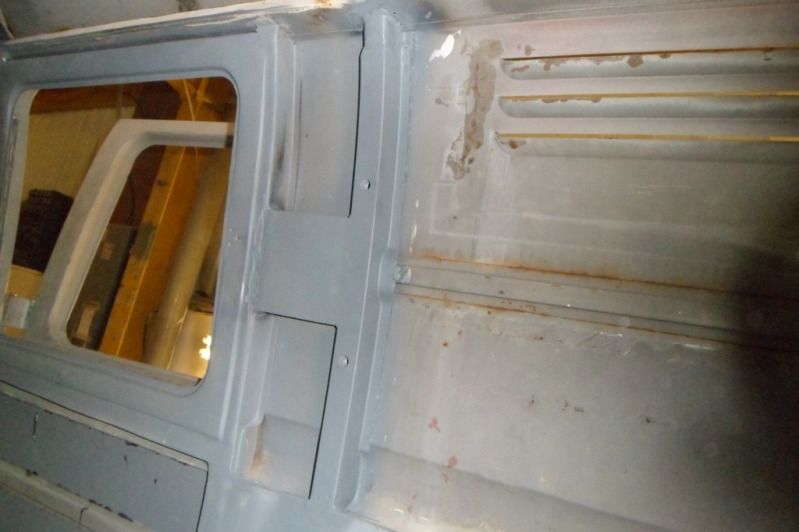
Here is what I've done. Using the existing curve of the I cut a cardboard template of the pillar just forward of where I want to position my mount. I then cut a block of hard wood down the middle matching the curve of the template.

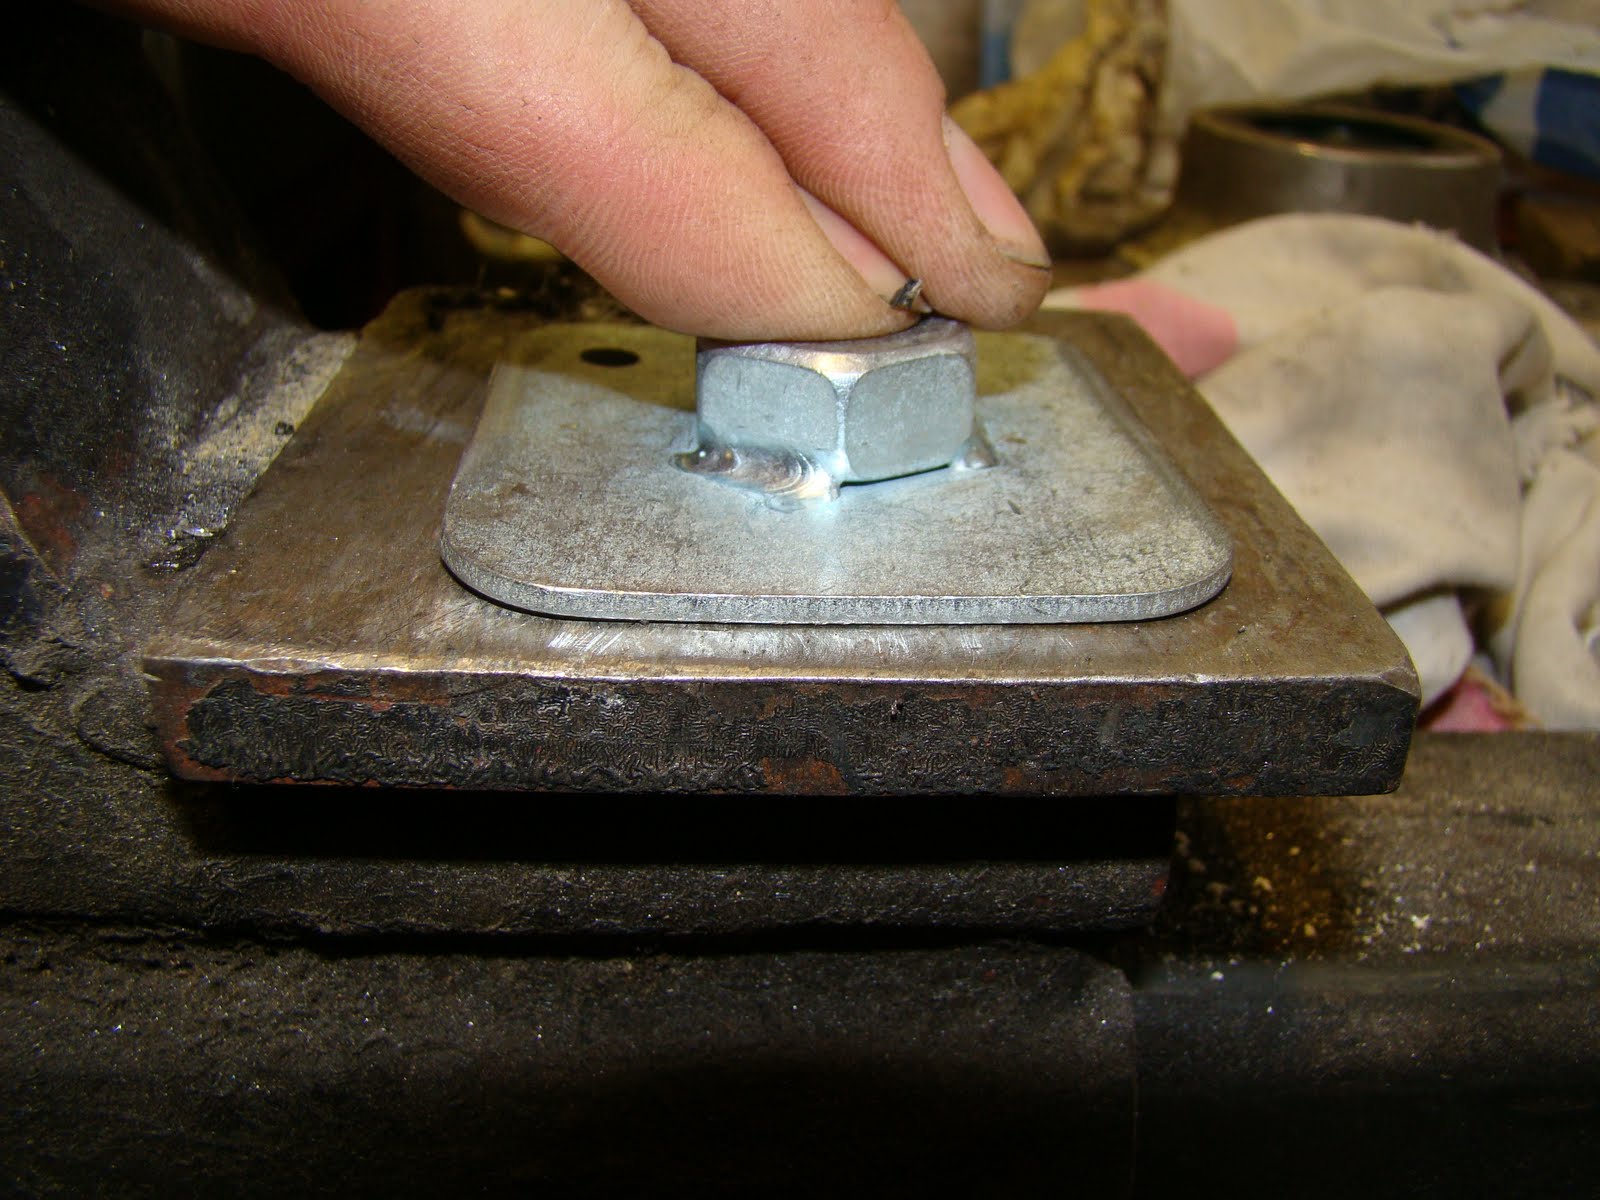
Calculating the width and height I cut a sheet of 1mm thick steel a clamped it along its centre between the curved blocks.
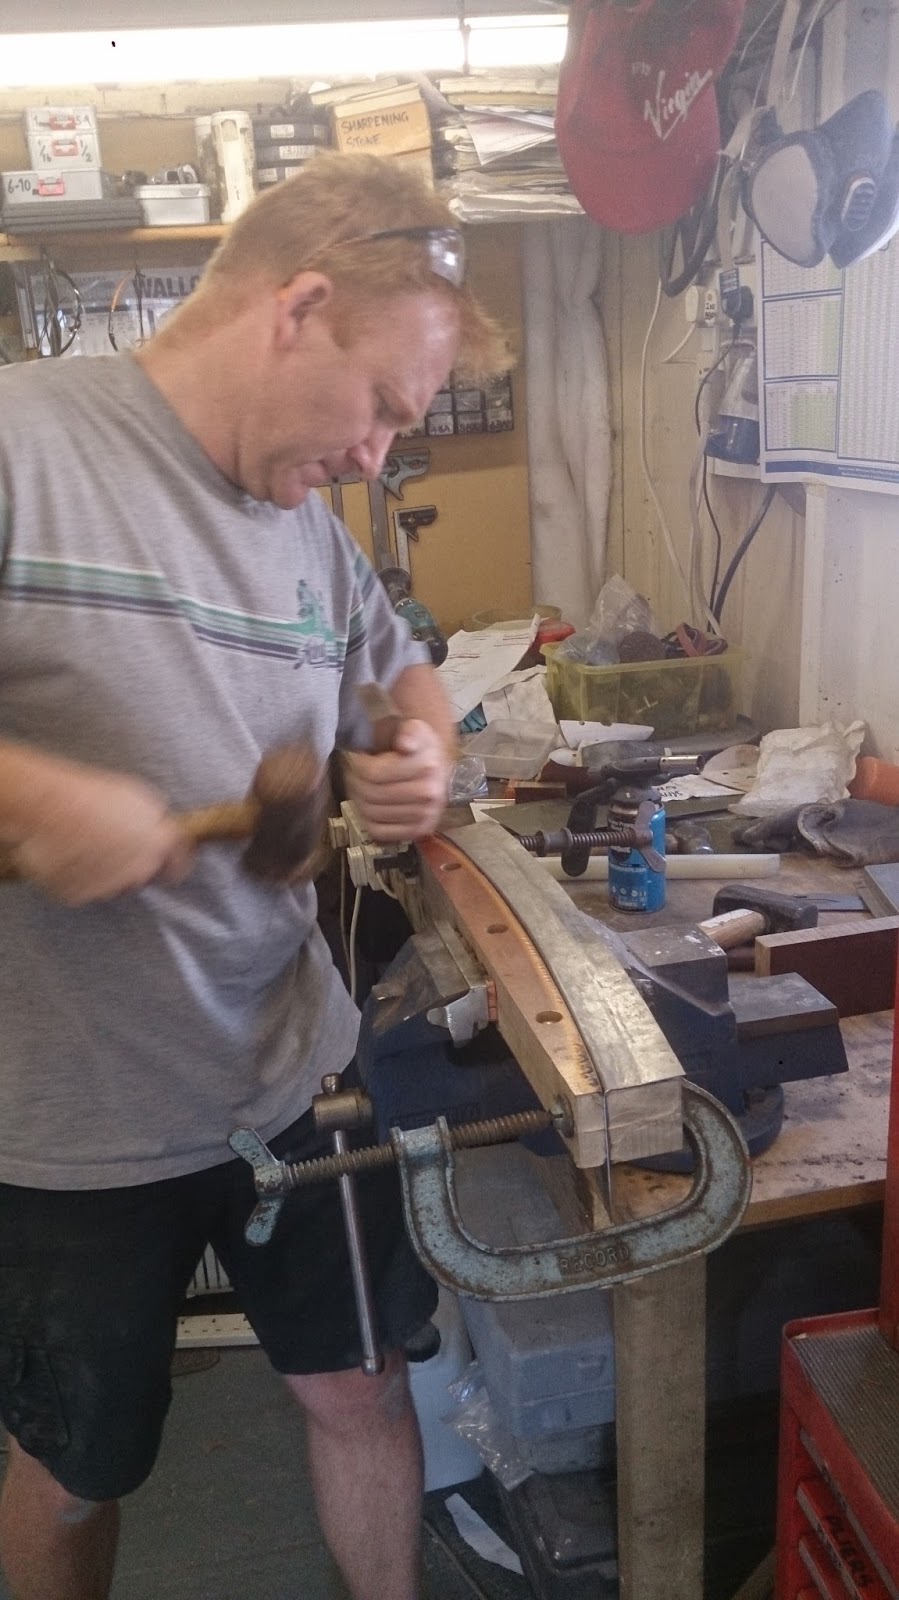
Using some heat along the bend I folded the first lip with a large mallet and block that had smooth edges so that it would not mark the metal to much.

With the first lip bent I simply flipped the block in the vice to bend over the second lip.
 I then drew a parallel line of 35mm (-1mm for skin thickness) along the side to give me the thickness of the support. Keeping the folded sheet on the concave block I then used the convex curved block clamped on the side to let me bend the foot of the support back over the block, this was helped with some more heat.

 I then drew a parallel line of 35mm (-1mm for skin thickness) along the side to give me the thickness of the support. Keeping the folded sheet on the concave block I then used the convex curved block clamped on the side to let me bend the foot of the support back over the block, this was helped with some more heat.
With all four folds bent I trialled the support on the van and hammered out any high or low spots with a block and hammer


The top of the support was cut at an angle to fit in the top gutter and the bottom was profiled to fit the lip of the side wall at the bottom, the


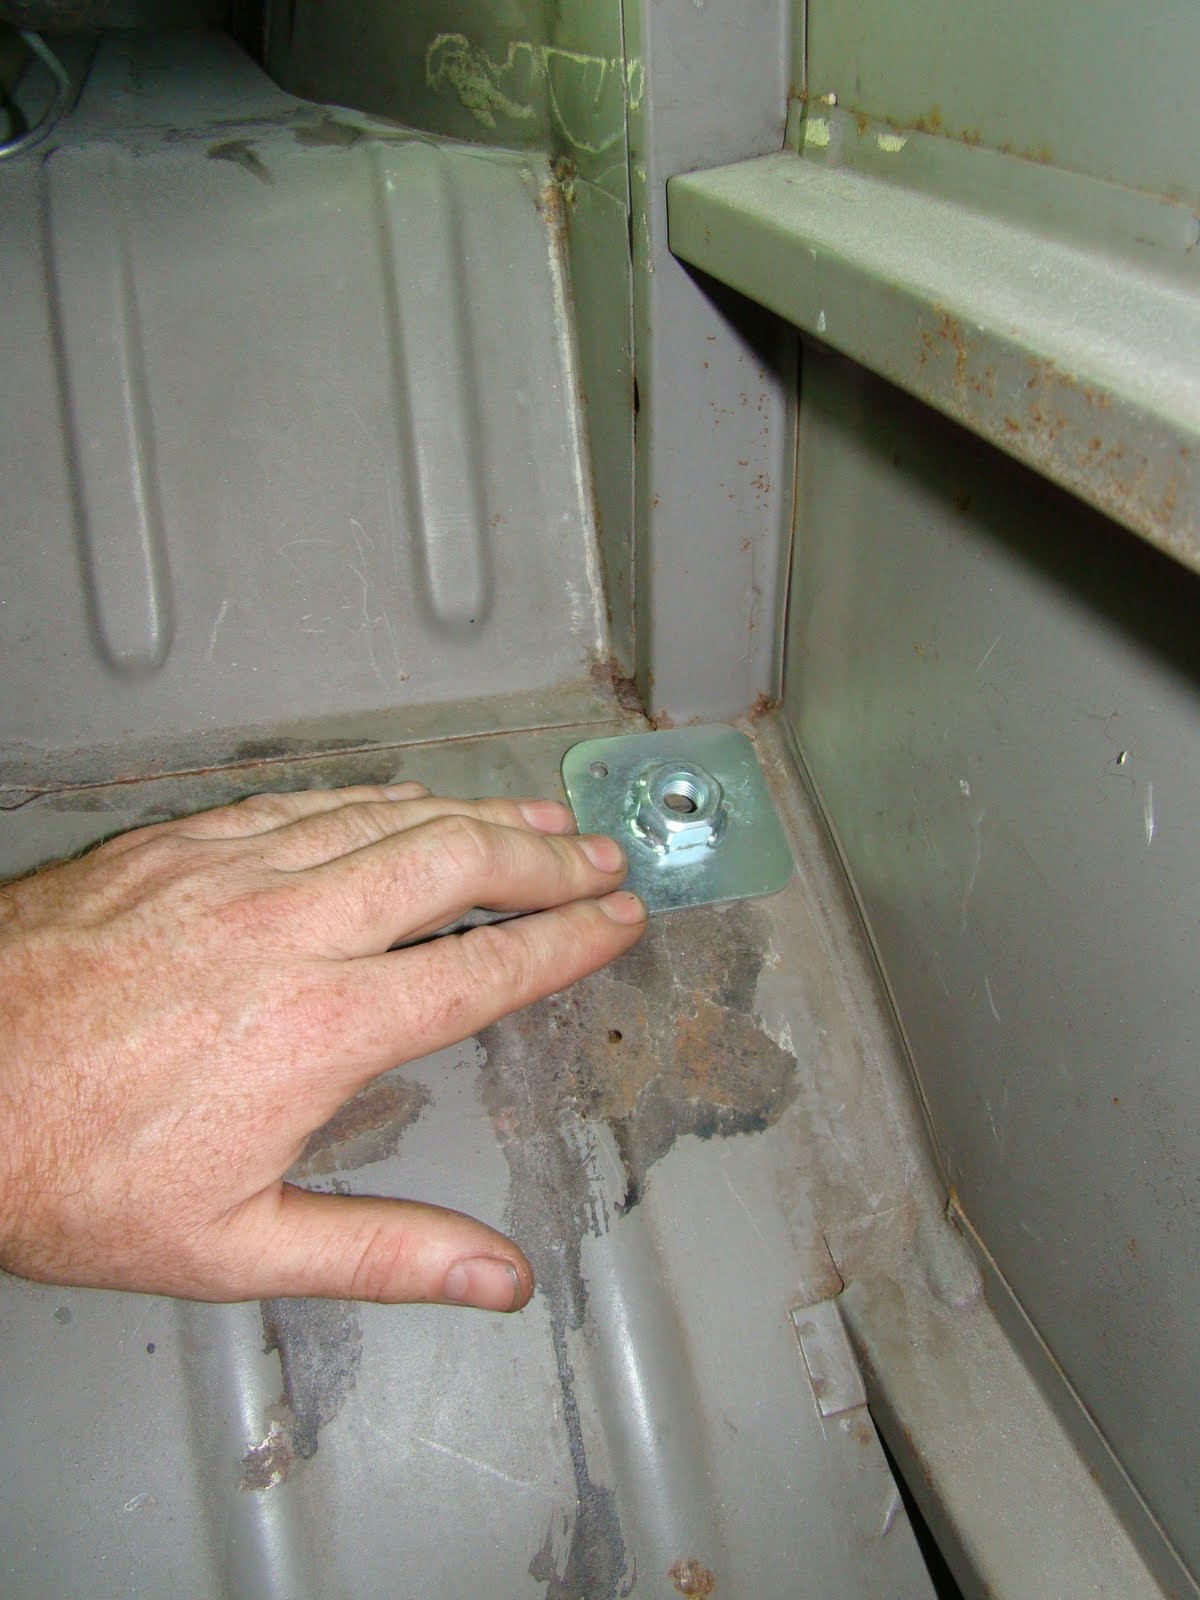
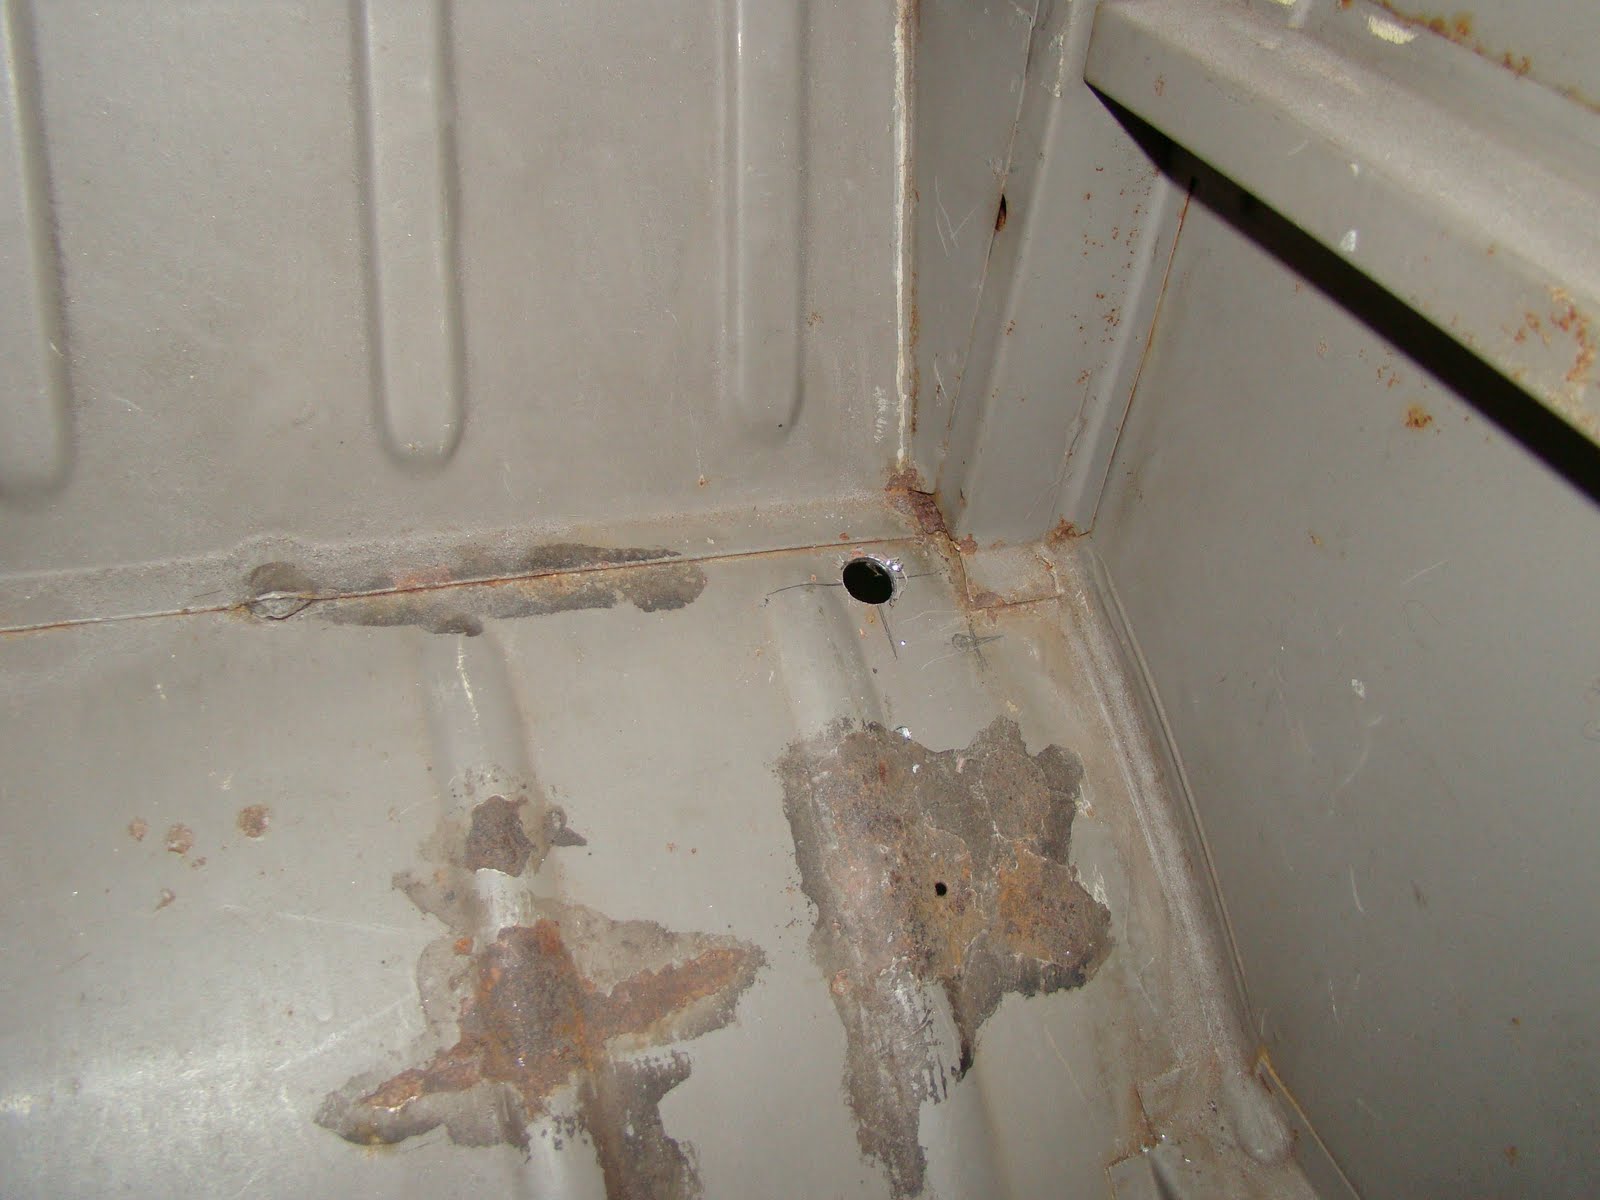
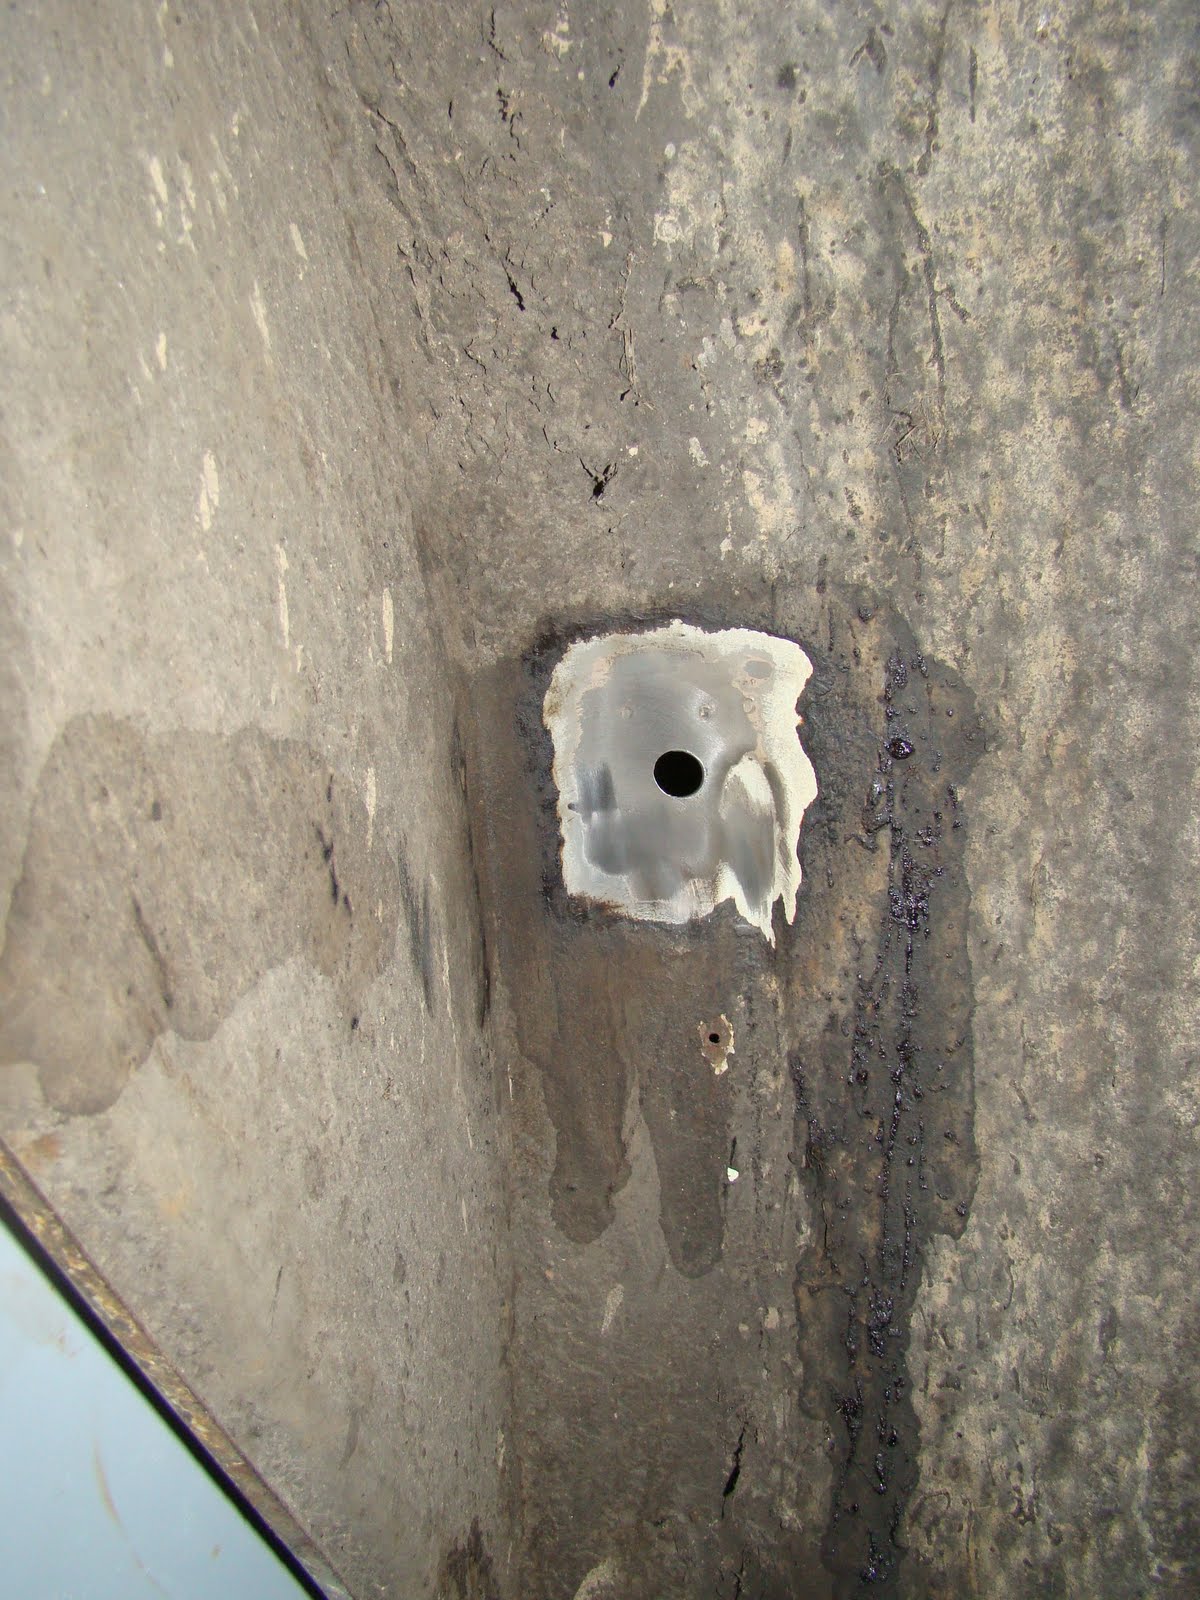
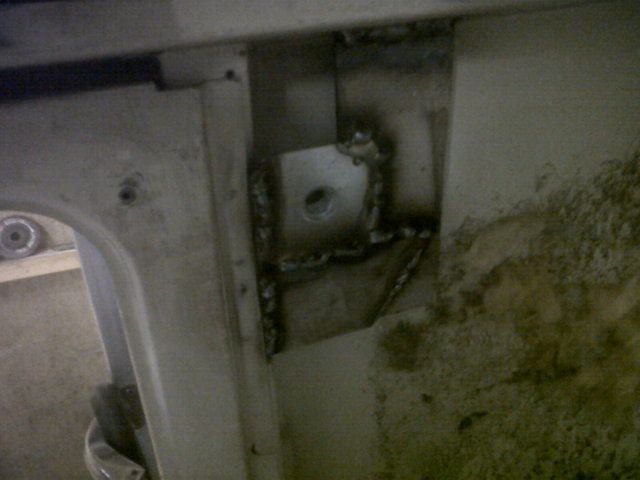
The Height of the mount point was taken from a similar height as the front, the two remaining plates I had were trimmed to sit inside the section


The plates were held in with bolts to make sure they were in the center of the holes and welded into position.
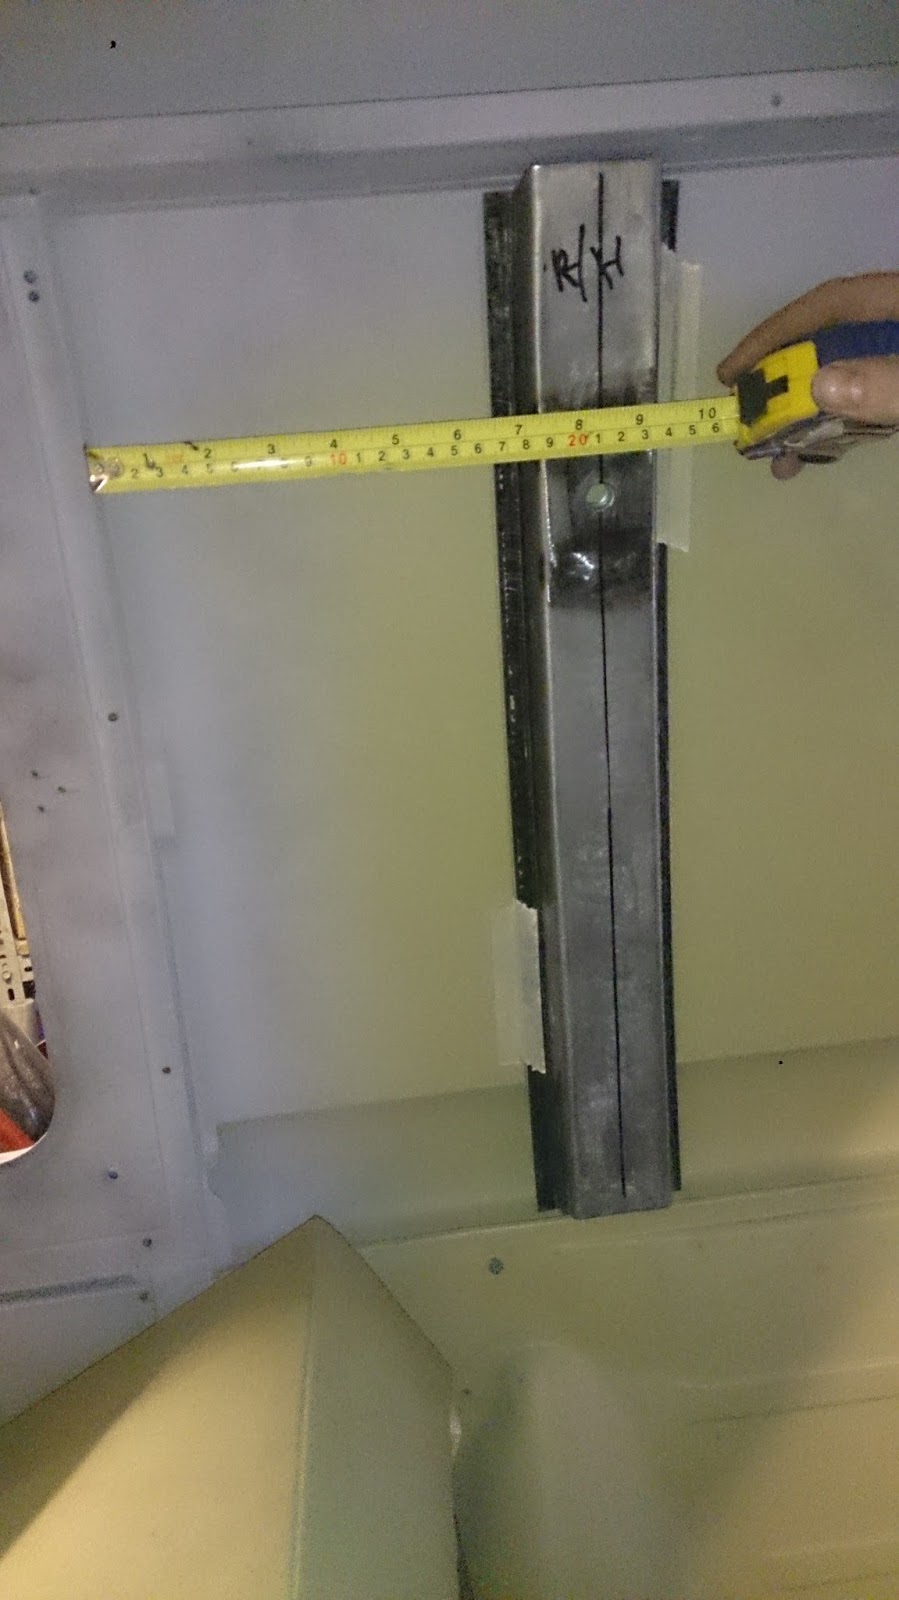


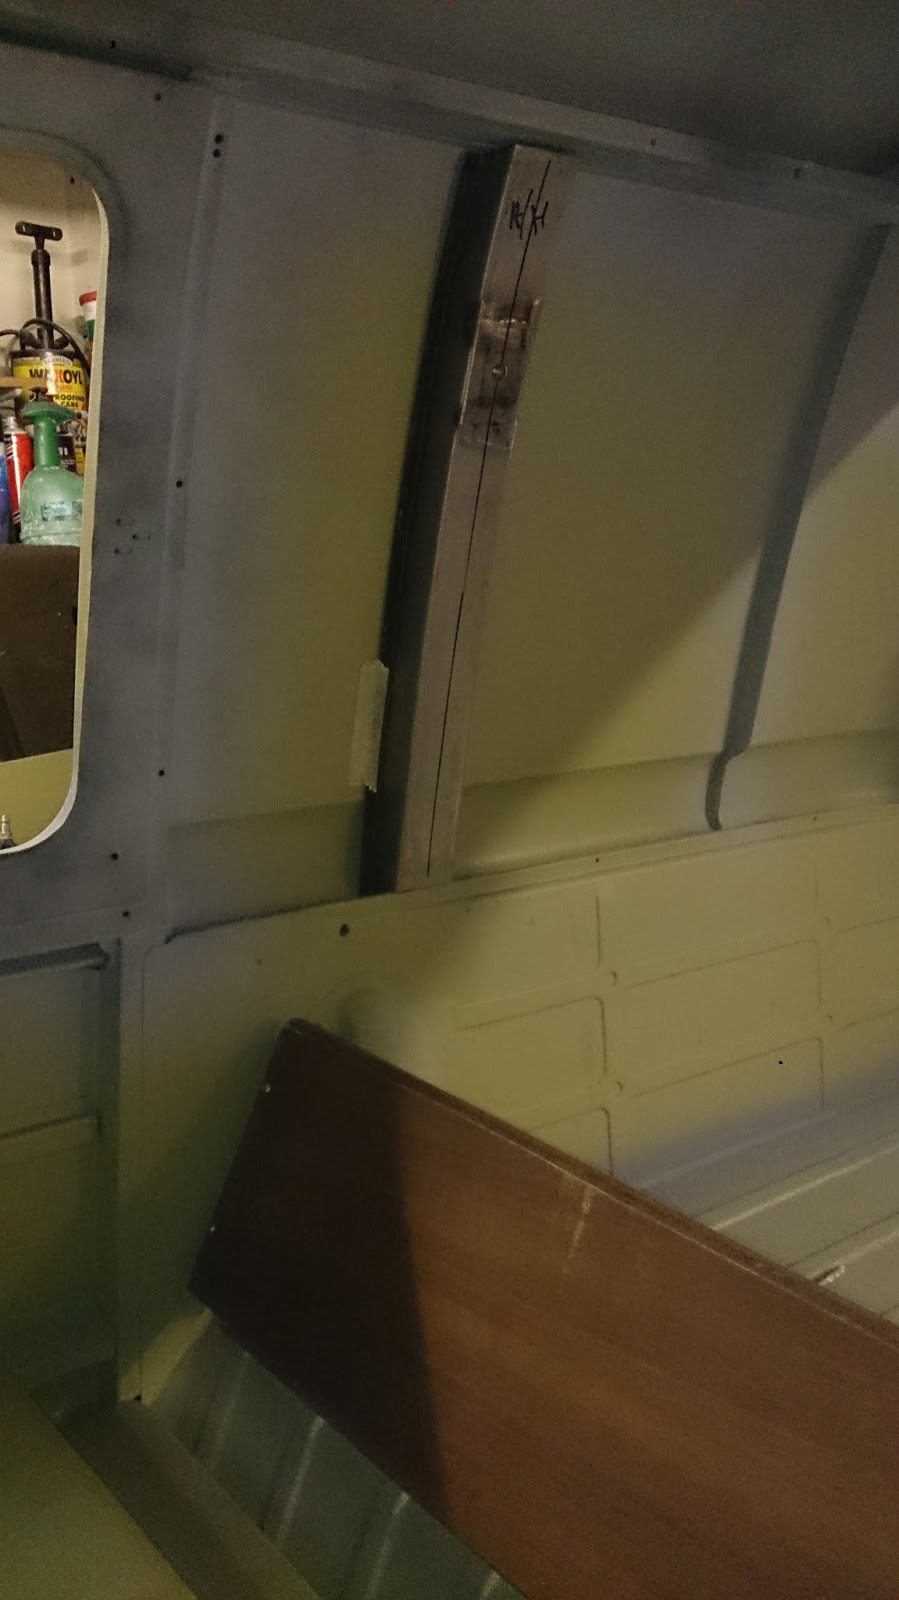
To finalise the position to weld the support I dug out and fitted the old interior. This worked out about 21cm from the support back from the rear side window.


Before I welded the support in place I decided to make two more attachment points to weld to the bottom of the support as I'm sure of the design of the interior and where the seat belt real will be positioned.


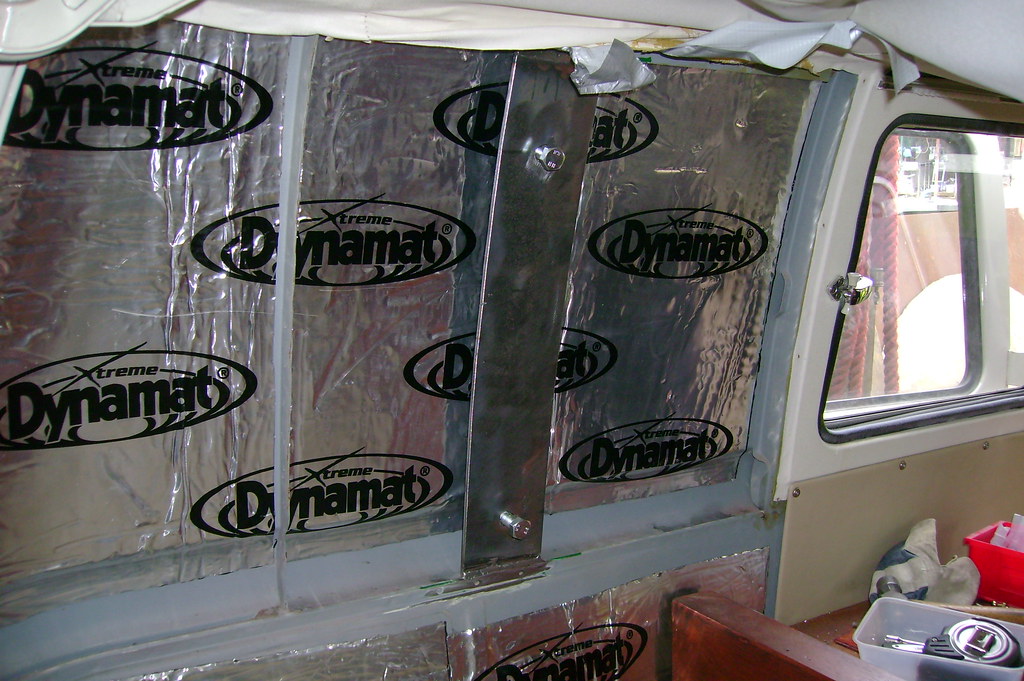
With all the paint from the contact surfaces removed and the inside of the support painted I clamped the bracket into position, I used threaded bar braced from the opposite side of the van to hold the support where the clamps would not reach.

With the spacing marked out I spot welded the brace onto the inner skin, (could not take a photo as the welder is so heavy) then welded around the top and bottom, there were a couple of holes that burnt a dimple in the skin, so Mig welded these.