Showing posts with label Paint and Body Prep. Show all posts

Final Body Prep and Primer

With the planned date for paint quickly approaching I needed to finish of the body prep
 As Ive used on the roof I dug out the huge pot of filler primer this was mixed 4:1 with the hardener and then about 15% thinners. I needed to use a 2mm nozzle in my spray gun to get a decent flow rate when spraying.
 I started with the bulk head as it was easy to get into the flow.
 Then the same evening managed to spray up the other side of the bulk head.
 I'm glad I filtered my paint before pouring into the gun there is only a few hairs and dried paint from the tin.
 once the primer had dried I used a light coat of guide coat to help flatining back
 The rear top quarters needed a coat of filler where the spot welds showed from the seat belt support bracket I welded inside So in a rush before dinner I mixed up a load and slapped it on.
 Knowing Id need a lot of rubbing down I returned the next day and found it was so soft I could scrape it off with a spatula. That will teach me not to rush things.
 I also came across a problem with my spray gun, the paint came out before the air, this left drips all over the place that needed rubbing back flat.  A spacer behind the trigger sorted this out.
 Once I'd sprayed the sides of the cargo area I let Rachel have a go at spraying the floor.
 Another spray of guide coat once it had dried
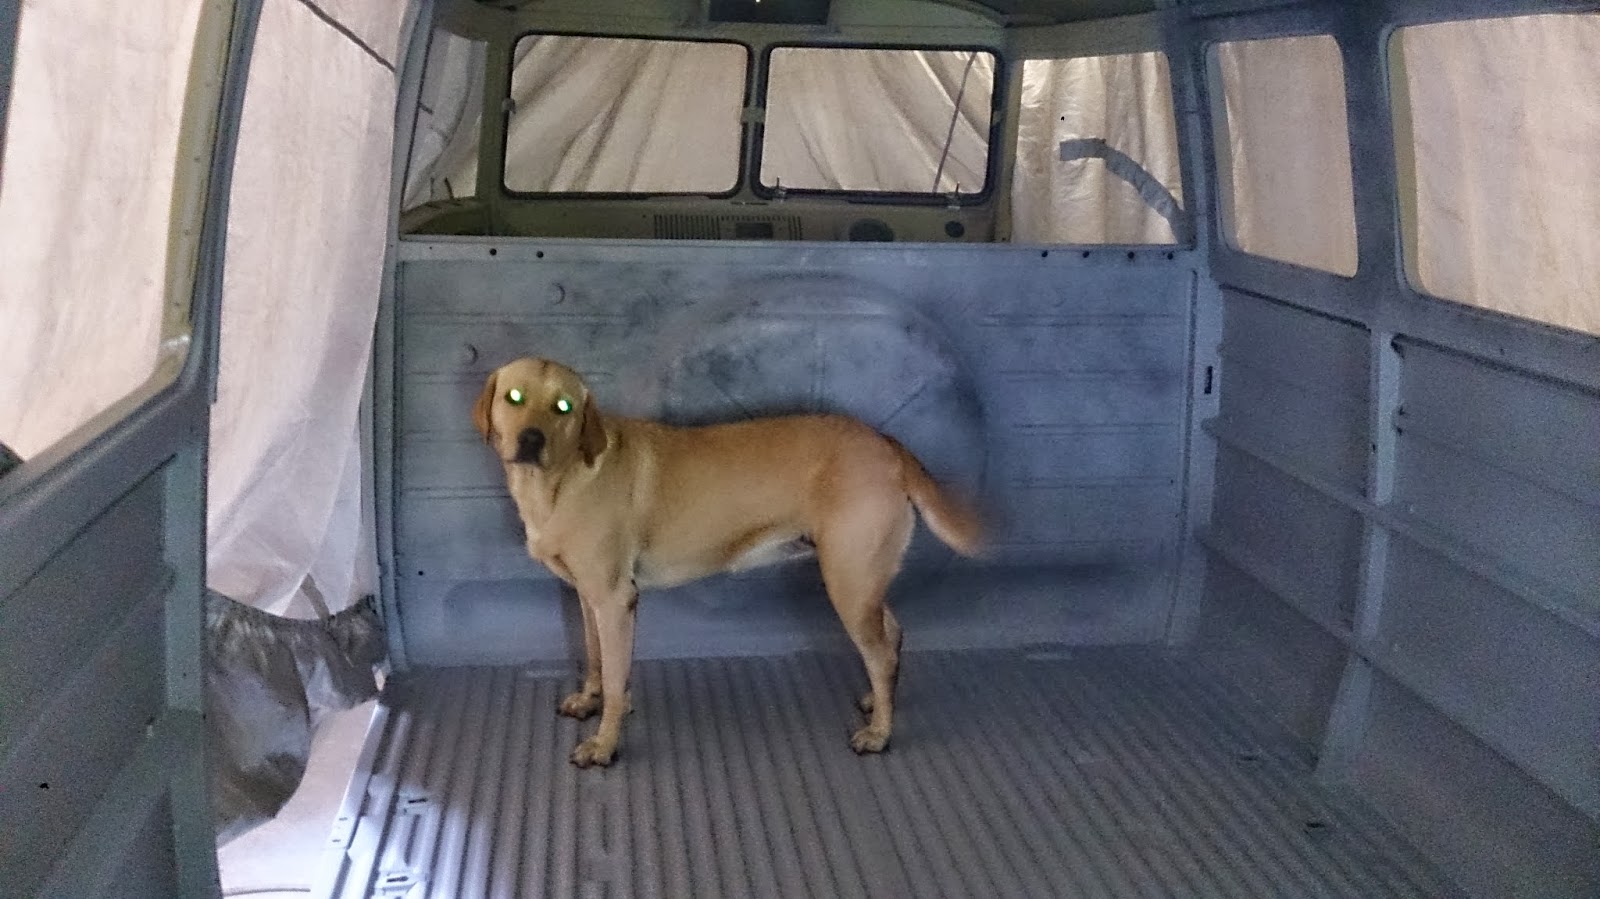
 My dog also wanted to have a go but I could not get a mask that fit.
 I then hung all the door up and sprayed them up, it took a bit of skill to get the paint into the gaps with out putting runs all over it. I reduced the fan and increased the pressure to push the paint deep into the gaps.
 I mad a Bo Bo once the doors had dried, I opened the garage door to get rid of the fumes and the rear hatch was in the way. I hit it off its hook and if clanged to the floor, I dented the inner skin but luckily the outer was un touched.
 I needed to try and straighten the warping from welding the sill so I cut a template to scrape along the wet filler, this also helped me with the low and high spots.
The high spots from the panel repair I used the shrinking disc on this heated just the parts that needed shrinking back down
 The dimples on the wheel arch skin also needed sorting I also touched up the small blemishes on the bottom of the cab doors

 Sanding and preparing is not easy on the arms it took a lot of sanding paper. I came back to different areas so I didn't get fed up and not finish it properly.

 with only a day left before the transport was booked I managed to get the cab in primer
 Trying to spray around all the nook and crannies was not easy, I could have done with a spray gun with remote paint pot.
 The last part I managed to do was the front, although with all my efforts to repair the dent to the front panel It still needed a few small adjustments, I had to let the painter have a go at finishing this off.

Bumper Prep.

While my van was sitting in a damp garage waiting to be saved it's front and back bumpers were hanging under the garages leaking gutter collecting the rain water and directing it onto the garage floor, destroying my stuff.
So as a result, and maybe because they are 45 years old my bumper were very rusty mostly on the inside.
Rather than spend days with the grinder and wire wheel I decided to get the bumpers sand blasted. Because they were to big for the blast booth they could not do a great job,(if they had let me do it I could have done a better job)  I now had to get out my wire wheel.
A bit bemused I figured I could poor some oxalic acid solution in to it and leave it for 24 hours.
Forgetting about the bumper because I didn't get into the garage for 7 day, I was left with a rusty water mark around the edge of a pool of sludge and crystal saturated oxalic acid solution
Once the solution was cleaned out and filtered to use again later I was left with a yellow coated bumper, once cleaned up the pitted rust was gone, and the tide mark of rust from the evaporated water cleaned up quick with the wire wheel.
To get under the mount brackets I made a bath with a dam of plastic bottle sides and plasticine
Although the plasticine did start to crumble a little the dams held for 24hr

Because I neglected the fresh sandblasted bumpers my greasy hand had left marks on the out side where Id handled it.
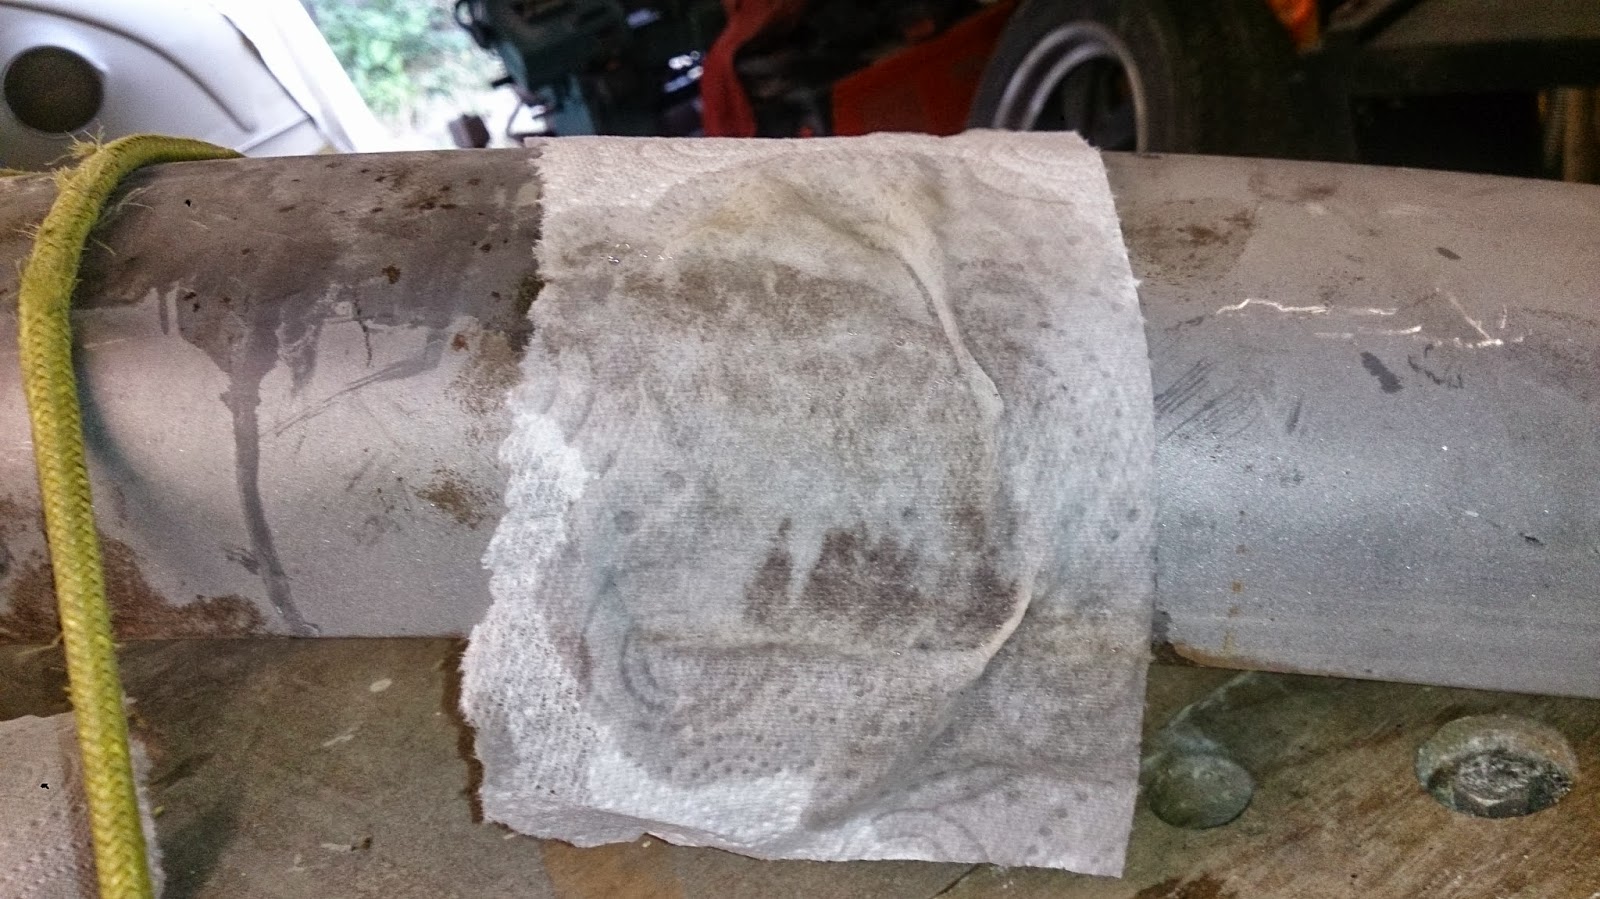
I did not have any gel rust treatment so to stop the rust blast liquid I did running off the bumper I laid a piece of tissue paper over the area and dabbed through the paper to treat the areas I needed to.
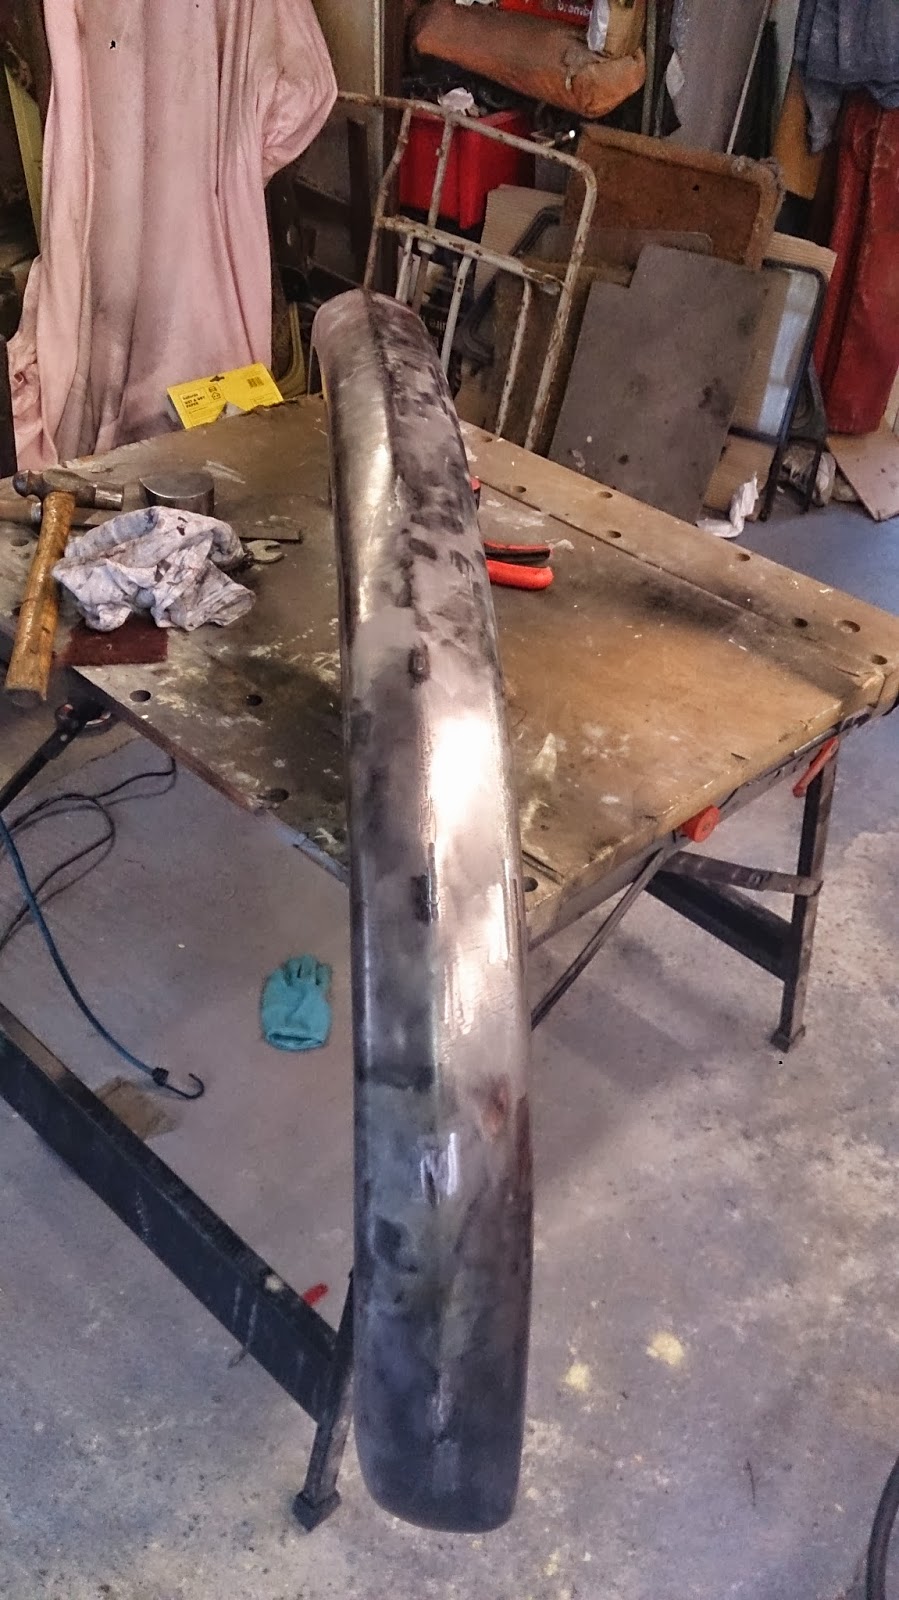
 A day spent filling flatting, filling flatting and filler primer eer ring, and I had a prepped front bumper.
 
 
I didn't realise this till quite late on, I had a dimond cut rear bumper (the shape on the left lower bumper end) rather than (what I think is the right year for a 1964) a slash cut one.
 
After a bit of deliberating and looking for a second hand rear bumper I decided to spend the money on a repro one. The quality is not to bad, its rust free and feels maybe a gauge thinner.
The repro bumper had a small cut out on the lower side, not sure if this is for clearance of the exhaust tail pipe support bracket or not.
I was not sure if should be there on a 64 bus, so I decided to weld it up anyway.
It turned out a very neat welding job, I must be getting better at welding or thicker metal is easier to weld.
The manufacturing marks and there company logo stamp needed a bit of filler.
Then a coat of primer ready for another flatting before paint. 


Paint Prep for Roof

 
With the van on its side I thought rubbing down and preparing to roof for paint would be a simple job, maybe half a day in the garage, a bit of sweat and a coat of primer and ill be onto the next job. I was very wrong.
 
 
I started by filing the obvious scratches small dents and patches of pitting left from rust removal at the chemical dippers. I thought sanding these back with a small flat rubbing block would be enough. 
 
I had to break the shrinking disc out to try and reduce the crease of this dent. I didn't manage to get its back to how it should be but reduced it enough so it would not come through each time I sanded the filler around it.
 
 
With a day spent in the garage, I managed to flat back the etch primer with 320 grit and filled and sanded the many tiny dents that kept popping up,  these mostly appeared across where the inner roof braces and air box attached, probably from manufacture.
 
 
I had just enough time to put a quick coat of high build primer on before I got called in for tea, and the noise of the compressor would hack the neighbours off. This was not as easy as I thought, the old spray gun I decided to dust off and use was spraying out paint  intermittently and not at all if I tried adjusting the spray fan, but managed a ruff result. 
 
The next morning ( you can tell from the sun in the door way) a spray of guide coat and I was ready to get sanding and cutting back, This time I used an air sander with the 400 grit.
So this then revealed many more small pin holes and bents some I thought would have been covered by the primer and others I had not noticed.
A second coat of Primer, I was using up my 5 litres on just the roof. This time I tried using the gravity gun I used for the under side, I was still having trouble, I needed to turn the pressure right up just to get a spray, this caused the primer to be very orange peal, I figured I needed to sand it any way so I struggled coating the hole roof, I later found out that I needed a 1.5mm - 1.8mm minimum diameter nozzle on the spray gun. I was using a 1.4mm. I now know what that sign means on the side of the paint tin.
 
Morning of day 3 and I decide to break out the sanding block kit I got from ebay. This is what I should have started with in the beginning, I began with 600 grit but this took sooo long to cut back, possibly not helped by the terrible application the night before. The long block also showed up the gradual dips in the paint that I should have been able to sort out at the beginning.
 
By the beginning of the afternoon I'd managed to cut back for a third time the primer to the smoothness of a billiard ball, But I wasn't able to raise my arms to eat any lunch, should look like pop eye in the morning.
So with a few lessons learnt in spraying and cutting back primer I dragged the van out and with some neighbourly help rolled it back on its belly, Then fitted the front and rear wheels to get it rolling again, even though its just back in the garage again.