With the planned date for paint quickly approaching I needed to finish of the body prep

As Ive used on the roof I dug out the huge pot of filler primer this was mixed 4:1 with the hardener and then about 15% thinners. I needed to use a 2mm nozzle in my spray gun to get a decent flow rate when spraying.

I started with the bulk head as it was easy to get into the flow.

Then the same evening managed to spray up the other side of the bulk head.

I'm glad I filtered my paint before pouring into the gun there is only a few hairs and dried paint from the tin.

once the primer had dried I used a light coat of guide coat to help flatining back

The rear top quarters needed a coat of filler where the spot welds showed from the seat belt support bracket I welded inside So in a rush before dinner I mixed up a load and slapped it on.

Knowing Id need a lot of rubbing down I returned the next day and found it was so soft I could scrape it off with a spatula. That will teach me not to rush things.

I also came across a problem with my spray gun, the paint came out before the air, this left drips all over the place that needed rubbing back flat. A spacer behind the trigger sorted this out.

Once I'd sprayed the sides of the cargo area I let Rachel have a go at spraying the floor.

Another spray of guide coat once it had dried
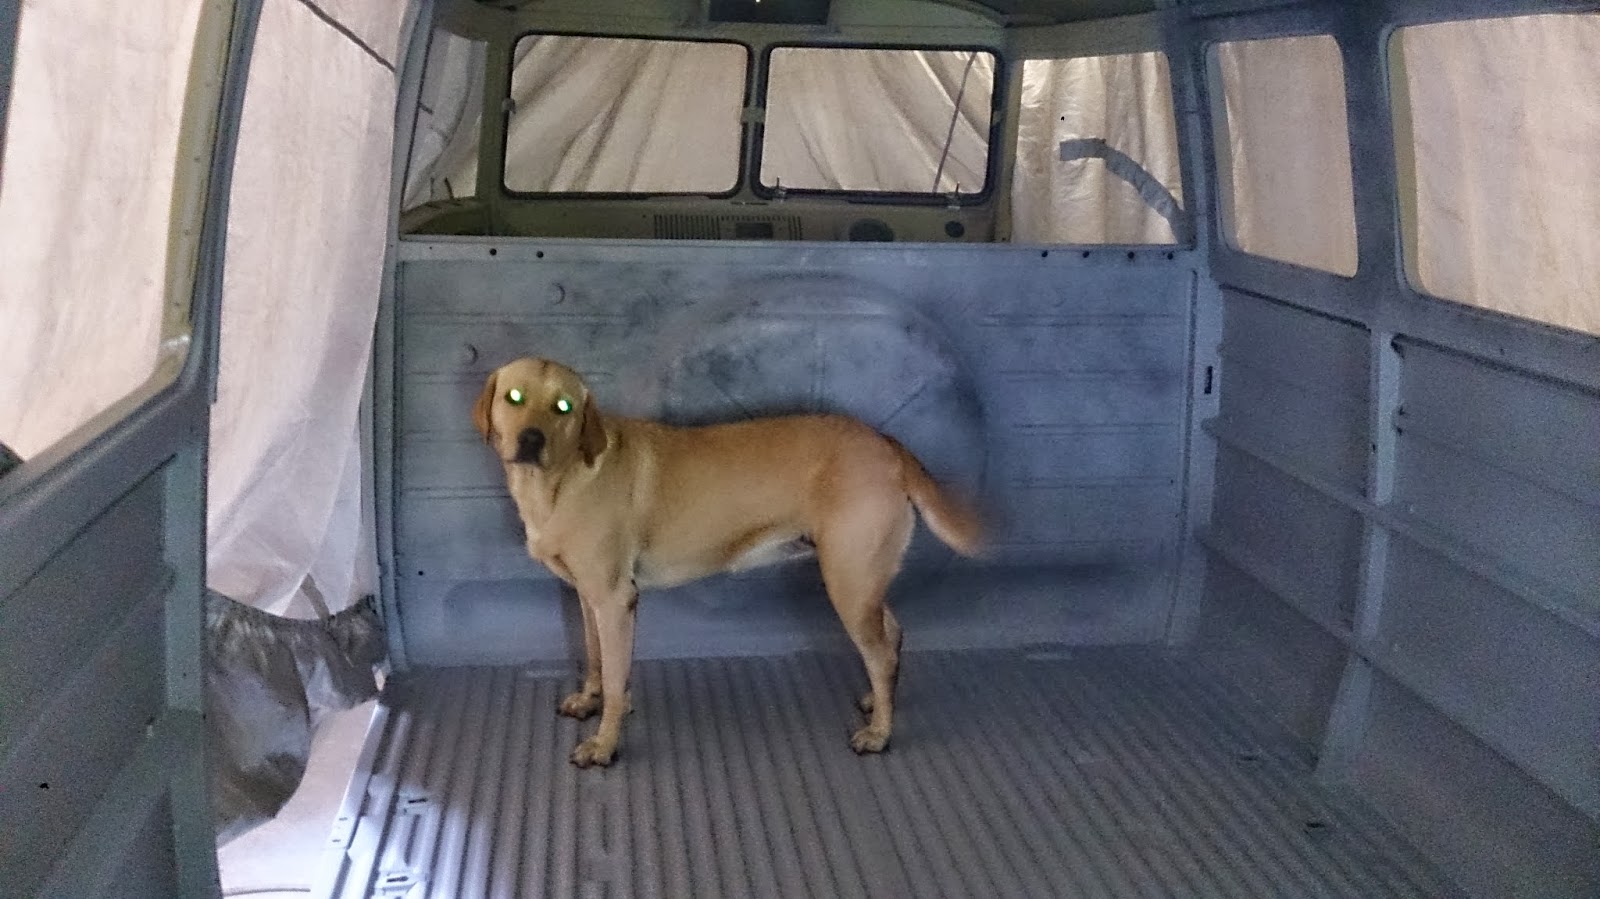
My dog also wanted to have a go but I could not get a mask that fit.

I then hung all the door up and sprayed them up, it took a bit of skill to get the paint into the gaps with out putting runs all over it. I reduced the fan and increased the pressure to push the paint deep into the gaps.

I mad a Bo Bo once the doors had dried, I opened the garage door to get rid of the fumes and the rear hatch was in the way. I hit it off its hook and if clanged to the floor, I dented the inner skin but luckily the outer was un touched.

I needed to try and straighten the warping from welding the sill so I cut a template to scrape along the wet filler, this also helped me with the low and high spots.

The high spots from the panel repair I used the shrinking disc on this heated just the parts that needed shrinking back down

The dimples on the wheel arch skin also needed sorting I also touched up the small blemishes on the bottom of the cab doors

Sanding and preparing is not easy on the arms it took a lot of sanding paper. I came back to different areas so I didn't get fed up and not finish it properly.

with only a day left before the transport was booked I managed to get the cab in primer

Trying to spray around all the nook and crannies was not easy, I could have done with a spray gun with remote paint pot.

The last part I managed to do was the front, although with all my efforts to repair the dent to the front panel It still needed a few small adjustments, I had to let the painter have a go at finishing this off.
