After being on my back sorting the paint on the under side I was ready to get my teeth into the rebuild, but there were a few small spots of paint work that I couldn't leave alone.

The rear hatch had a bit of over spray that would not completely clean off with thinners. So I masked it up, gave it a light rub down with 600 grit then re-sprayed using my air brush.

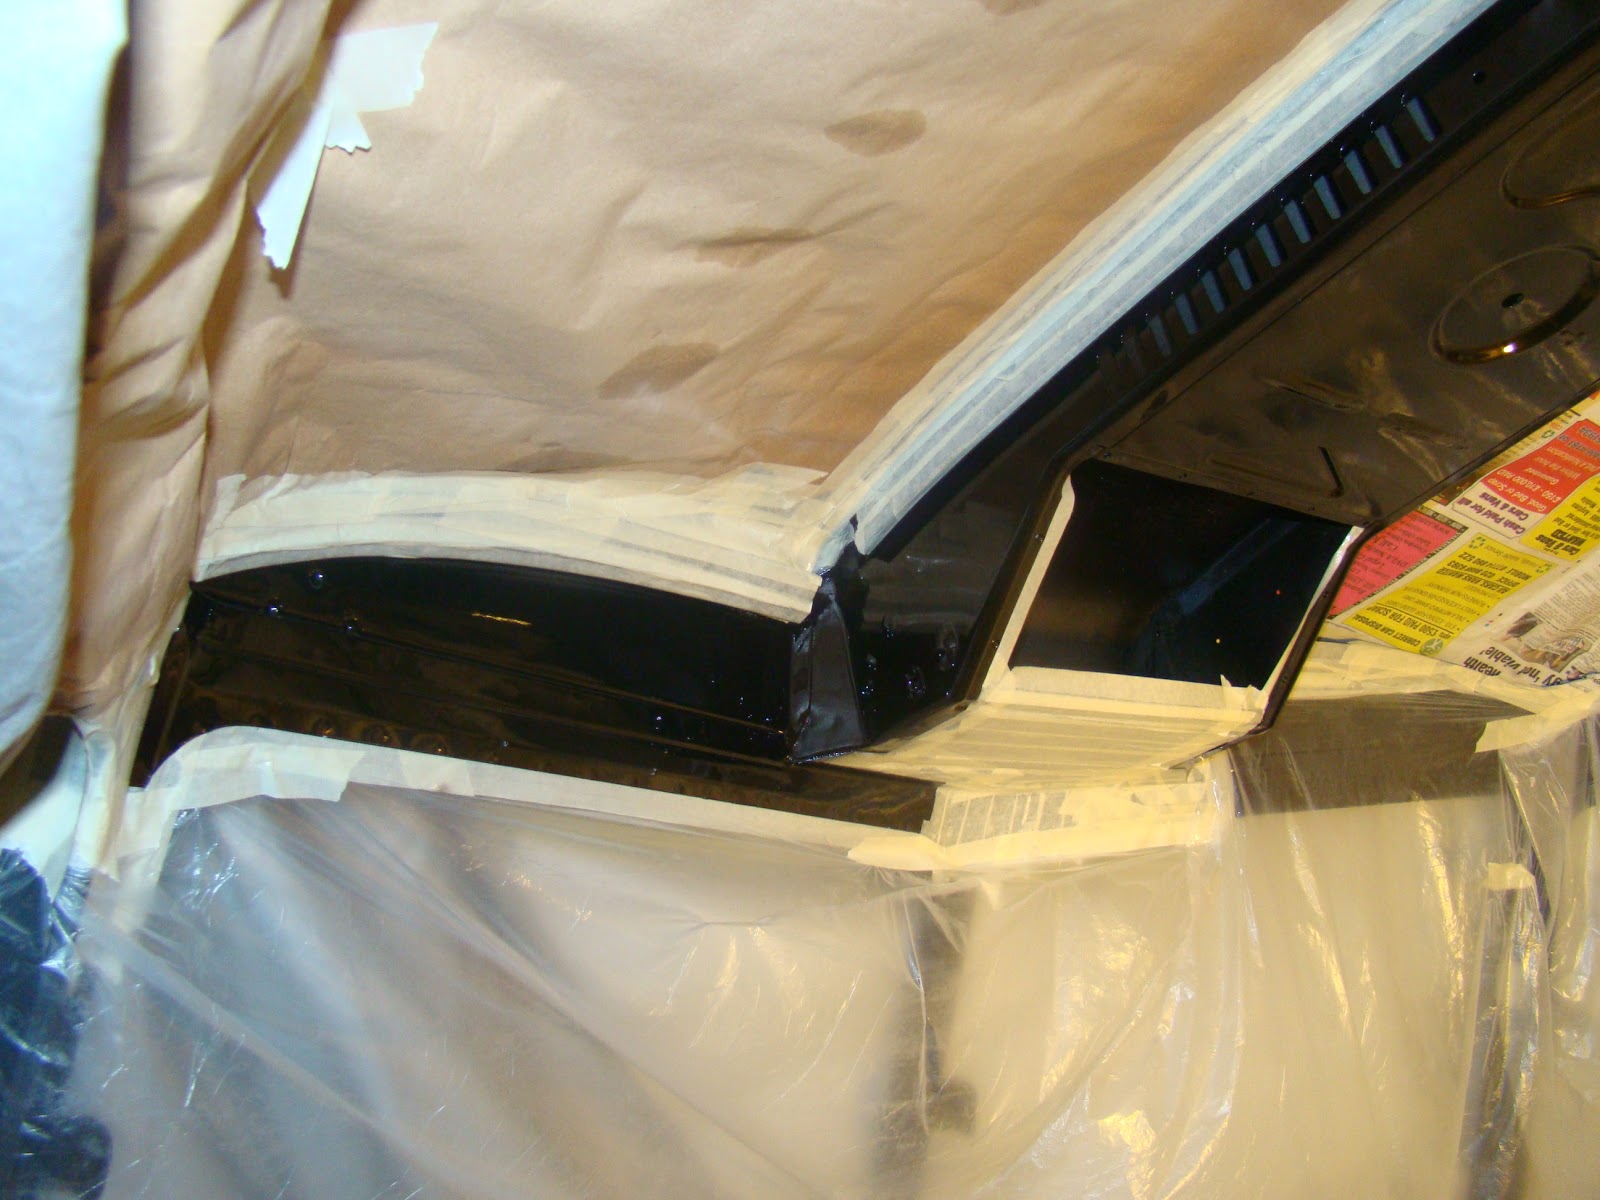
Some paint had come away at the B pillar, I think this was due to the corrosion preventer I'd sprayed into the bulkhead box section and had wept out lifting the paint.

It was the same on the right hand B pillar, a rub down and primed with the air brush and top coat of black gold thinned down over 20% to get it to spray well through the air brush. ready for some clear lacquer.

The top lip of the cargo door also got a rub down and treatment with some of the left over cream.

The dash had some paint leak at the join that needed a tidy up and inside the petrol cap was rubbed down and giver a smother couple of coats of paint.

The heater vent in the cab I purposely left closed during the paint to make sure the inner tube got painted, but realised after it was done that it would have been easier for me to paint the inner part myself and the main part would have been already painted.

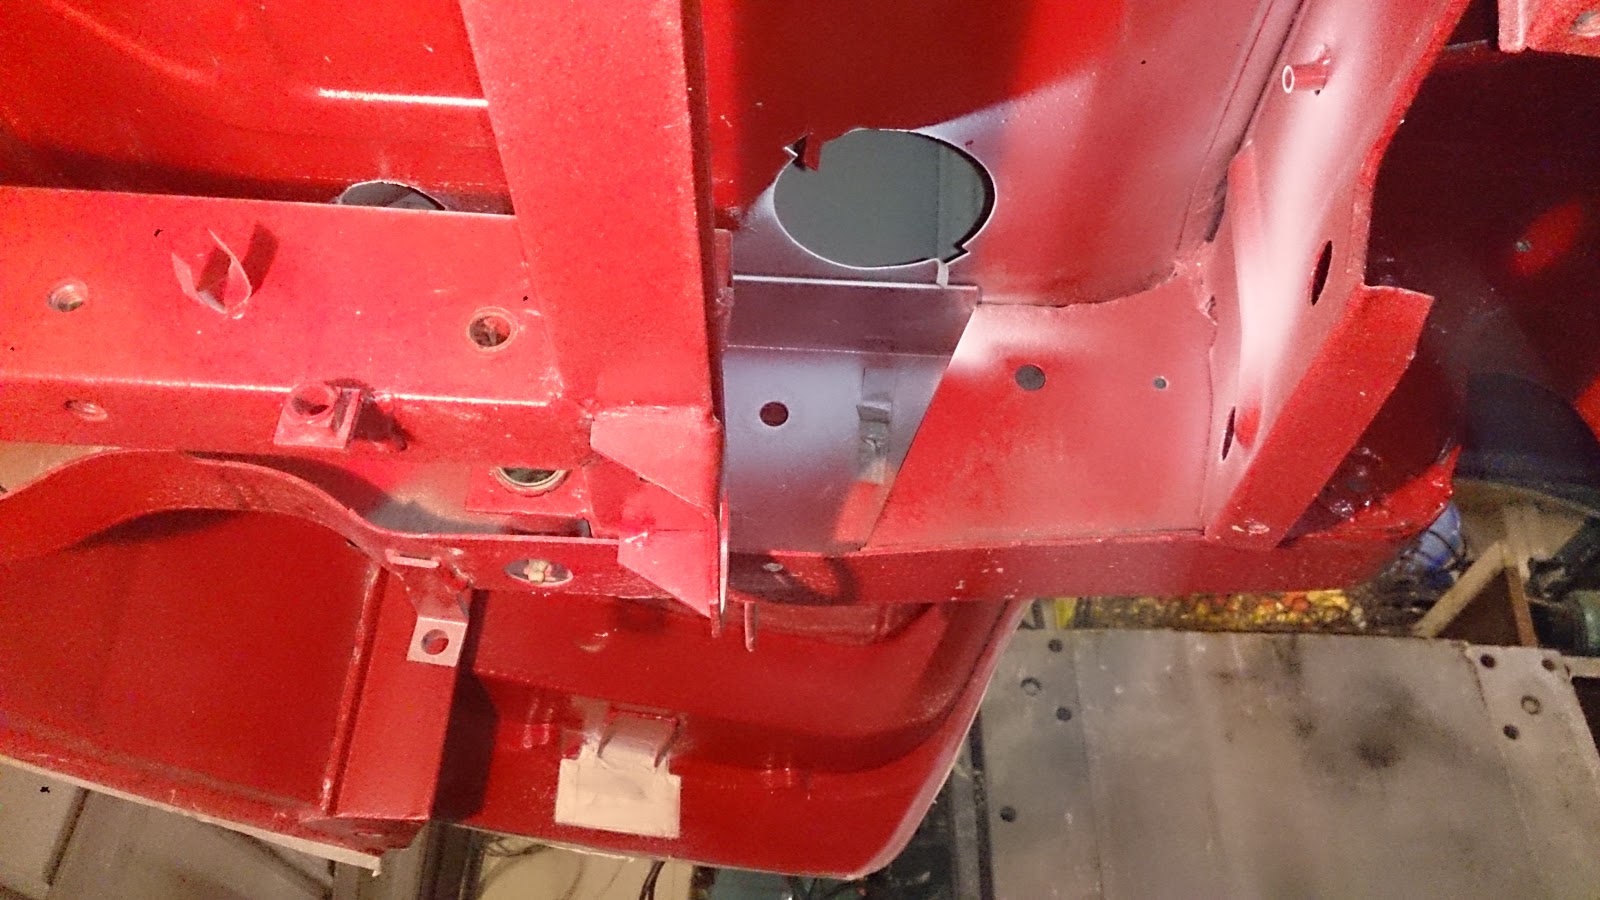
The engine bay needed a bit of attention, you cant see to well in the photos but there were parts of the bay that were just primer mostly the hard to reach places and few spots that had orange peel that I had rubbed down flat and needed another coat of paint.


Id managed to get paint on all the hard to reach surfaces inside the engine bay and touched up the bits I had re edge sealed and previously rubbed down.

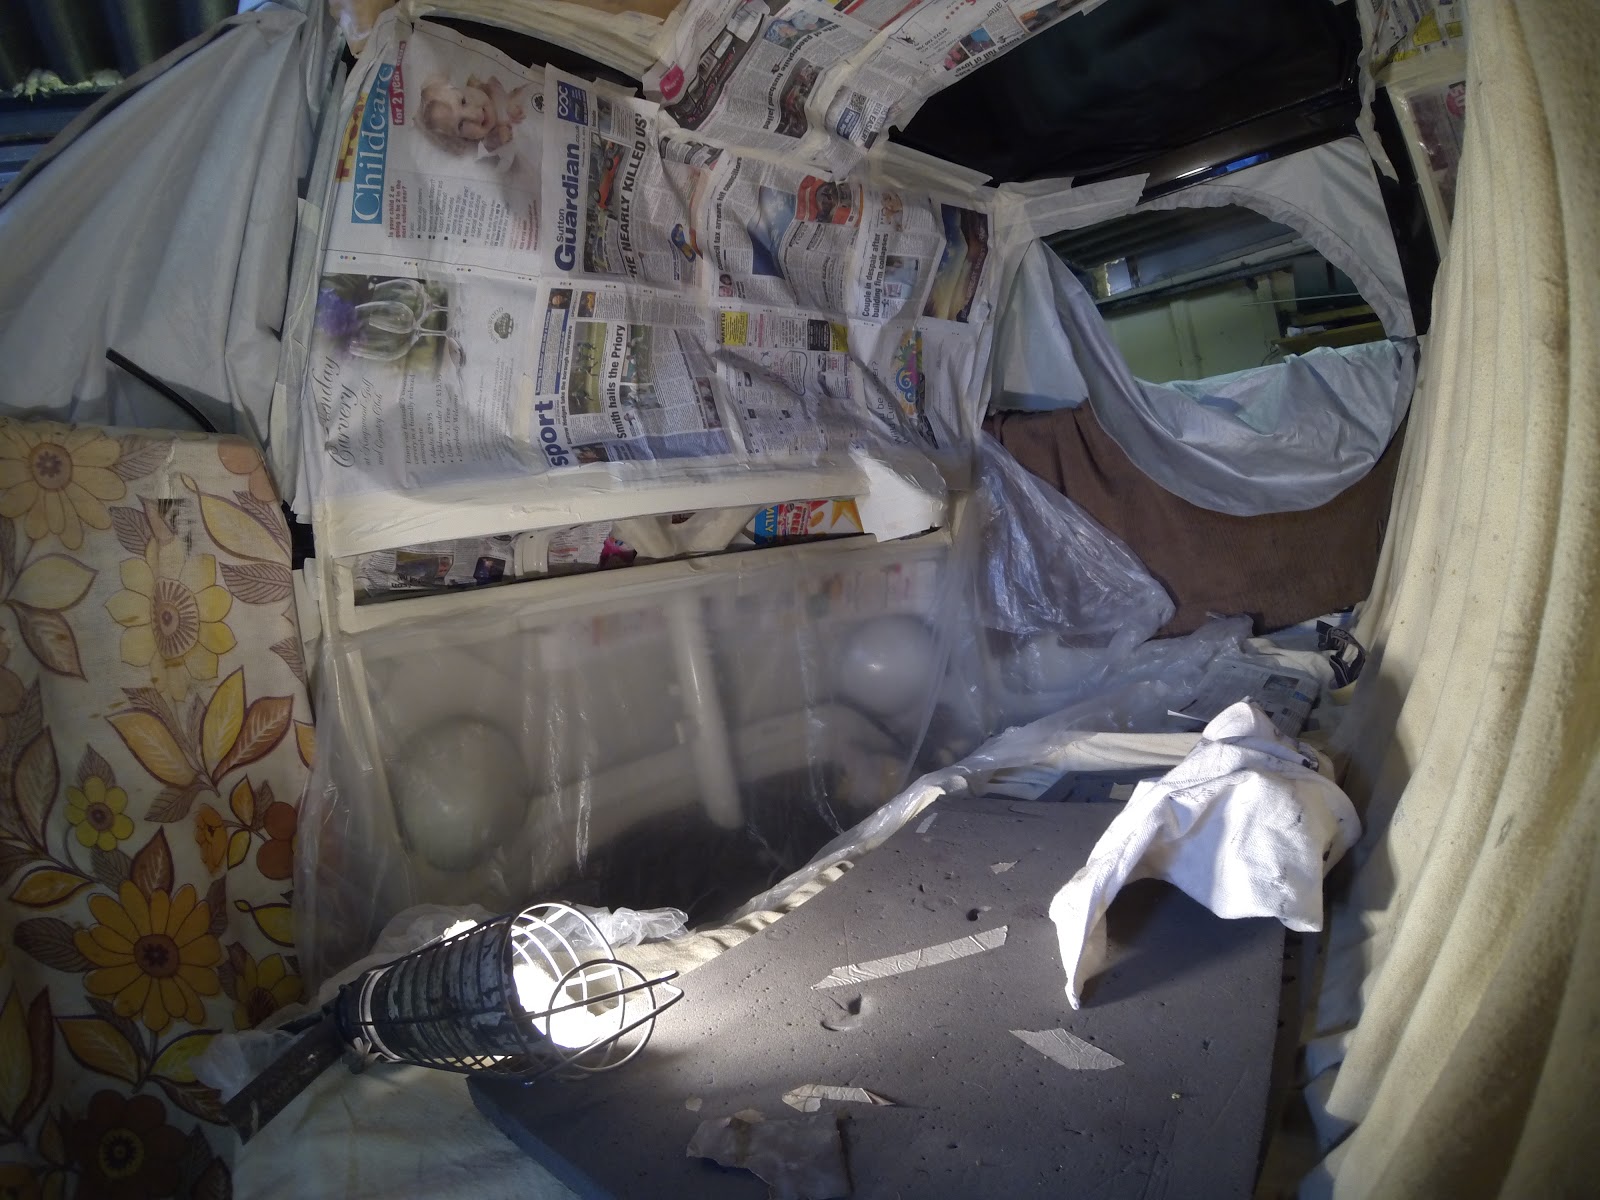
The front arch lip also needed a touch up from the tape pulling the paint off when I masked up the underside. I masked up with news paper not great but did the job then touched up the paint with an air brush till I got bored and finished of with the touch up spray gun.

While the cream paint was mixed up I sprayed up the battery clamp, this took three attempts to cover the parts I kept missing

One part of the paint I was really unsure about trying to tidy up was the panel behind the left sun visor, you can tell the difference in the shine in the photo. I decided to try and cut the lacquer flat then polish it, but the lacquer and paint was to thin and I cut through to the primer in some small spots.


Now that I had no choice than to touch up the black and re lacquer the air box I started to flatten all the other parts of the air box that were a bit mottled.

Here's where it was very east to cut through to the primer, especially on the high spots. The hardest thing to see when rubbing back was when you were past the lacquer onto the black paint so not to go to far into the undercoat.

The spots that were showing primer were touched up with the air brush, then the cab was bagged up ready for a coat of lacquer. I was careful to use the panel joint as the tape edge so as not to have a lip of paint were the edge stopped.

A couple of coats of clear that were baked on by the hot weather turning the garage into a n oven.
I got the air box back to a shiny black.

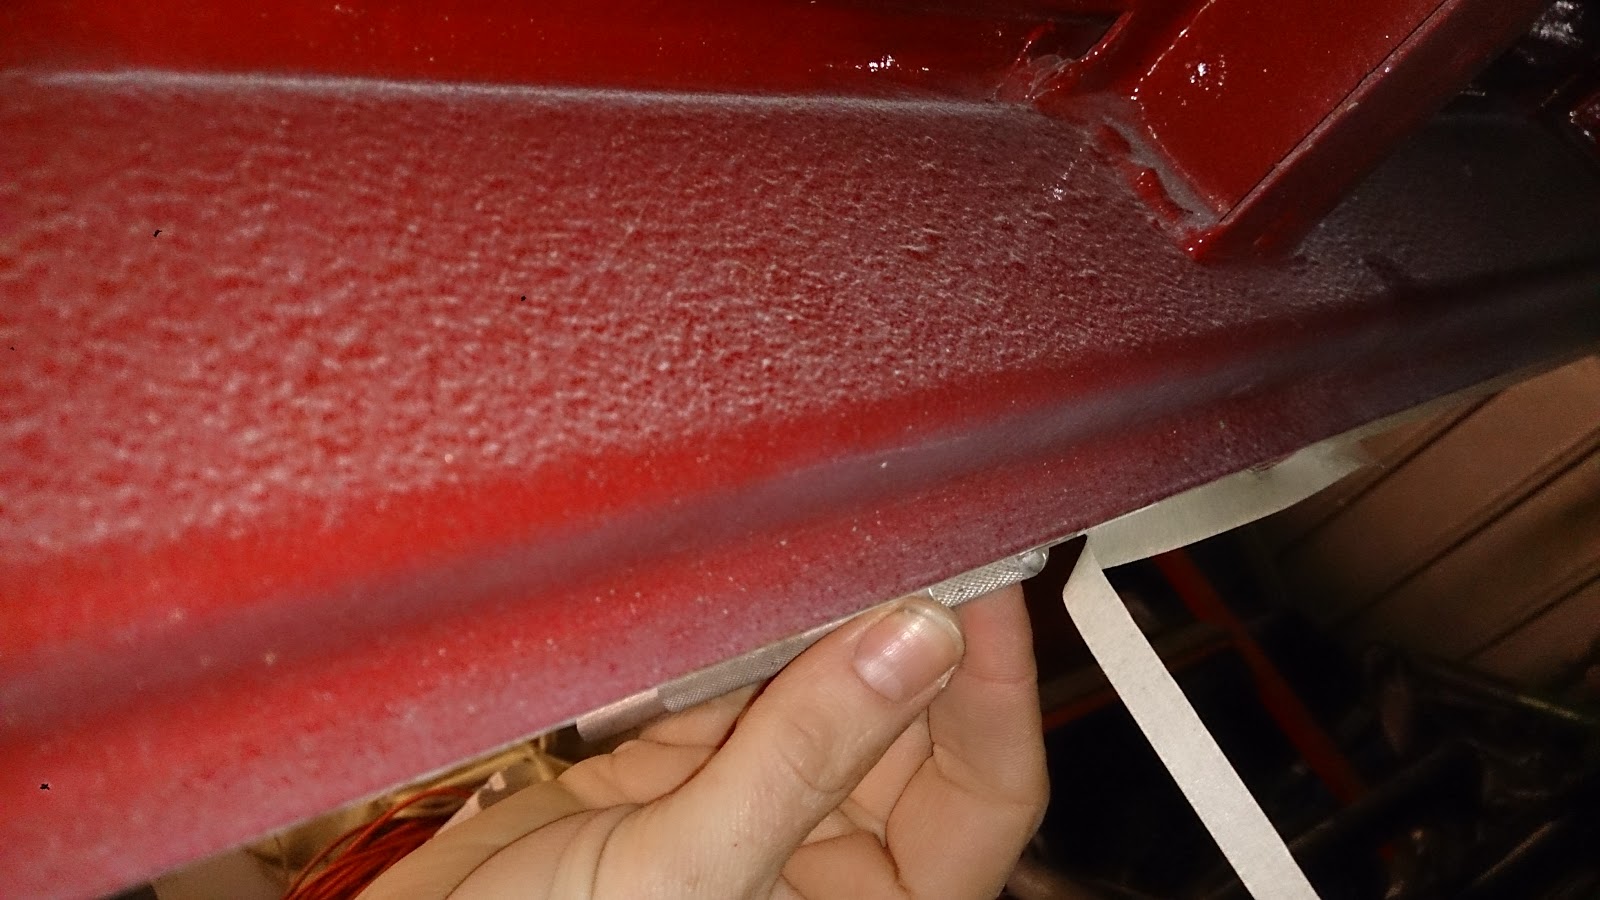
While I was dealing with the air box I also noticed some missing paint on the top door seal carrier lip. So I was able to deal with this while I sorted the air box.

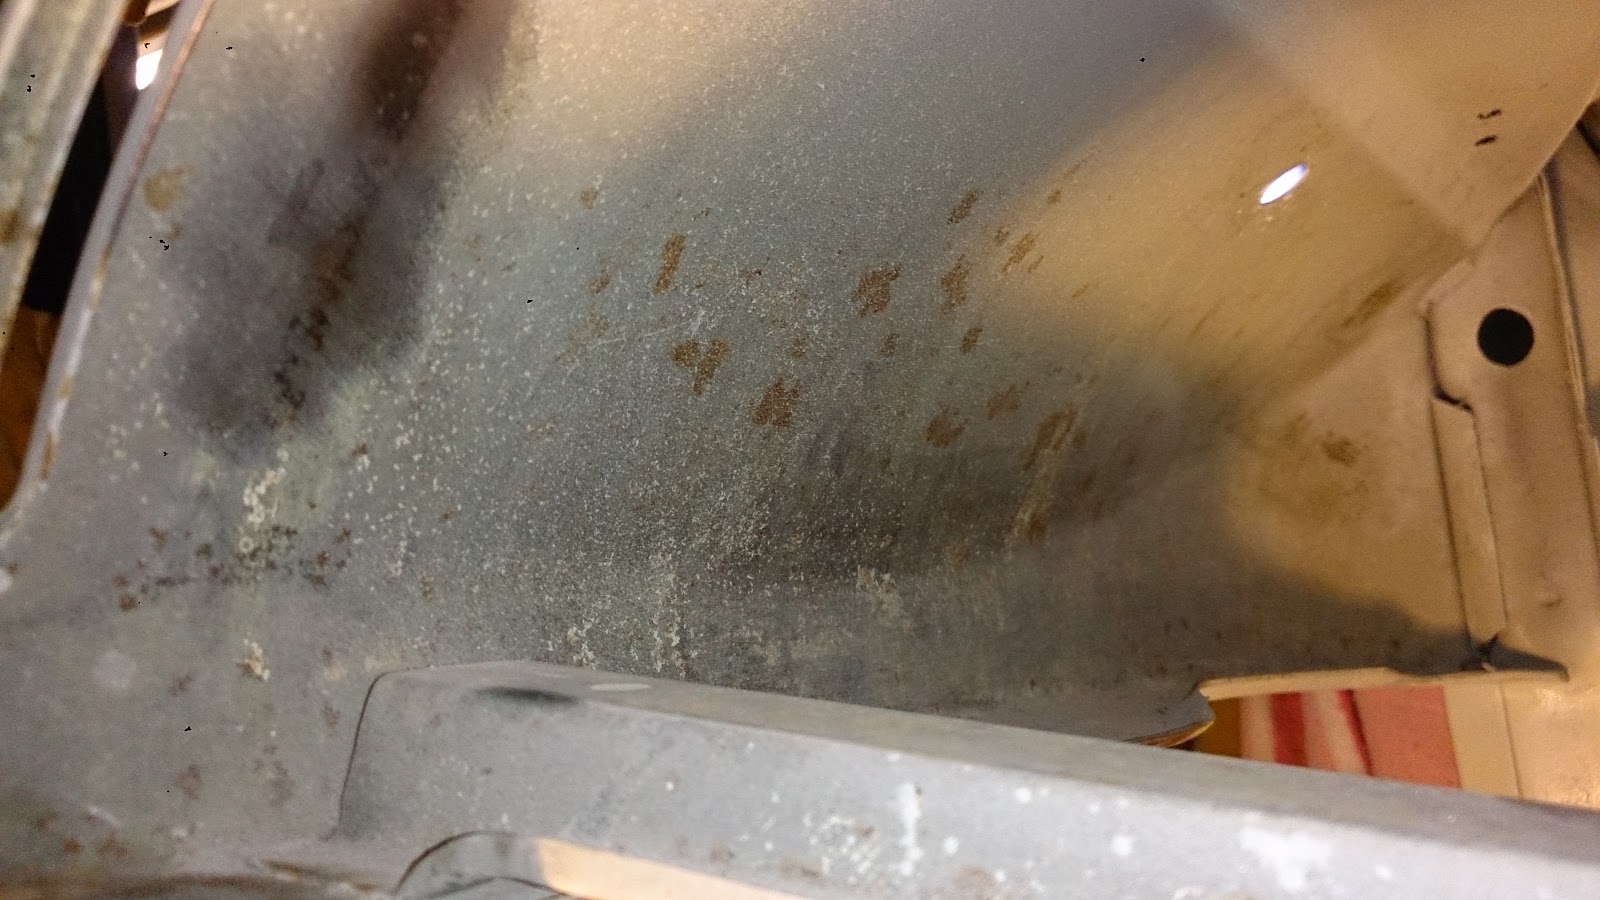
Whilst in the cab hanging upside down I noticed under the dash some spots on the paint. I used my phone to see what it was and discovered that there was not enough paint under the dash to stop the rust returning after it had been dipped over a year ago now.
I could have done with out having to deal with this as I just wanted to get on with building the van back together.

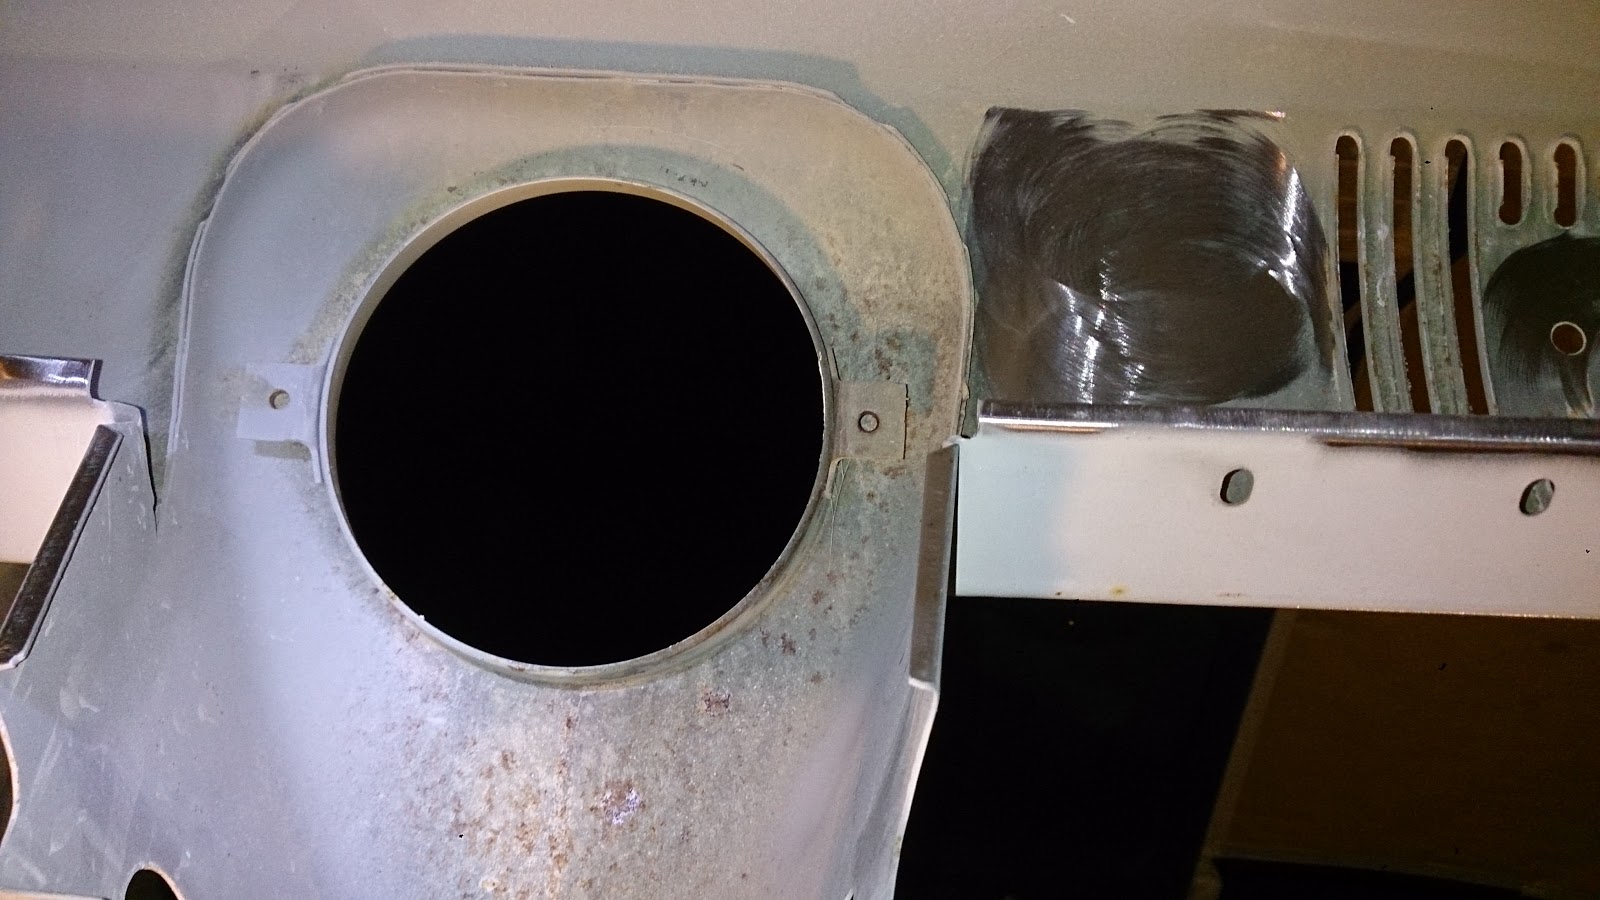
I couldn't leave it so I started cleaning it up with my die grinder, but soon found its capability limited.

The wire brush cleaned it up really quick but I didn't want to rip away the decent paint on the dash.

So I painstakingly cleared out the rust spots between the grills with a dermal only slipping once cutting into the dash paint

After about 3-4 hours work on my back on the cab floor I was ready to mask up the grill. Not wanting to spend another hour tapping the slots up I cut some foam strips and wedged then in all the gaps.
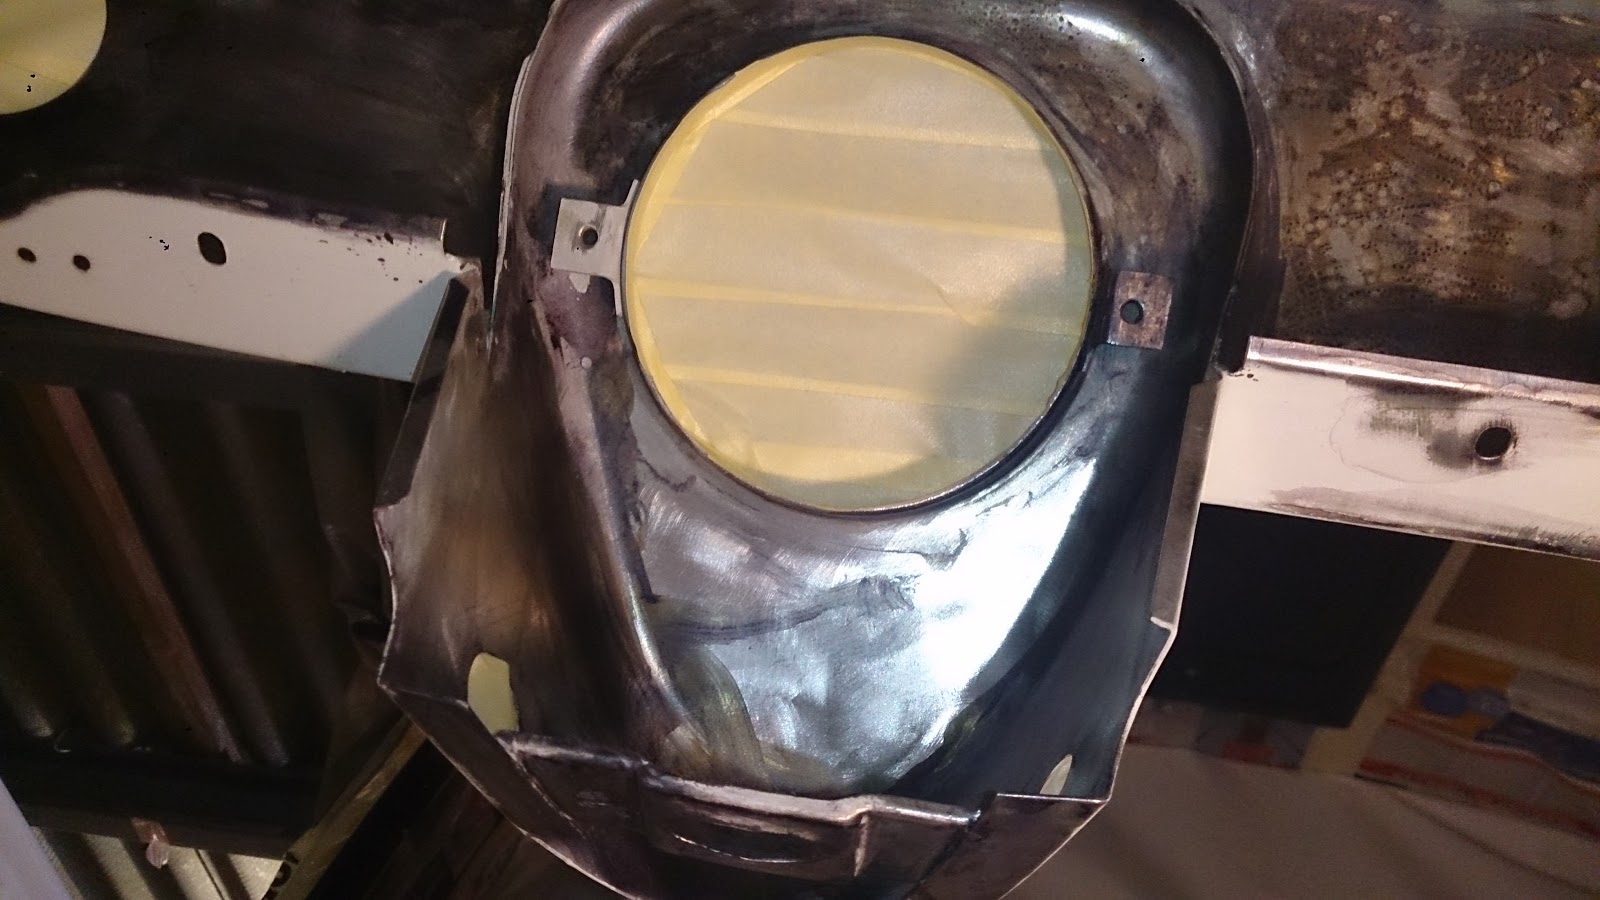

I then rust treated the bare metal to try and slow any spots of rust I may have missed
I then masked up the cab for a second time to make sure I didn't get cream paint all over the touch up I had already done. My Nans curtains cam in handy to cover the doors up.

I used primmer in a spray can to get into the tight spots, then the next day I got out the detail spray gun, this just about reached up into all the spots I needed.

Any spots I notice I'd missed when the covers come off I touched up with a brush.
The engine deck lid edges also needed a touch up, So I pull out a paint brush.

Where the lid had been painted with the hinges on they covered up the , so a touch up all around the hinge and screw holes with a paint brush should hold off the corrosion for a bit.
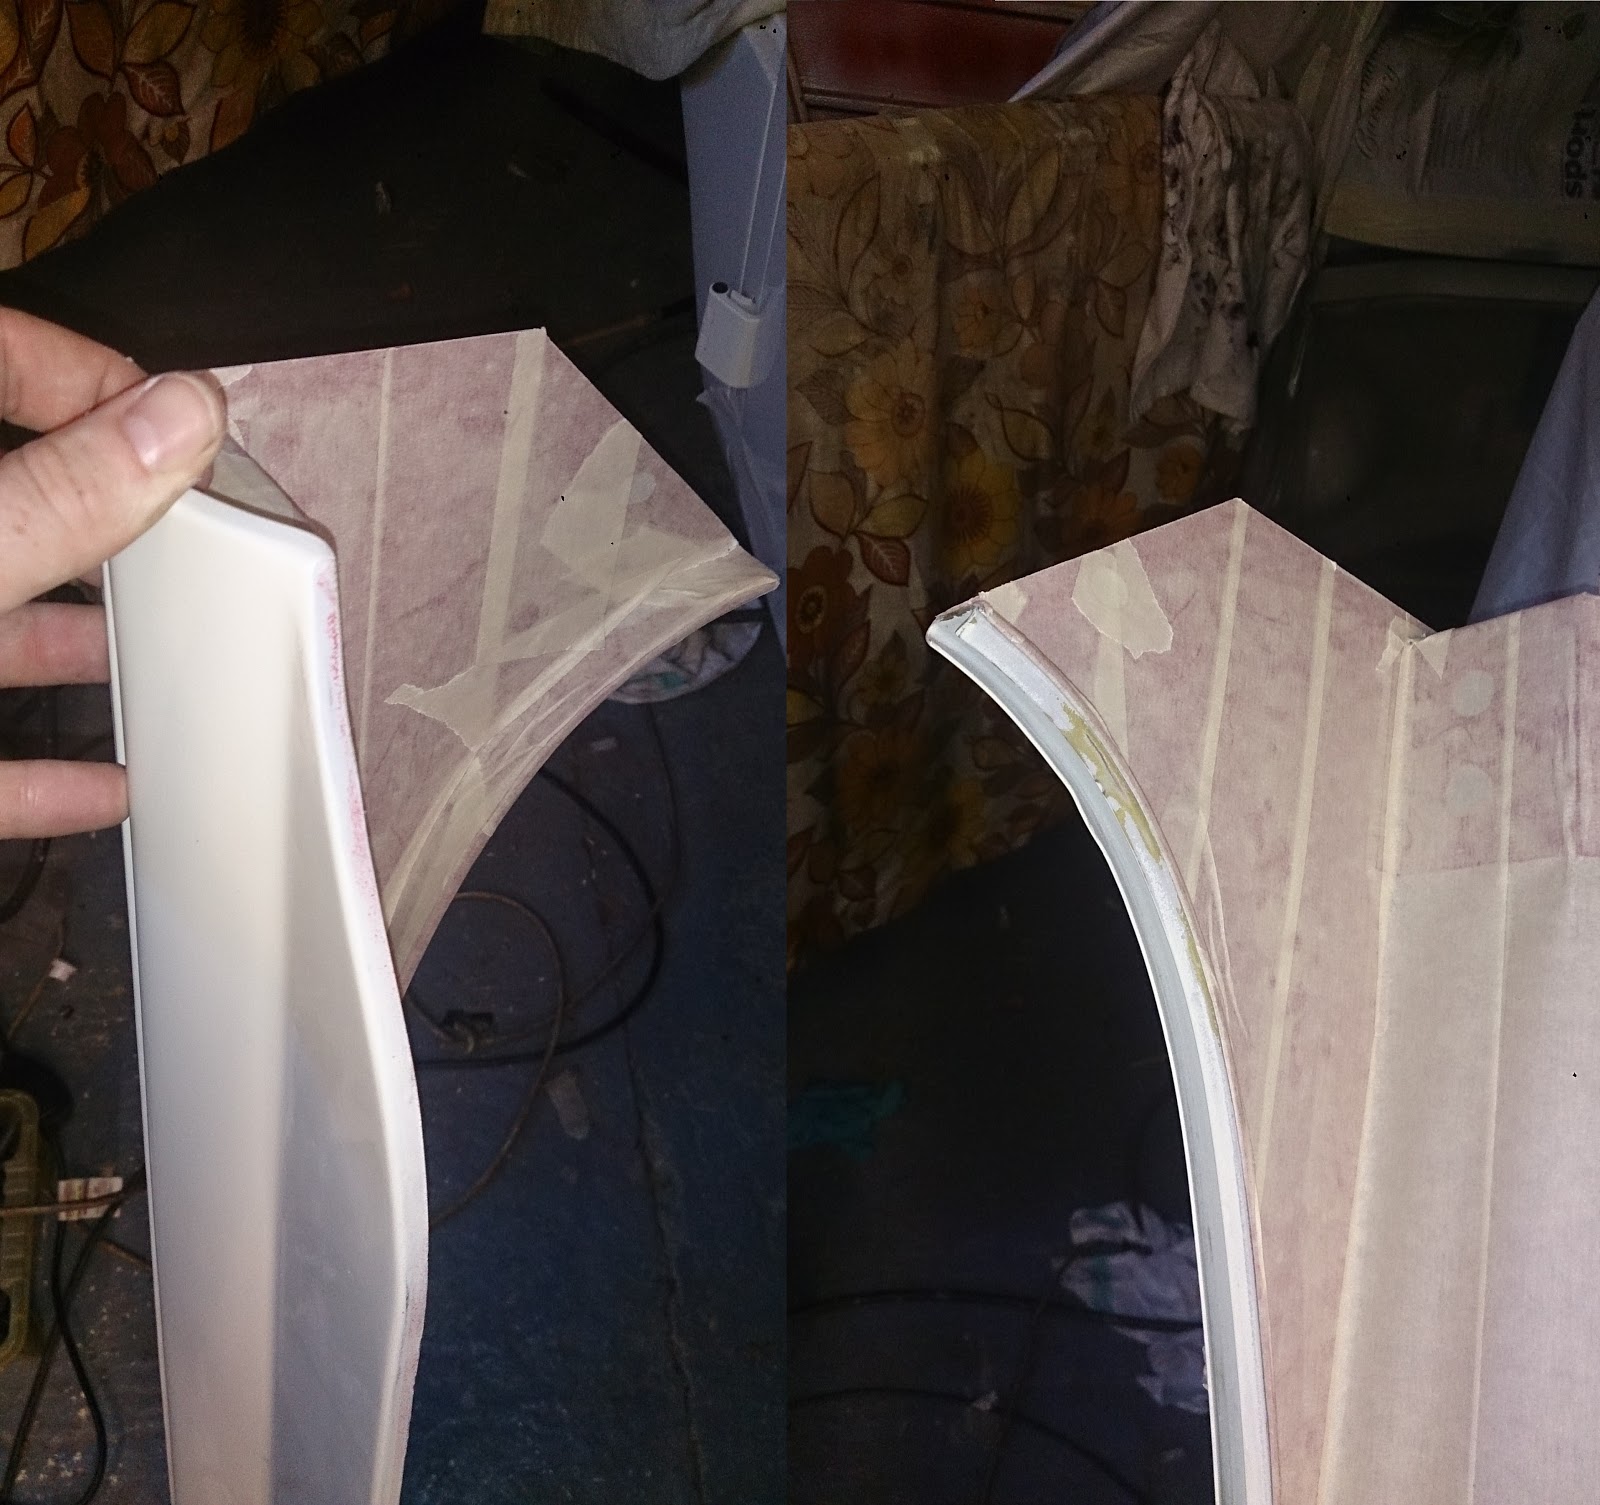
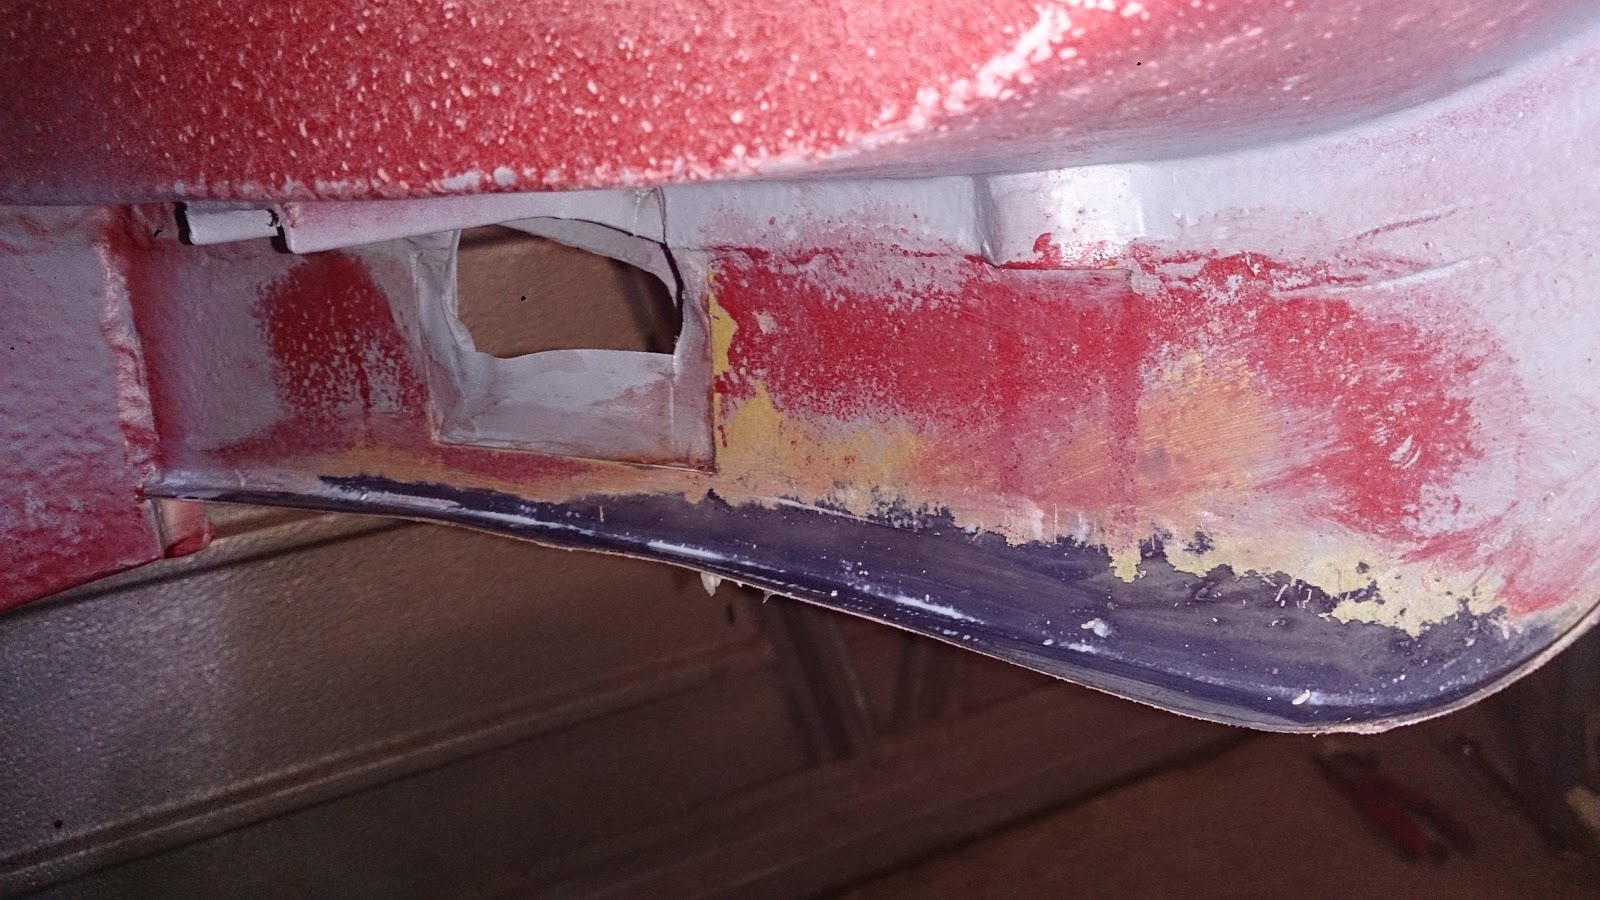
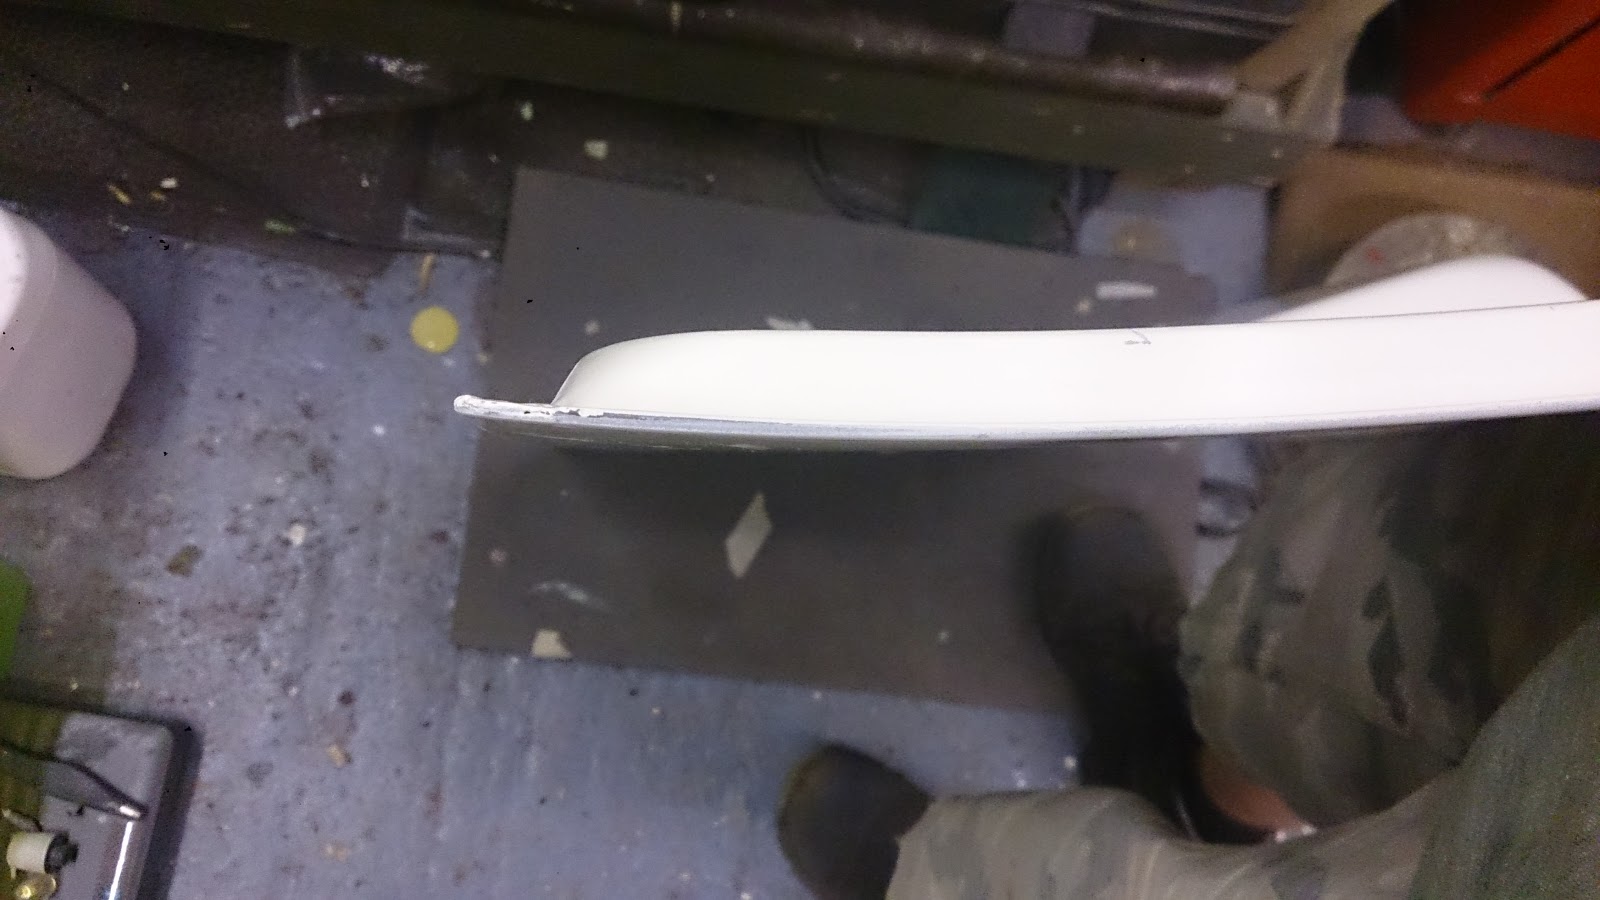
One last job was the bit of paint on the rear valance, again the edges needed touching up and some of the paint had chipped away.

I taped up the under side which took longer that spraying the edges with cream.
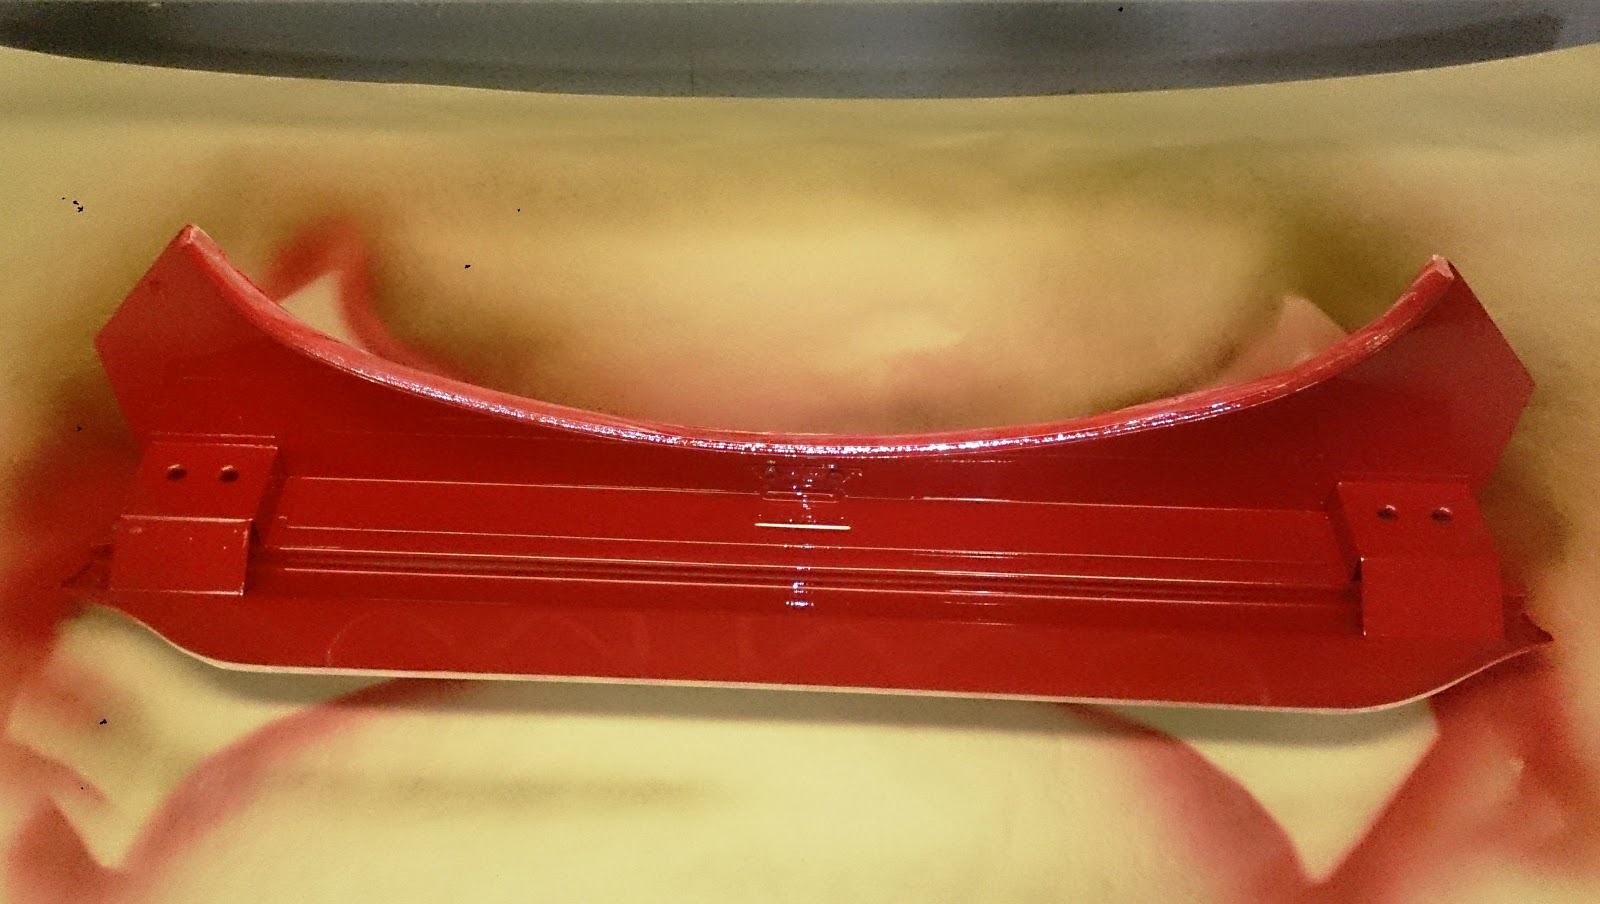
Once dry I taped up the out side and got a coat of red on the under side, I did this because I thought it was the wrong colour, Who's I idea was it to do a two tone under side.

When I tried the rear valance back on the van I noticed a difference in colour, and there was not a fleck in the red like on the chassis. So I checked the paint pots and there label, the paint code and name were the same but one was base coat metallic and the other just base coat, I then checked all my receipts and they were all just base coat, Some how I have ended up with a pot of metallic that I have sprayed the front underside of the van in. I am defiantly not painting it all again.