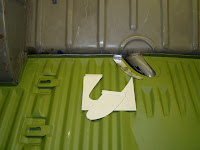
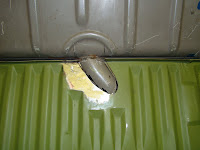
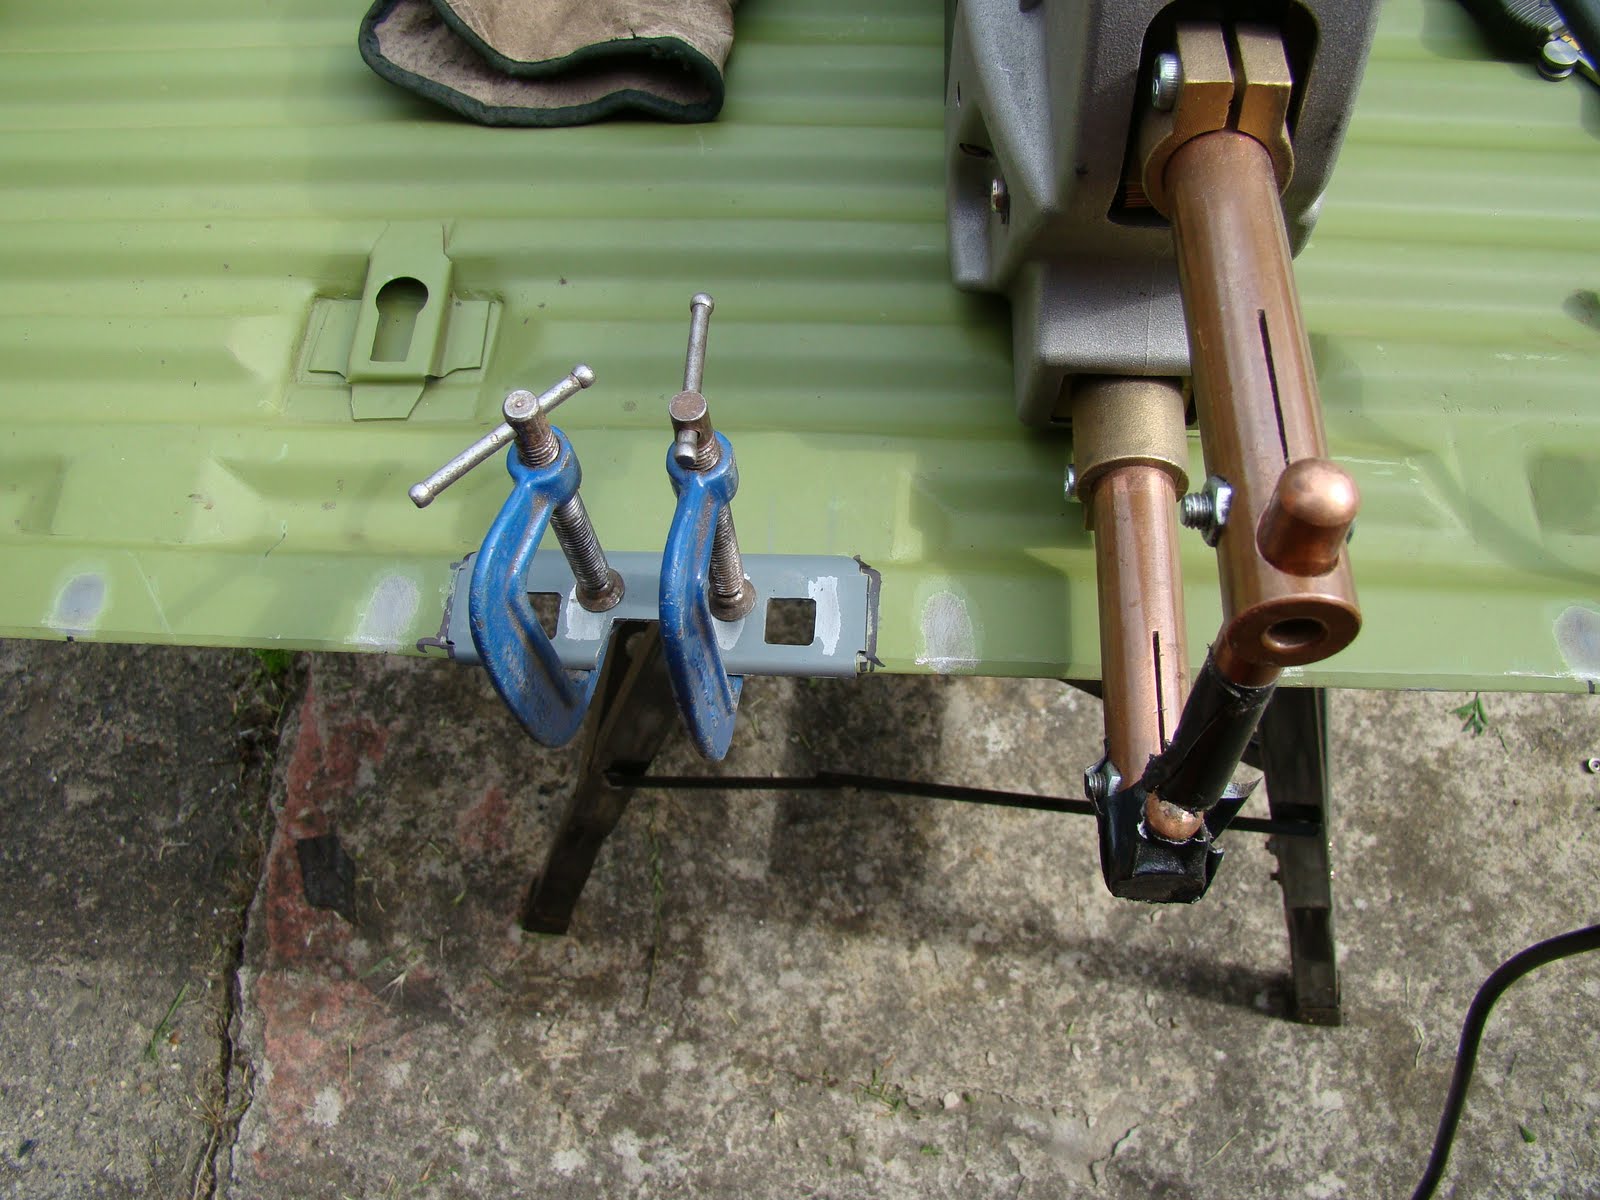
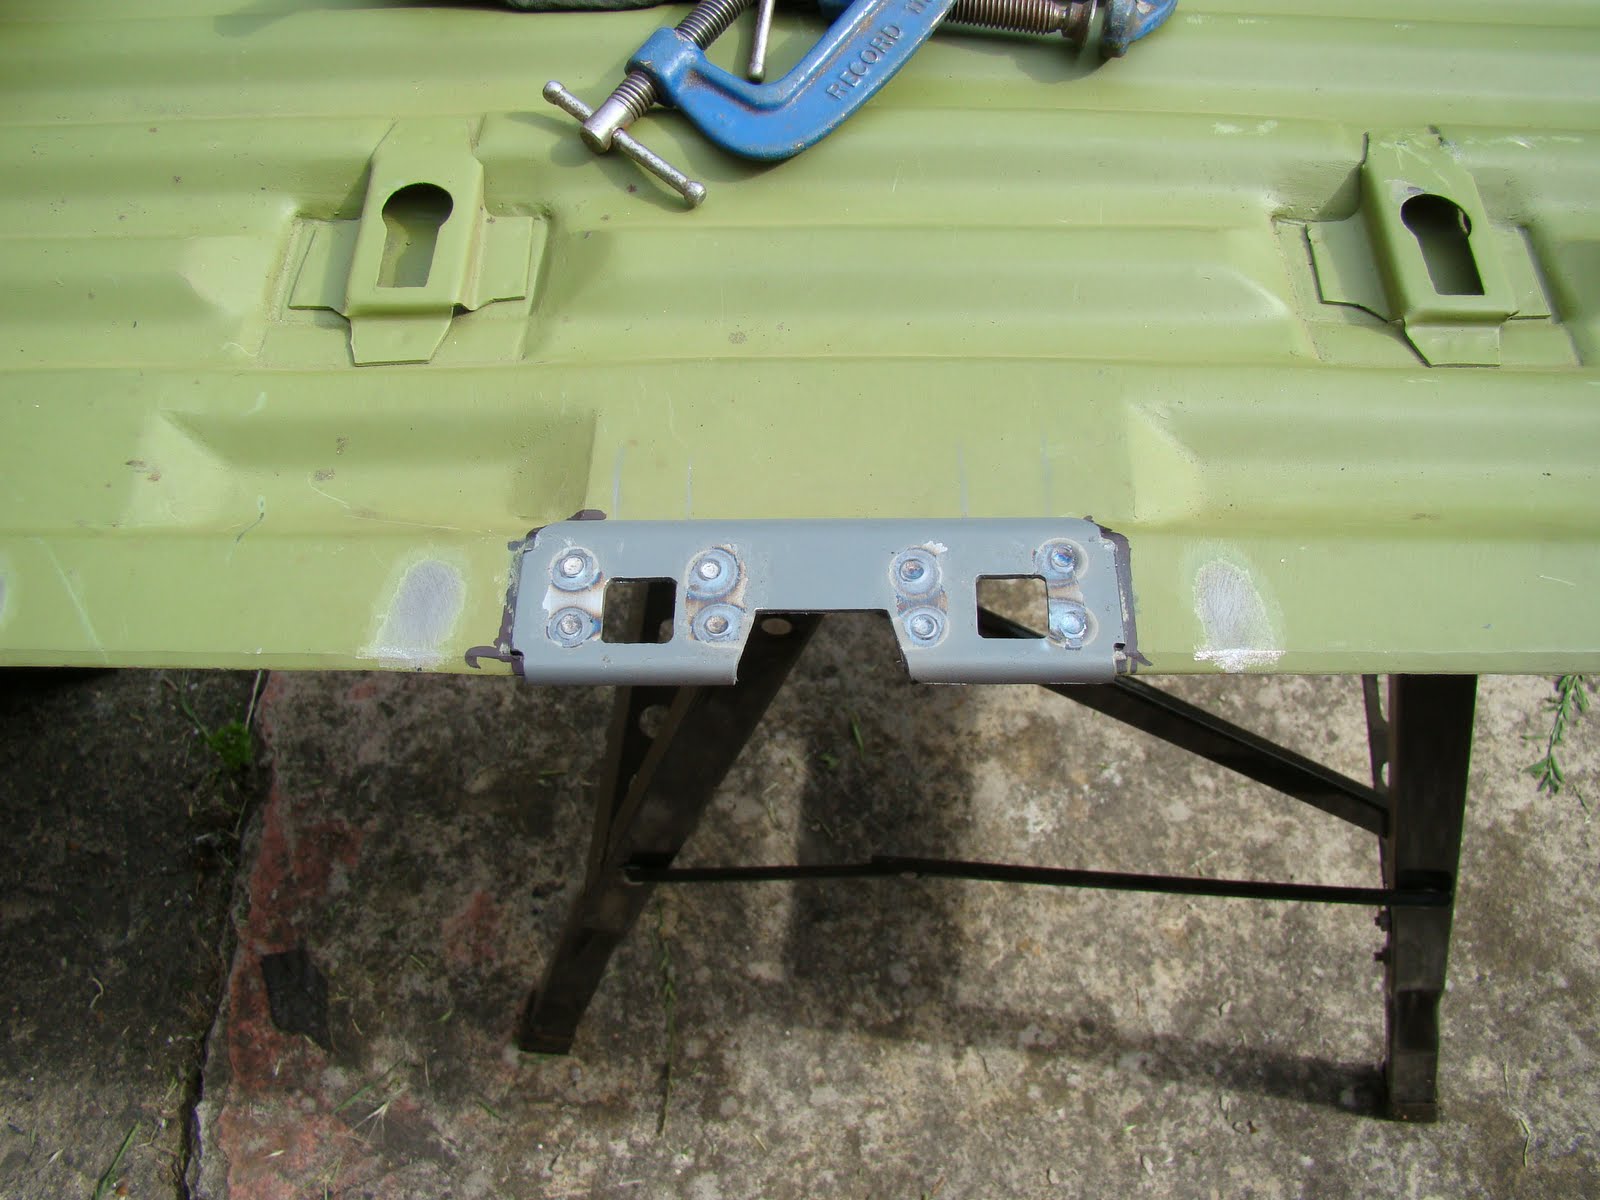
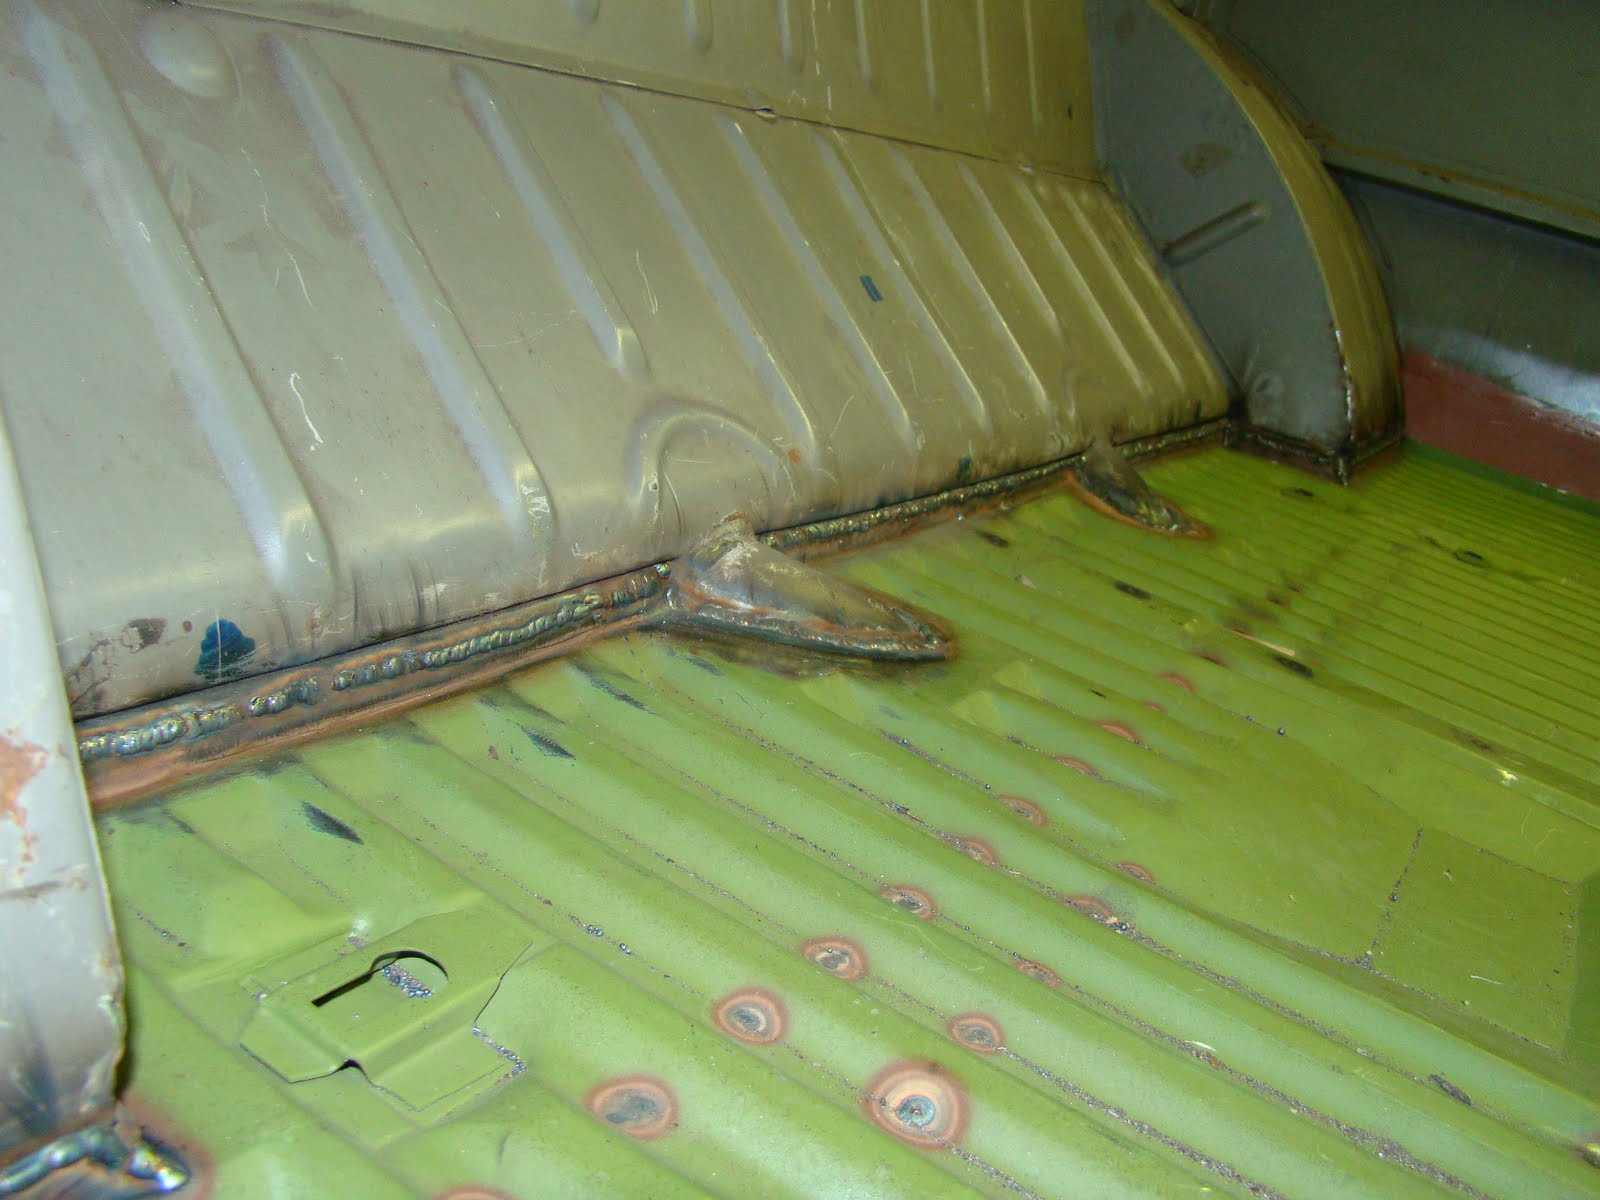
I started the floor replacement by making a new lower strike plate using the dimensions from the one I cut from the original floor, I know you can buy these but for the sake of £12 and a couple of hours I could make my own. It actually took two attempts and about 6 hours. As I don't charge myself hourly labour this is a bargain.

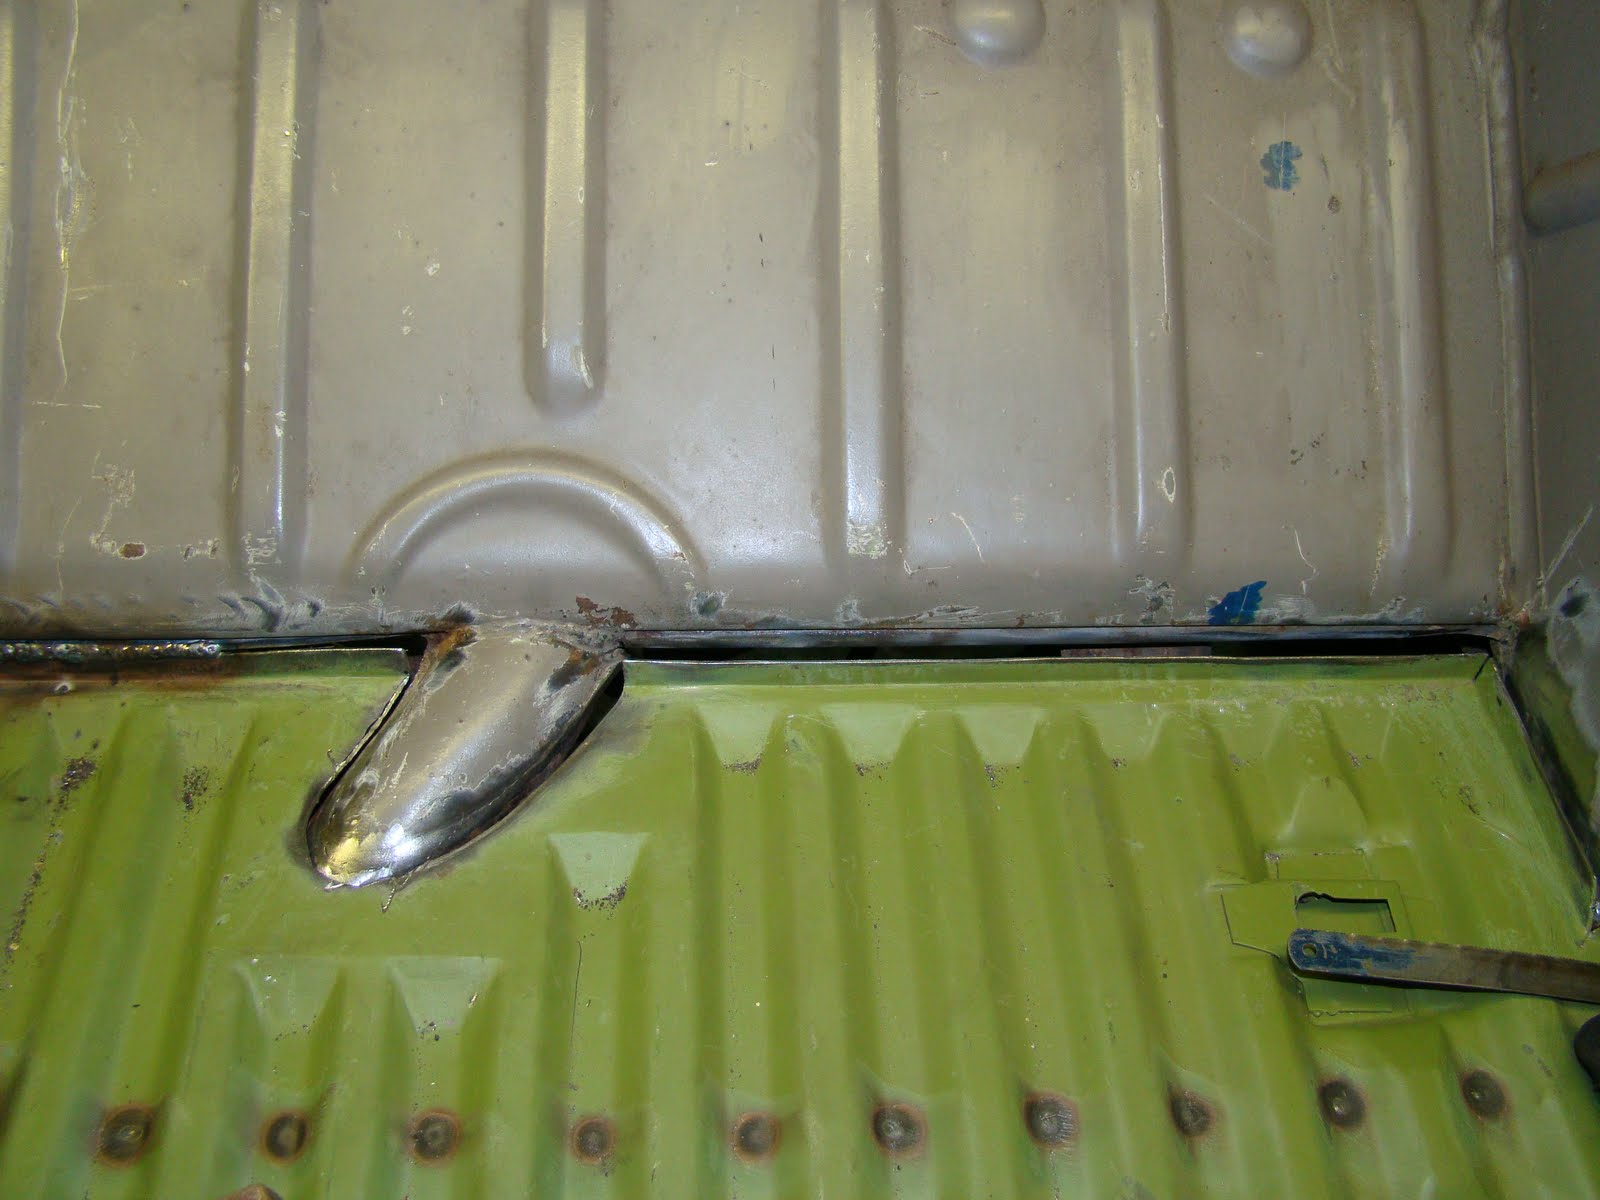
There were a few places around the floor that needed trimming, including one of the holes for the heater tube. This was about an inch out so I cut and welded a patch to move the hole to the correct position.


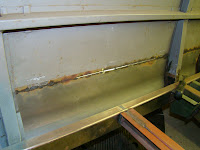
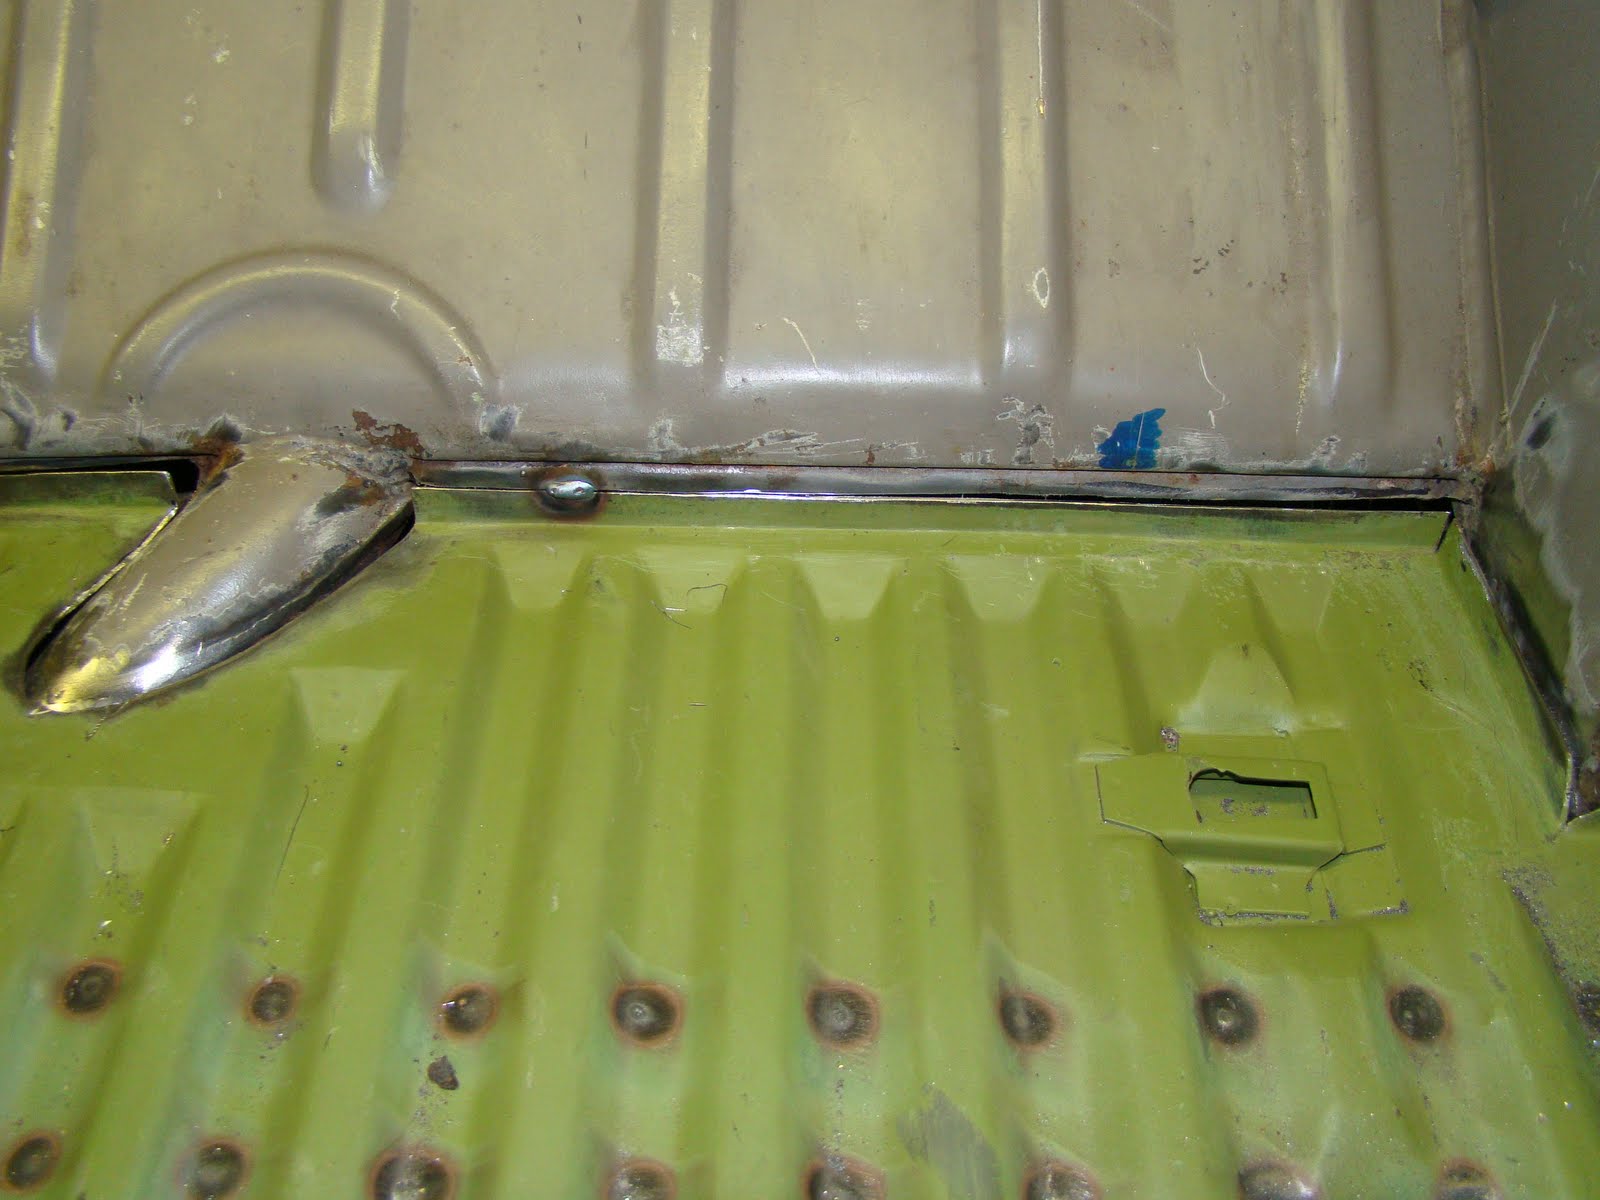
The sill repair had the joggled part of the panel poking up inside, so I trimmed this off and ground the welds flush.

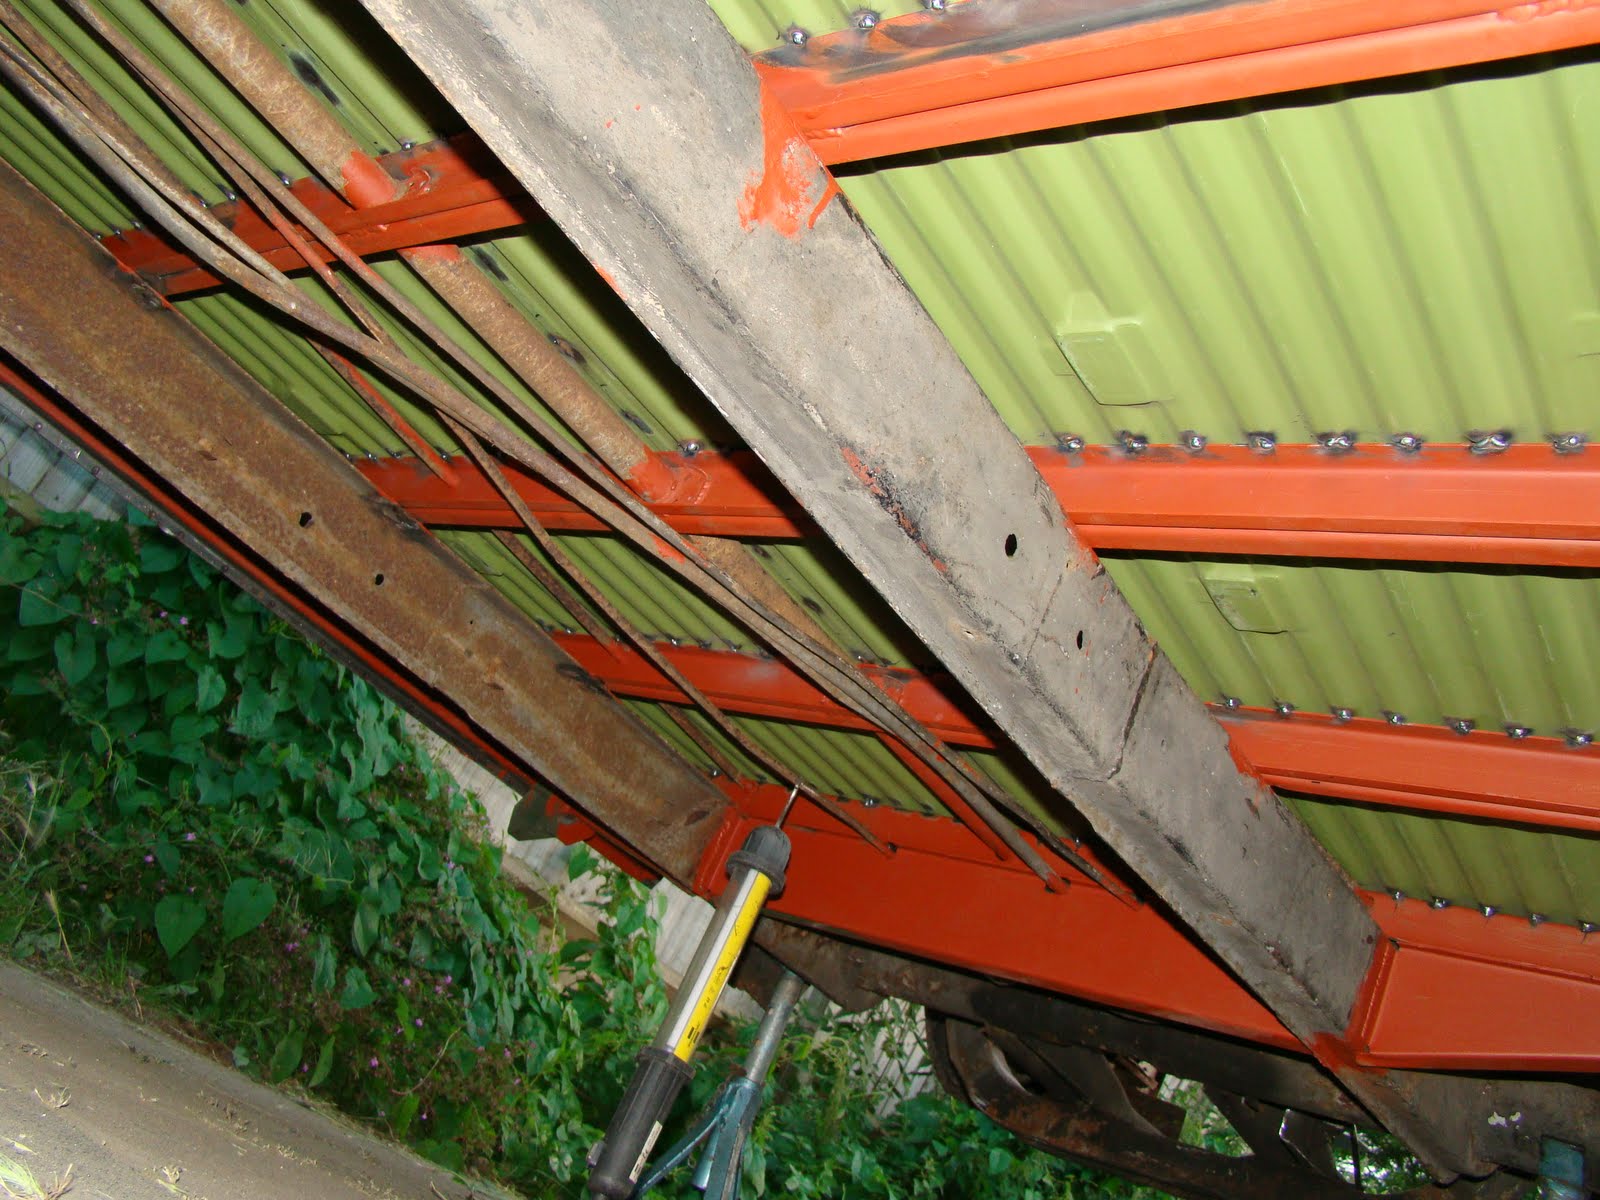
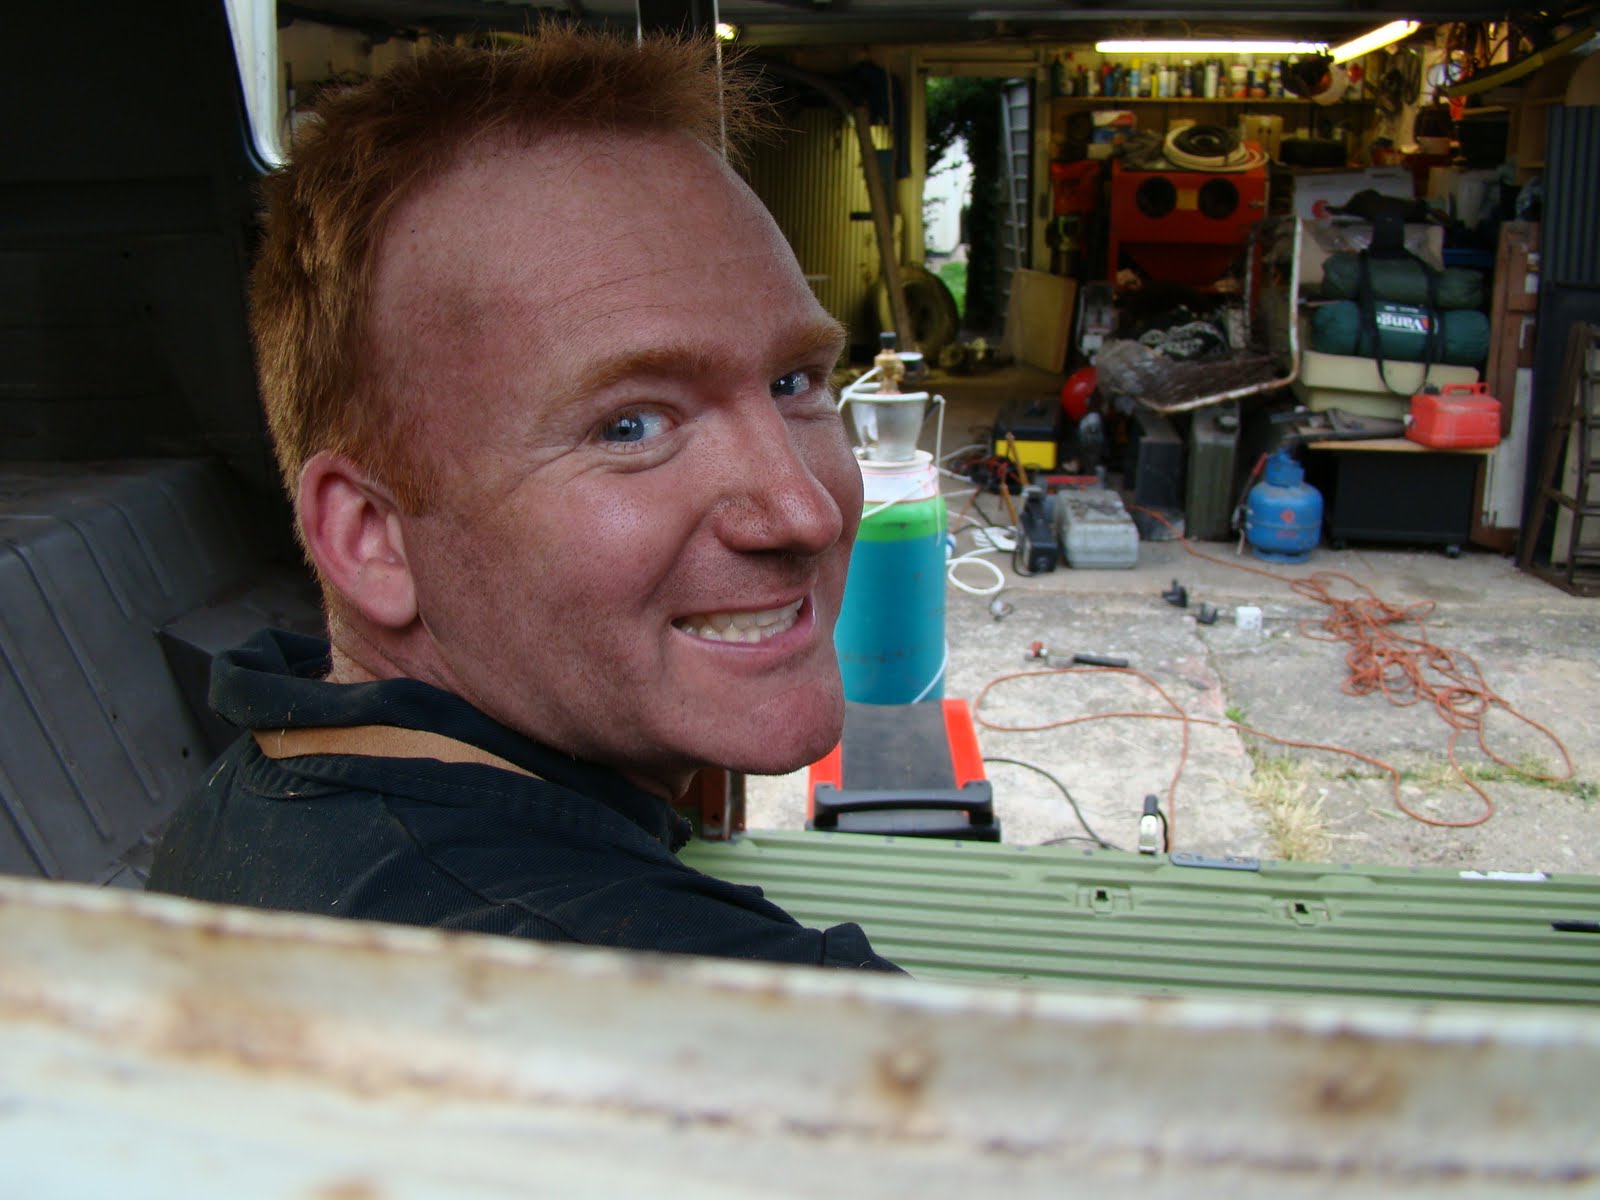
 Picking a hot clear day as I'm a fair weather welder, I got the van out of the garage to get it jacked up as high as it could safely go, then a bit higher. I decided to weld the floor from the underside, this meant I didn't need to grind down each weld between the corrugations, just work upside down. I marked each position I needed to weld and rubbed the paint off.
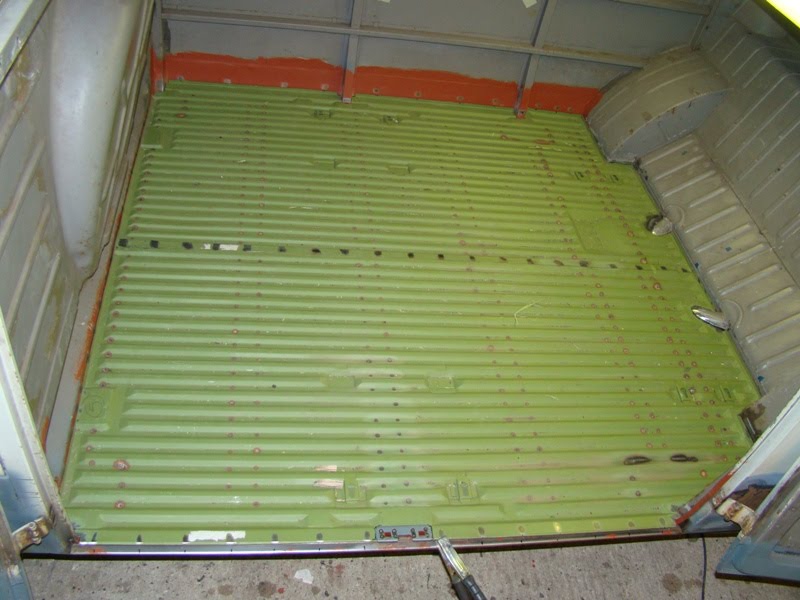
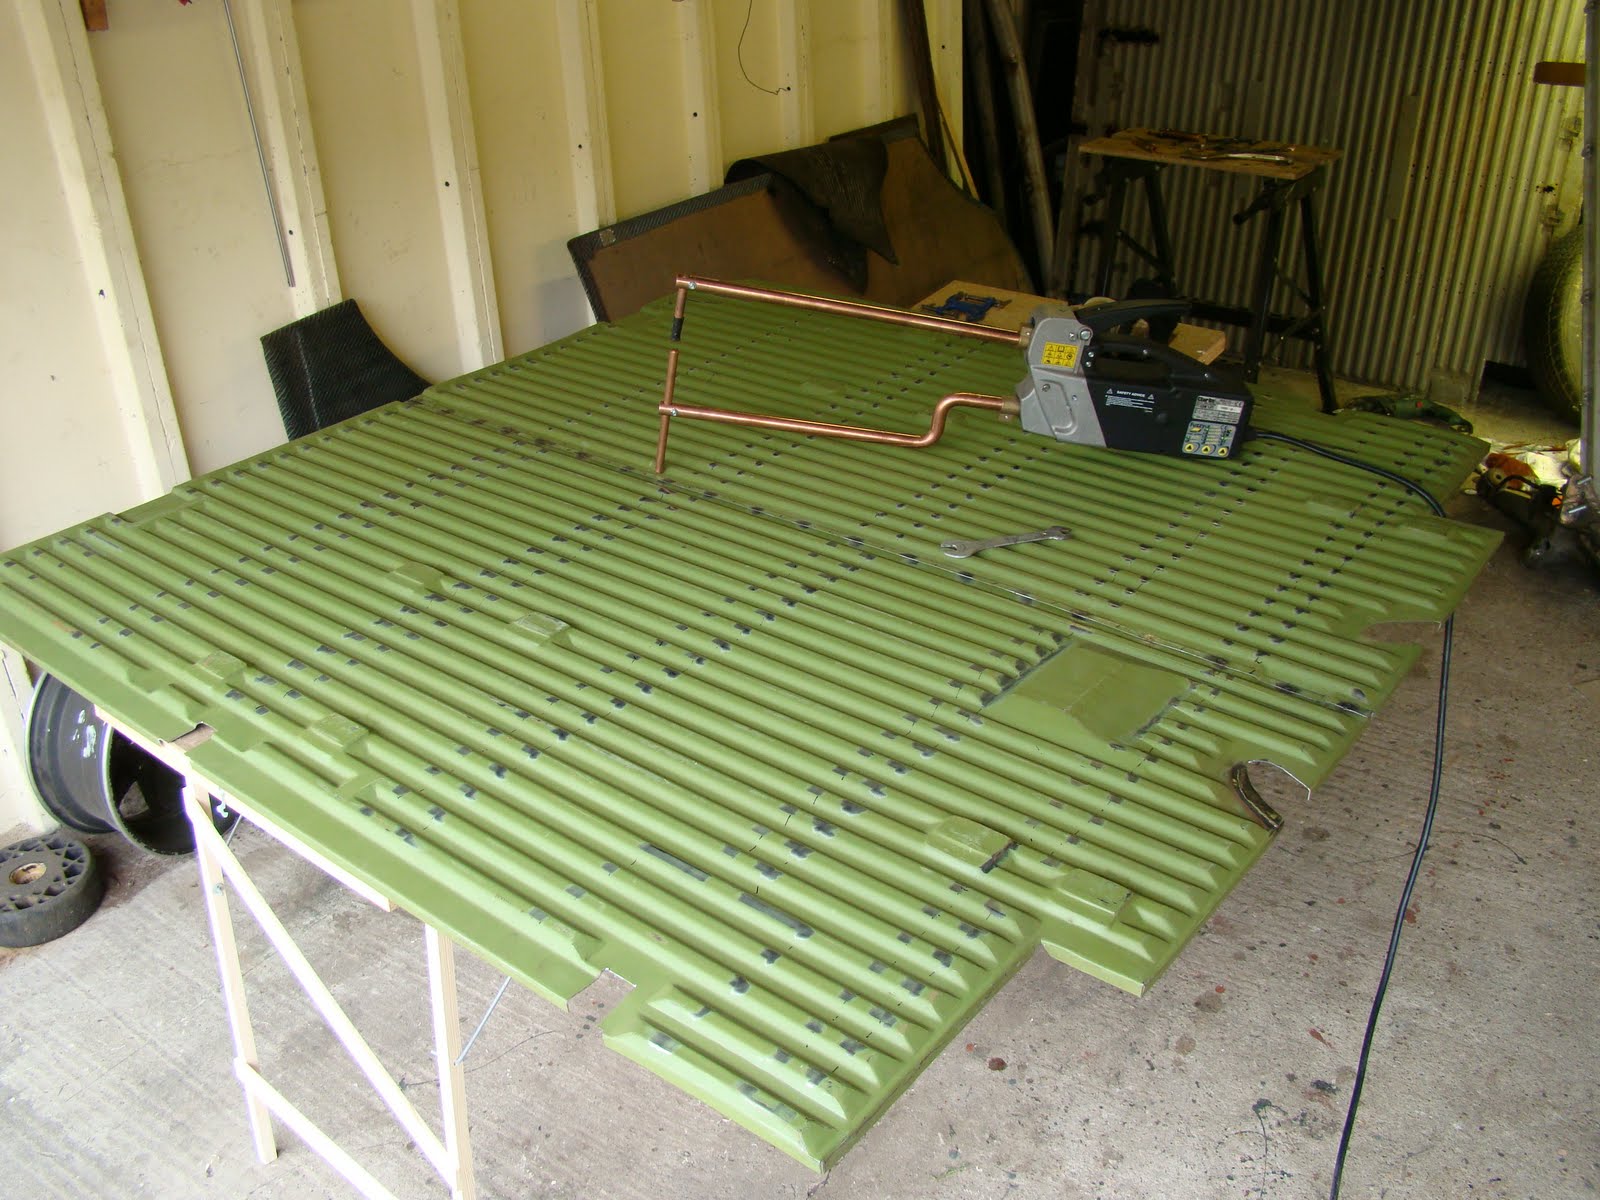 I set the two pieces of floor up on anything I could find. This being a cheap B&Q pasting table that's not very flat when it had the weight of the floor on it. I spot welded down the center as far in as I could, then tacked the rest of the centre together, This was hard to get both parts flat then welded without leaning on them and their very wobbly stand.
 I clamped up my hand made strike plate and spot welded it on. Did I mention how much fun it is welding pieces of steel together with big copper probes that glow and spark all over the place. (I'd now put a smiley here if I had one handy)
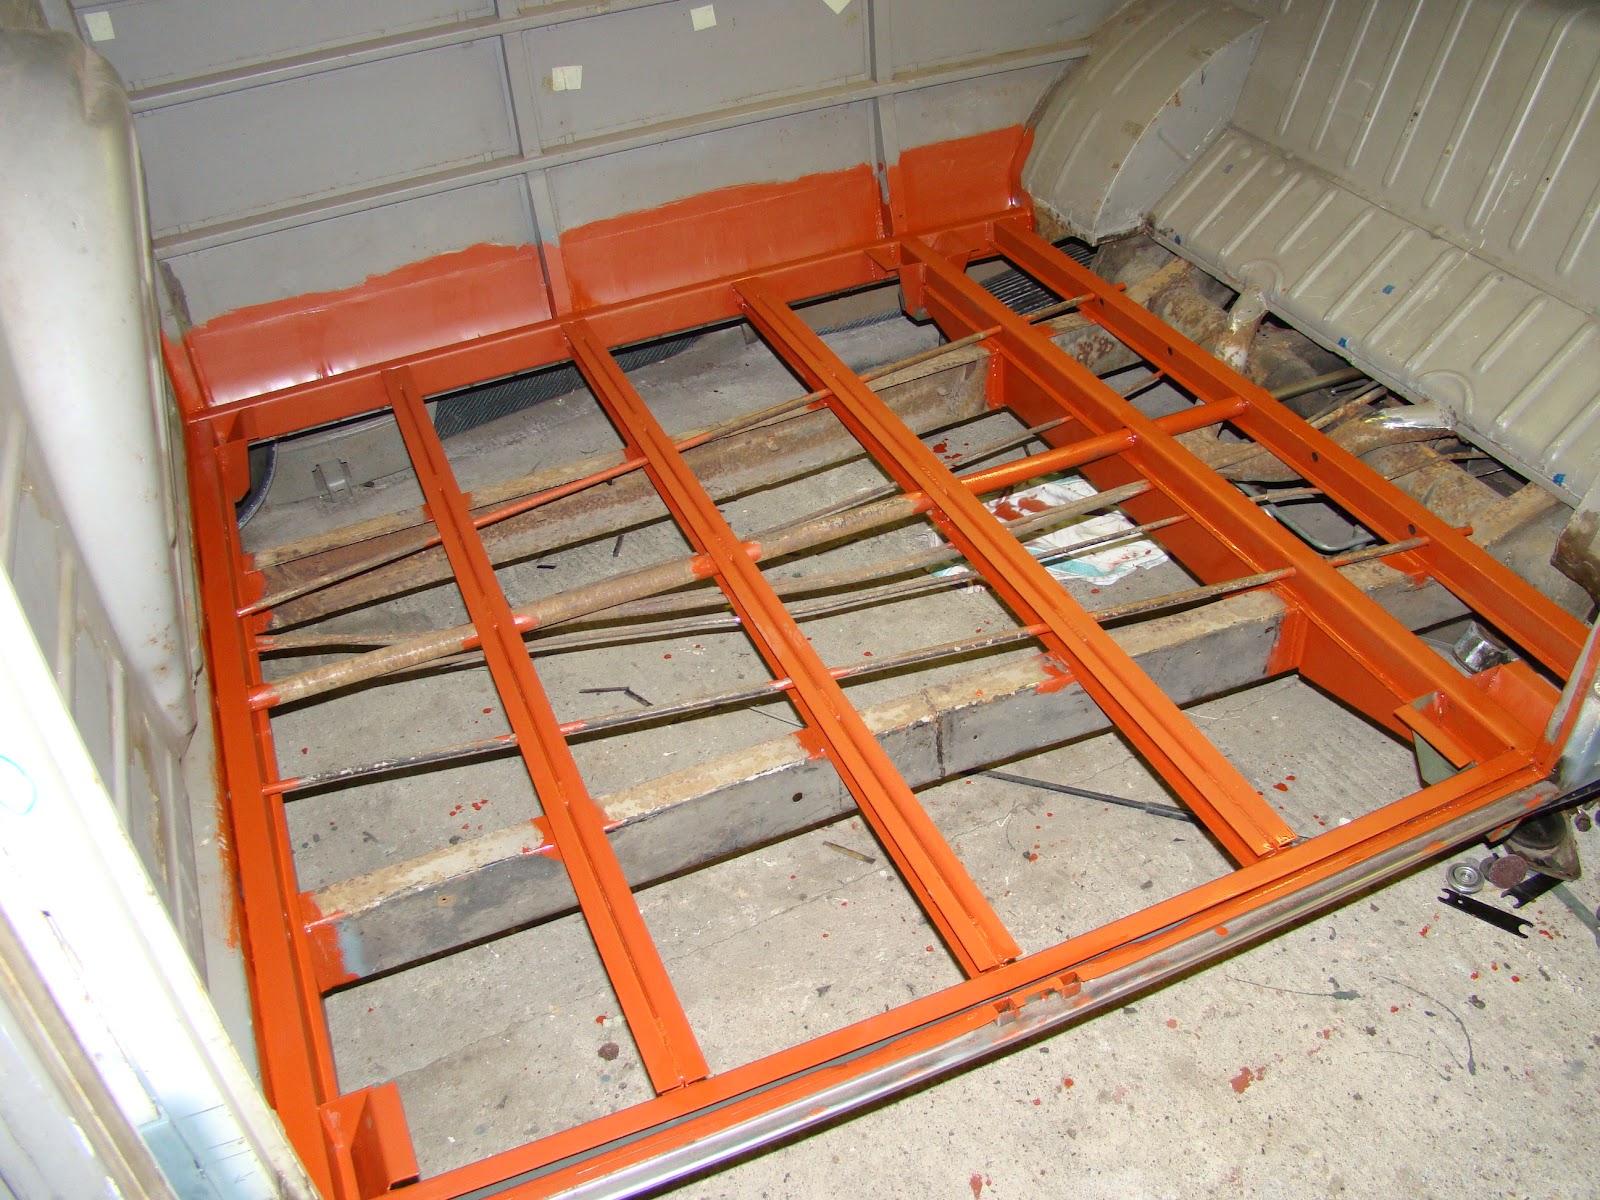
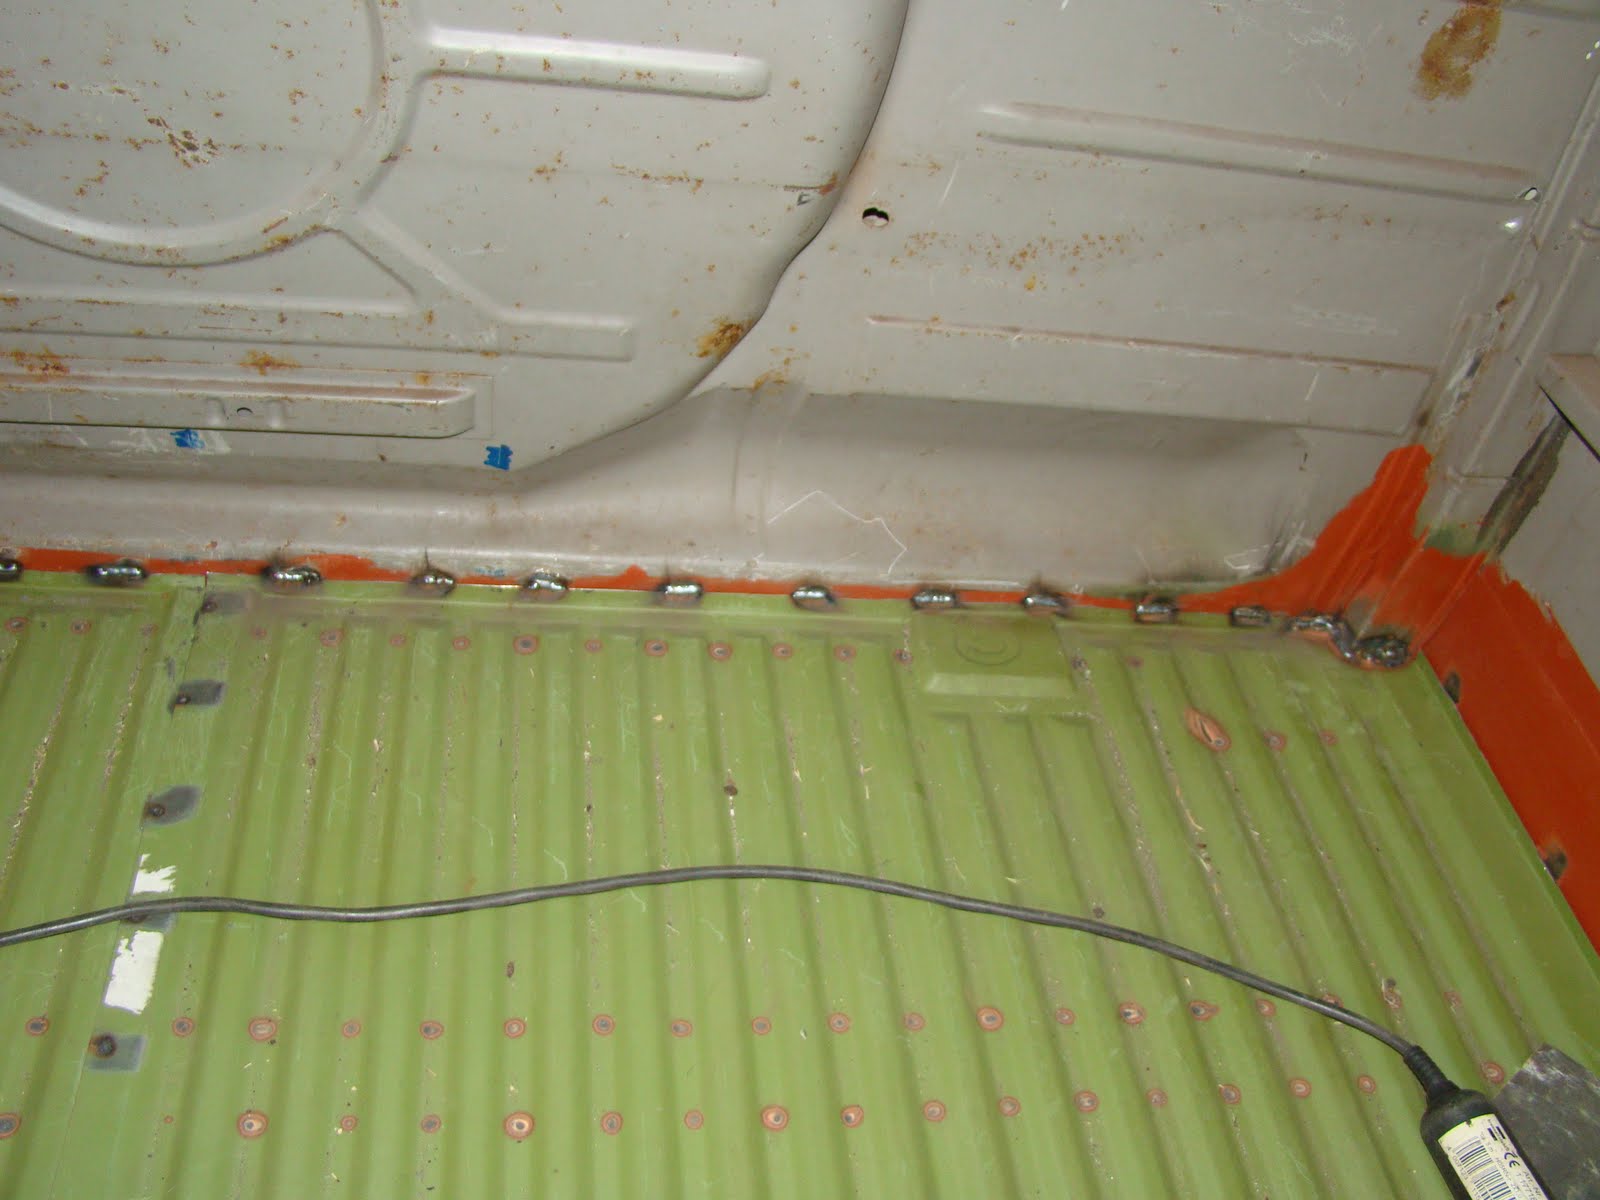
With the floor in one piece I donned my leather apron and gauntlets and crawled under the van to start tacking each piece of bare metal together. With help from my (nameless!) girlfriend inside the van pushing the floor down I starting welding from the centre working outwards. We then got to enjoy for the first time in a long time a solid floor in the van (no not in that way) 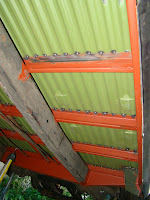


The next evening I finished the last few places that were either too hard to get to or were not able to push down with just the weight of a single person. So I put on my bodgers' thinking cap and came up with the ingenius plan to push the floor down with my 1.5t jack and some left over decking poles,
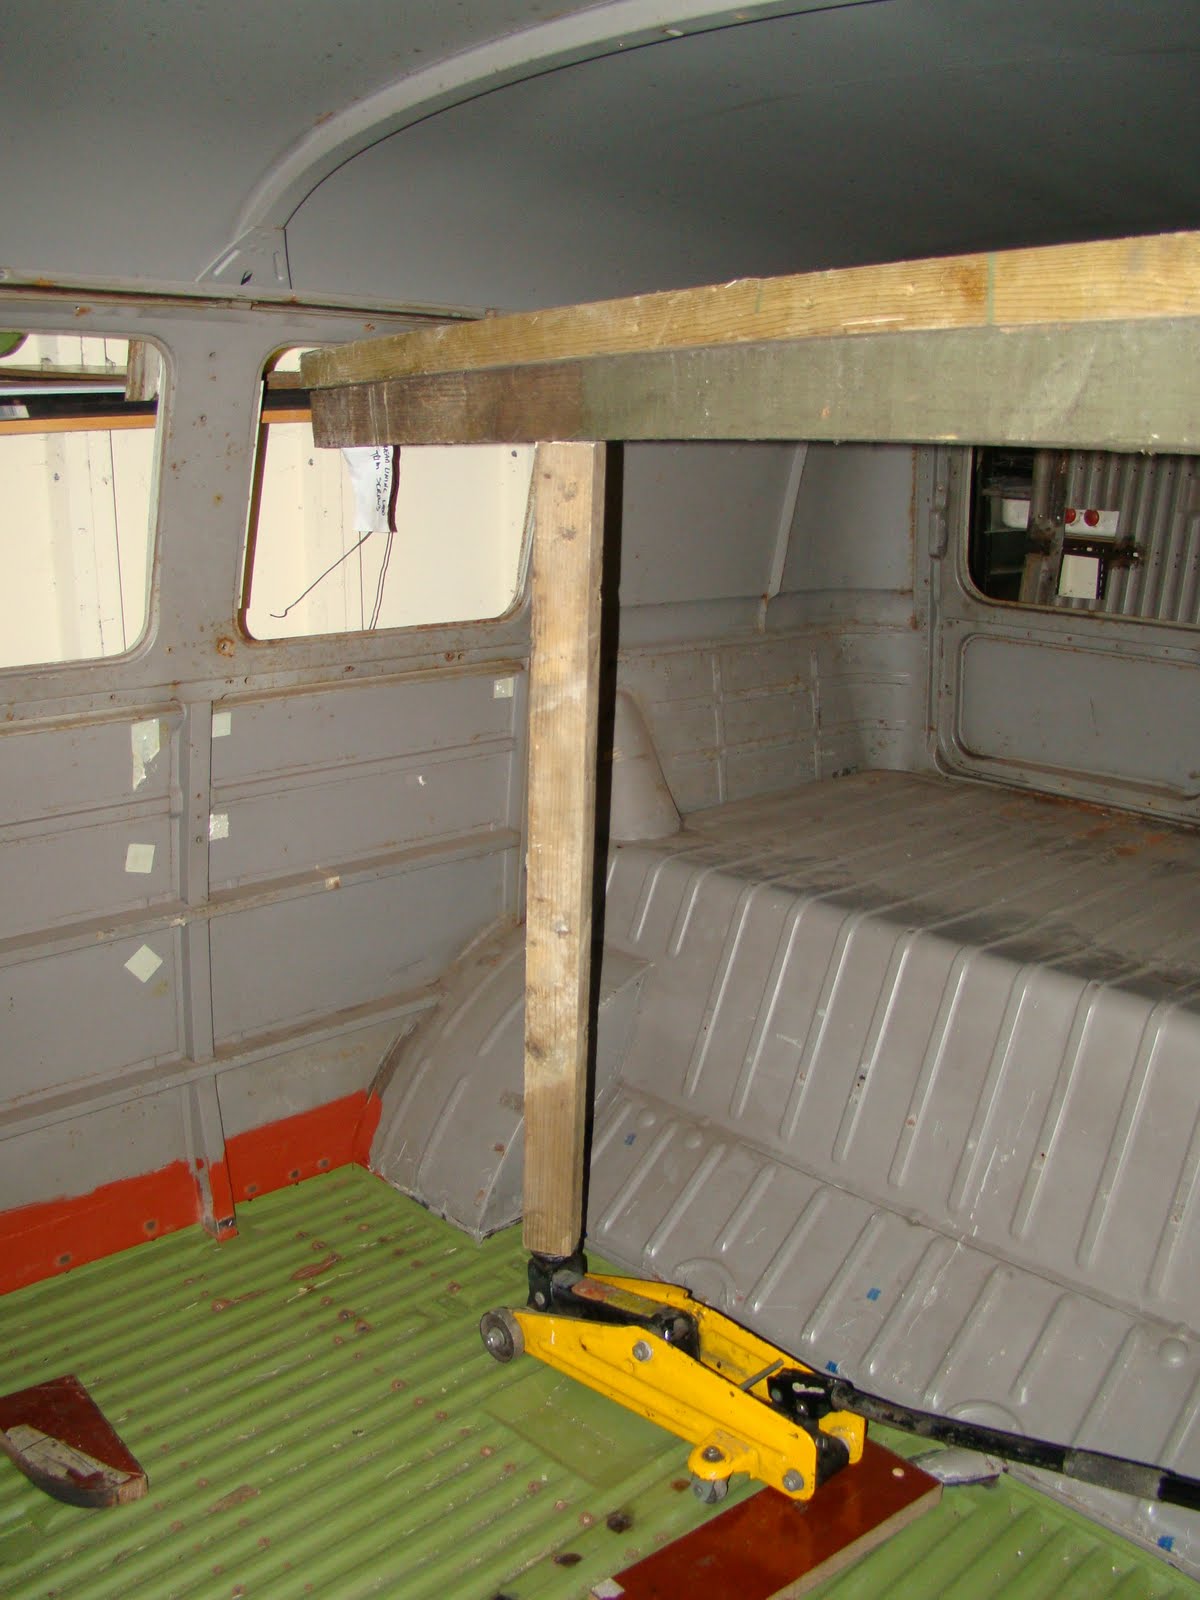
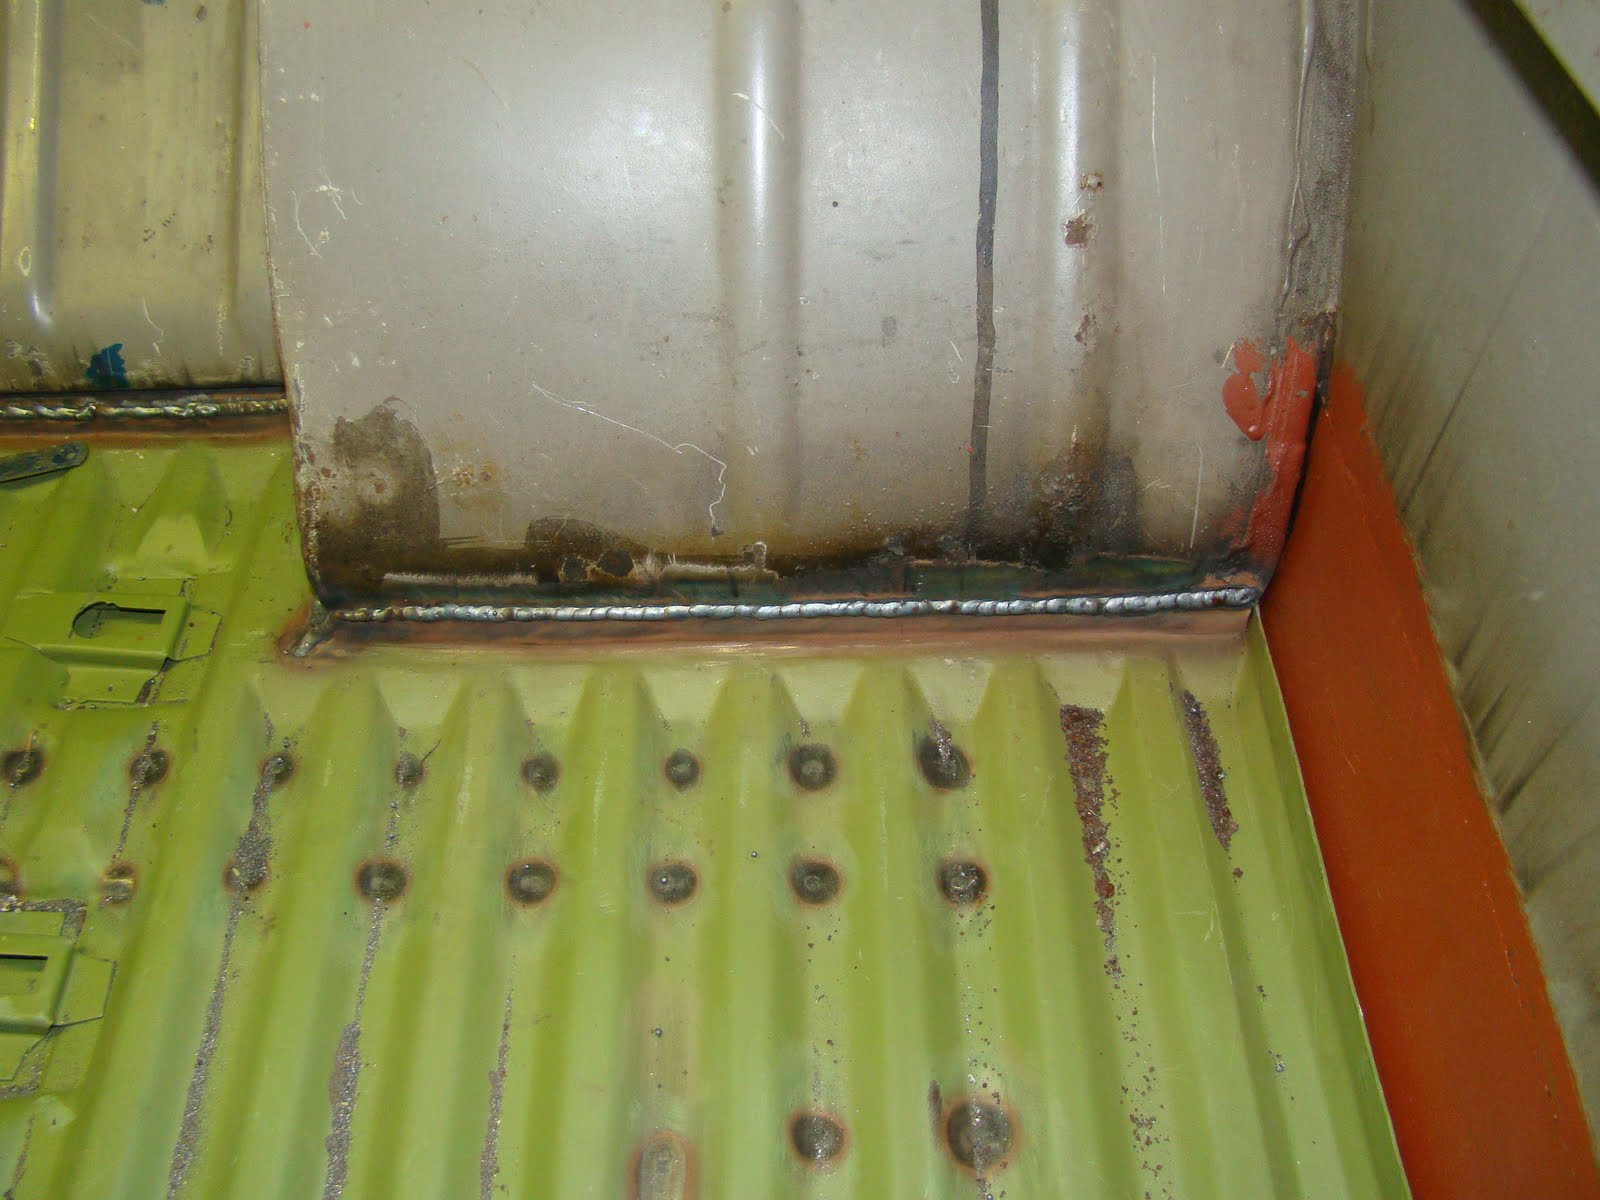
 This worked OK for the back welds but when I took the contraption apart to move it forwards to use it on the forward places that I needed to weld, I discovered I had pushed my window and door frame up (who would have guessed using a trolley jack inside a van...) This was a very silly mistake to make. The door frame I managed to persuade straight again but I'll need to make a dolly up to fit between the window frame skins.
 I then tacked welded the edges around the floor and finished carefully with seam welding the back joint below the engine bay bulkhead.


Clean up and paint, Job done.


