Showing posts with label Cab Door Repair. Show all posts

Cab Door Bottom Repair

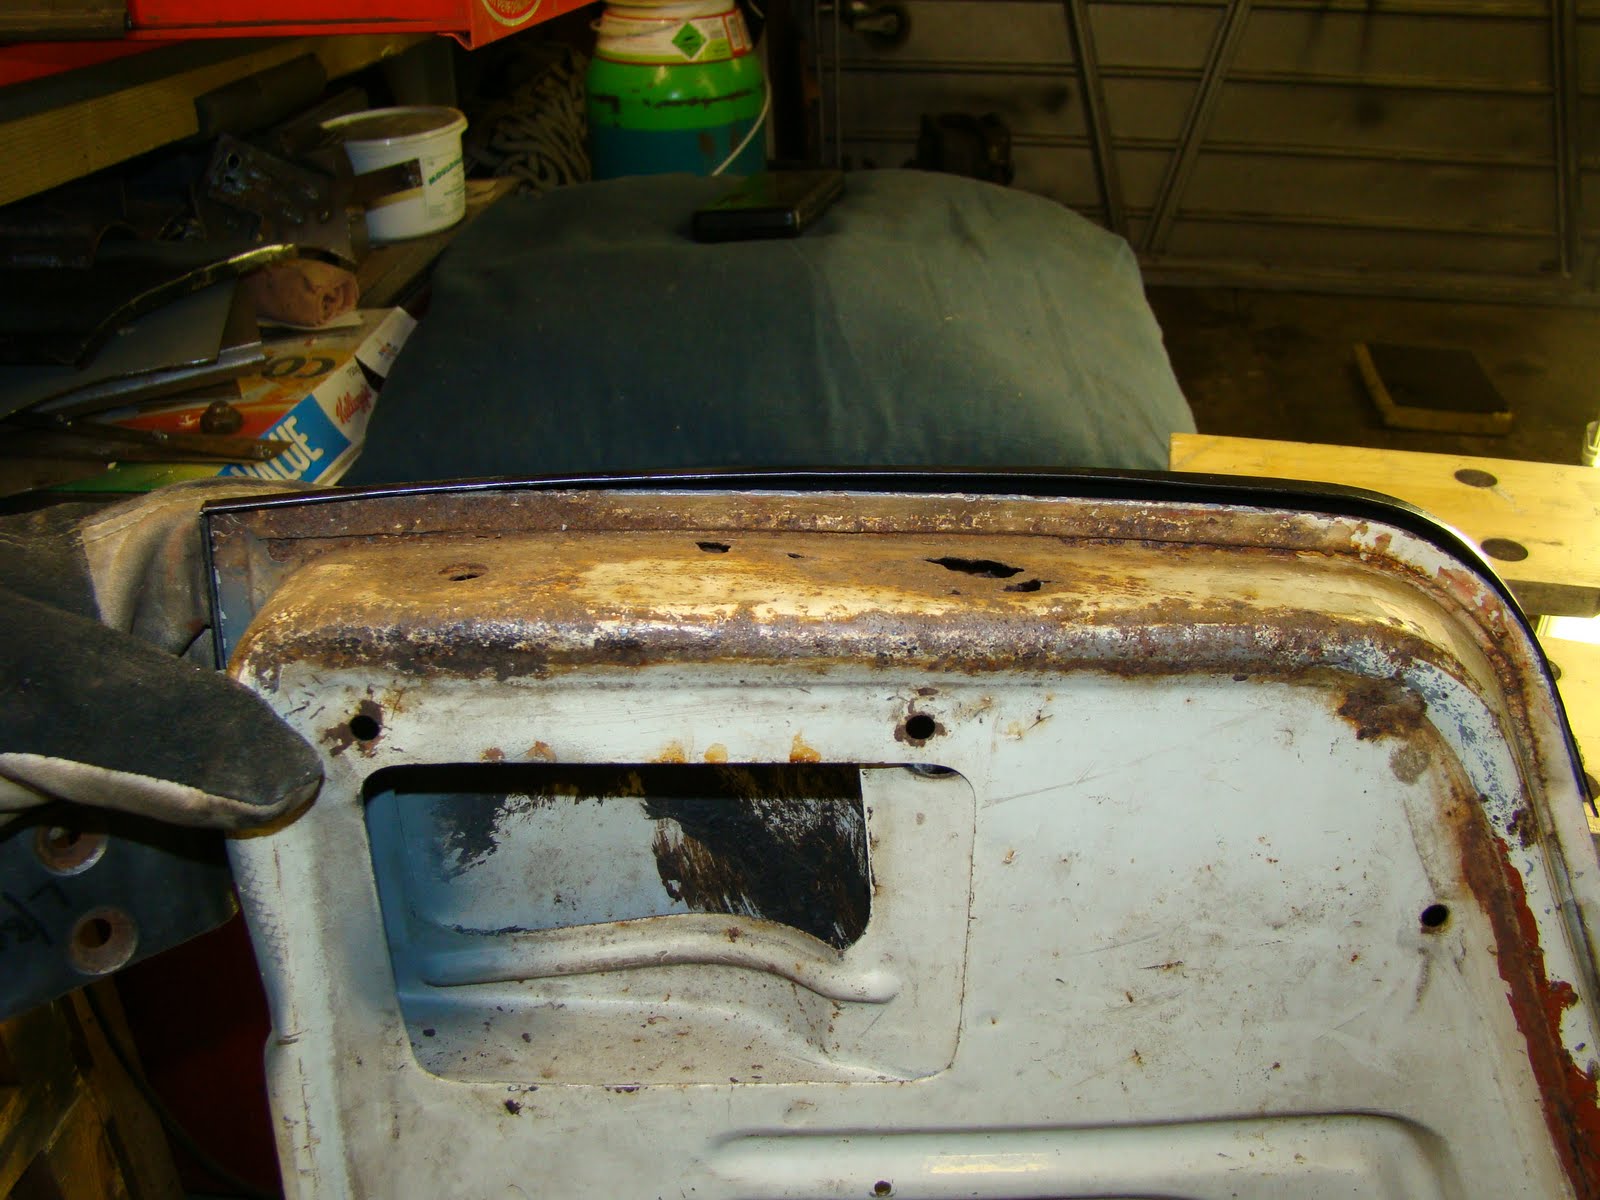
After the door was dipped I was left with a bunch of pin holes on the inner part of the cab door bottom all along its lower edge.
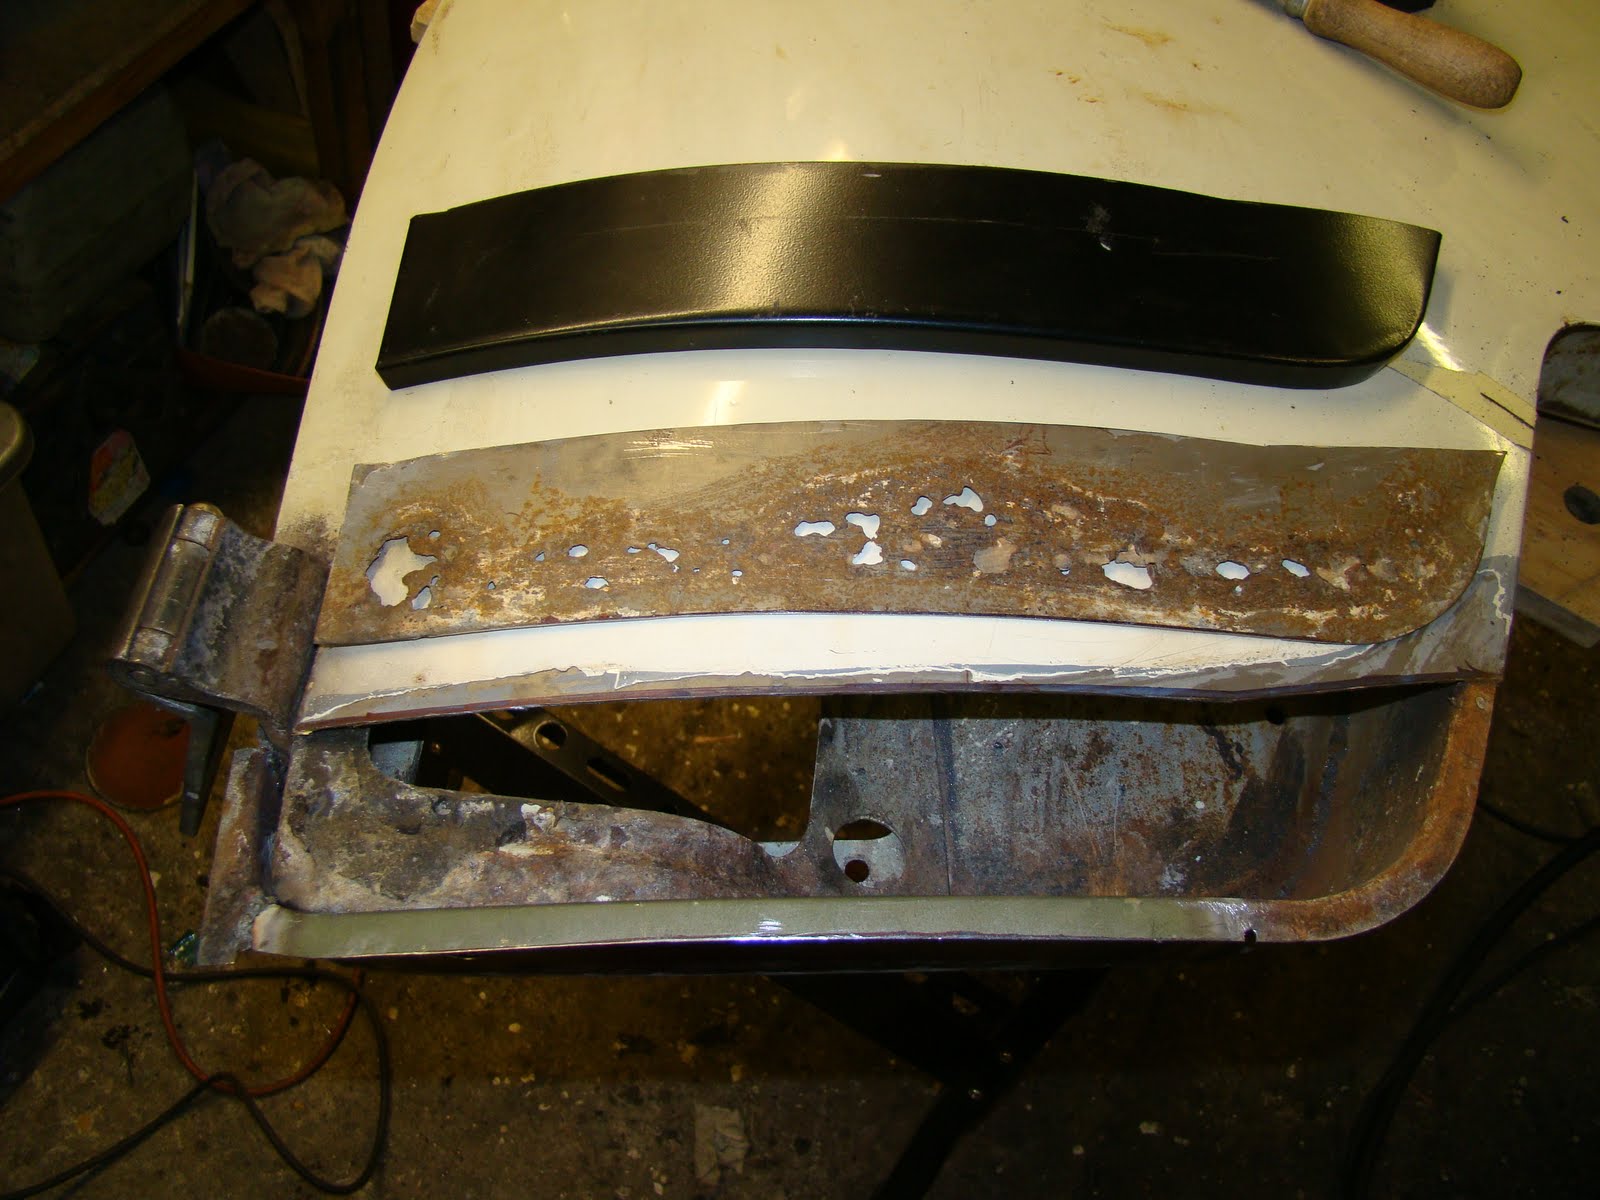
Also the folded seam of the outer skin was holding the treated rust under it, After bending the lip up it revealed all the corrosion scar along the inner skin.
 
 
I decided to cut away the bottom of the door skin and use the cheap repair patch I had rather than make my own repair as I did on the other door.
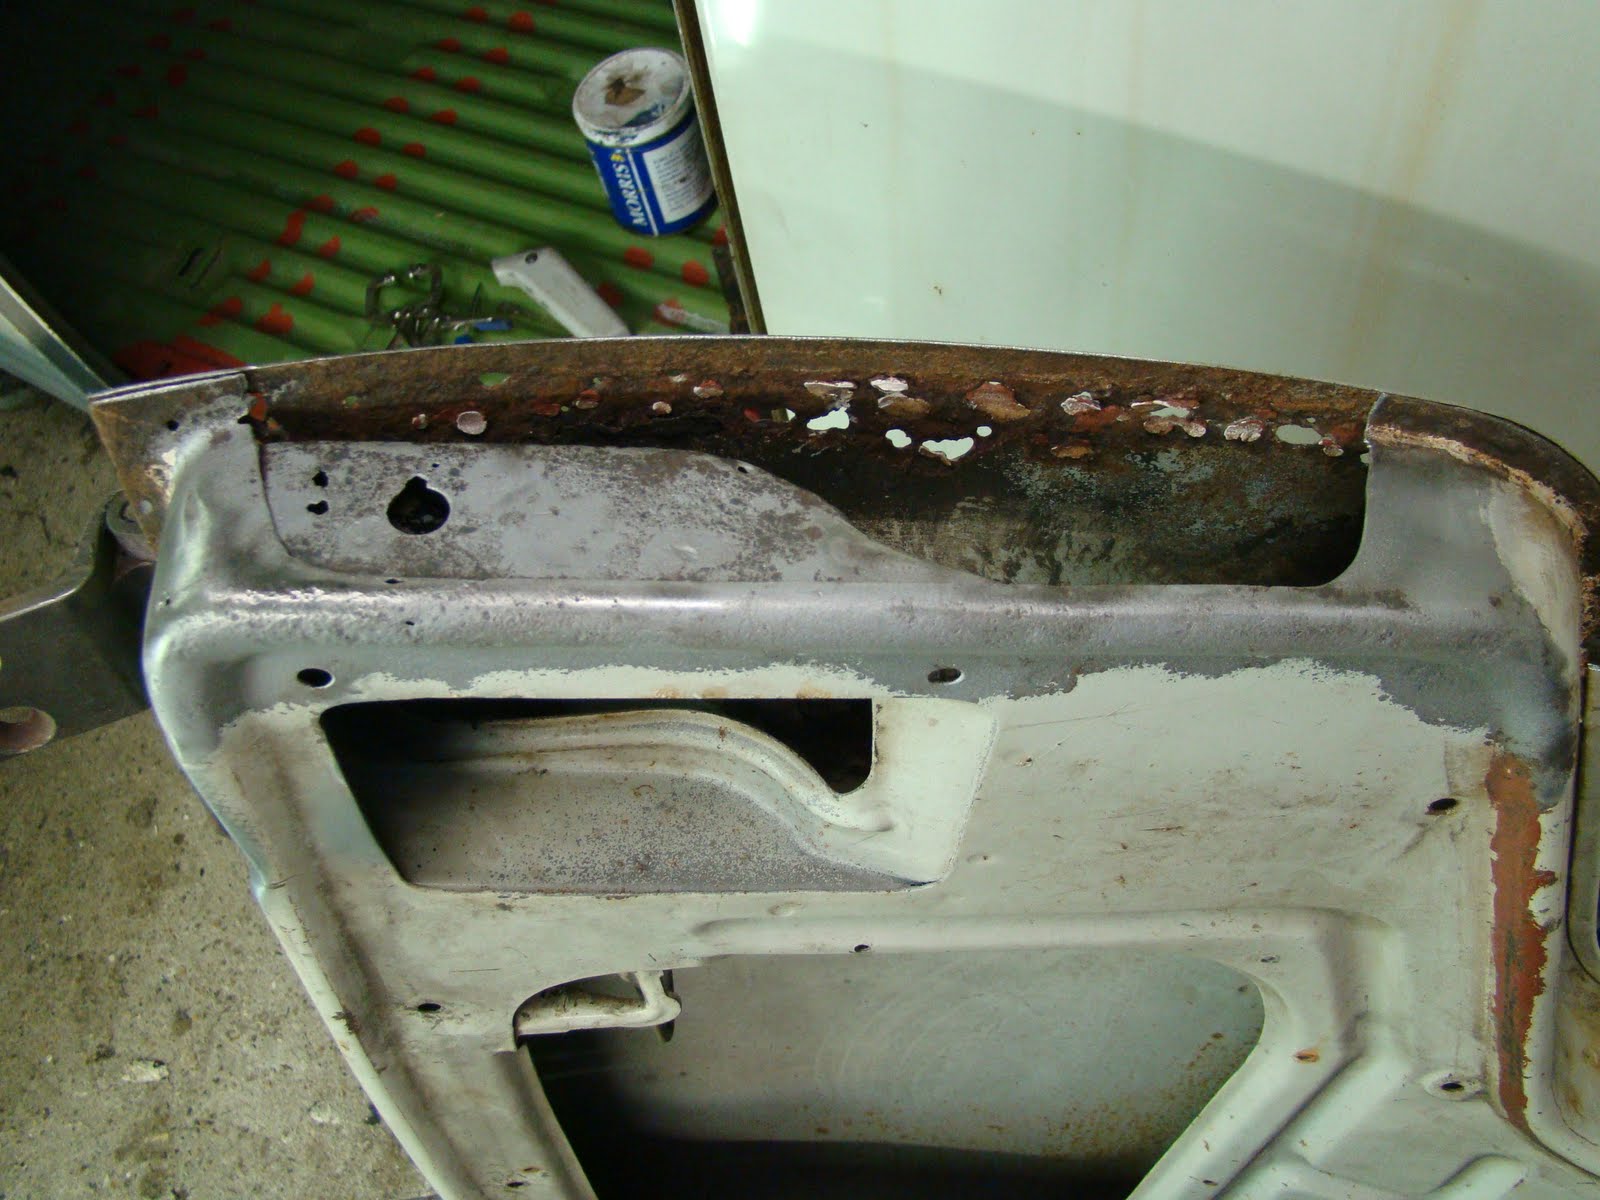
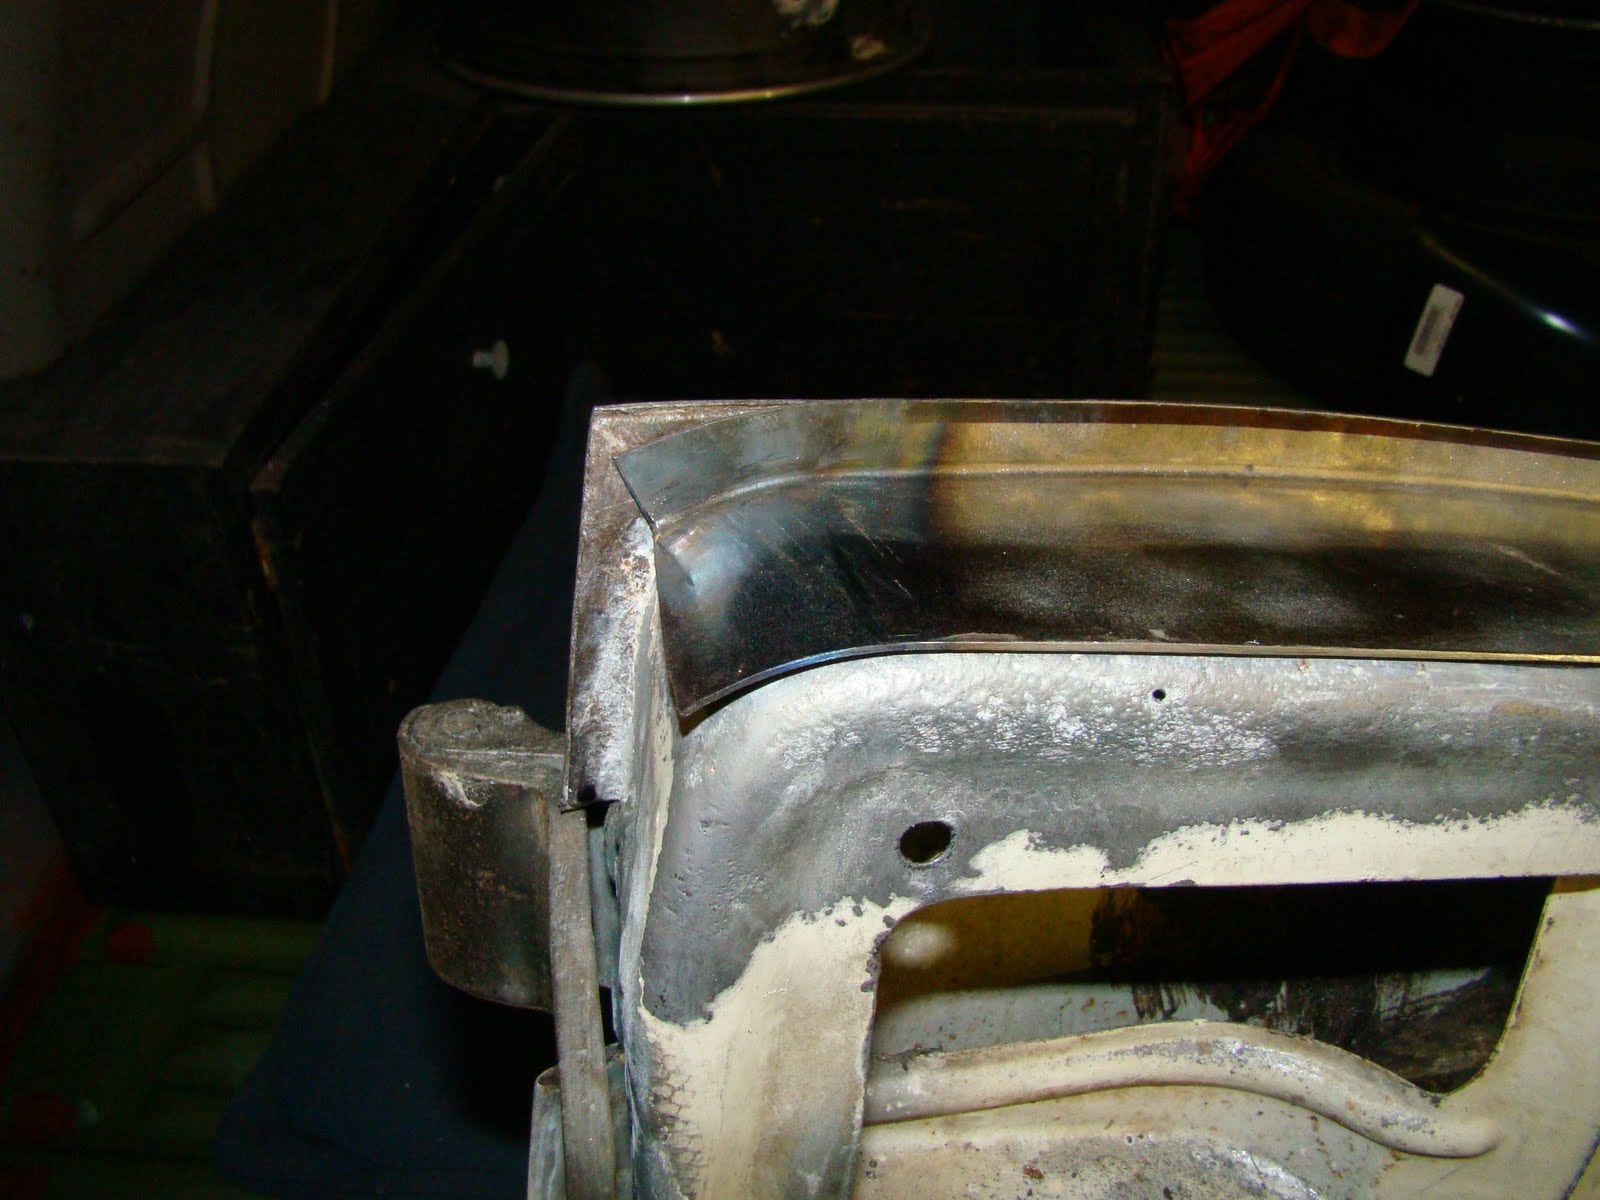
Using a copper strip (folded from a piece of pipe) on the out side edge I tacked up the pin holes while decent access was available to the inside of the door skin.
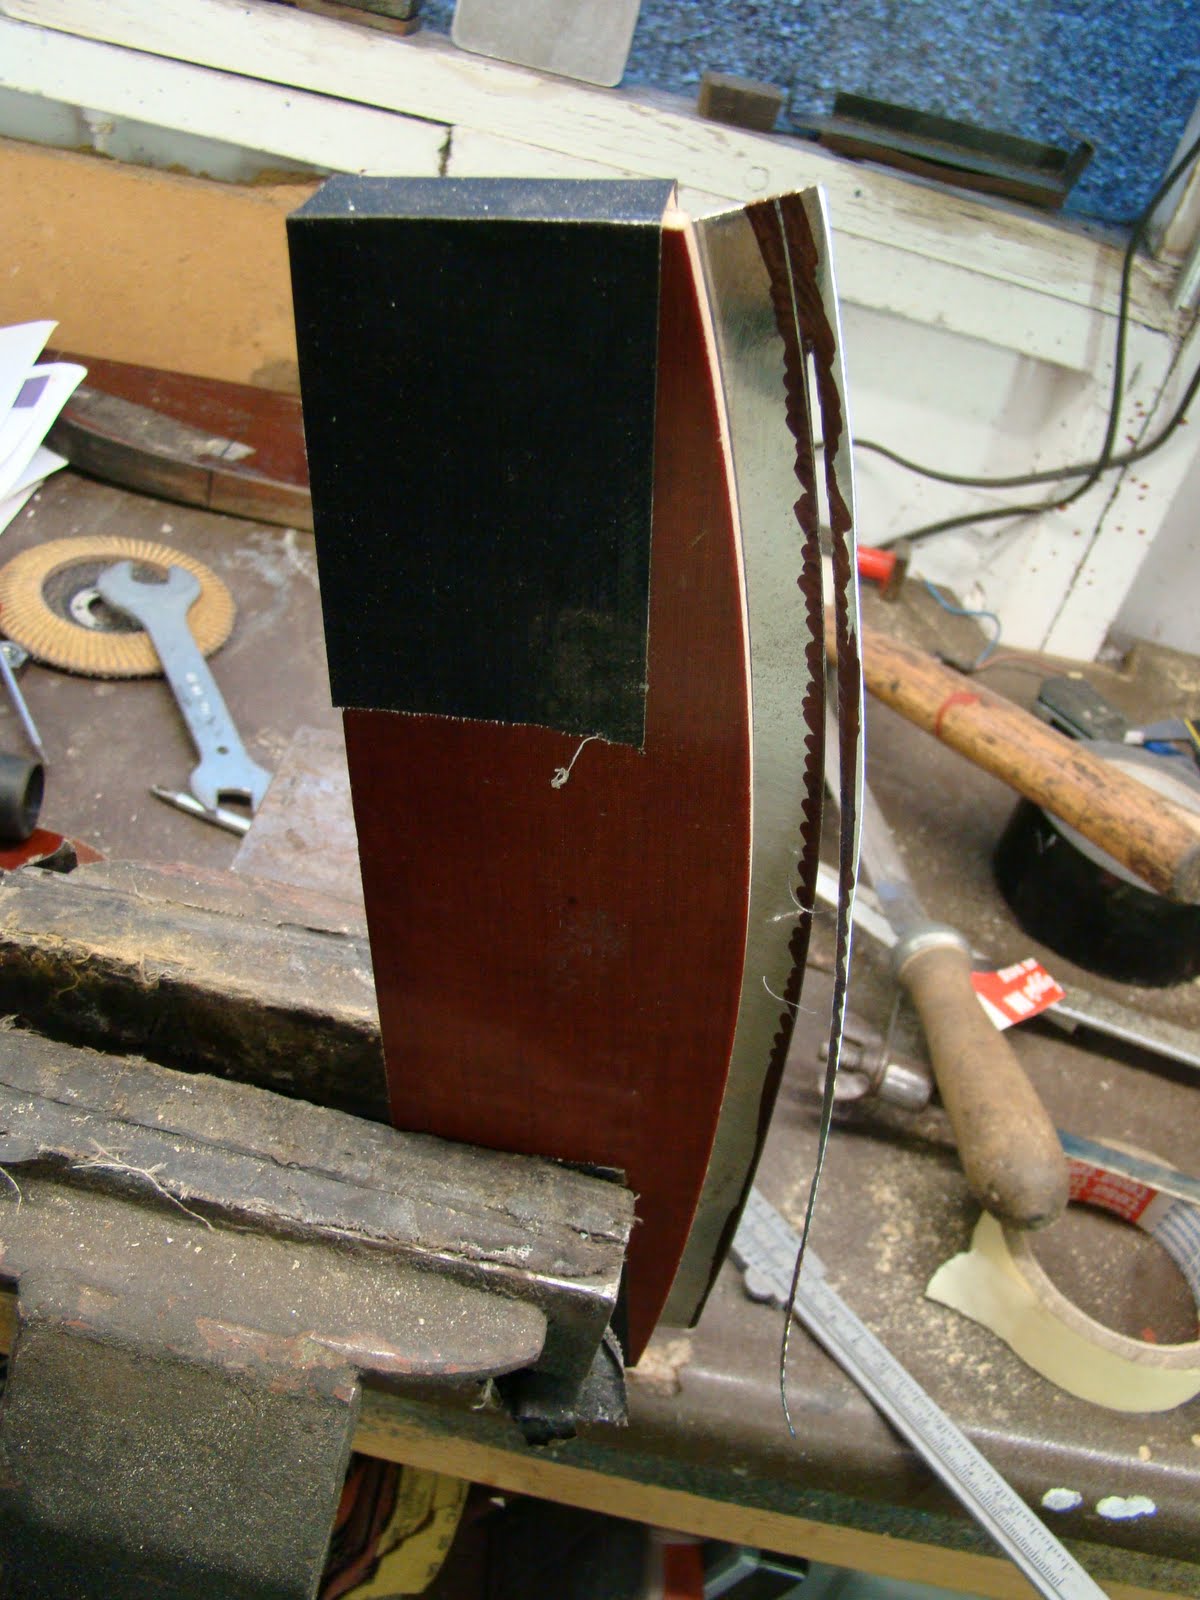
The bend block I used to make the other door repair patch came in handy to get the new piece bent correctly, I should have double checked this against the wheel arch so it was bent in the correct position.
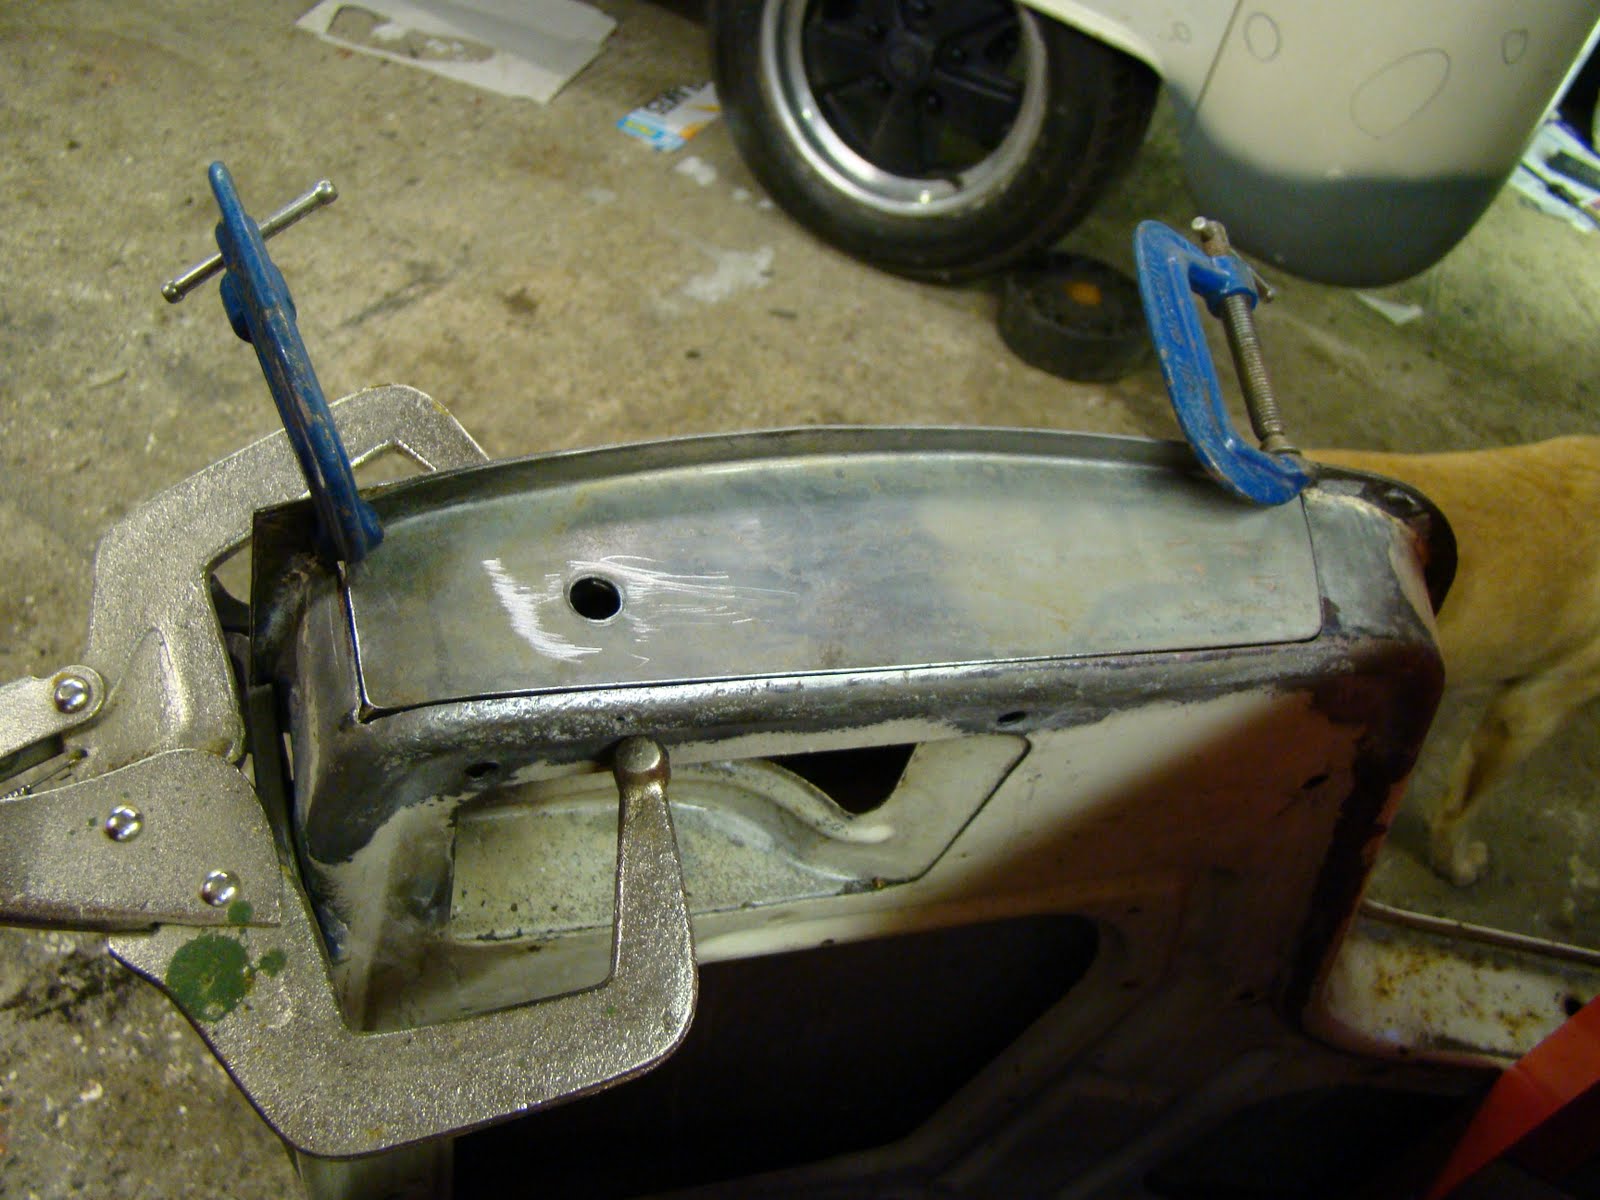
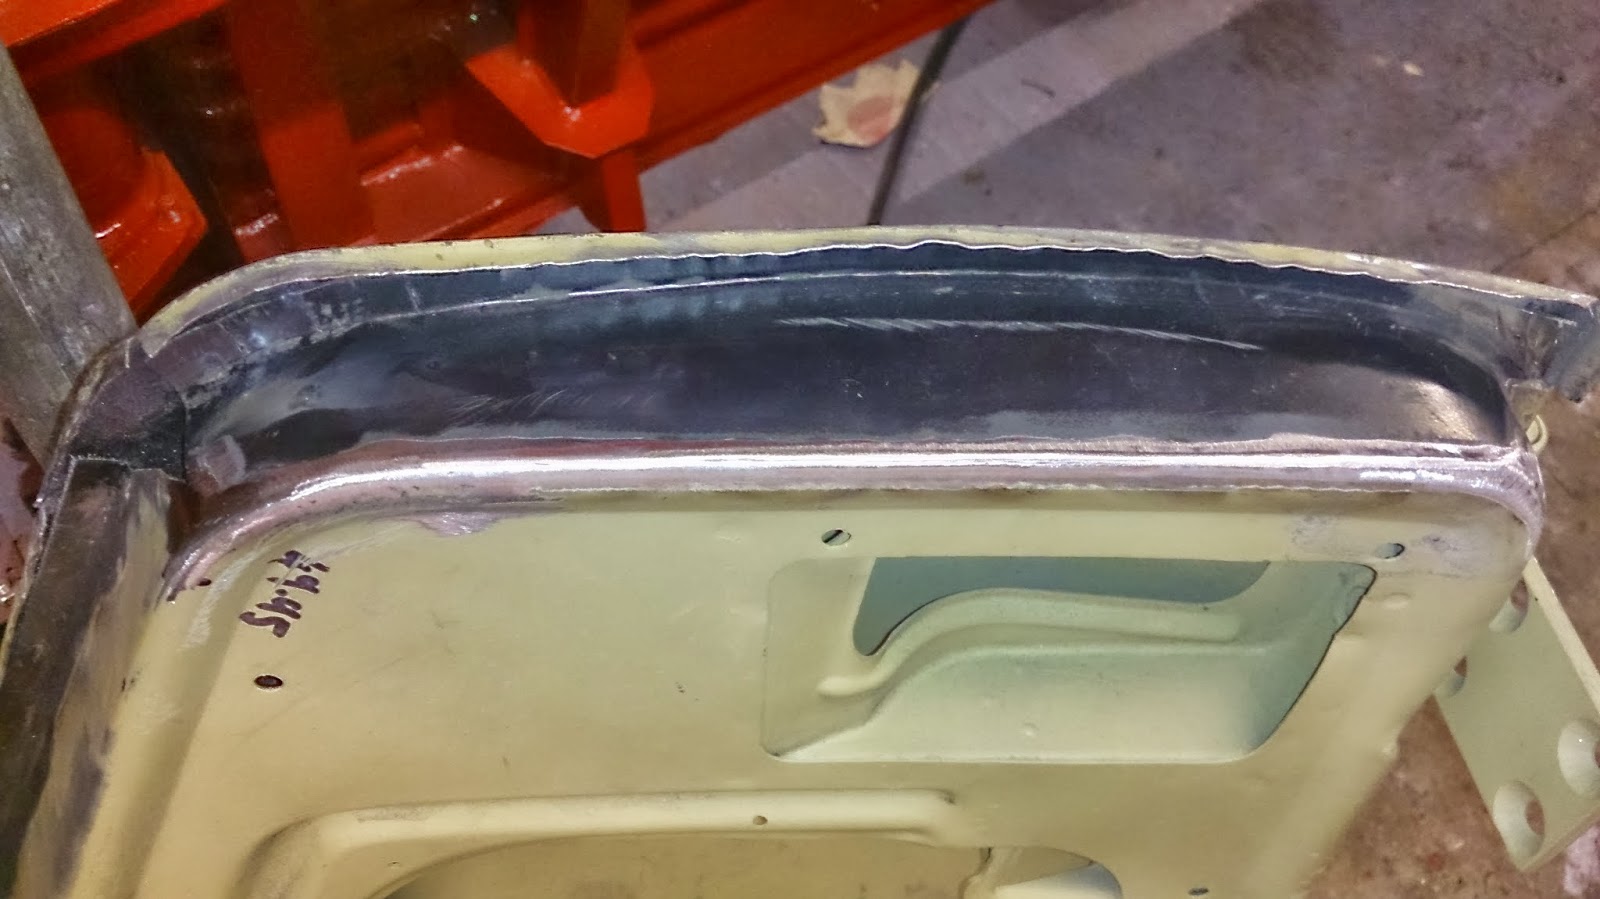
The damage along the lip was easily repaired with a bent strip, I made the strips upper lip wider than the original damage so that I was welding and grinding on the flat part and not in the inner radius of the door skin
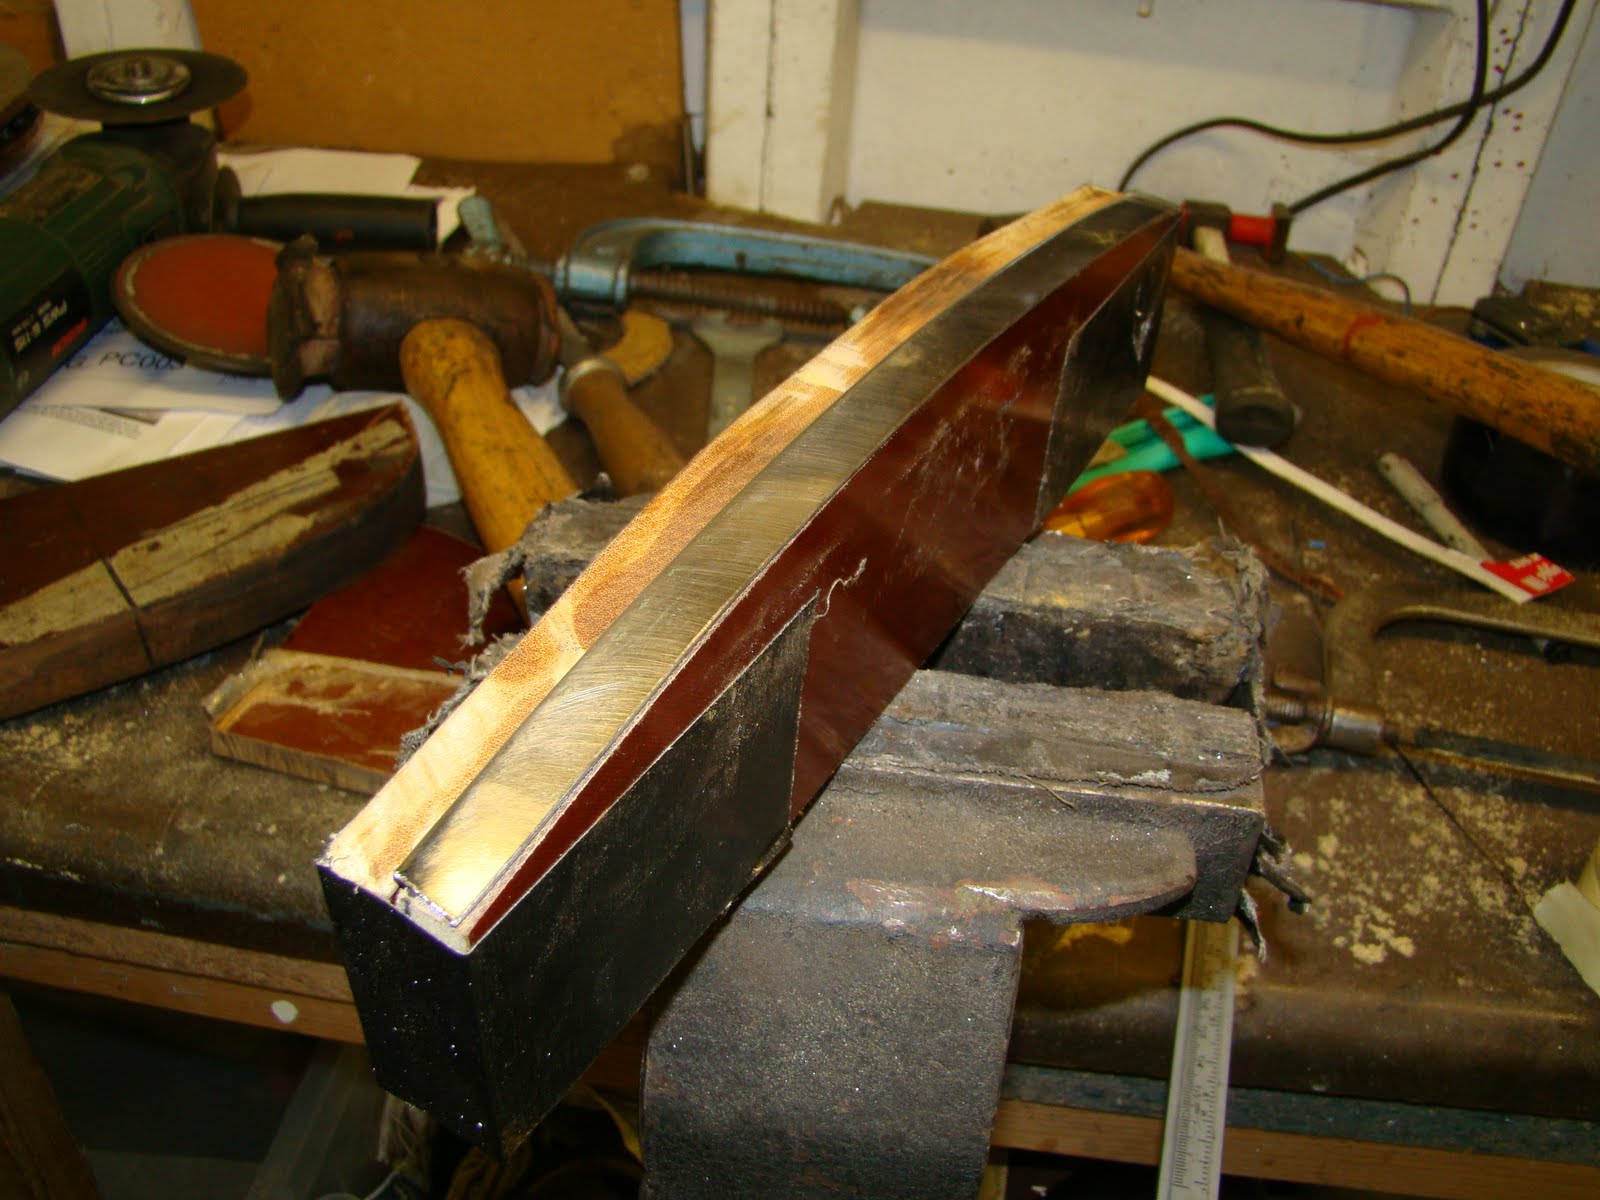
Once I had the curve correct, I had to trim the repair section at the ends around the curve as it did not fit the doors profile correctly
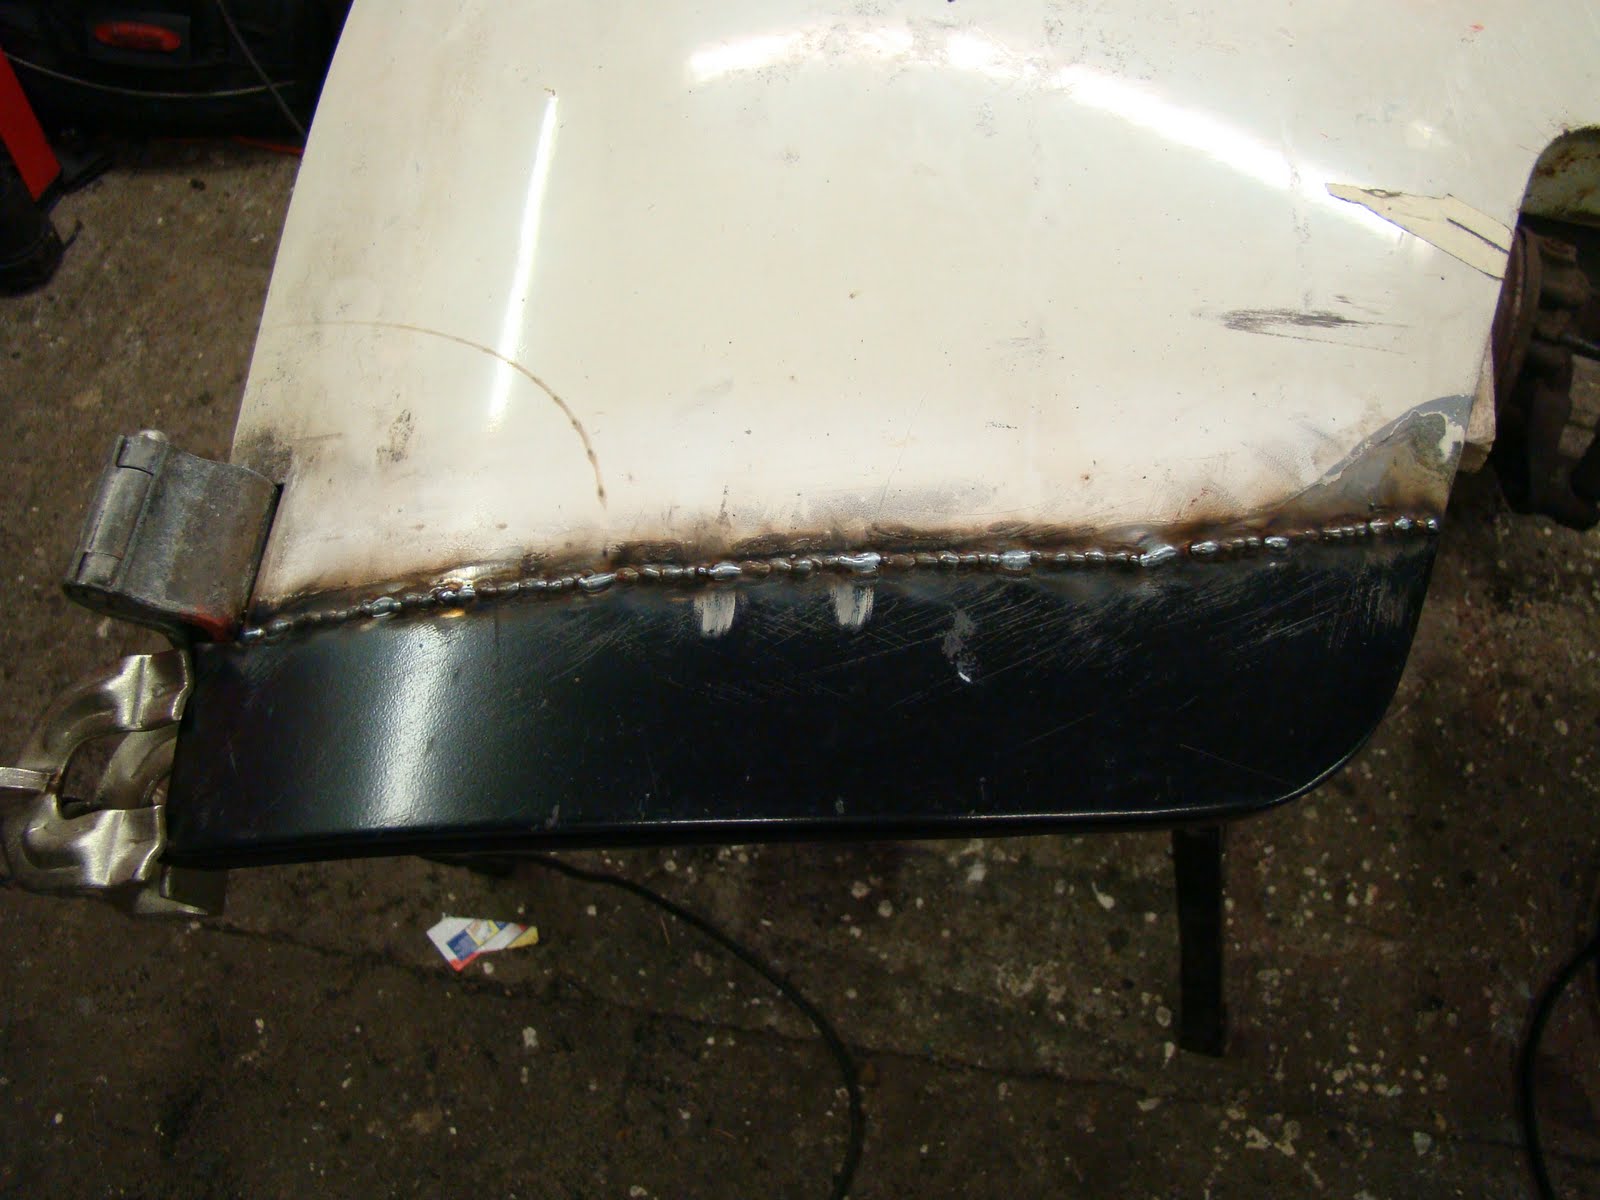
The experience of doing repairs on the van I found the best result for a clean but joint once ground down are achieved on the external radius of a panel.
With the lower repair finished I think I should have made my own repair piece in one piece rather than cut and patch the cheap one.
I found myself chasing the small pin holes in the door with the welder. They looked like tiny holes on the outside but the corrosion on the inside had really thinned the metal.
I combatted this with a very low setting on the welder and the copper strip to absorb the heat from the back of the welds.

Cab Door Bottom Repair

This is a more a picture than word post on how I repaired my cab door bottom. The rust has been hidden under a layer of filler and rattle can primer, and has kept well since I first covered it up 20 years ago.

Here's the repair patch lined up on the outer skin of the door. And the rust hole that I didn't notice until the door was off.

Before I could patch the outer skin I needed to do something about the big hole. I carefully ground the folded lip off the bottom of the door skin.
 
With a cardboard template I cut a bending block out off hard wood lamite block.
 
Then cut a 15mm lip to bend over the block for the patch.
Then hit it a lot
I cut and chain drilled the rusted skin out tidying the edges with a die grinder.
Then stuck it in my sand blaster, there was a little leak of blasting dust as I couldn't quite get the door fully closed.

I treated the rest of the pitting with the rust blast treatment and a wire wheel.

 
Before I cut the patch to size I stretched the end to fit the profile of the corner curve,

I didn't leave enough material to fill the whole of the lip but figured it is going to be well tucked away and forgotten about.
Satisfied with the curve I treated the metal, punched the drain hole back in place then trimmed the patch to fit the hole.
Welded it in and cleaned it up just like that, (actually 3 day work and two patch attempts)


Once the inner skin was repaired I could cut away the outer, to reveal more rust.
Back into the sand blaster and another treatment of rust blast.
Any holes were plugged and cleaned up.
Applied a decent coat of rose blush lip stick.
Then tried out my new over priced panel clamps that get stuck in the gaps if the metal warps from the heat of a tack weld. Another tool I should have brought at the start of the restoration.

A tack weld, or two


Then a lot more tack welds, Still finding it hard to stay patient enough between welds to keep the panel cool.

I had to trim the lip a little so it did not foul once bent over.
I took the door to collage and panel beat the dents and warps out, using the skin File to find the high and low spots.
Then primed and back on the van job done. Next...

Panel Beating Cab Door

With only a few more panels and parts left to repair, my focus has now turned to preparing the body for paint. Having only rarely lifted a hammer in anger I decided last summer to try and get on a restoration course at college to learn how to hit the van to get the dents out! After reading VolksWorld's article on their test car I decided to give North West London College a try.

Attending the college evening classes they gave me the heads up on panel beating by starting with a mini front wing. With the basics under my belt I though I'd try my luck at getting the dent out of my front door. I filed and polished up the block and hammer until both were smooth, otherwise I'd press these imperfections into the doorskin which would be rather counterproductive even by my standards. So then I got to work getting the worst of the dent out.

I pushed and beat the dent from the inside to start, then using the block on the inside started to persuade the rest of the dent through. This is hard to explain with just pictures, something I'm still trying to get right. When you get a decent strike between the hammer and the block there's a satisfying "ting" which squashes the skin and raises it up depending how hard you hit it.

With a little of the dent raised I filed over the area with a bastard file taking off the paint and showing the high areas, this let me work on the lower points.

With a bit more beating and filing you can see the skin looking smoother but the low points started to spread.

I then used a rattle can of guide coat paint to replace the paint I'd removed from filing, this stuff dries in 30 sec.

With another file over the top it reveled the a final few low spots that needed beating to get the area smooth.

This took about 2 hours, the hardest part is not hitting the panel too hard thus making it stretch and bulge. I also had to make sure that I didn't mistakenly hit the dents around their edge and end up chasing it across the panel.

Then a final coat of filler primer to protect It for now. It doesn't look too bad and not a pot of filler was opened. A coat of gloss paint should tell how good my handy work turned out.

I have just awarded myself the Panel Beater (Stage 1) badge.