 This is a more a picture than word post on how I repaired my cab door bottom. The rust has been hidden under a layer of filler and rattle can primer, and has kept well since I first covered it up 20 years ago.
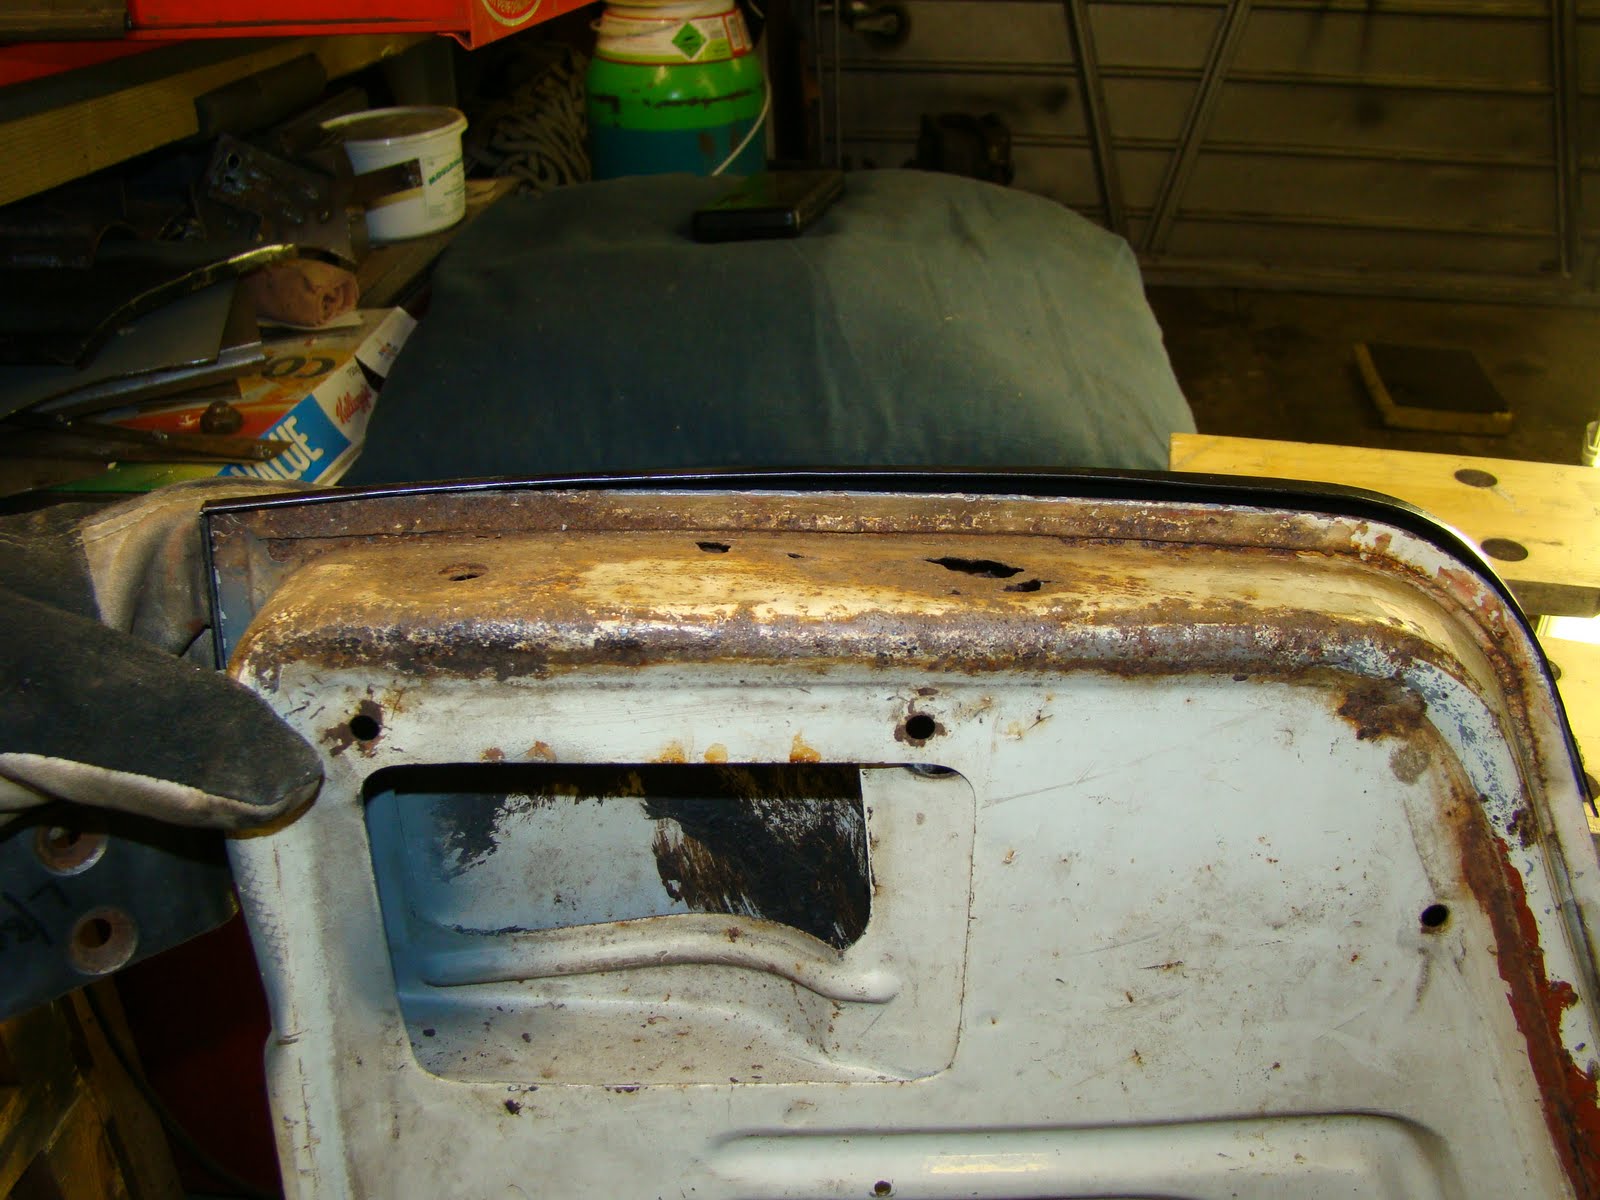
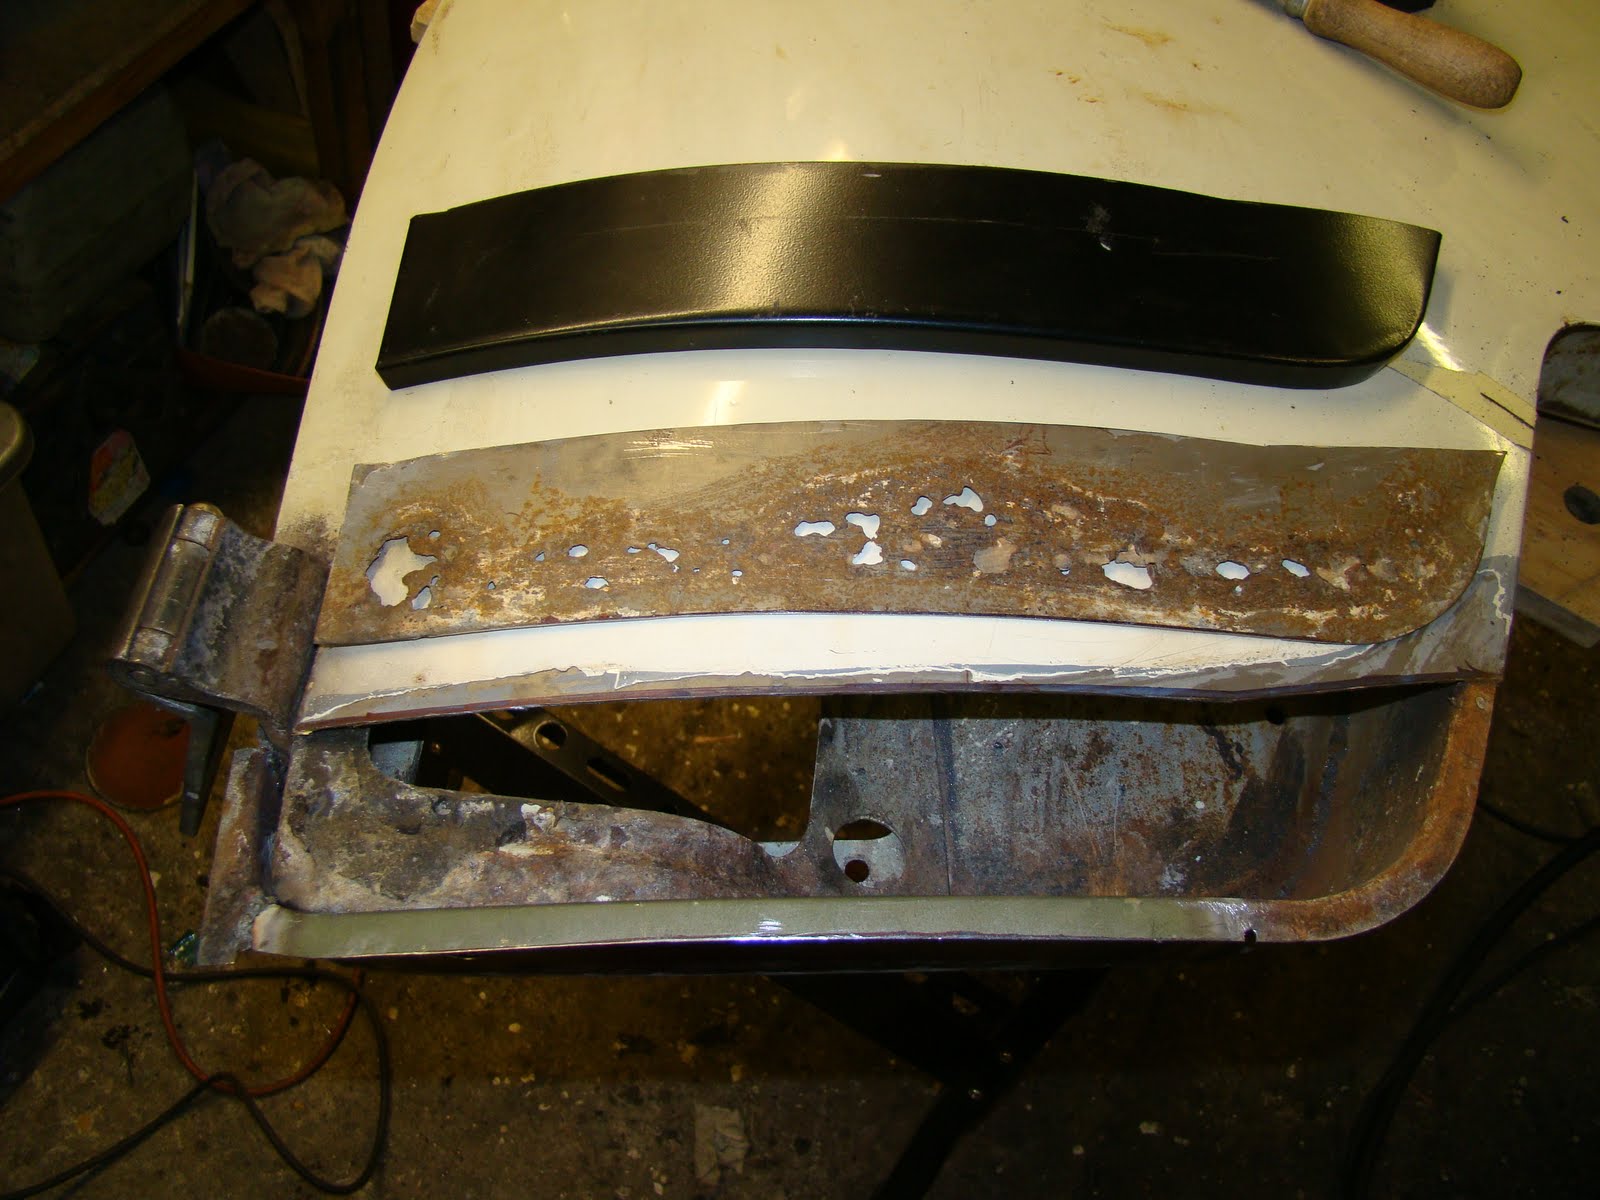
Here's the repair patch lined up on the outer skin of the door. And the rust hole that I didn't notice until the door was off.

Before I could patch the outer skin I needed to do something about the big hole. I carefully ground the folded lip off the bottom of the door skin.

Then hit it a lot

I cut and chain drilled the rusted skin out tidying the edges with a die grinder.

Then stuck it in my sand blaster, there was a little leak of blasting dust as I couldn't quite get the door fully closed.
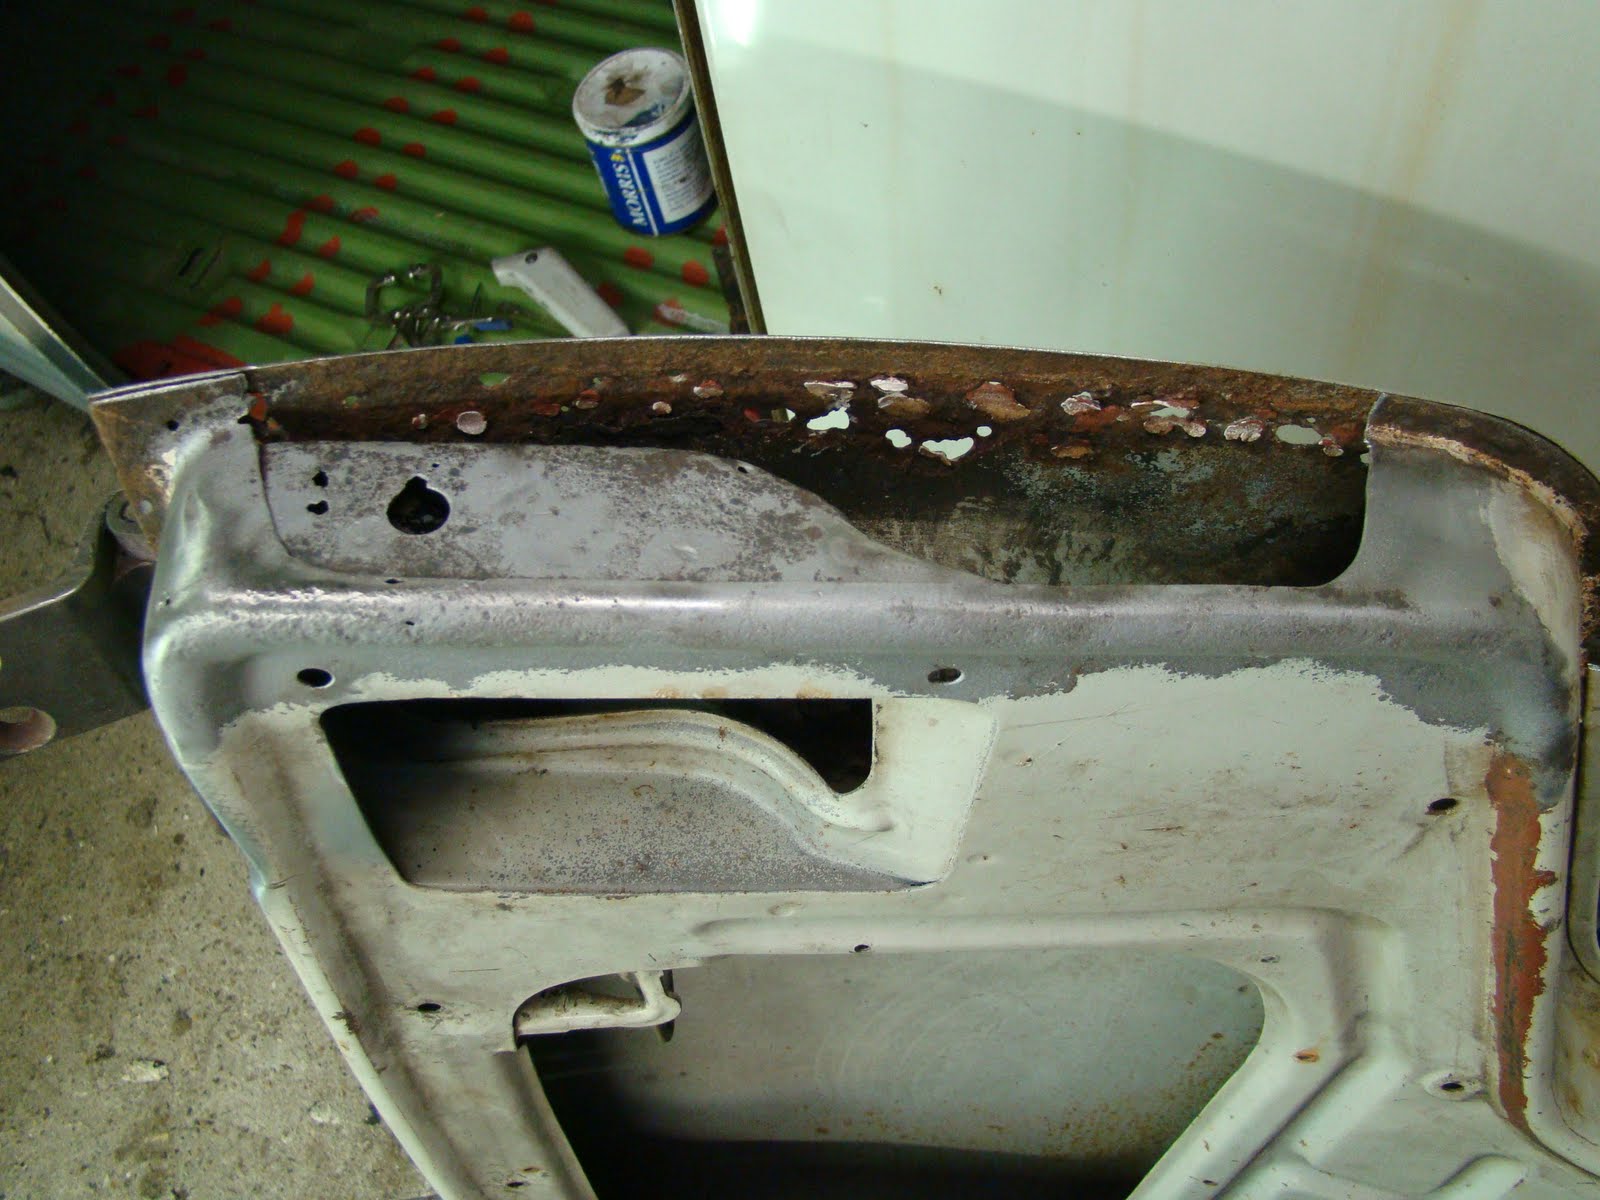
I treated the rest of the pitting with the rust blast treatment and a wire wheel.

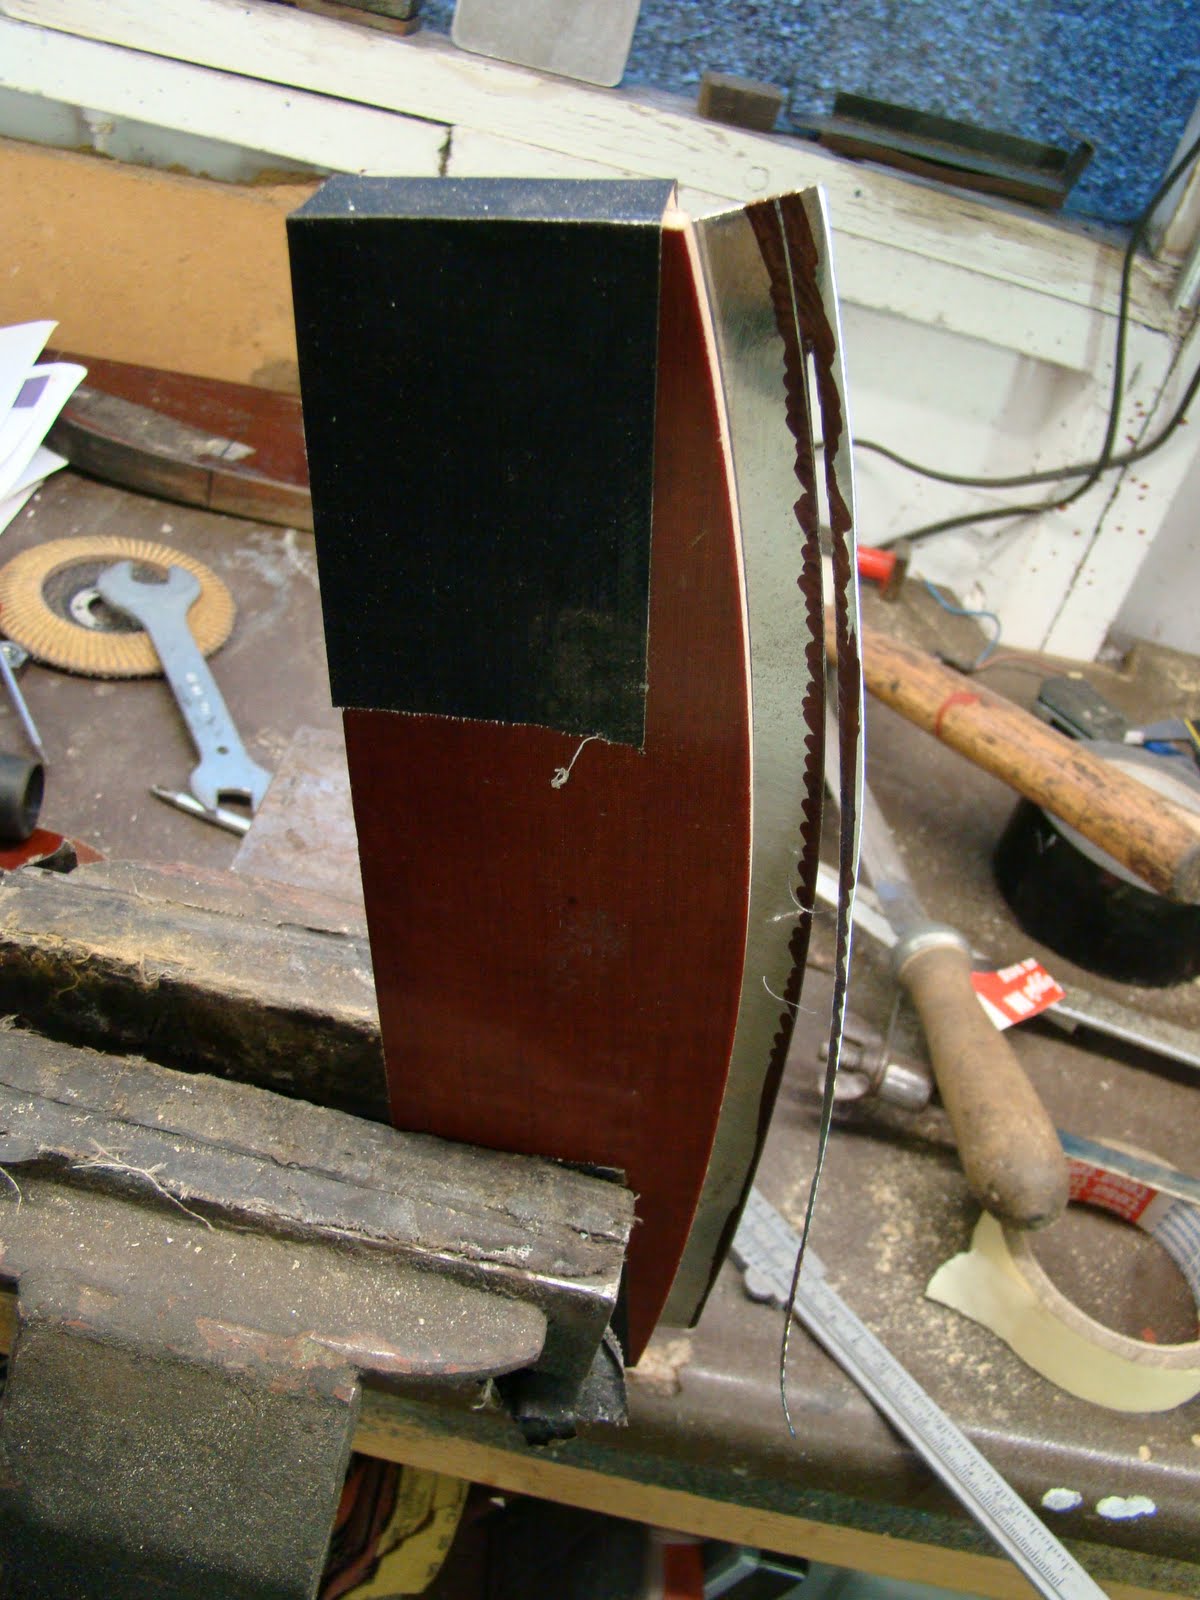
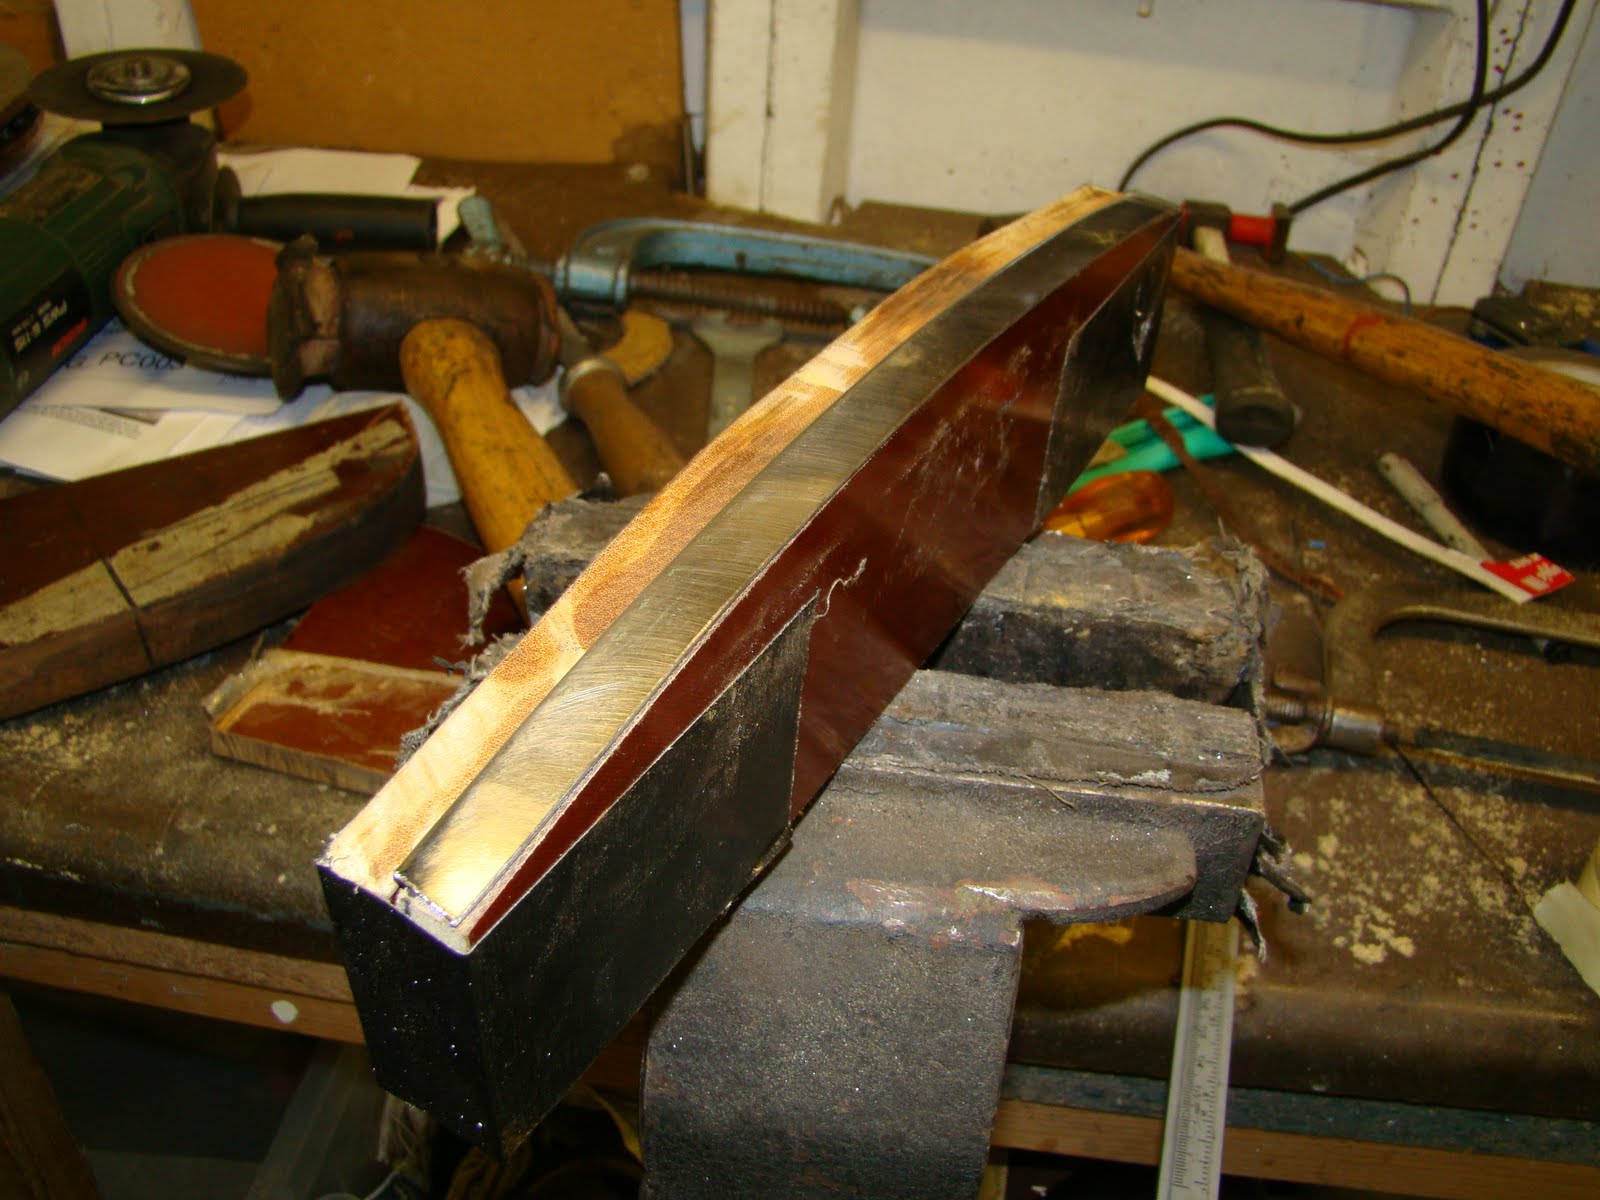
Before I cut the patch to size I stretched the end to fit the profile of the corner curve,
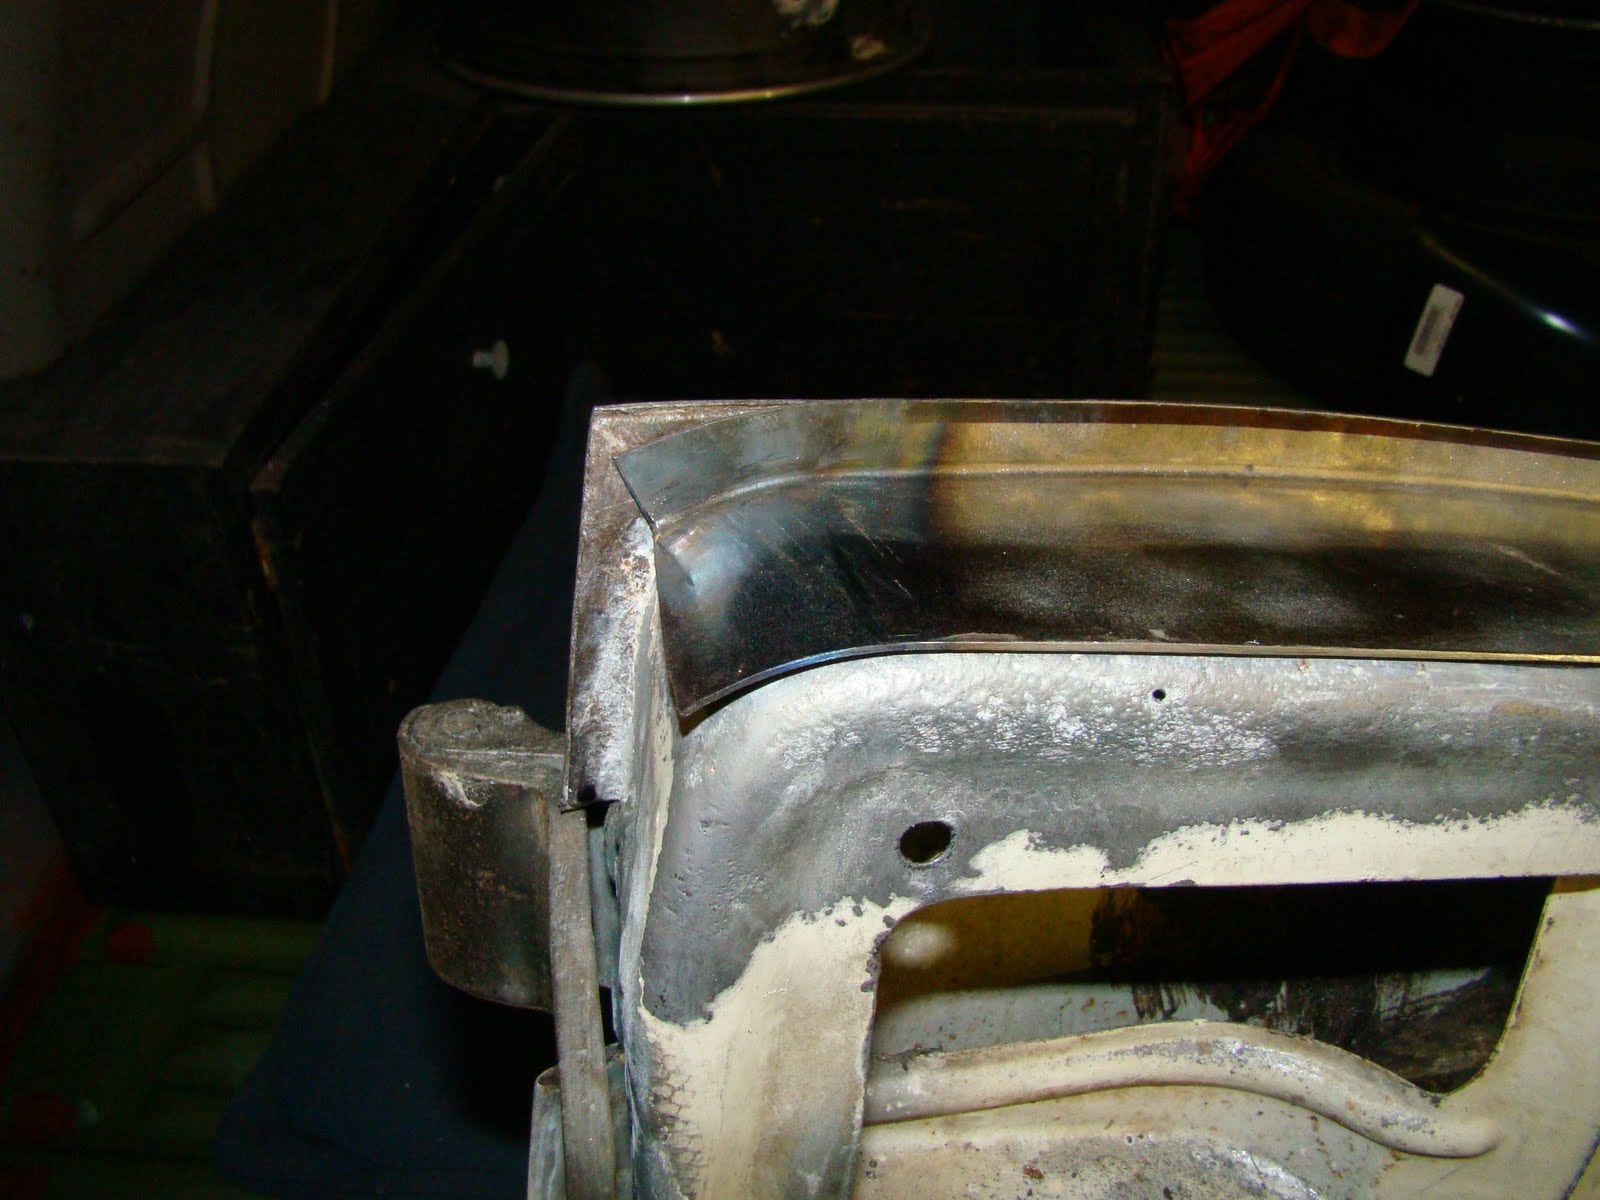
Satisfied with the curve I treated the metal, punched the drain hole back in place then trimmed the patch to fit the hole.

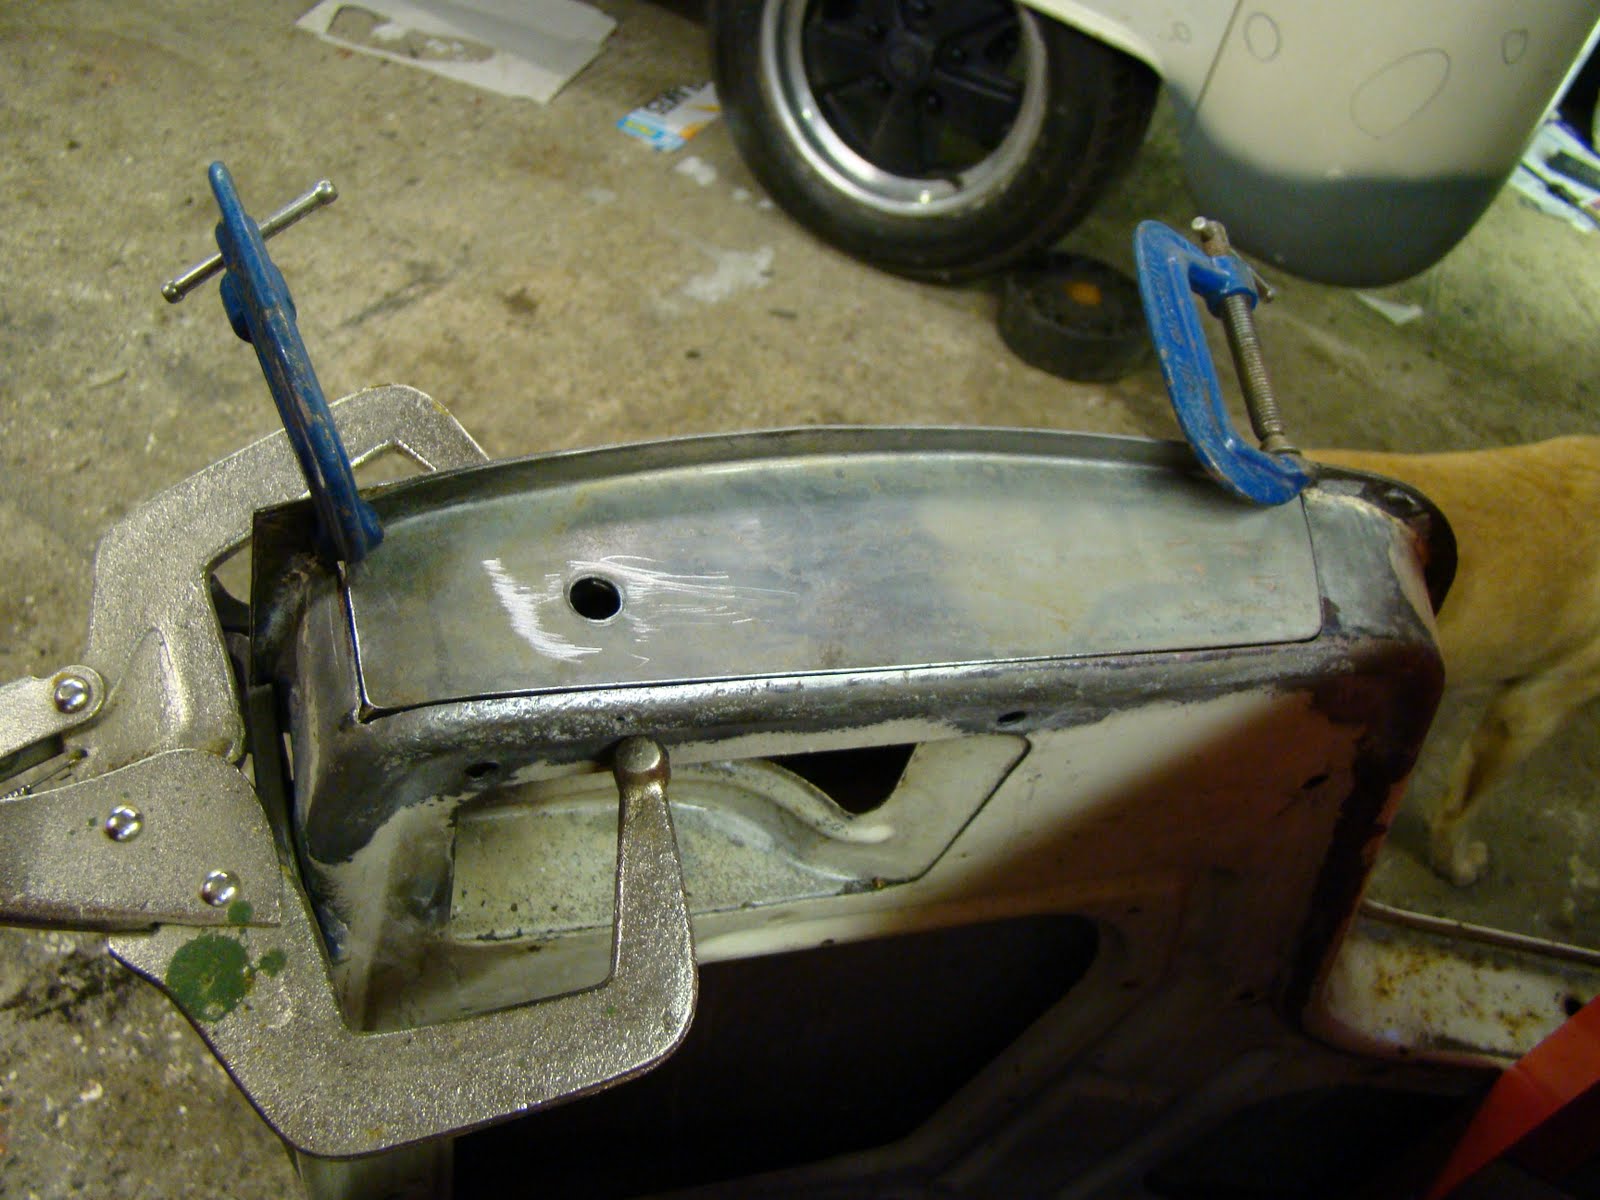
Welded it in and cleaned it up just like that, (actually 3 day work and two patch attempts)


Then tried out my new over priced panel clamps that get stuck in the gaps if the metal warps from the heat of a tack weld. Another tool I should have brought at the start of the restoration.

A tack weld, or two
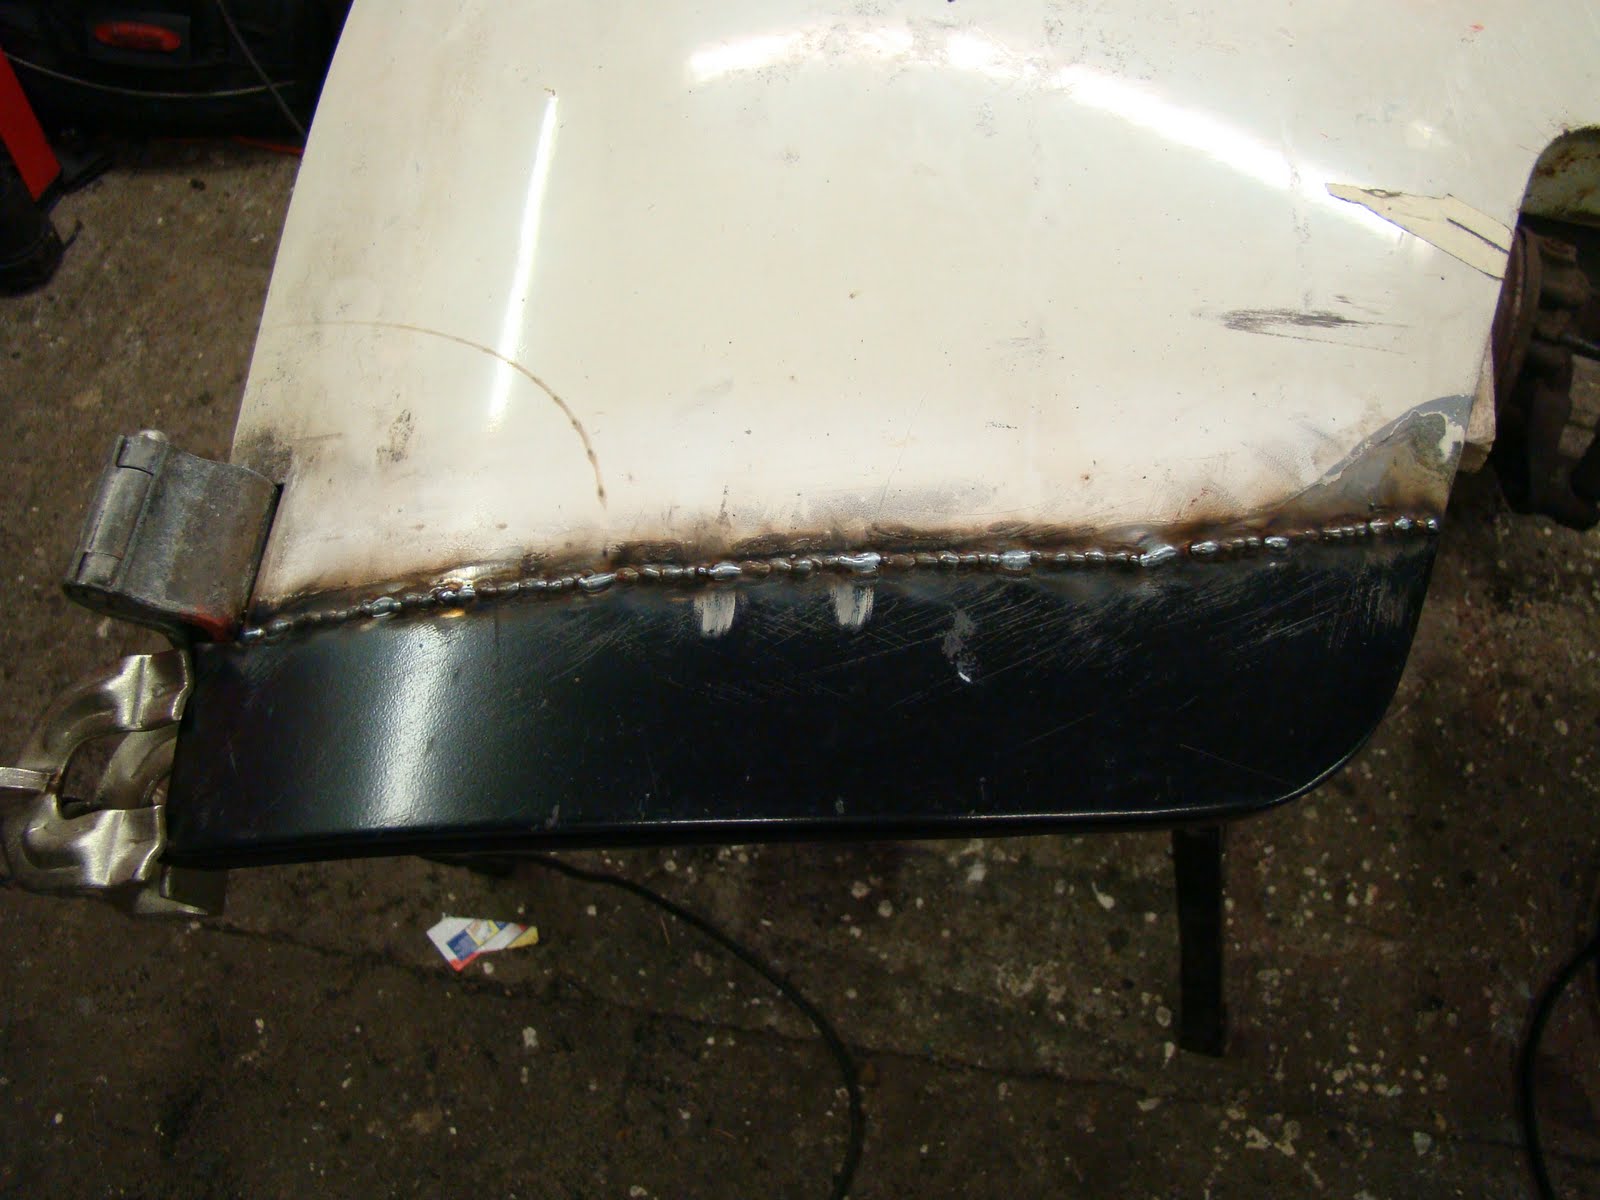
Then a lot more tack welds, Still finding it hard to stay patient enough between welds to keep the panel cool.


I took the door to collage and panel beat the dents and warps out, using the skin File to find the high and low spots.

Then primed and back on the van job done. Next...