With the van on its side I thought rubbing down and preparing to roof for paint would be a simple job, maybe half a day in the garage, a bit of sweat and a coat of primer and ill be onto the next job. I was very wrong.

I started by filing the obvious scratches small dents and patches of pitting left from rust removal at the chemical dippers. I thought sanding these back with a small flat rubbing block would be enough.

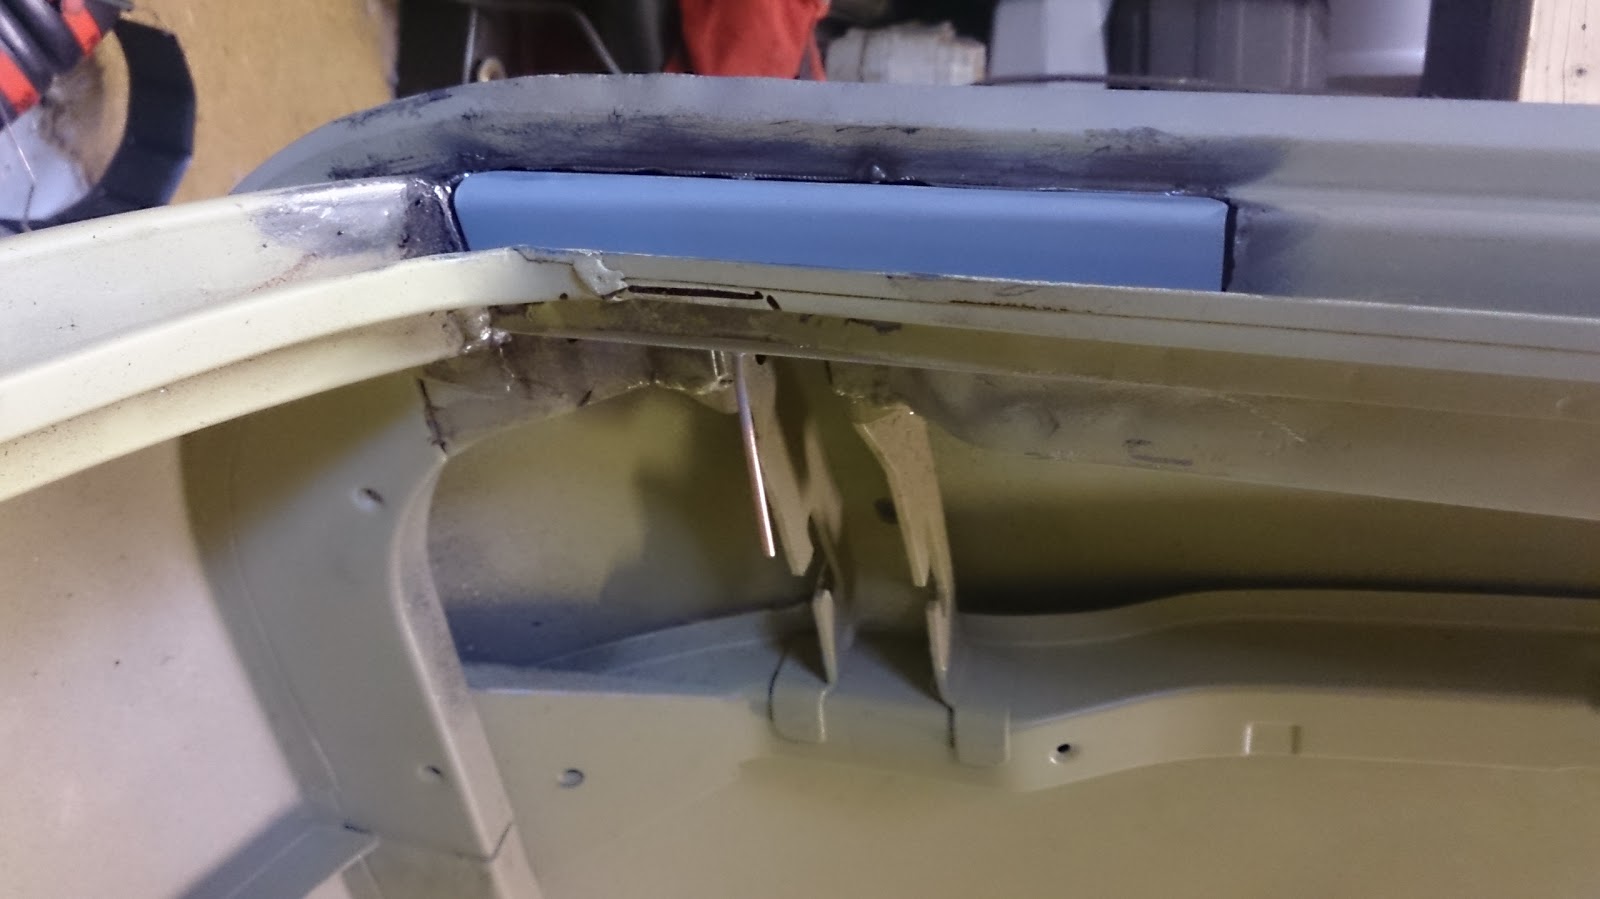
I had to break the shrinking disc out to try and reduce the crease of this dent. I didn't manage to get its back to how it should be but reduced it enough so it would not come through each time I sanded the filler around it.

With a day spent in the garage, I managed to flat back the etch primer with 320 grit and filled and sanded the many tiny dents that kept popping up, these mostly appeared across where the inner roof braces and air box attached, probably from manufacture.

I had just enough time to put a quick coat of high build primer on before I got called in for tea, and the noise of the compressor would hack the neighbours off. This was not as easy as I thought, the old spray gun I decided to dust off and use was spraying out paint intermittently and not at all if I tried adjusting the spray fan, but managed a ruff result.

The next morning ( you can tell from the sun in the door way) a spray of guide coat and I was ready to get sanding and cutting back, This time I used an air sander with the 400 grit.

So this then revealed many more small pin holes and bents some I thought would have been covered by the primer and others I had not noticed.

A second coat of Primer, I was using up my 5 litres on just the roof. This time I tried using the gravity gun I used for the under side, I was still having trouble, I needed to turn the pressure right up just to get a spray, this caused the primer to be very orange peal, I figured I needed to sand it any way so I struggled coating the hole roof, I later found out that I needed a 1.5mm - 1.8mm minimum diameter nozzle on the spray gun. I was using a 1.4mm. I now know what that sign means on the side of the paint tin.

Morning of day 3 and I decide to break out the sanding block kit I got from ebay. This is what I should have started with in the beginning, I began with 600 grit but this took sooo long to cut back, possibly not helped by the terrible application the night before. The long block also showed up the gradual dips in the paint that I should have been able to sort out at the beginning.

By the beginning of the afternoon I'd managed to cut back for a third time the primer to the smoothness of a billiard ball, But I wasn't able to raise my arms to eat any lunch, should look like pop eye in the morning.

So with a few lessons learnt in spraying and cutting back primer I dragged the van out and with some neighbourly help rolled it back on its belly, Then fitted the front and rear wheels to get it rolling again, even though its just back in the garage again.