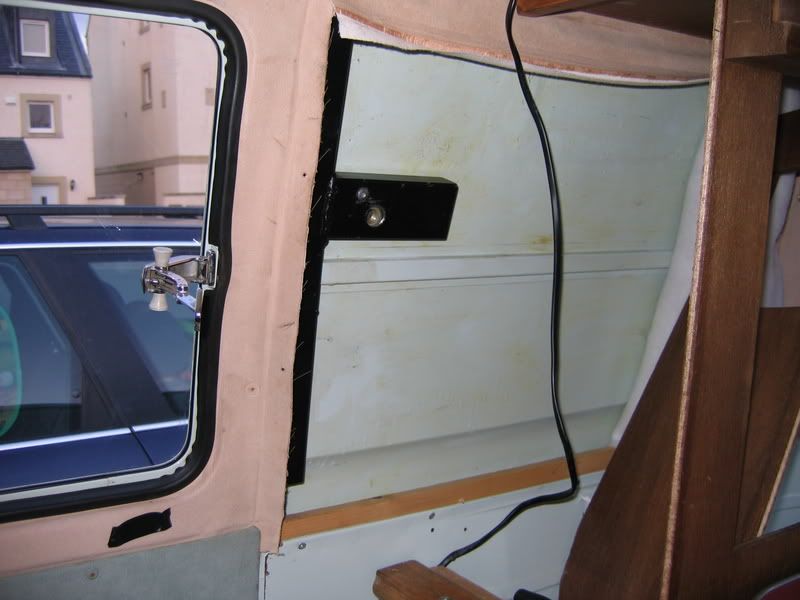
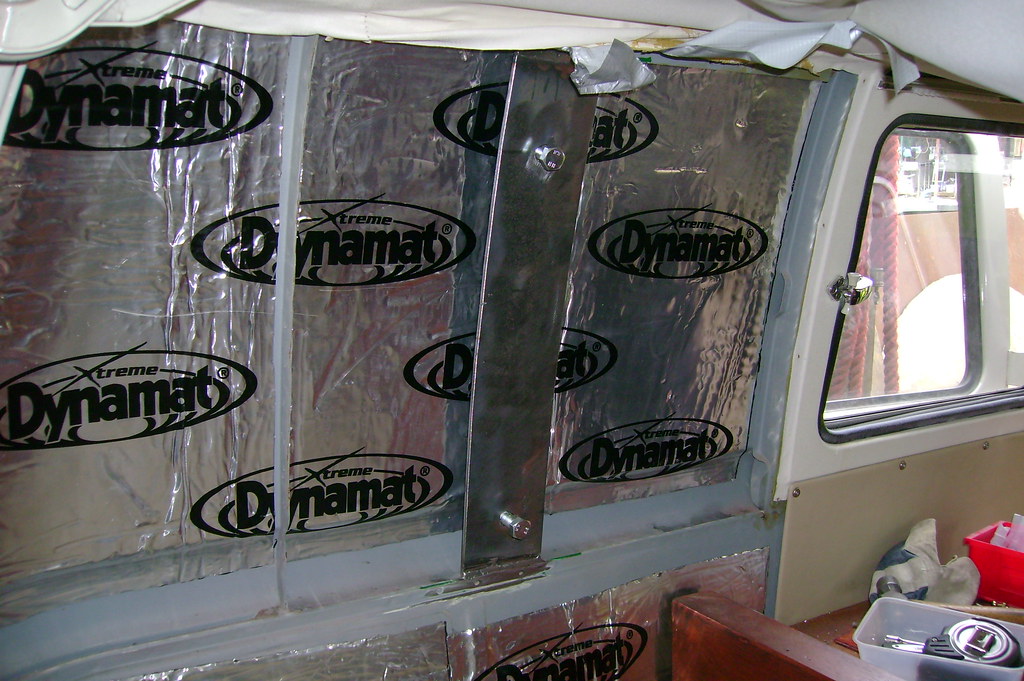
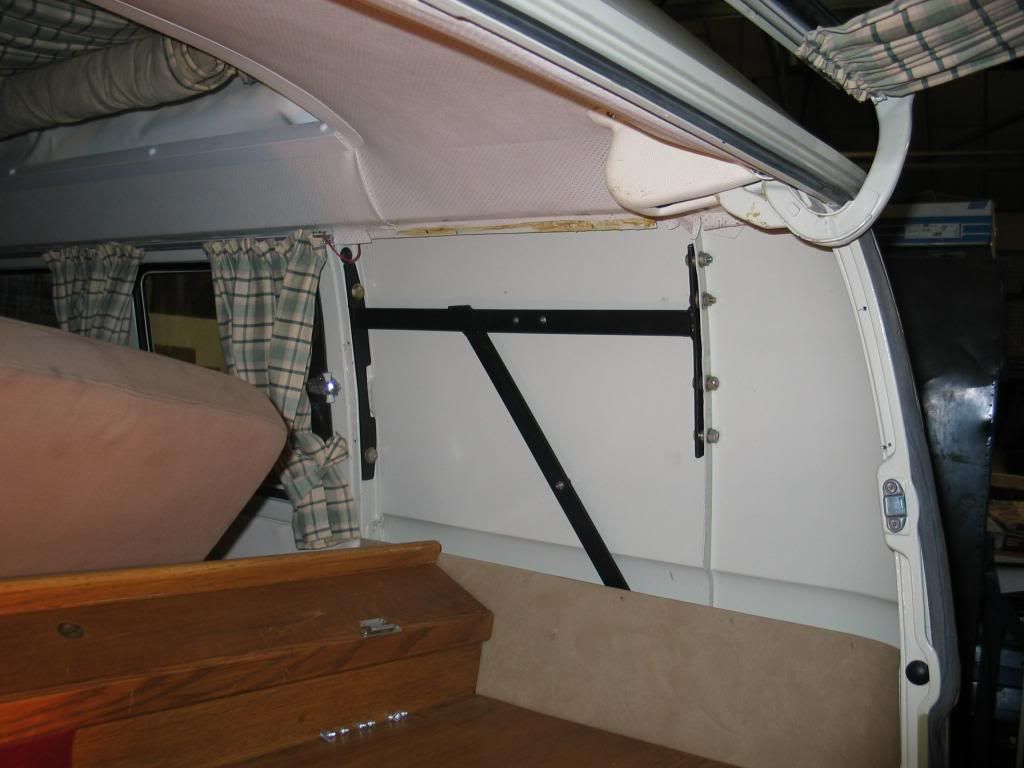
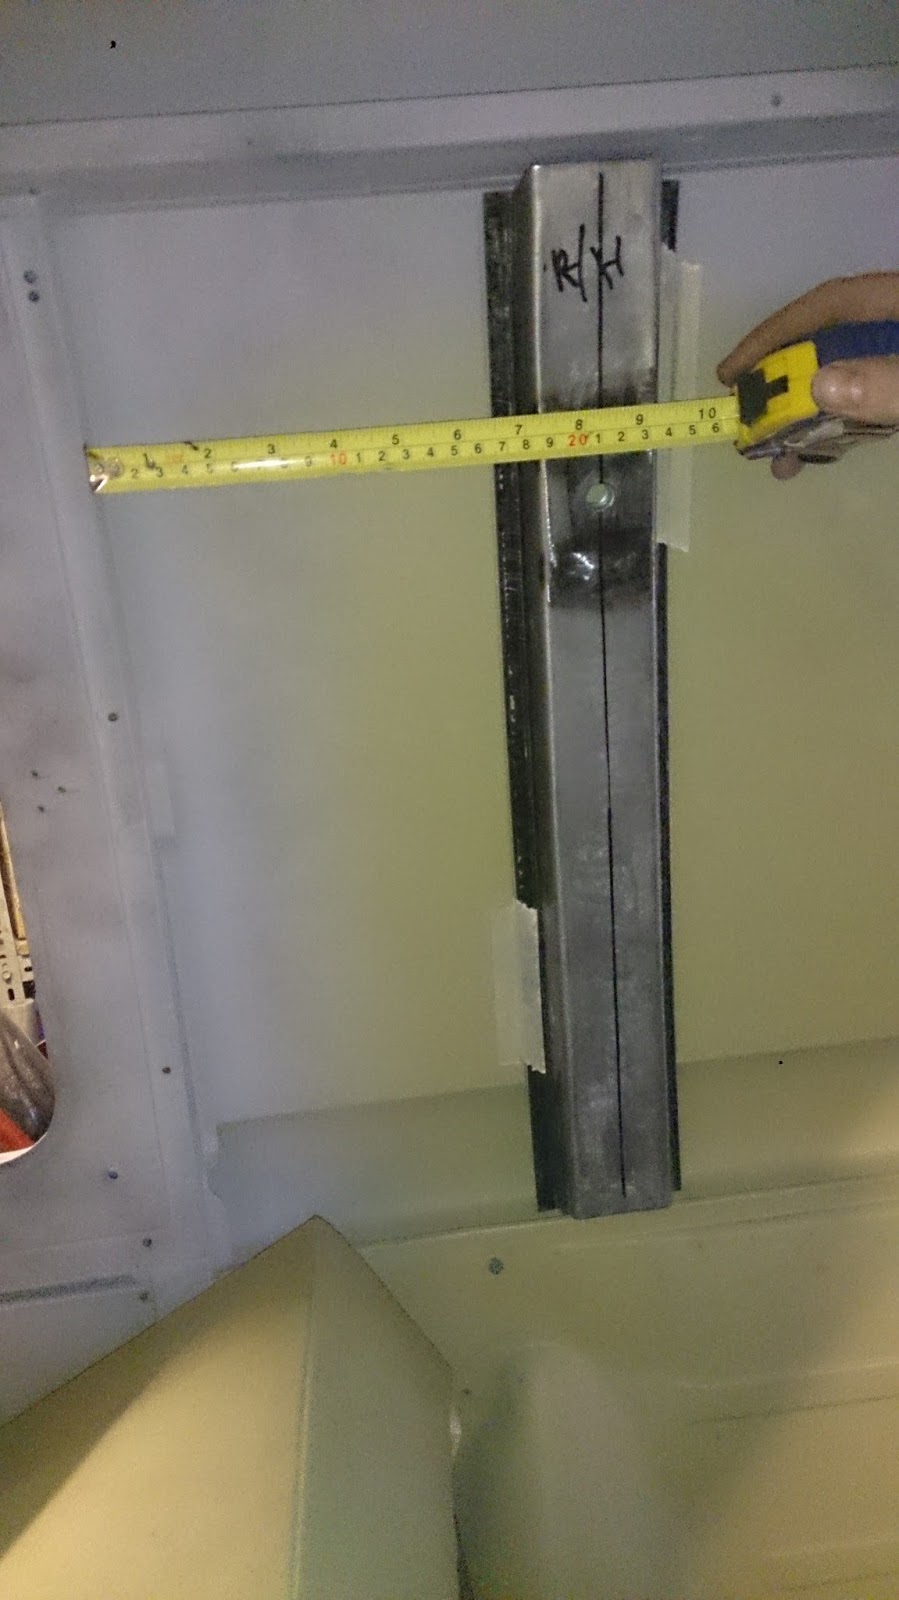
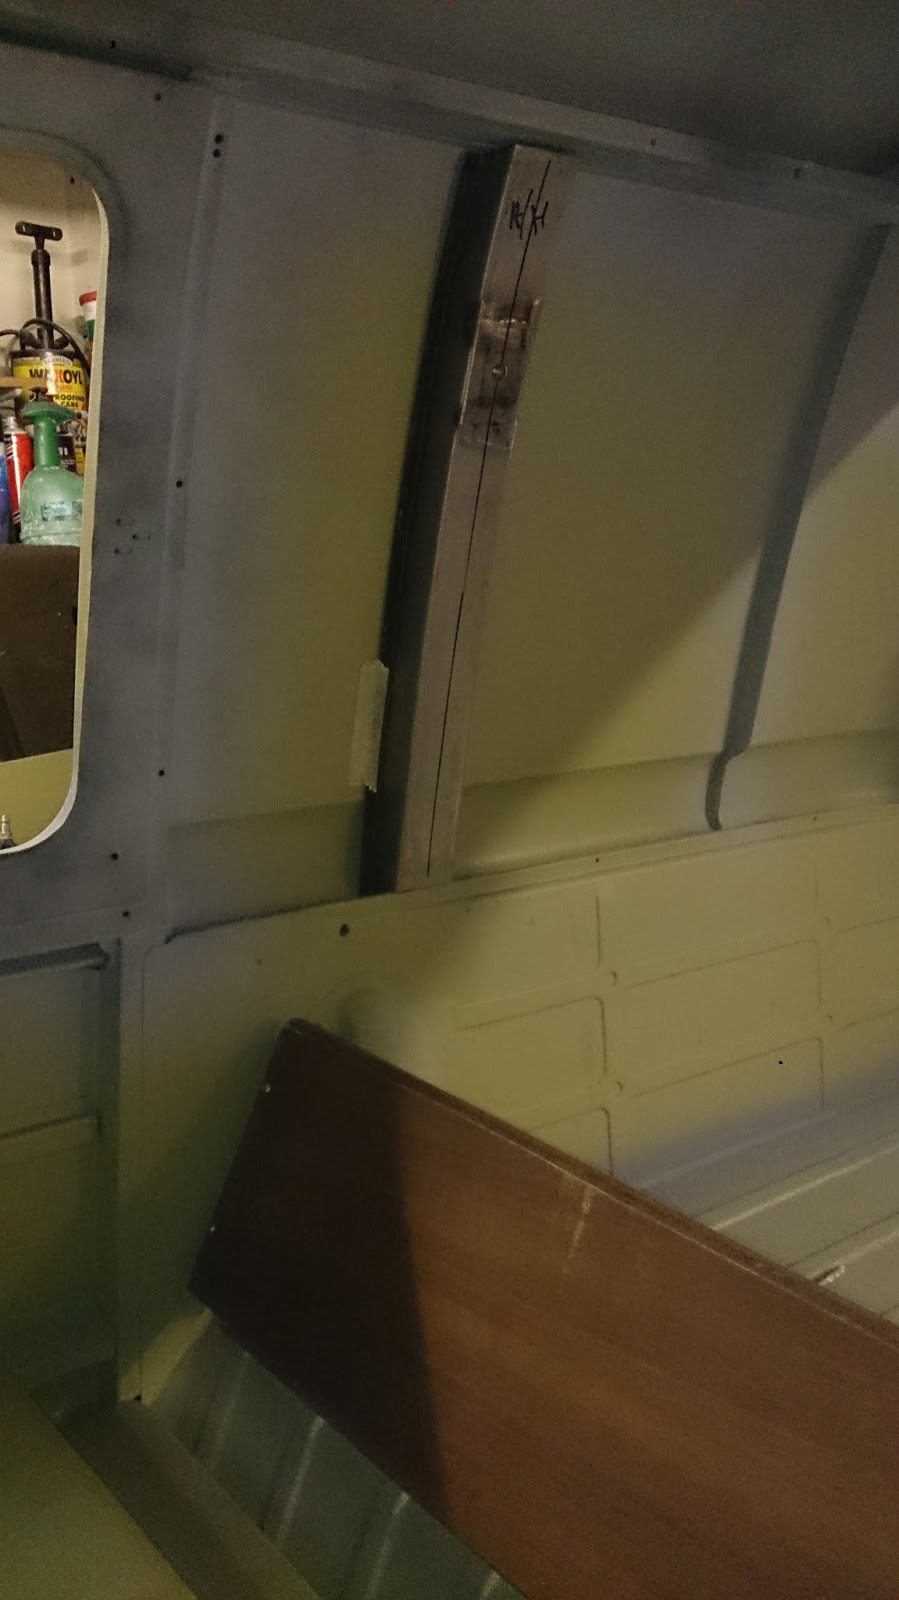
Before the van is sent to the dippers I thought it would be a good idea to remove the two spring rods that hold up the rear hatch.

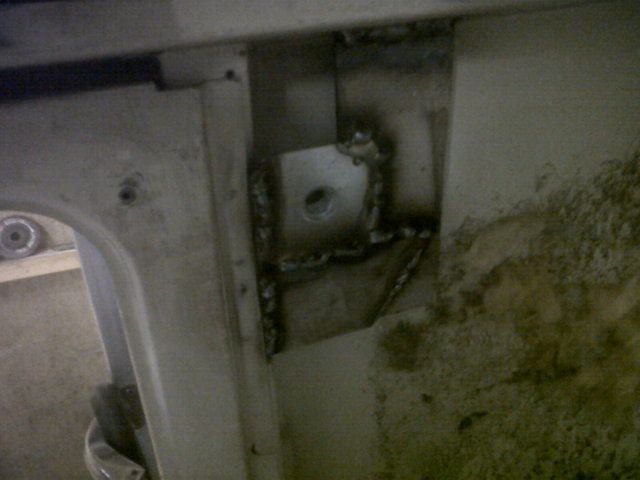
This was also to give me access to the new rust hole behind the hinge plate I discovered when I removed the rear hatch.

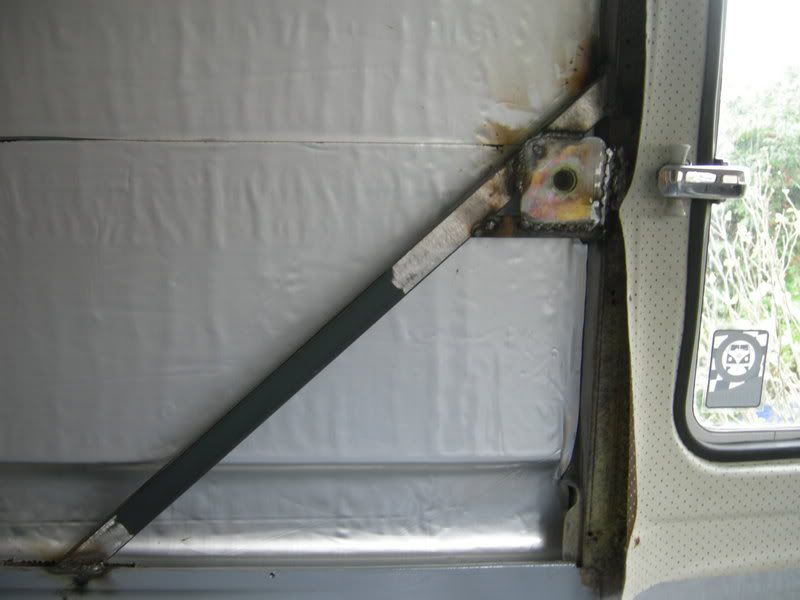
After a quick look at the installation I thought it would be a simple case of moving one spring one way and the other the other. This didn't work as one would pull the other with it.

In the end I managed to remove the circlips and pins of the second part of the hinge then get the trusty Hammer pry bar and Ikea bed frame and with a little persuasion and a big bang the springs sprang out. this also dented the roof.

Here's a couple of pictures of there position when they came out so I know what way they go back in. If I can get them back in.


So after a while away from the rear hinge I've totally forgotten how to put it back together.
I grabbed the parts out of the parts box, took a few moments to work out what went where.

I noticed the bushes in the arms were worn and had cracked on the edges.

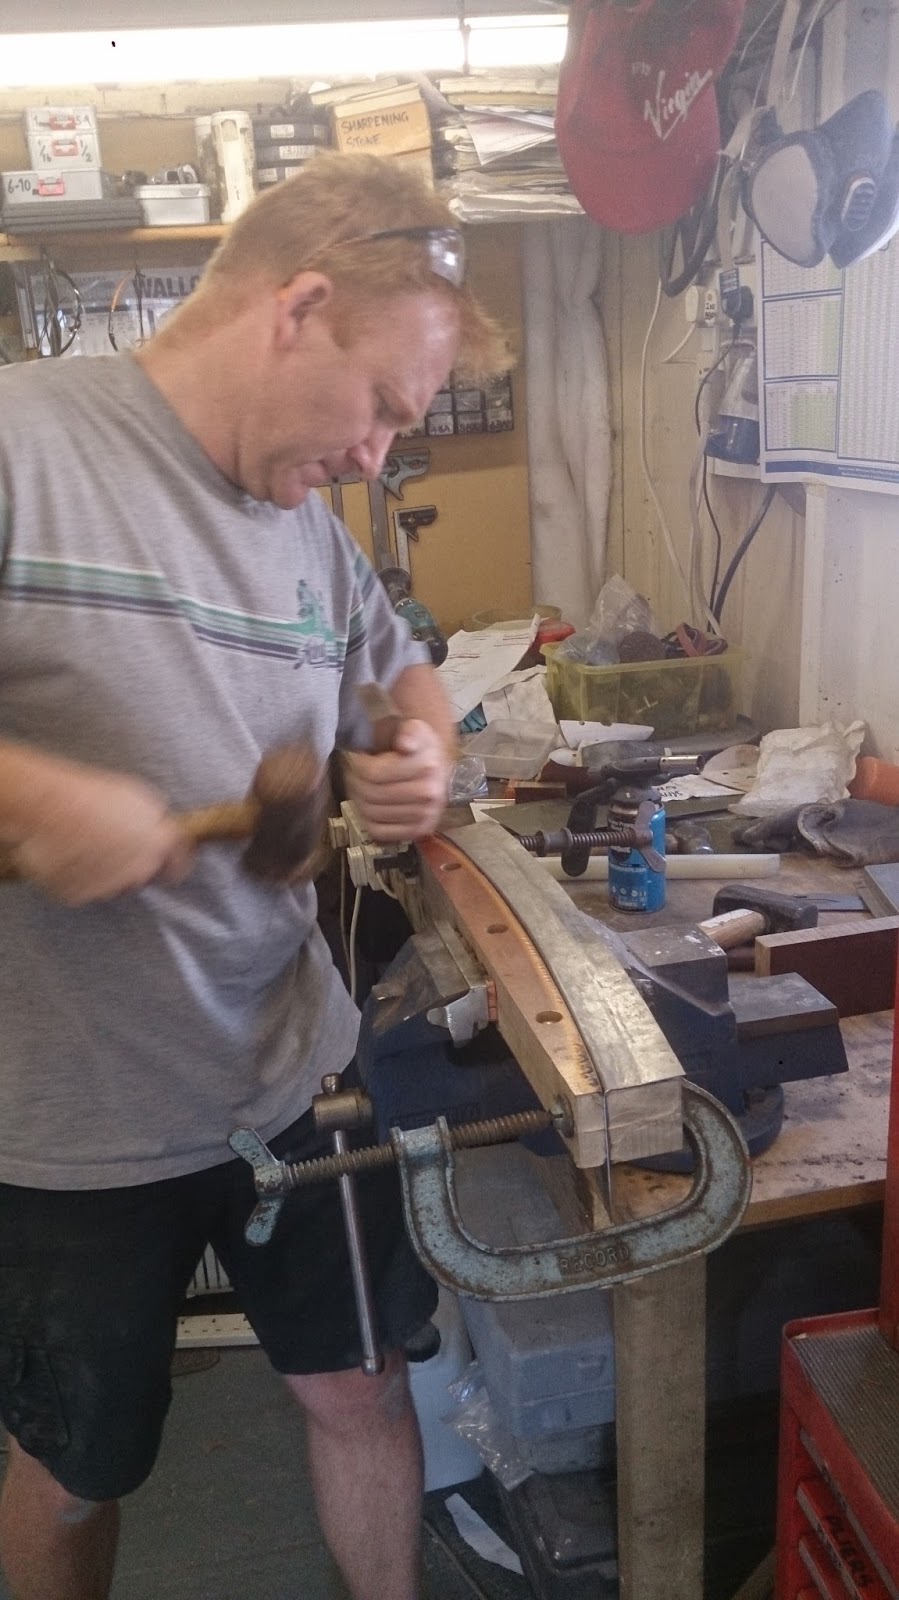
A quick go on the lathe and two new bushes were made.

These were easy enough to squeeze into place in the vice

A going over with the wire wheel and some primer

I decided to spray up the parts off the van as its an awkward place to spray once fitted.

Now for fitting, The two spring rods and handed, the only way I could tell which went where was due to bend in the rod end that was there to account for the curve in the roof, and the opposite end pointed down. if you fitted the wrong one the other end would point up.

Working from inside the van I held the rod at 45 deg to the rear hatch and placed the first end that was bent down to avoid the curve of the roof into the hole of the fixed bracket from its outside edge.

Moving the second end of the rod towards it position allowed me to slot the first part of the rod into the slot of the fixed bracket. I then slid the moving part of the hinge over the rod and let it be held in the fixed bracket by the tension on the spring rod.

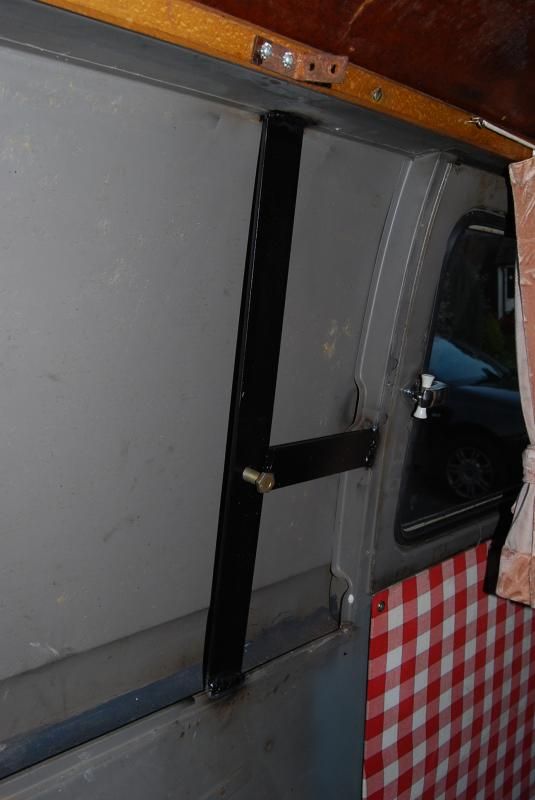
I fitted both rod in position making sure they crossed over, before I fitted the rear hatch attachment bracket and its fixing pins.

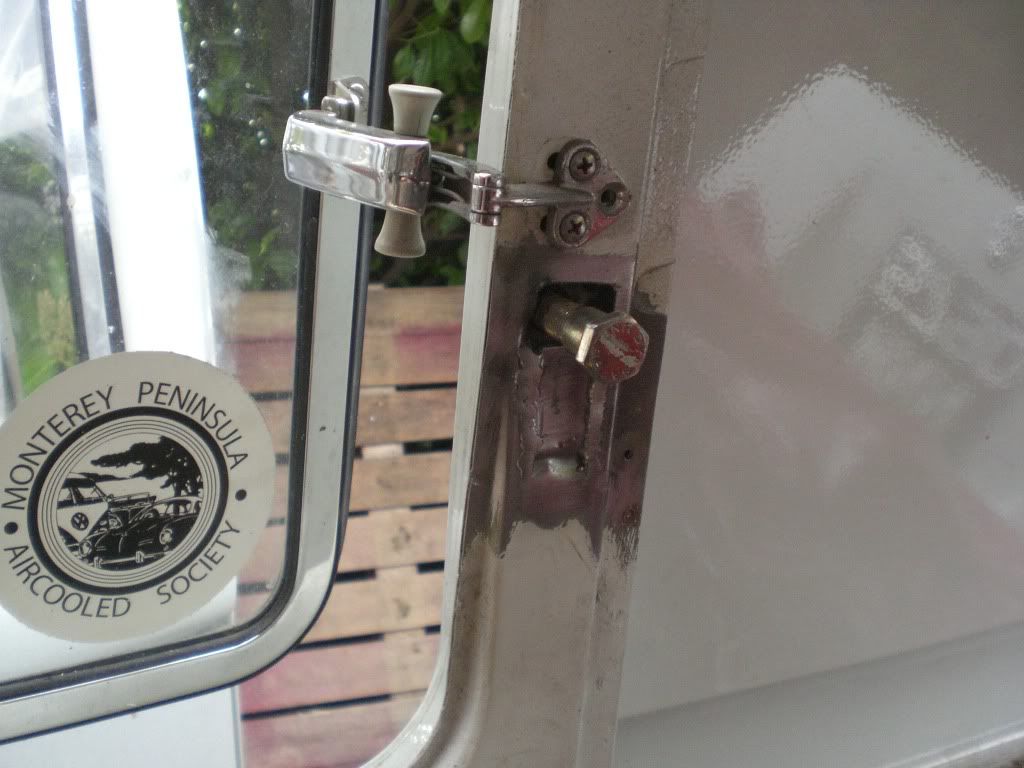
With the rear hatch bracket fitted I then cut a slot and hole into a piece of angle that was about the length of my arm, I positioned this onto the end of the rod that was now hanging down

Using the leverage of the length of angle and some help to make sure the angle does not slip off the end of the rod, I rotated the angle inwards against the spring loading of the rod, this allowed me to position the rod into the slot of the fixed bracket as It rotated into the closed position.

The pins were best pushed into there slots when the rear hatch bracket is half way open, this is when the load on these pins is transferred from one direction to the other.

The tension on the angle was manageable by one person but could very easily spring off the end of the rod while rotating into position. Do the same to the other side and your done.
Wish I'd know this when I took them apart.


