Sorry I deleted this post by mistake by publishing over it from Microsoft word. I was trying to be clever and it didn’t work, it was Late OK. So I've had another go at wrighting it. If you’re back for another look It may be a bit different.

The rear surspension has been on the back burner as Ive been waiting (and still am) for some custom dropped spring plates to be made for me that will fit the porsche A arm bolt patten. I got these billet ali machined spaceres drawn up by my mate Tim and made by Cranford engineering. these cost a bit more than I expected to pay but I did get quoted some rediculase prices.
.jpg)
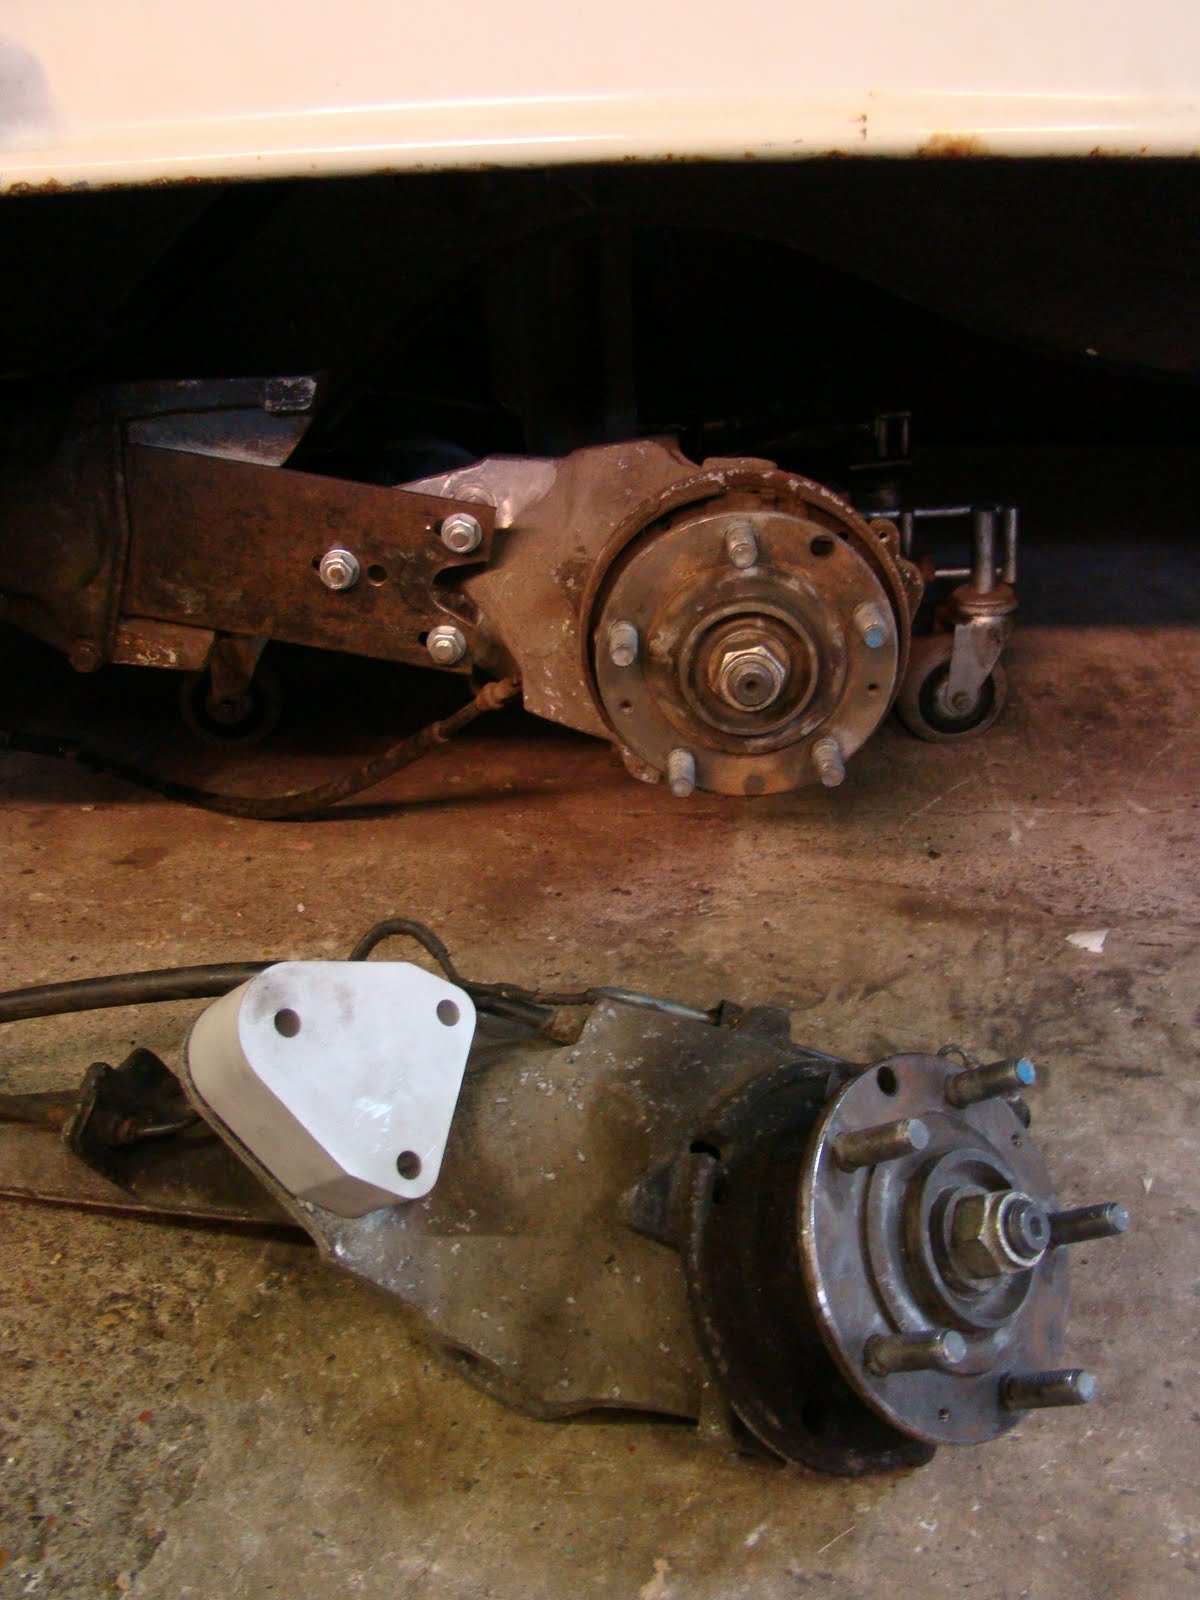
This is the 924 rear axel with the hindge brackets cut away from the torque tube, Each bracket was then cut along its welds to separate it from the cut away part of the tube. This took a little care as I needed to keep these brackets in as usable condition as possable.

I did make up a wooden block that fitted the curve of the tube that fitted between each bracket so that I knew there position when cut away, but I think Ill just end up using the A arm hindge points as my referance.
 The brackets were then sand blasted on a very hot day in a very hot garage with sweet dripping onto the blast cabinit window and rubber blast gloves feeling like a vets visit to a cow shed. Here's the outer in its position, With much deliduration (that’s a long word for 01.47 on a Monday morning)I decided to fit the inner bracket cut down and rotated 180 deg on the inside of the top hat section.

Heres the view with the machined ali spaceres bolted in place and the outer hindge bracket some where it should need to be welded. I would prefered to weld these up with the new spring plates and new rubbers fitted. But may run out of other jobs to do before the parts arrive.
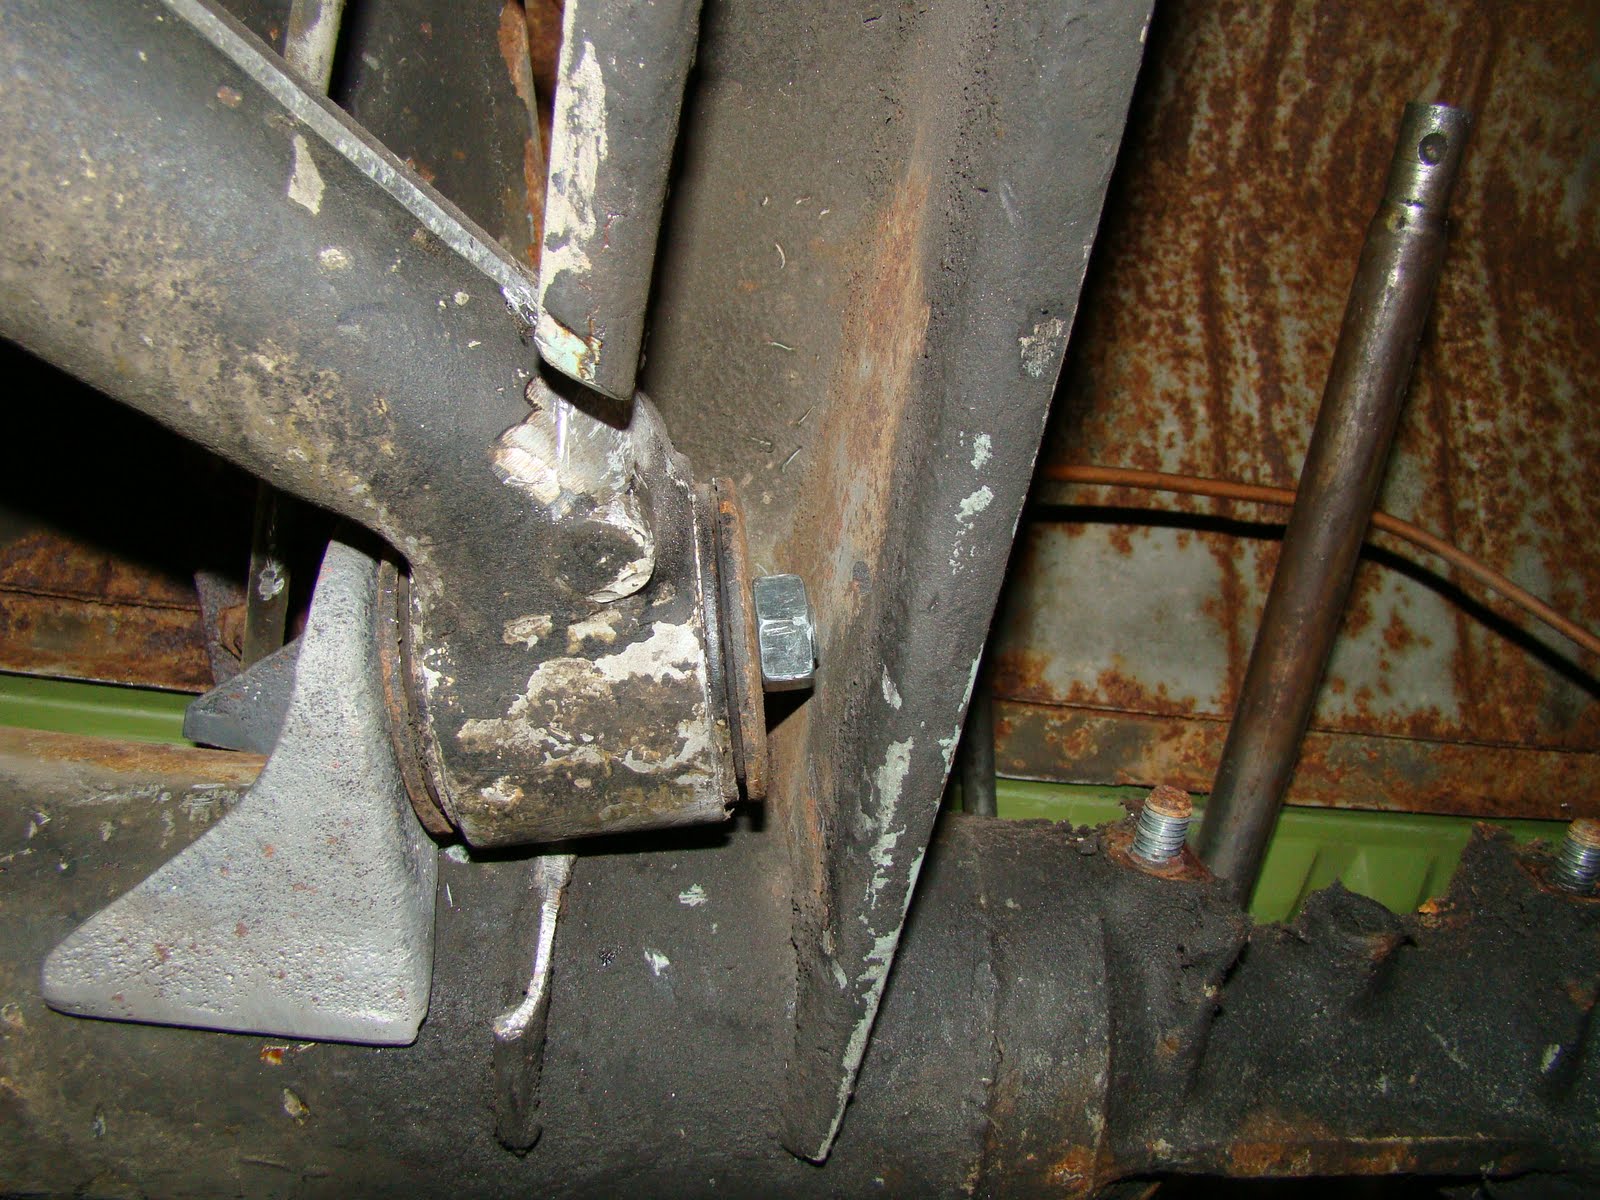
 I repositioned the spring plate on its splines horisontaly, to get a good datum position before welding the hindge brackets in place, this ment cutting more material out of the channel nearly up to the top bend. This made the fixed nut for the break pipe bracket very close to the hindge point. It also took a couple of guesses to work out the correct position for the clearance hole needed for the hindge bolt. Remember measure twice....
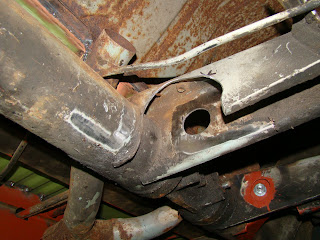

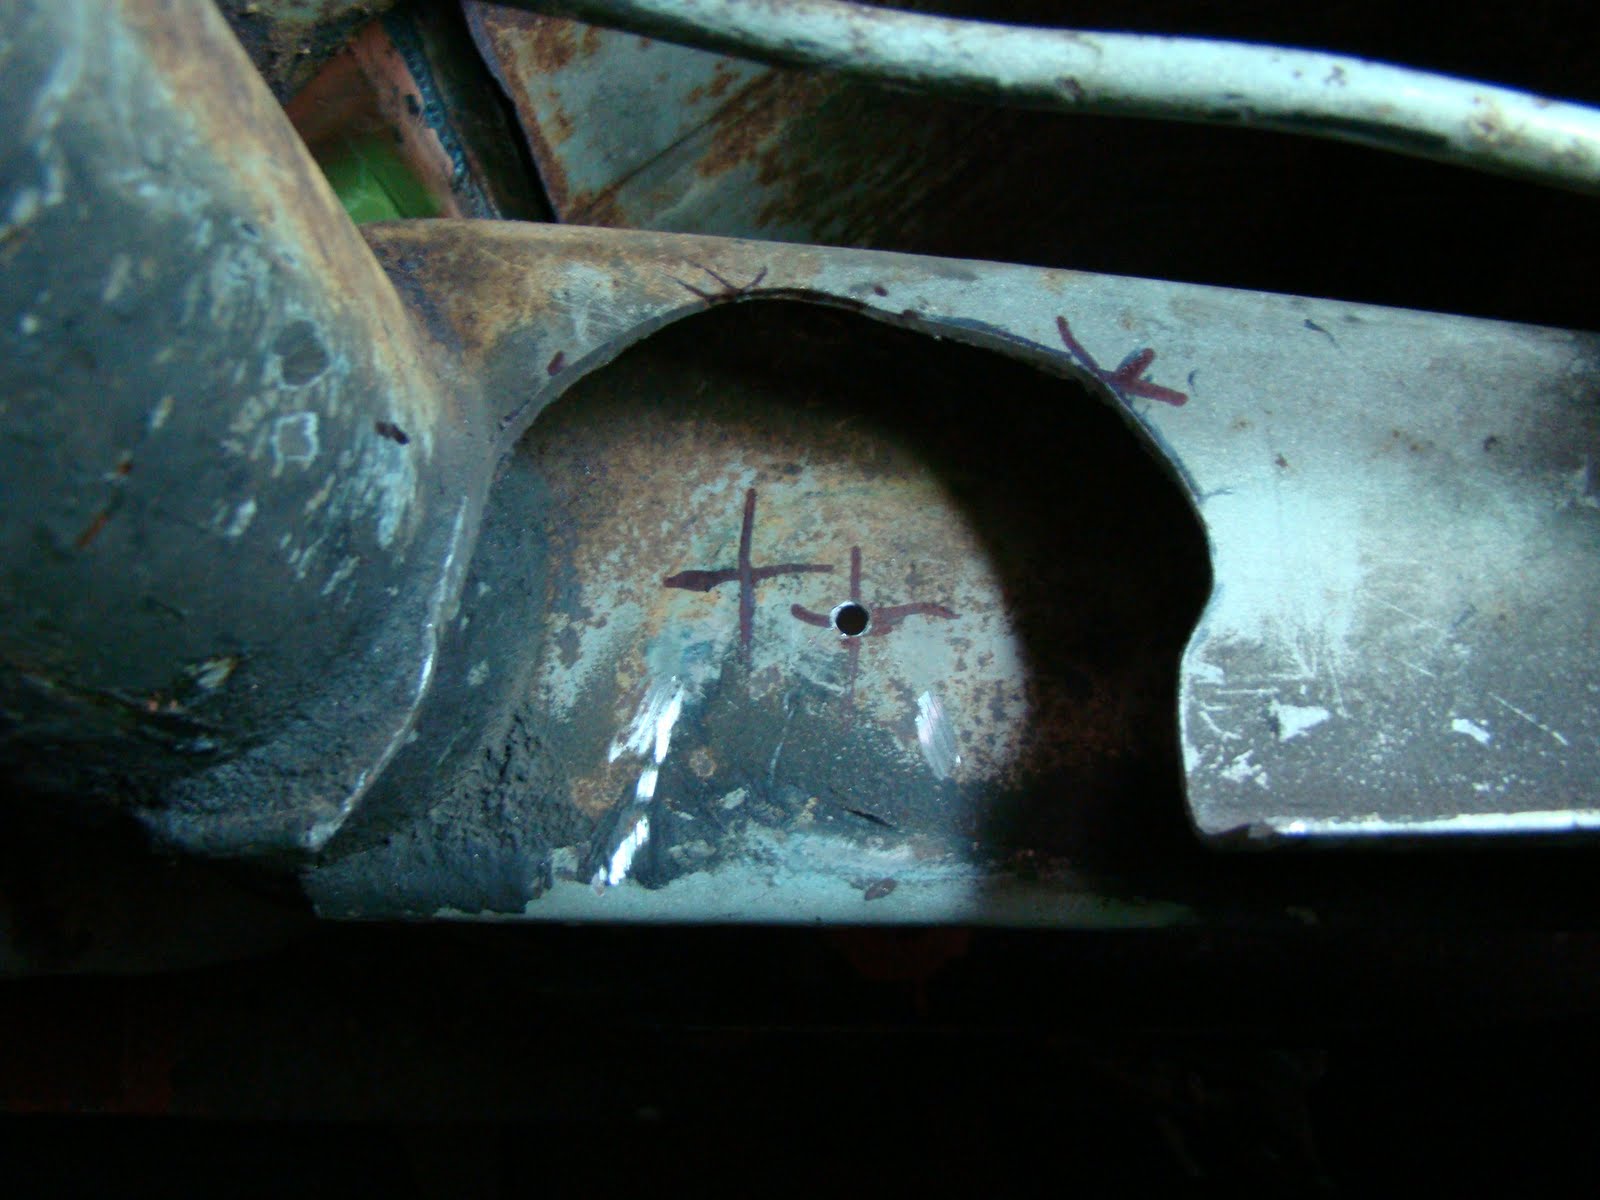
I used the corn flakes packet to work out the correct angle I needed to cut the inner hindge bracket.

Once cut and cleaned up with a wire wheel It needed a bit of bending and cutting at the tips to get the best fit on the inside of the gearbox mounting strut. I used a marker pen on the cutting edge to show where the bracket rubbed when fitted so I could file the high spots to make sure that the bracket would sit flush.
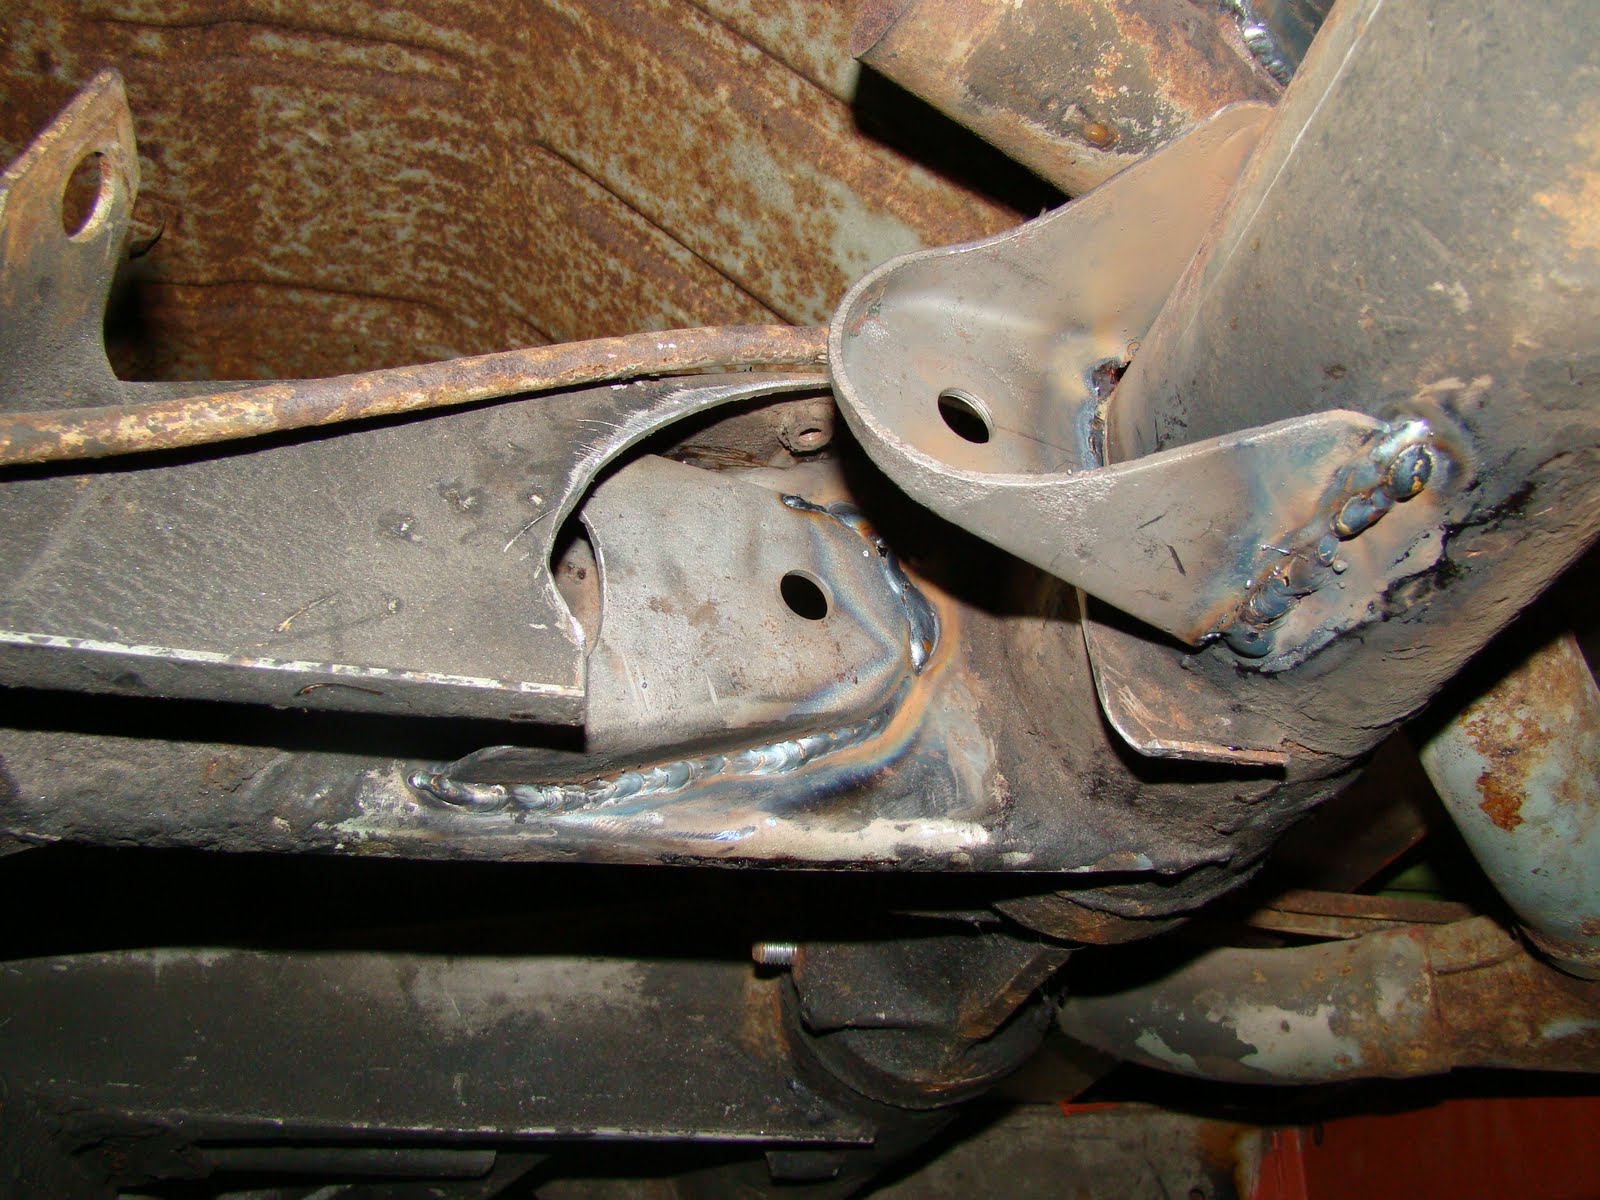
 Now ready to take the take the plundge I assembled the arm again, clamped it in position using a spacer to keep the arm away from the torque tube and tacked it in position. Then using the hindge bolt positioned the inner and tacked that on the lower edge, then clamped it ready for welding.
I played around setting up the mig and had a pratice on some scrap, as Ive never welded such thick material before. It went OK with a couple of tries I then built up the courage and welded the brackets on. It wasn't easy doing it upside down and part blind. the outer bracket needed a secoun pass just to make sure it did'nt go any where.
