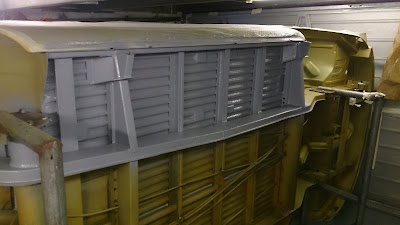
It was a bit of a impulse decision but I decided to paint the bottom of the van red, I mean RED. There was a little bit of persuasion from the other half, some thing about Louboutin.
I trialed a few colours on the belly panel, the candy red looks a cool red but with two coats and a lacquer I thought it to much for the bottom of the van. So I decided for a bit of both colours, a darker shade but with a matt lacquer.
I picked up a litre of paint and thinners some, extra tubes of stone chip to finish what Id missed around the gear box.
I started each area in sections this also allowed me to get use to the spray gun and help setting it up.
If the bottom of the van was flat a quick spray left and right and job done, but I had to spray into all the nooks and cracks under and over pipes to get a good coverage, this took more than a liter and a half of paint, so another trip to the paint shop for half liter was needed.
Here's the compressor and gun I used, the pot on top of the gravity feed spray gun was a bit orquard to get into some of the tight spots
I used the trial spray can for the really tight spots but this run out very quickly
With all of the red painted I called it a night and let it dry over night, I would have left it in this colour but this is a base coat and needed a sealing coat.
With the van dry over night I was going to spray a matt sealing clear coat, but Rachel perswaded me to go with a gloss, so another treip to the paint shop.
The clear went on a lot easire, but a little harded to see where you've painted I had to keep catchiung the light to see where Ive missed inbetween the structural parts.
Spraying the underside with wash primer, stone chip, red base coat and clear coat took 4 days and cost about £300 in paint and materials, but was good fun. Still not sure if its the right colour.....


