Building a Van Rotisserie / Roll Over Rig

So here's my attempt at making a van rotisserie. Having had a look at others on the web and the SSVC  forum
I priced up the cost of box section steel at over £150, so when a conversation about the progress of my van project revealed that a work mate had several scaffold poles at the bottom of his garden. I thought it would be worth giving it a go. 
The poles are 50mm and about 3mm thick. A £10 50mm hole saw in a pillar drill made short work cutting up the poles.

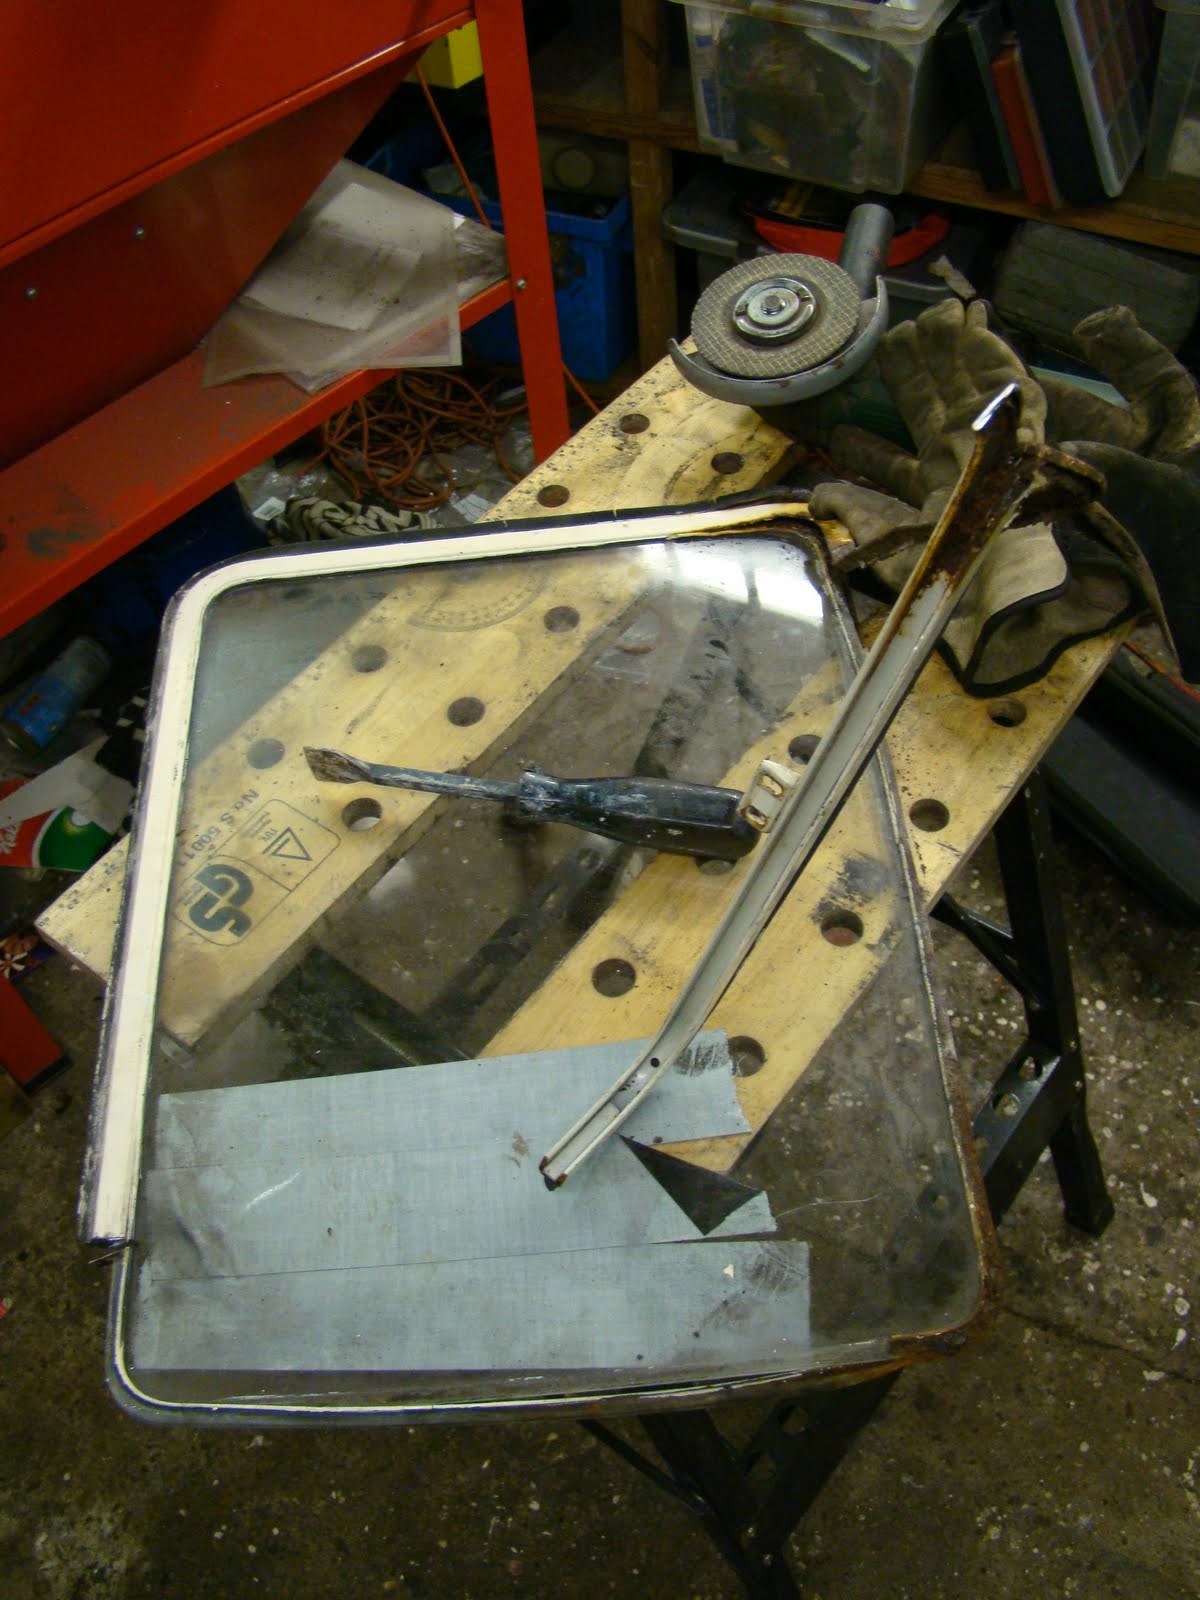
I cut and drilled a couple of blocks of wood as templates for my 45deg + 22.5deg cuts.
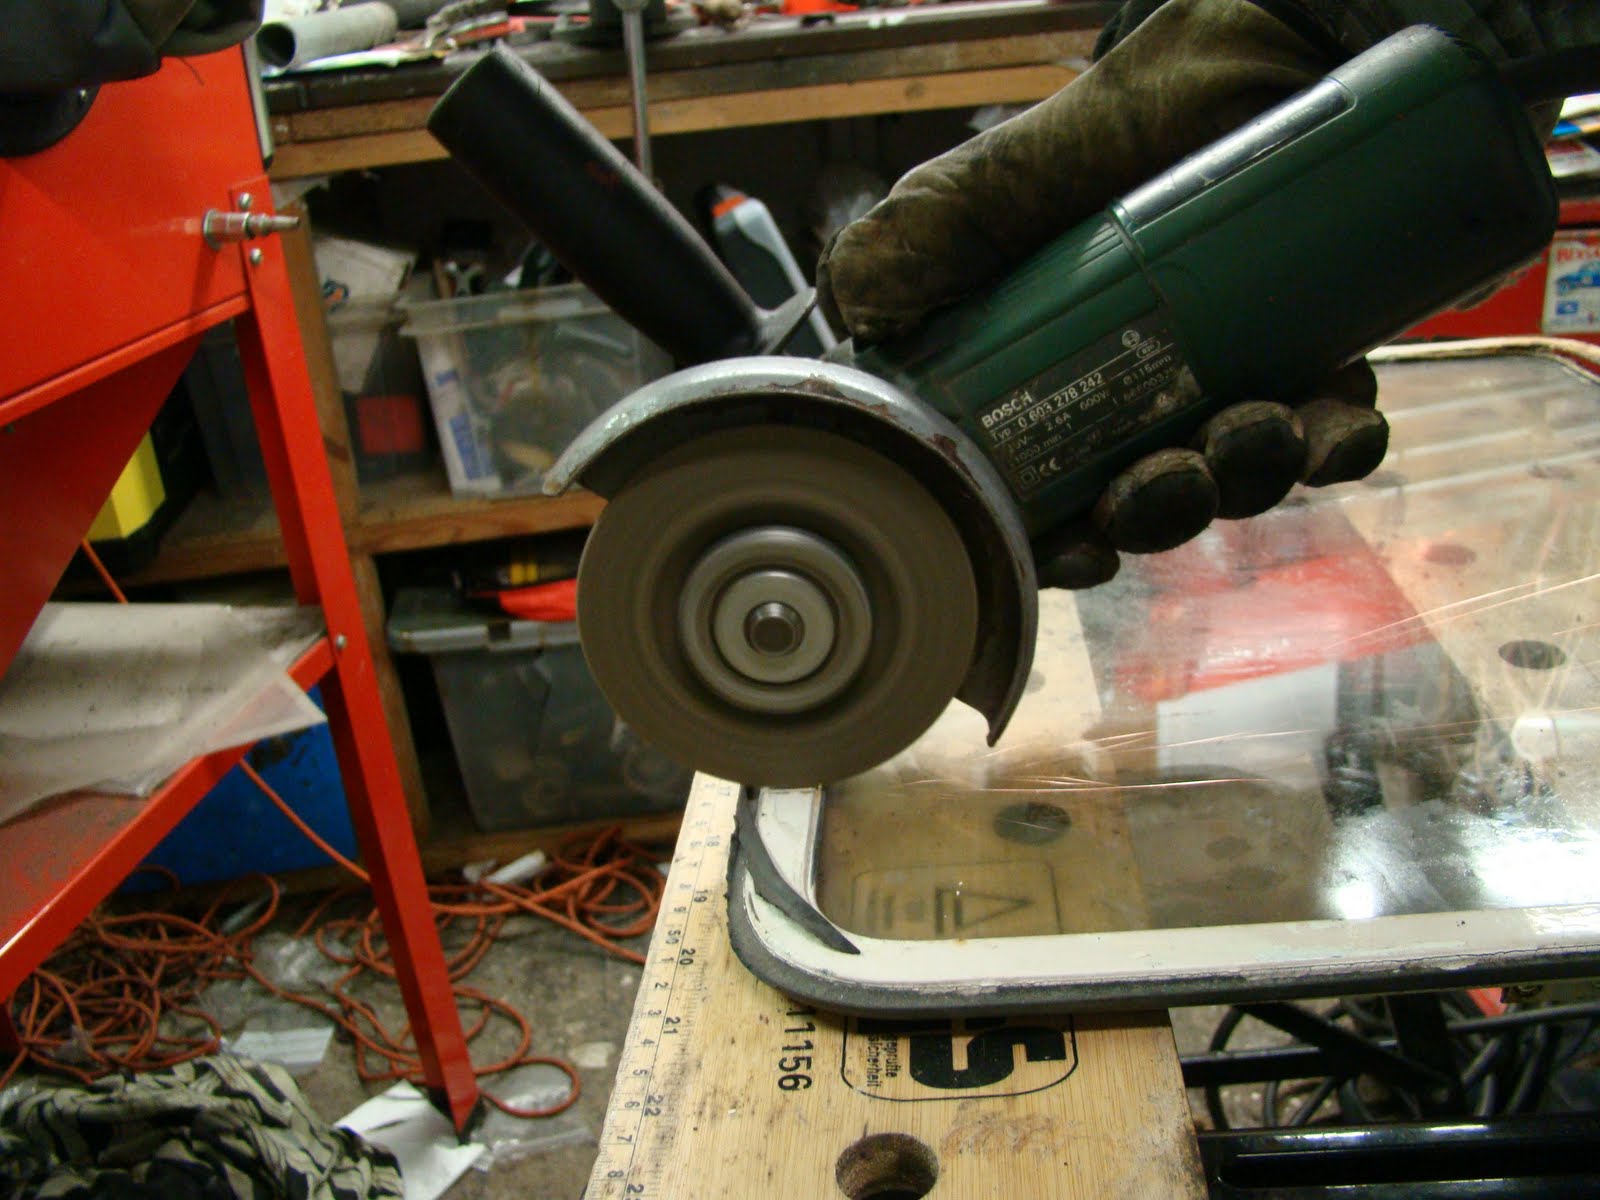
A marker pen and cutting disc to trim the poles to the correct length, they needed a little touching up to get the angles spot on.

I picked up a metre of 6mm steel plate from a big mucky bloke who picked up off the steel yard floor the first bit of rusty plate that was not stuck under the loading truck, I timidly asked if that was 6mm thick, with a grunt that I think was a Yes it was chucked under a saw and I was charged £17.
So not the best quality but enough good for this.

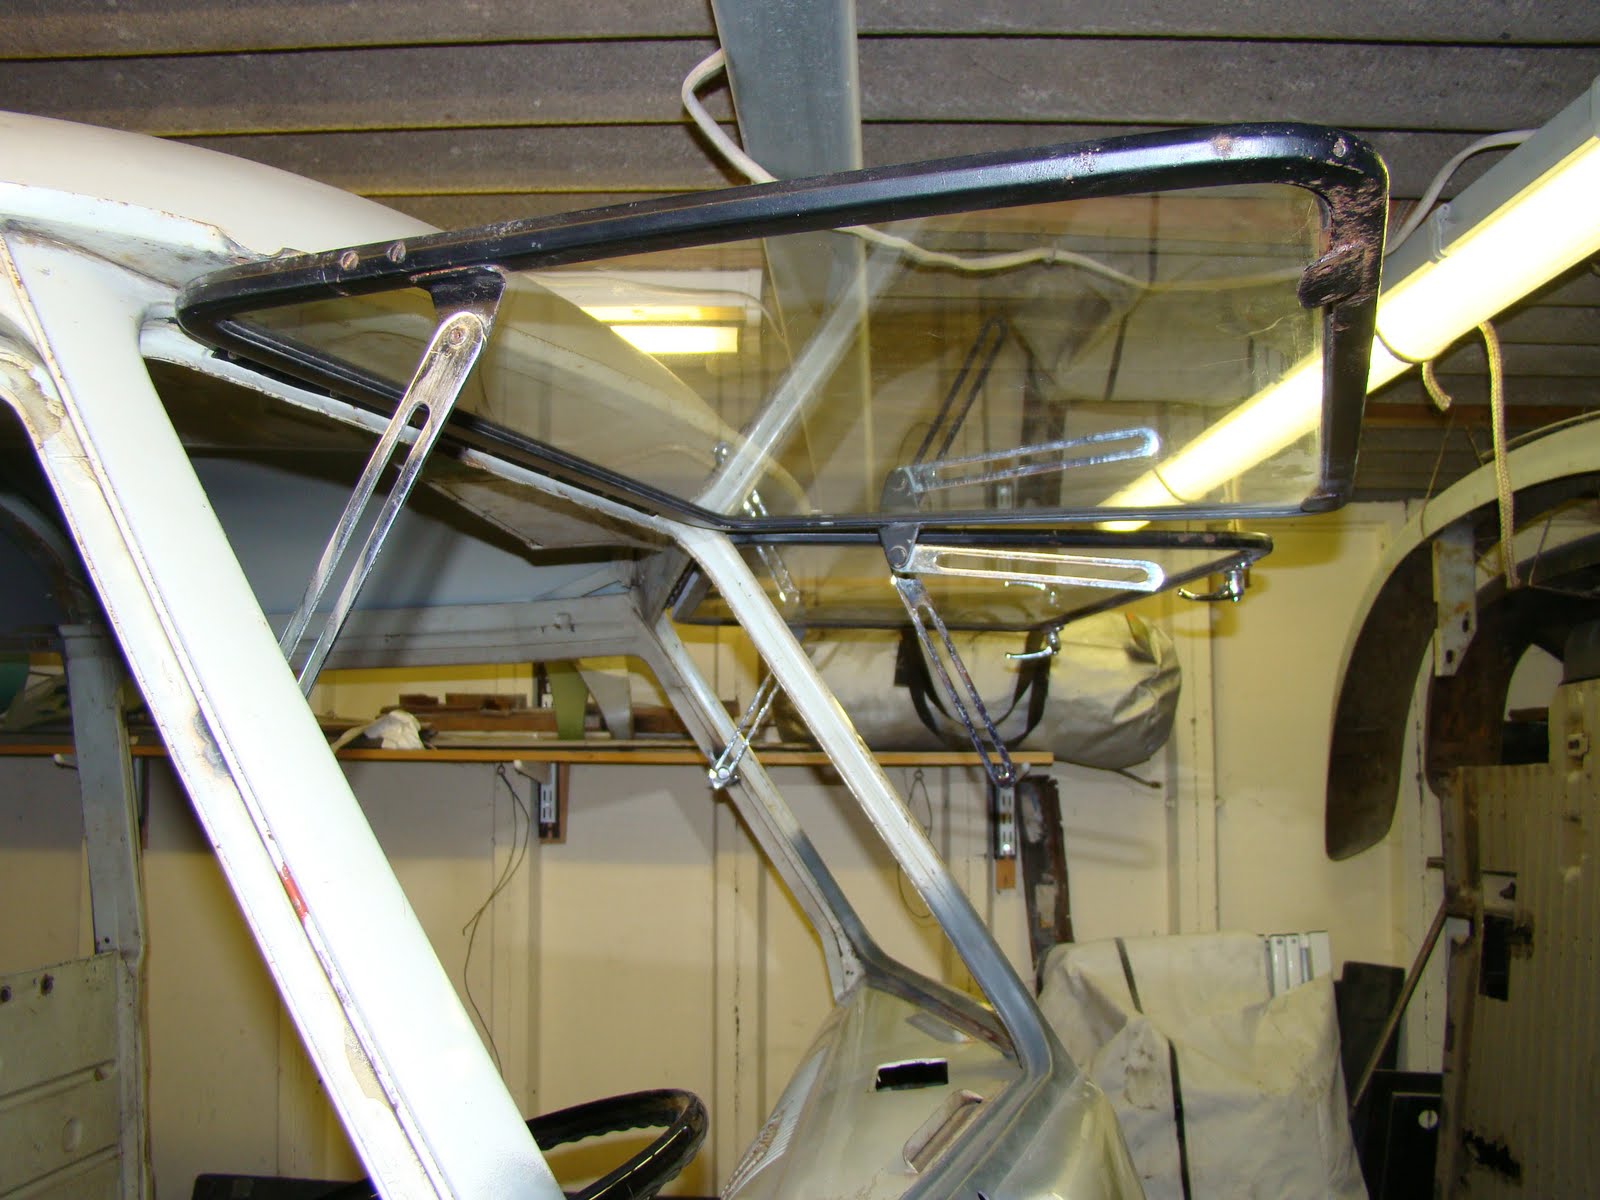
I've made my design a little different from others, with only one angle. This is because of the height restrictions in my garage. I wanted to get the van in the garage on its side so the poles needed to be closer to the side.
Because I'm using round pole I could only join the poles at 90 deg of each other because the cut needed for other angles was to complicated, so this limited where I could fit my uprights, The two limiting factors led to having just the one angle.

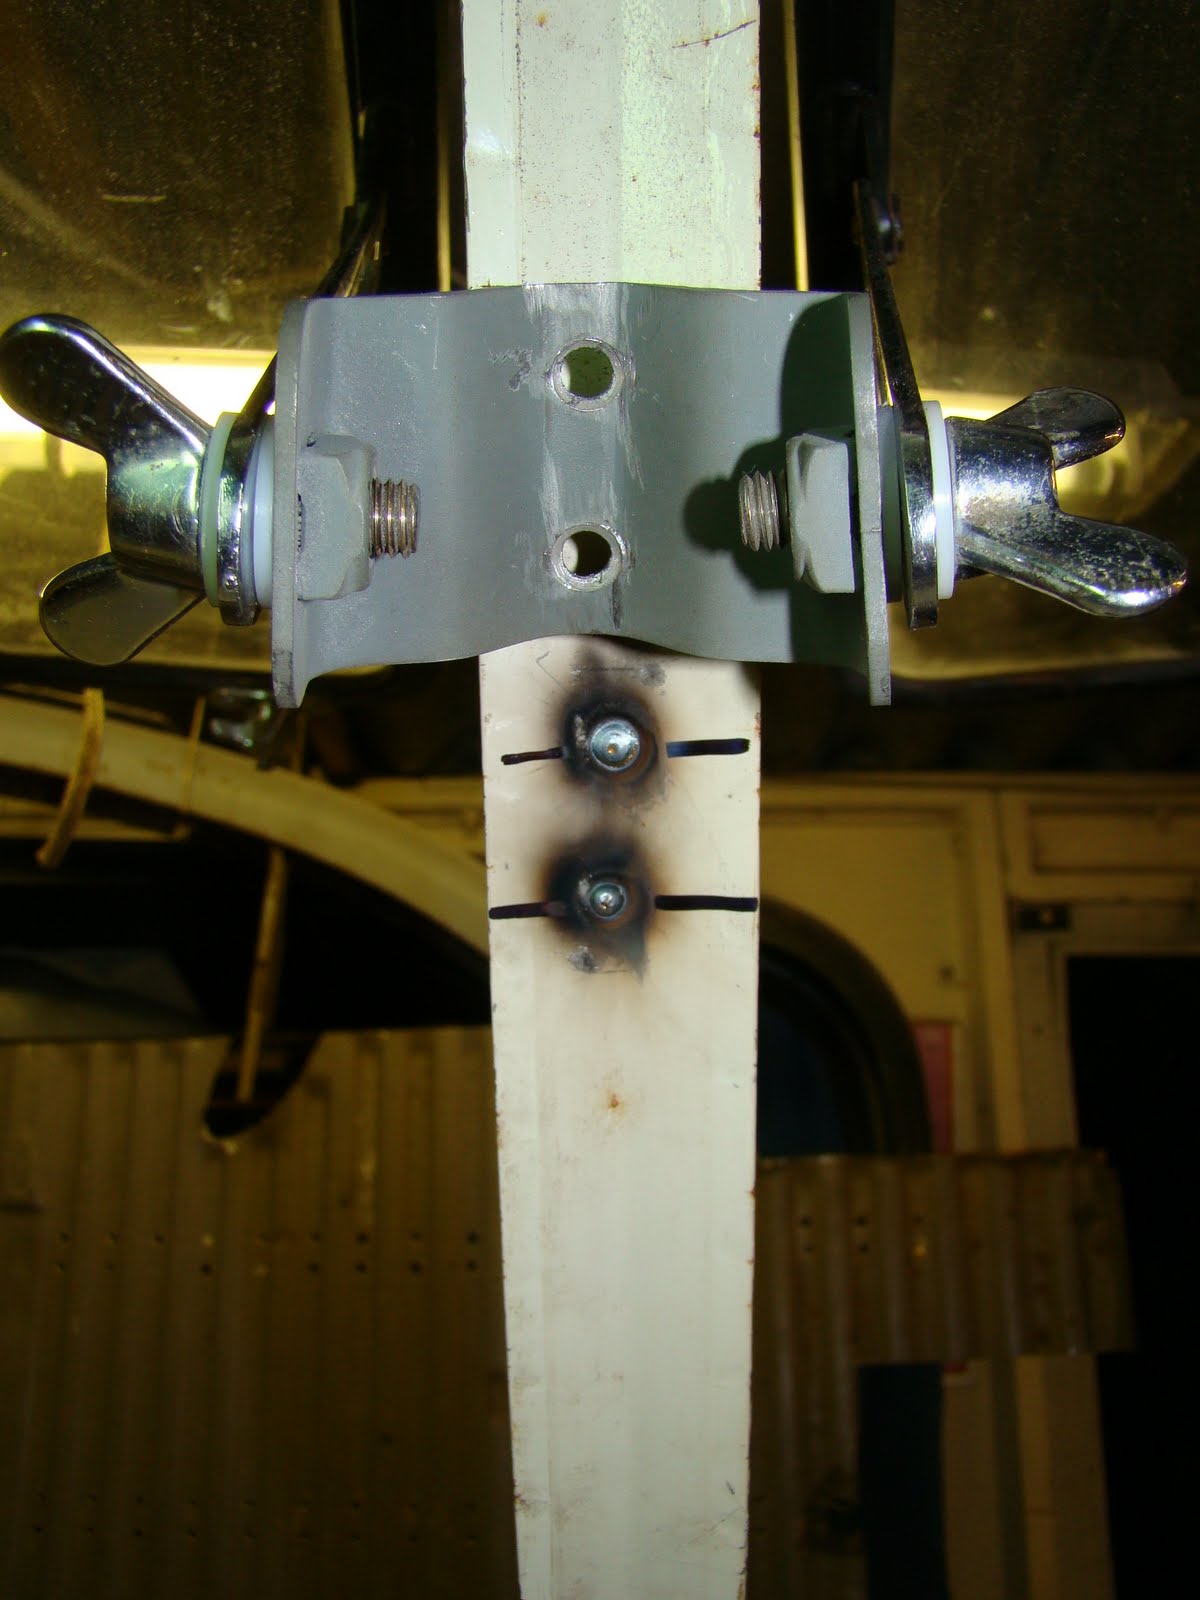
I started with the uprights welded to the plates, then the lower pole. I calculated the best place for the lateral pole then welded that to the plate. Then the side upright was fitted and welded all together with the angle that was cut to fit the gap. I made sure the rig was attached to both sides so it would spread the load across the van when on its side.

I tacked the plates and tubes in place and welded them together off the van for better access.
But when I tried to reinstall the rig it had moved with the heat and would not fit. I needed to cut off the outer upright and re weld it
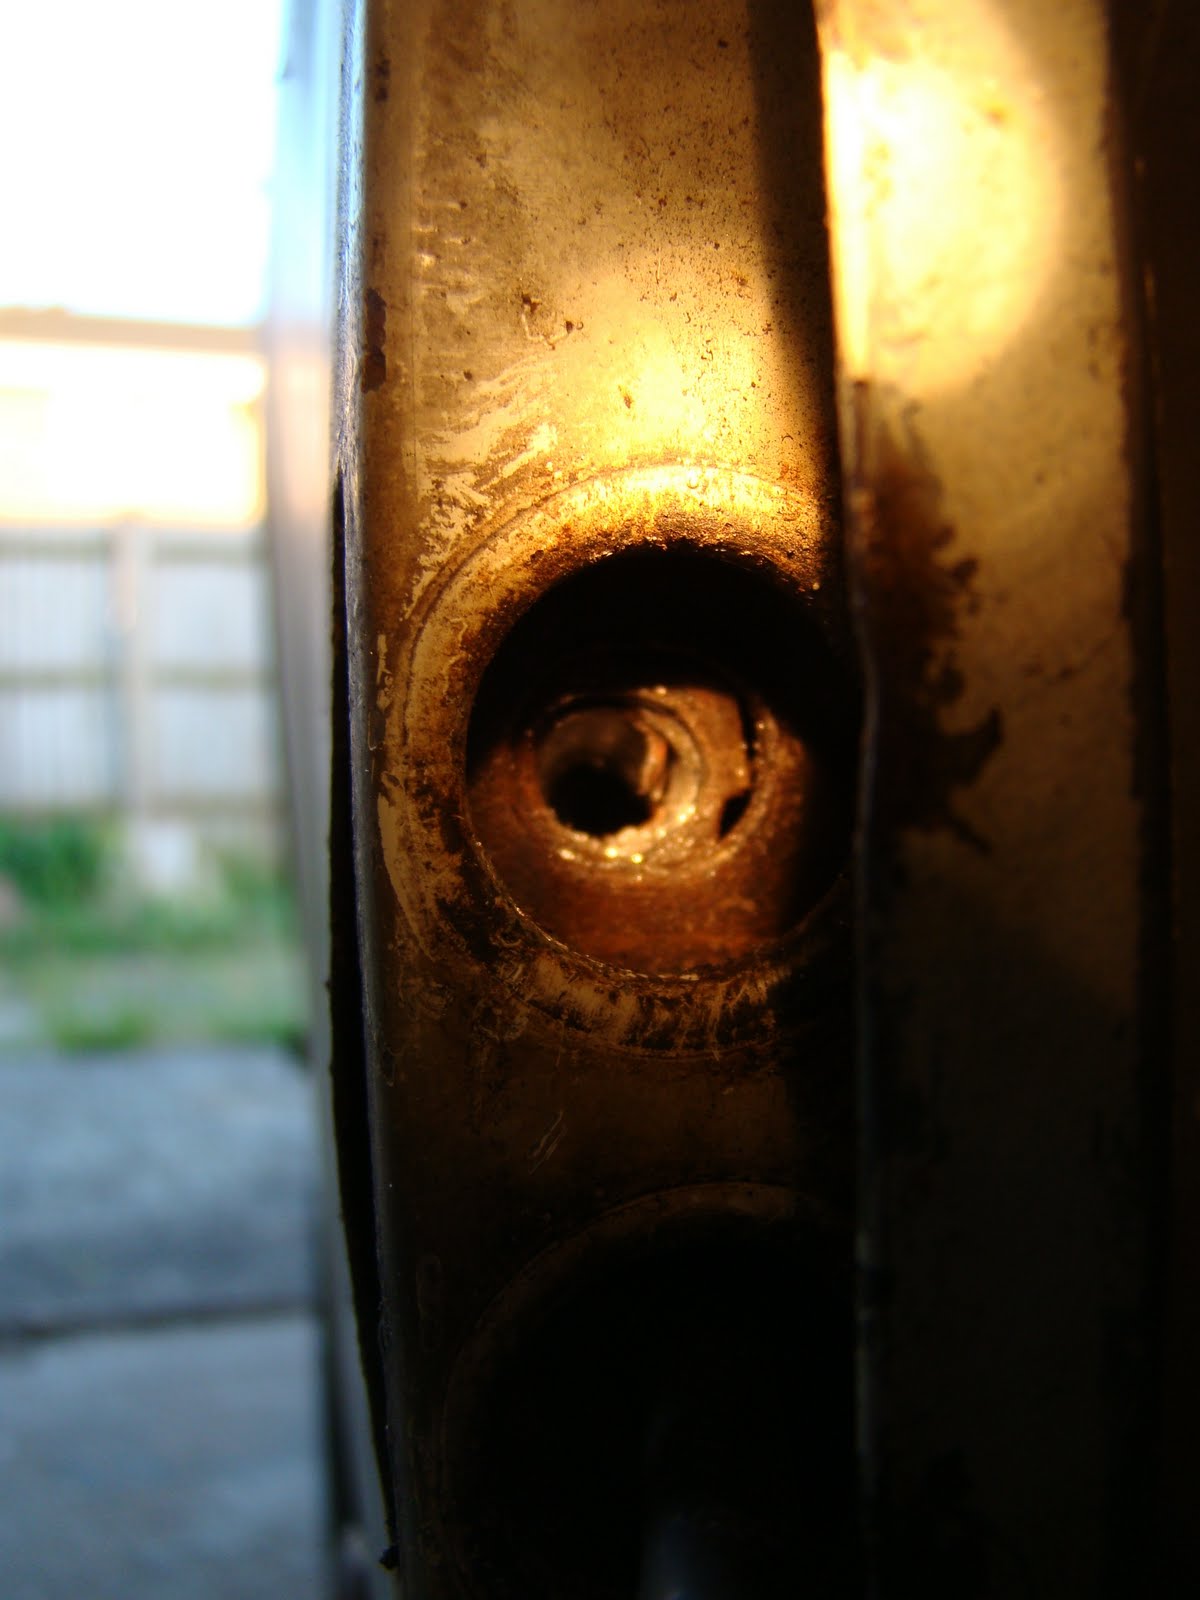
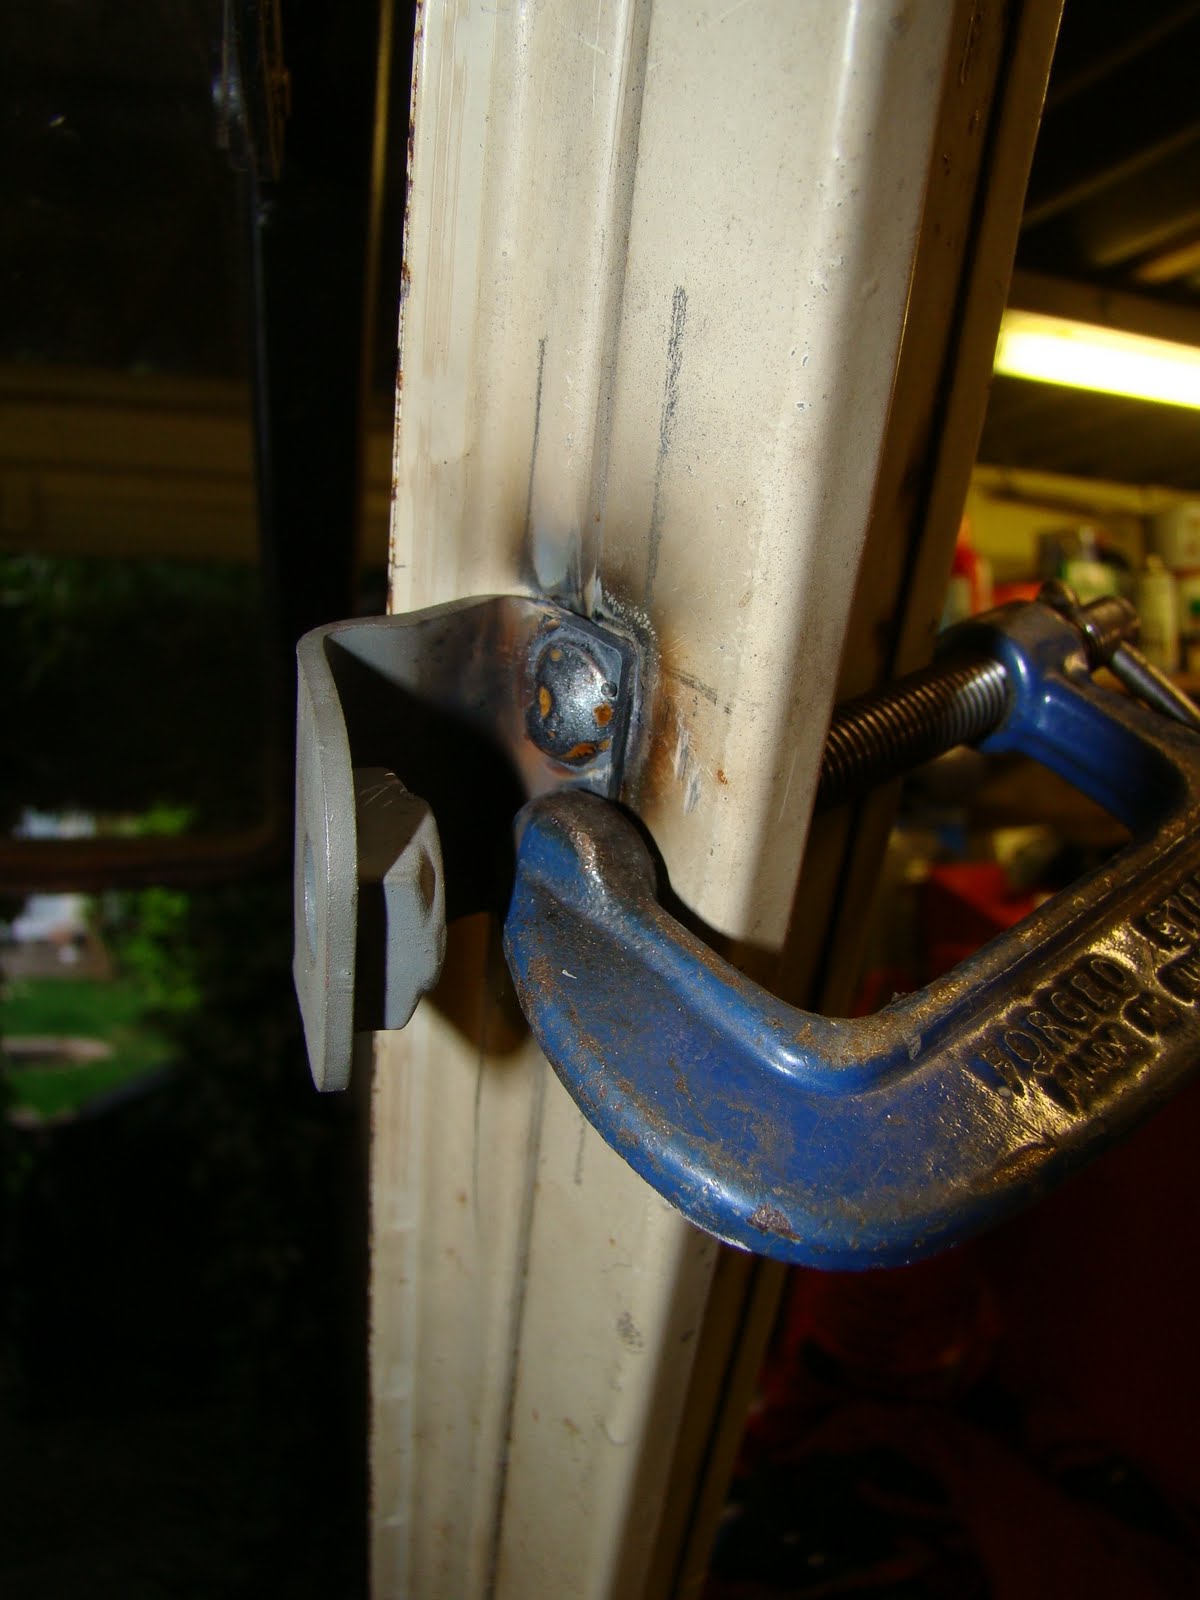
Here's a shot of the gap in the joint, this ensured I got a decent penetrating weld around the joint.

Once the back was done I pulled off the front beam, this is a Bay window ball joint 69 beam. This was cheaper than getting my king and link pins replaced at the time. 


One of the wheel arches I'd stripped before, but there's still the usual rust above the beam mounts

The cab belly doesn't look too bad apart from the centre support I forgot to paint and has now gone rusty.

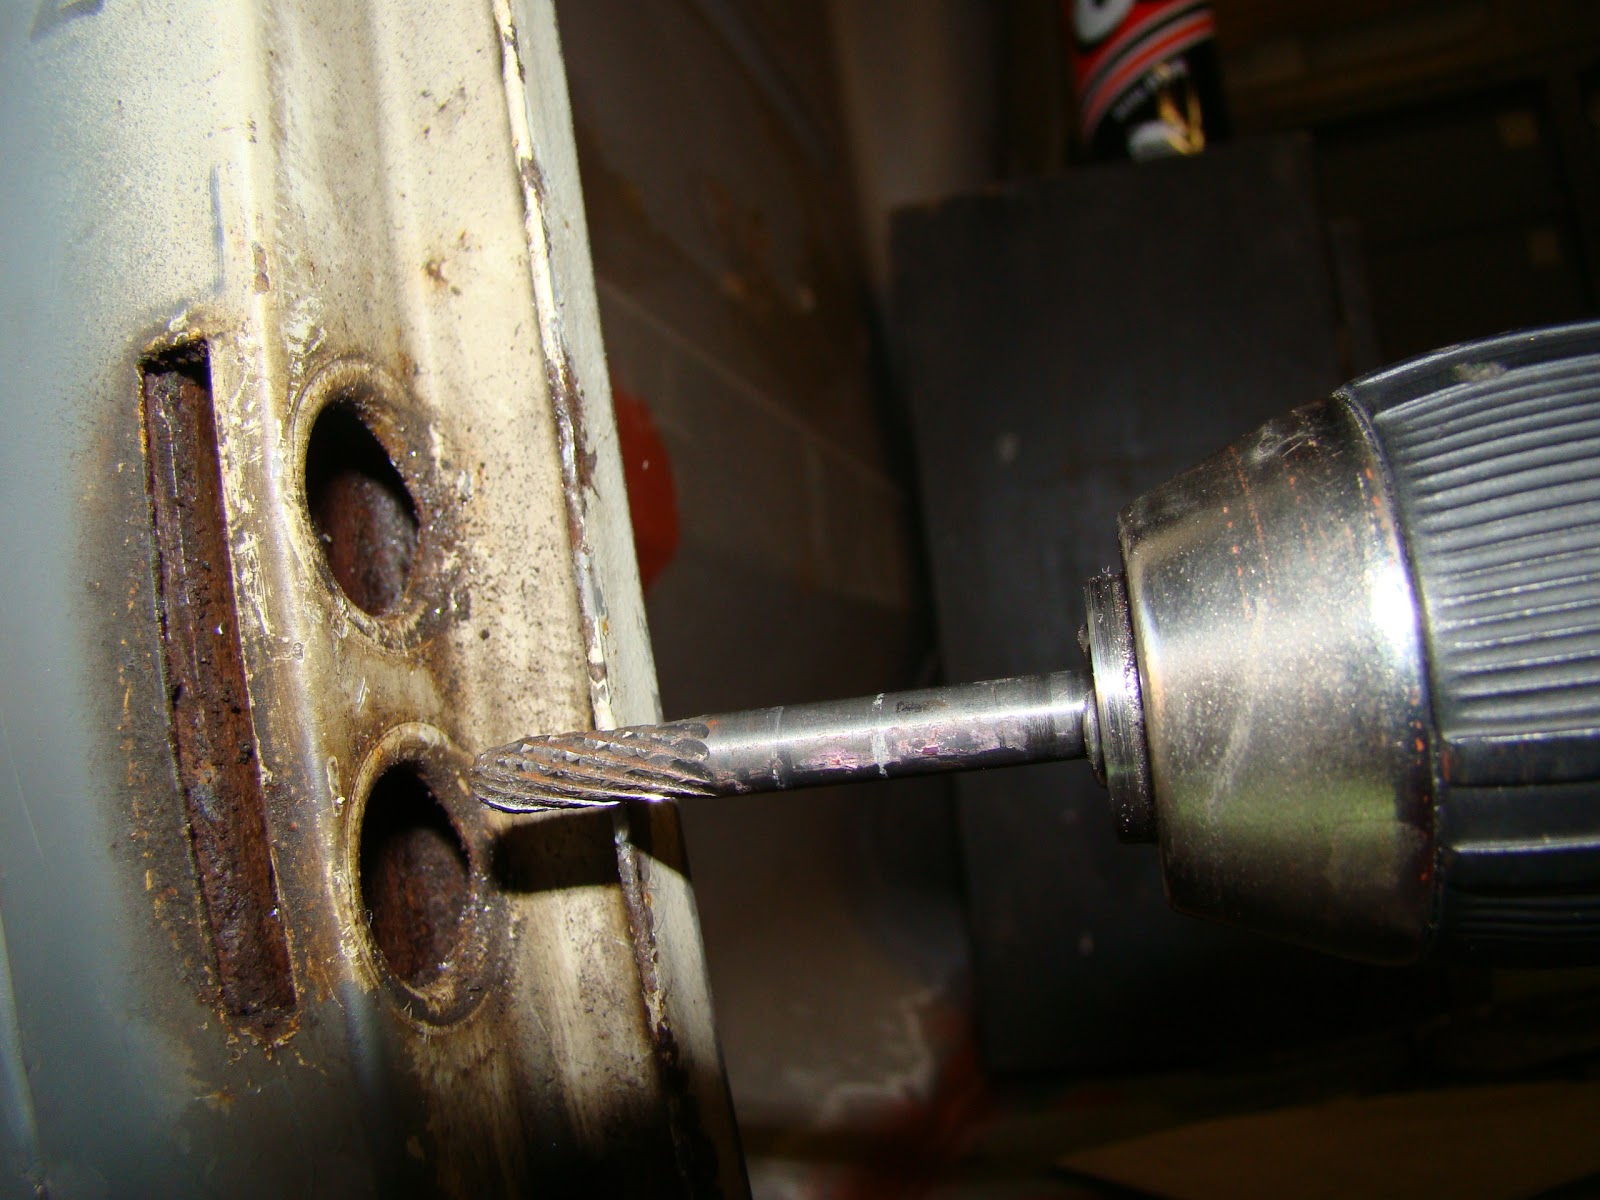
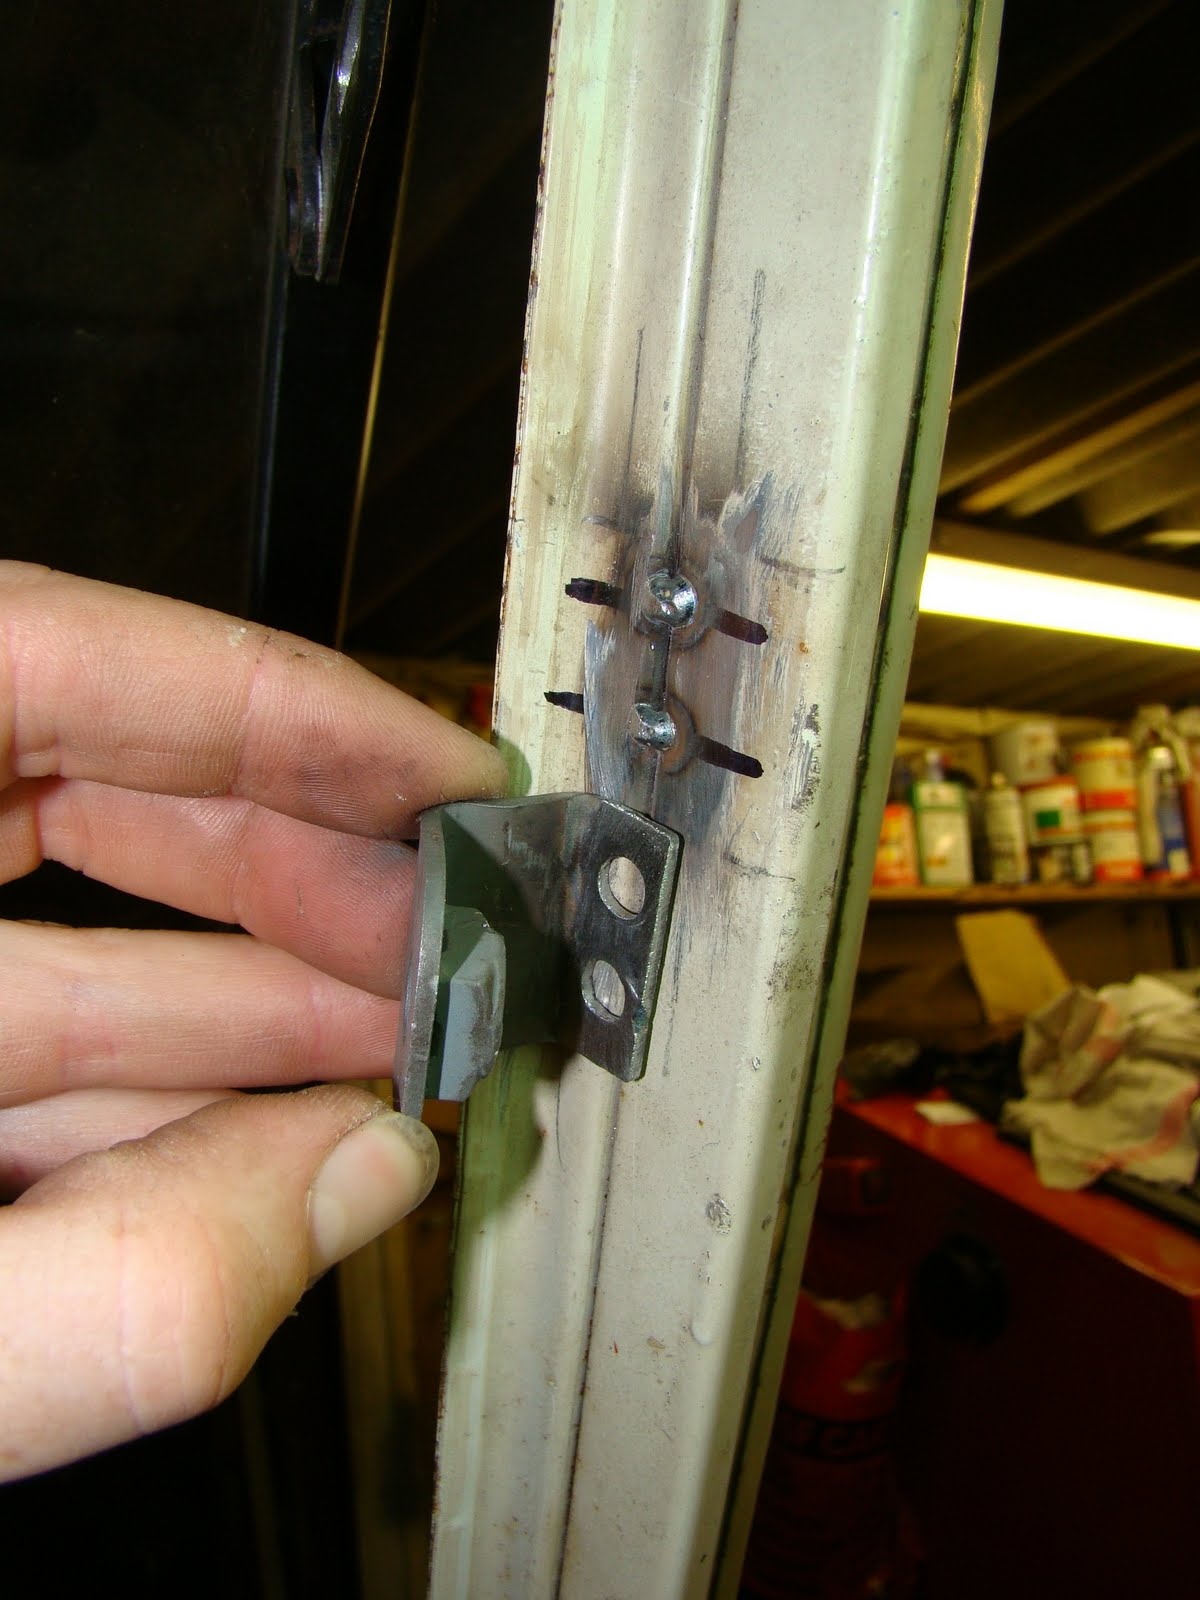
To make the front plates I rubbed my dirty fingers over a piece of A4 to get a rubbing of the front mount holes. I drew a cross over the center of the holes as a guide and then drilled them by hand with a battery drill. Not the best way to drill 14mm holes but I didn't have access to the pillar drill.
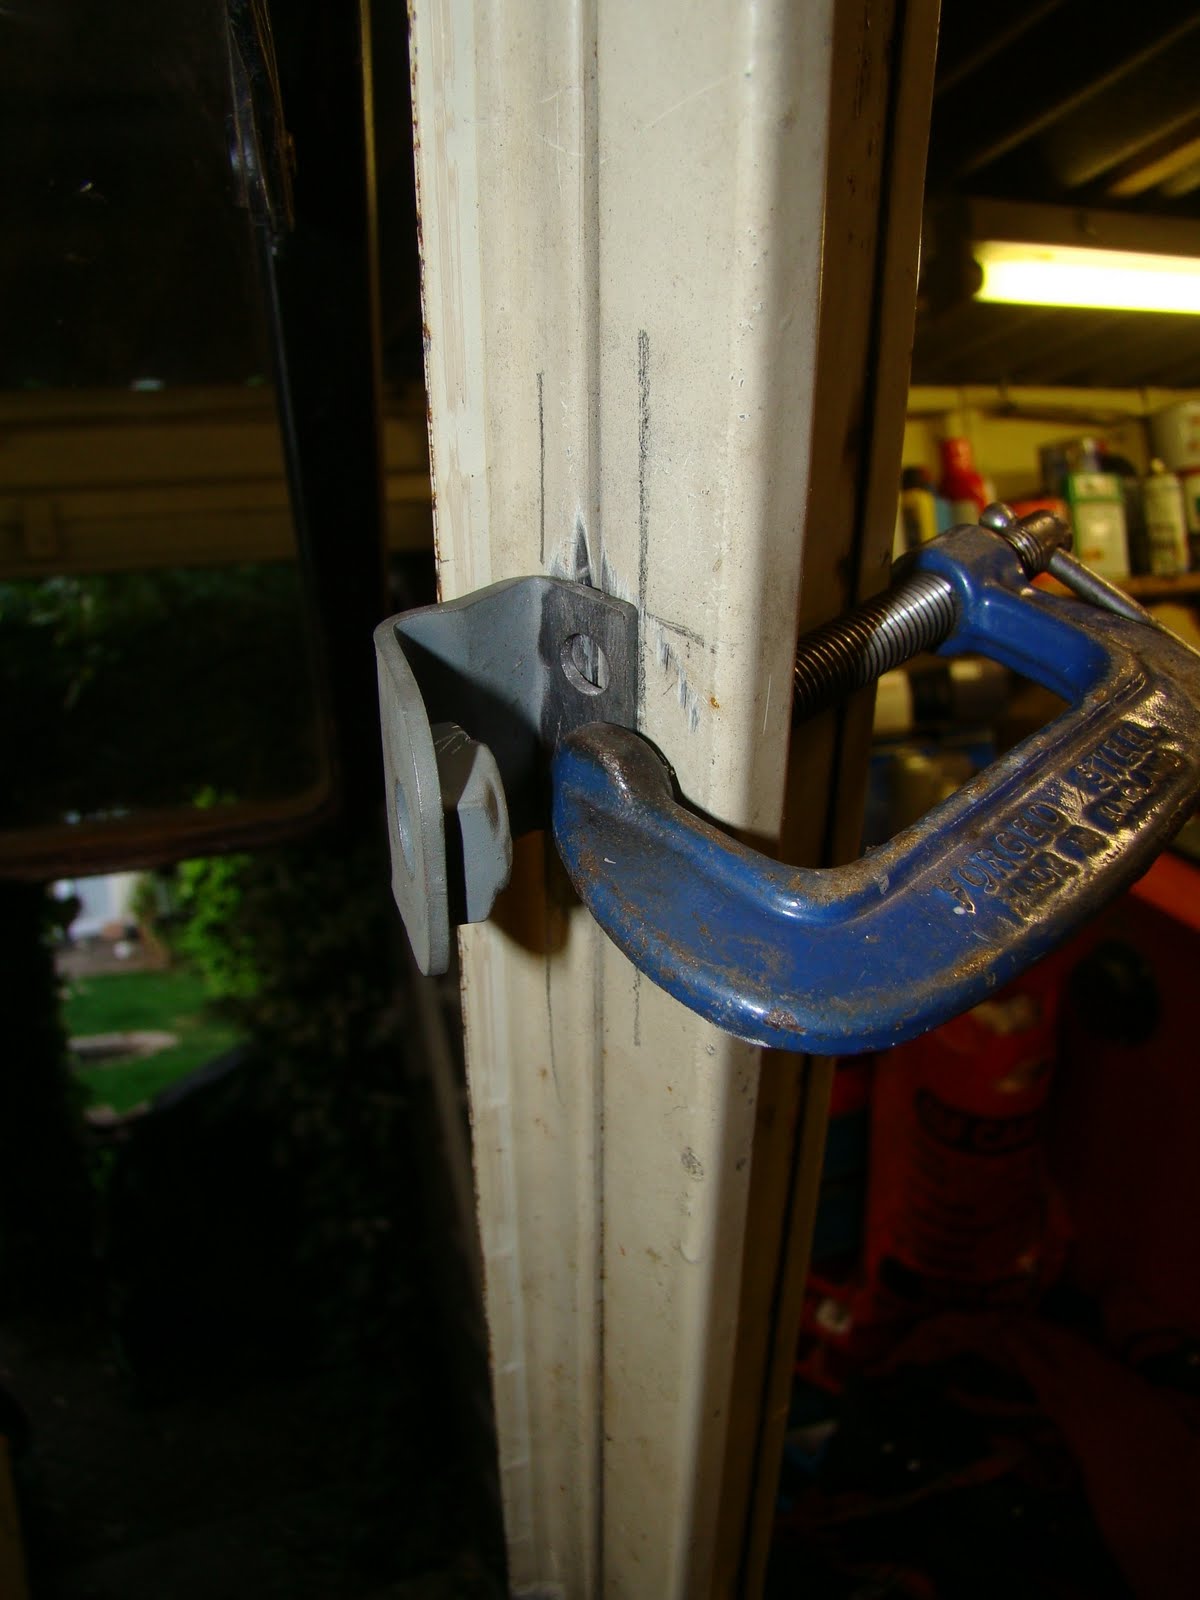
I jigged the front up the same as the back but its was on a slight angle when I tacked it but didn't put it right. I did put some washers under one of the plates to give me a bit of a gap to help installation.

I laid out the tacked jig and welded each side. I also made sure to grind away all the galvanizing as this messed up my first few welds and I couldn't work out why.

The front rig slid under a lot better that the back one.

So here's my rotisserie made in 3 days for £27 + welding gas and burnt flesh.
I'll get a video of when I first roll it over and see how good my welding is! I'll make sure the camera person isn't in the line of roll.

Cargo door hinge roller pin replacement

I had the bold idea that if I was to remove the cargo doors and give the roller pins a whack they would just pop out so I could fit the new ones. Of course not. If you're thinking of doing this to your van it is better to remove the doors because if you hit the hinge while attached to your van you may buckle the frame around the hinge.

Also get some muscley help to do this, it was not easy trying to hold a door and hit it at the same time. I started drilling the roller pins with a drill bit the same size as the hole to clear out the rust and crap. Then worked up to a 3/16"- 4.7mm, drilling from either end into the pin just past the second hinge points to free up the tension in the roller pin. I used the smaller drill bit poked in the other end as a guide to make sure I was drilling straight.

With still some material left in the centred of the pin I was able to knock the whole pin out with no problem but made sure I had some thing solid to push against the hinge to knock it out.


With all the pins out you may be able to see the damage on the old roll pins. The new pins are stainless steel so they won't rust. There was also a strip of felt with a twisted wire in the center that came out of one of the hinges, not sure if this was meant to be there from the factory.


I sand blasted the hinges while they were off, then with plenty of lube squeezed the new pins into place with a vice, double checking the hinges were in the correct position. Get someone to help you with this as it was a ball ache holding the door squeezing the vice and making sure it went in straight, then taking a picture.


With the hinges fitted on the door and a bit of paint I fitted the cargo doors back on the van. There was still a bit of play on one of the hinges. I think this is because the roll pin was  not able to expanded enough in both parts of the hinge due to the different diametre of the holes due to the aforementioned 40 years of wear. A run through with a reamer smaller than the pin  would have probably solved this.
Now the cargo doors are fitted I noticed that the lower corner of the door was sticking out, this may be from the panel beating I've been doing on the van or where I spot welded the outer skin again in a couple of places but probably in the wrong position. Hopefully a big hammer and block of wood will sort this out. Any volunteers?

Pop out window Strip down

 I rescued my pop out windows from all the crap piled up in the van to give them a bit of TLC.
 By TLC I mean chop the buggers up and pull them apart
 I cut through the joints and very carefully pulled the frames off the glass. If any one needs some channel for a repair let me know.
 Gave the glass a good clean then wrapped it all up carefully. The 1990s throw was back on my bed that night.
I started painting the new frames that I got at the Volksworld show, but soon got bored of wetting back the top coat. I'll have to come back to this when I have less urgent things to do.

Removing a Rusted Cargo Door Hinge Bolt

This is the lower cargo door hinge that has probably not been removed for a good 40 years, so there's bound to be a bit of rust keeping it all together.
So after trying a large screw driver and an impact wrench and the bolt not budging I finally drilled into the head off the bolt past the thickness of the hinge and then snapped the head off. This allowed me to get the door off but left a bolt shaft in a hole with no rear access.
I'd had access to the back of the bolt when I'd repaired the arch, but that is all patched up now. So I had to drill through the bolt and try an easy out. That didn't work, next step was to grind the bolt away very carefully untill it broke into the thread of the nut plate. This took a lot of patience and a good set of eyes (I borrowed some).
Although it's not a great picture you may be able to see a part of the bolts' thread that I was able to pick out once I'd ground down the inside of the bolt. Once I'd ground enough off the old bolt away I used a tap to clear the rest of the thread.  

Safari Window Wing Nut Bracket Fitting

 
Cleaned out the Cab bay all apart from the big black round thingy. Doesn't look too bad compared to some vans I've seen that need restoring. A fresh coat of paint should get this looking good as new. One day...


Anyway back to getting the Safari windows fitted...
Brackets from CE arrived 'rat look' so needed a blast in the blast cabinet (Open the blast doors open the blast doors)

Positioned the bracket, high enough for the windows to be horizontal but low enough so the sliders were tucked close as I could get to the frames

 Cleaned the paint up and drilled a couple of holes in the brackets
The body work of the left side was not flat so had to put a bend in the bracket so it sat better. I used the seal to get the gap to the frame correct.
 The right side welded but when you wobbled it you could tell the weld had not penetrated enough onto the frame. It snapped off with a couple of wobbles. 
So had a cunning plan to put a couple of tack welds on the frame then line up the bracket to the welds to get a better weld through the latch.

 With both sides welded I positioned the windows for the centre latch.
I tried the same trick with the centre adding a chamfer to the holes and got a much better weld. But I welded it about 1mm off centre,  
 I did have a bit of trouble getting the thicker seals to fit but there is enough flex in the latches to bend them out of the way without having to cut the seals.
Guess the moment of truth will be a trip out in the rain. 
I now have another problem to solve, the lower frame latches are too low and don't give any room for the plates to fit under. 
I tried to cut away the top curve of the outer latch plate so the latch could pass over it but I would have to cut away the bulge in the bracket that pulls the frame tight so it could pass over without fouling.
I may have to raise the mounting plate or have a go at making my own bracket to fit...