
Its been a long time coming, but finally the day the van gets shipped off to the paint shop arrived. Not quite as ready as I'd hoped but if I kept putting it off the van would never have got to the painters.

I found the painter online while looking for a mobile booth or spray booth to hire, I came across "the paint shop pros" and checked out there website and face book page. www.thepaintshoppros.co.uk/ After a chat on the phone I arranged a visit to there shop.

Gavin with a back ground in graphic design and his Dad Dennis with a wealth in body shop and paint experience were a great match for my Van

When the van arrived I planned to paint the interior my self, Gavin allowed me to use his shop to finish the final prep of the cargo area with the help from Rachel.

The sanding and final prep took a couple of 9-5 days with two of us, It did get a bit tedious but well worth the hard work.

The windows were taped up and the van rolled into the booth. I later found I should have opened up the rear hatch to let the light in and stop the paint swirling around inside, I would have got better paint coverage on the rear seal carrier and rear hatch hinges.

One more wipe over and blow out with an air gun.


The rest of the van was covered up and I got suited up.

A couple of quick tips from Gavin.

Then setting the guns paint flow fan size and air pressure.
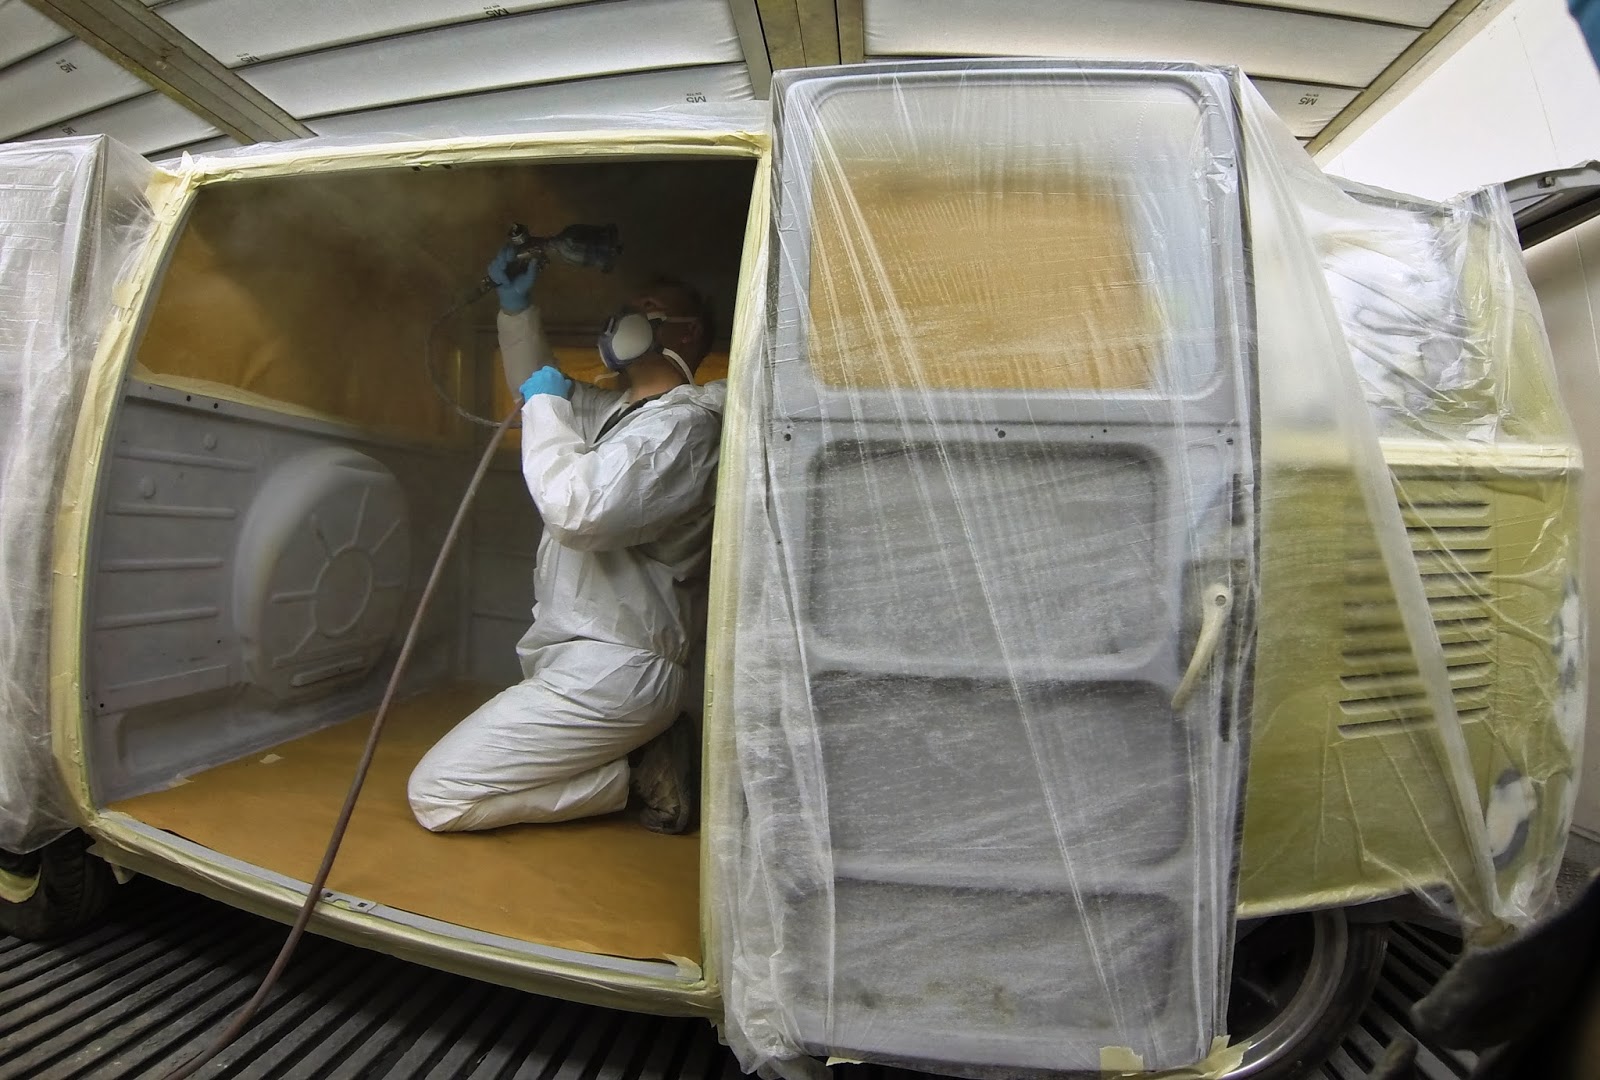
With a full pot of paint I started on the roof, making sure my dirty feet didn't get the floor dirty, My knees did take a pounding on the corrugated floor.

I used a small paint gun to spray into all the corners and spray the under side of the panel supports

I then worked along the long side, the rear corned is where I had trouble with the spray cloud and the shadows


It took a couple of fill ups with paint, forgetting to wear my hood I had paint in my fringe for a couple of months. The bulkhead was the last to get a coat before the floor.


The paper was taken off once it had cooked for about 20 min to reveal the results.