Deck Lid Repair and Panel Beating

Deck Lid repair (3)

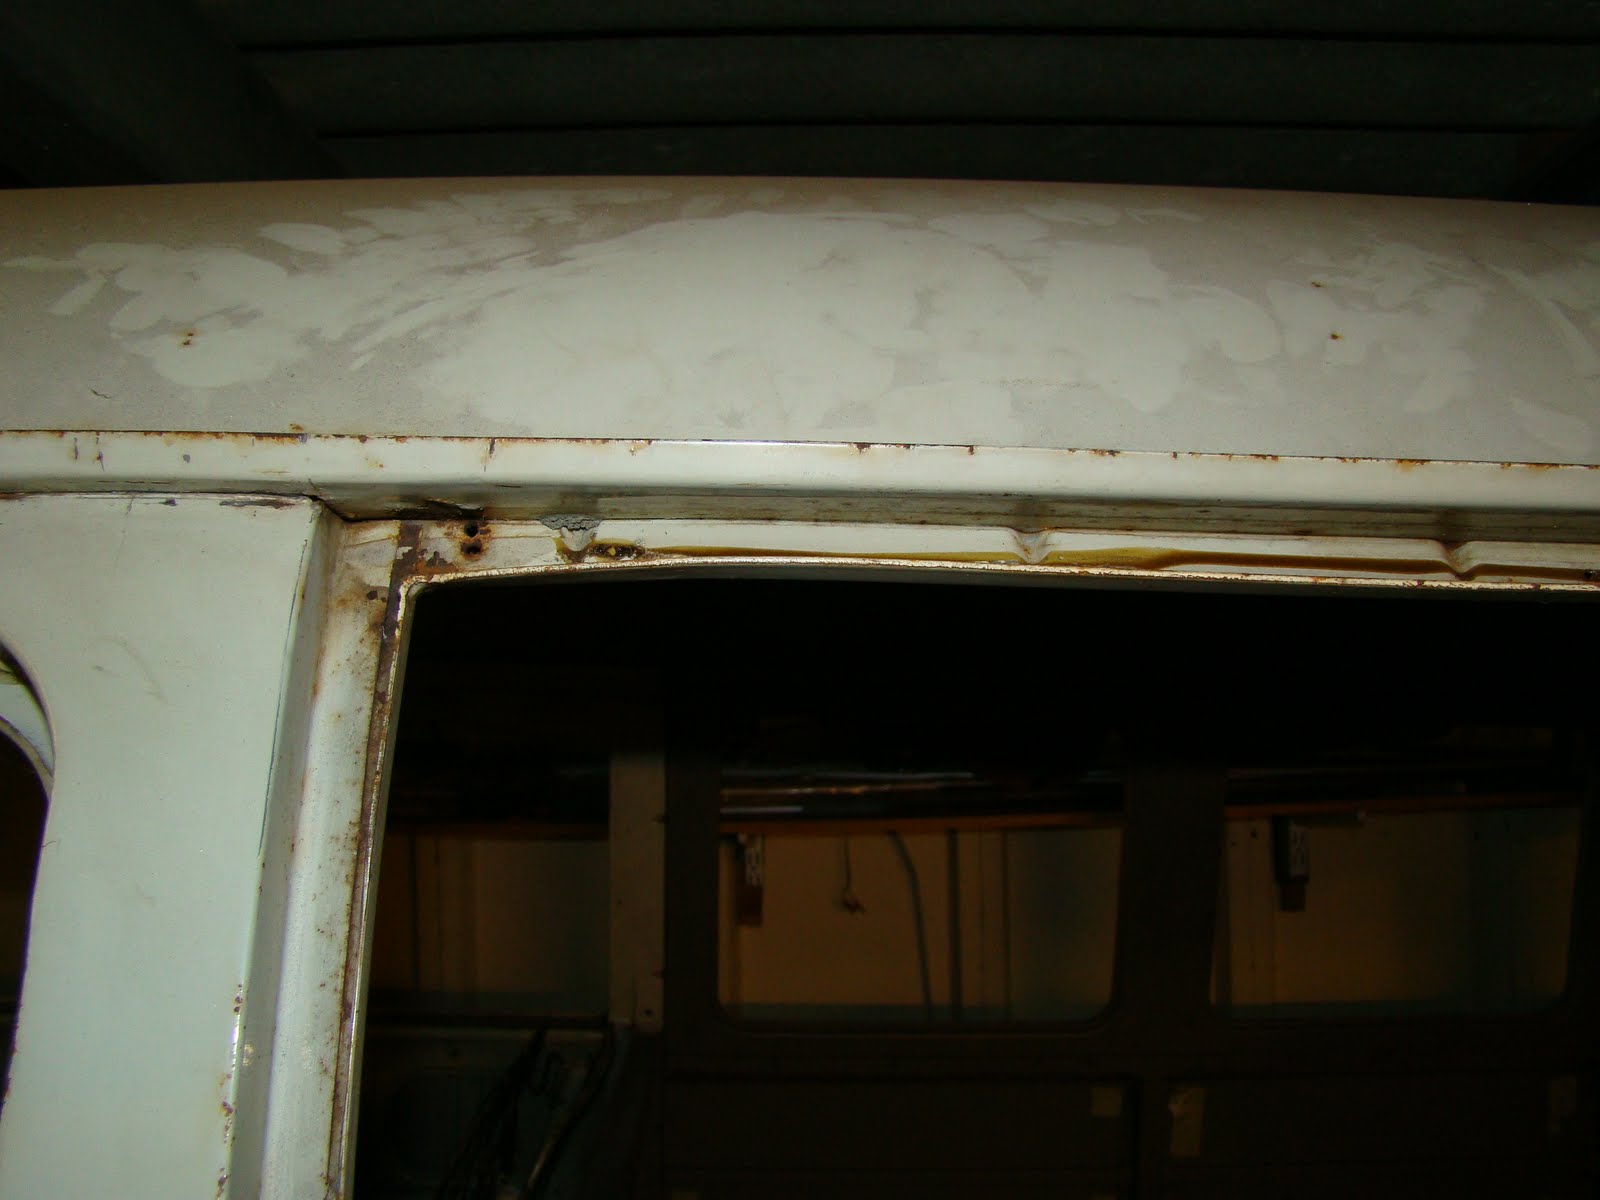
Here's my engine deck lid that got a small dent from one of those sneaky concrete post that creep up behind you when you're not looking and get in the way. It's a good job I didn't have my bumper fitted when I reversed into the post or I would have to bash the dent out of that instead of my engine deck lid and valance (English Sarcasm).

Deck Lid repair (5)

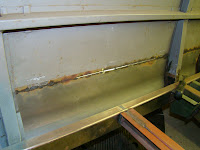
The inner skin around the dented area has rusted so thin that you can push a screw driver through it. It's like popping bubble wrap, you want to keep poking but shouldn't. So deciding before I pay £100 to £250 for a second hand rusted and dented engine lid to try my skills at repairing the one I've got. At least the oil covering the inside has saved most of the metal.

Deck Lid repair (7)

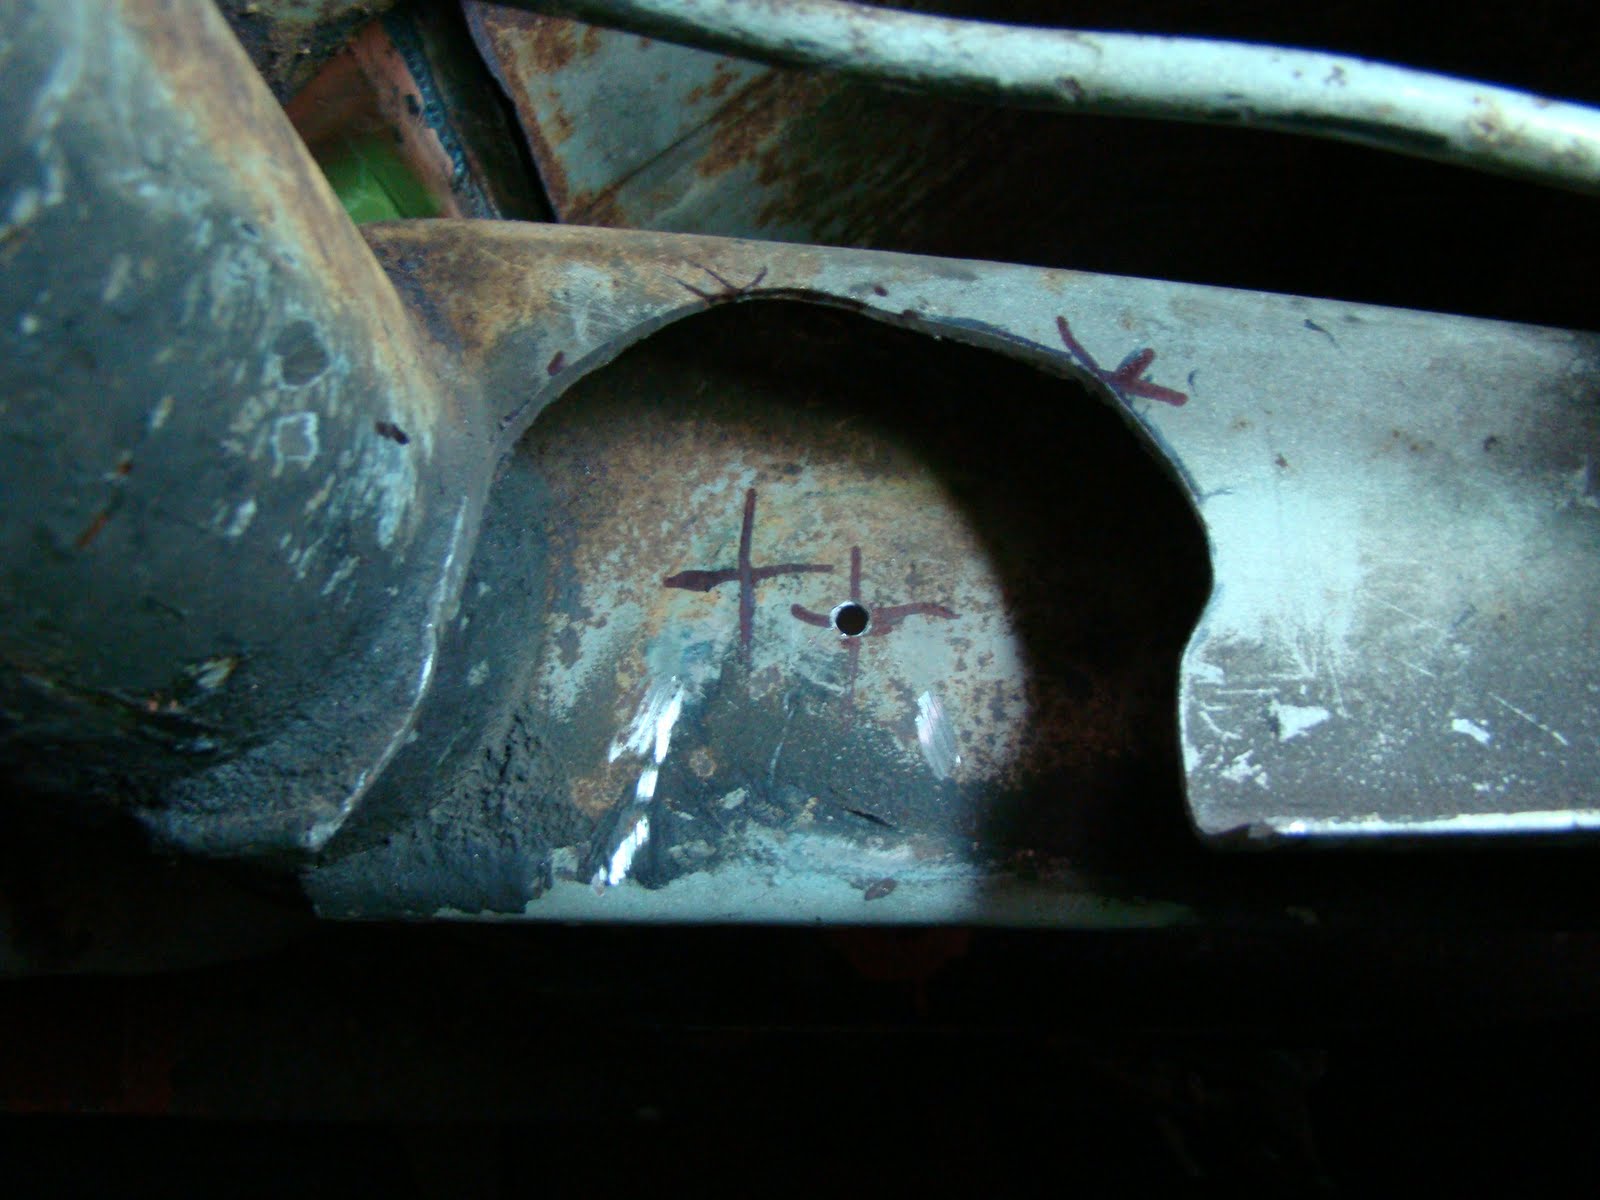
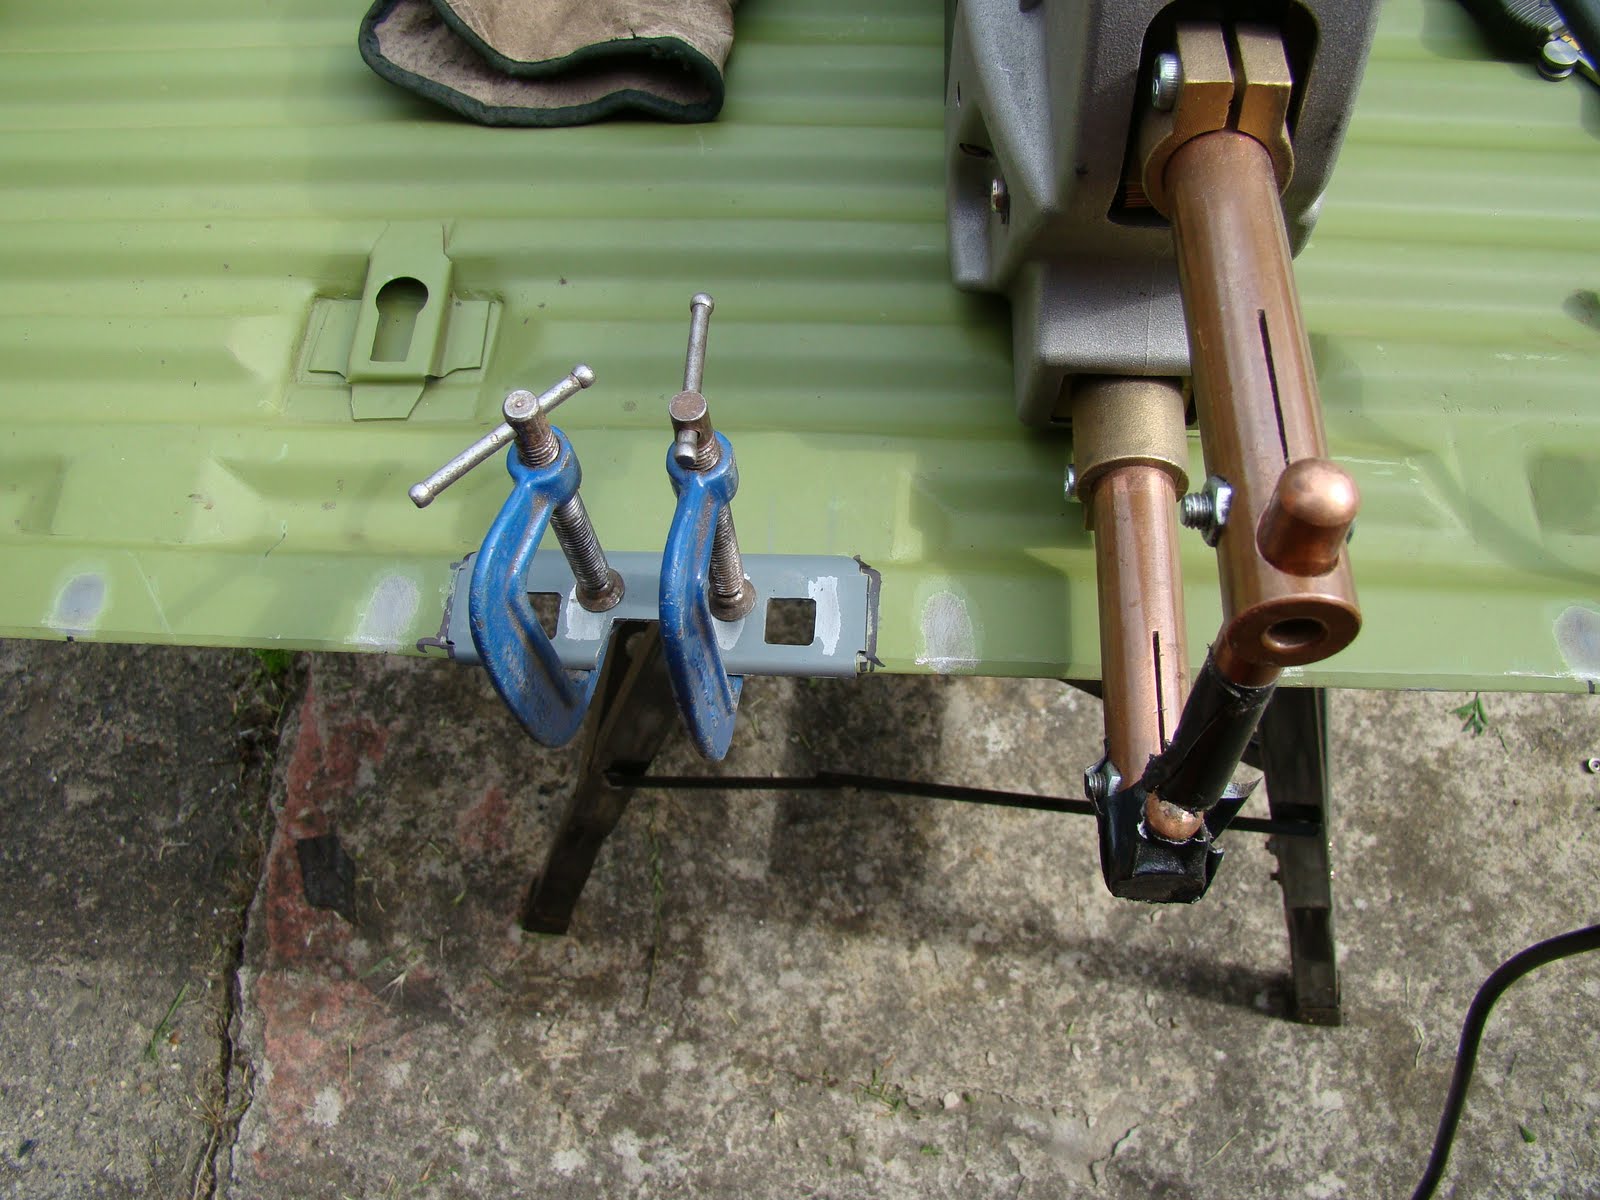
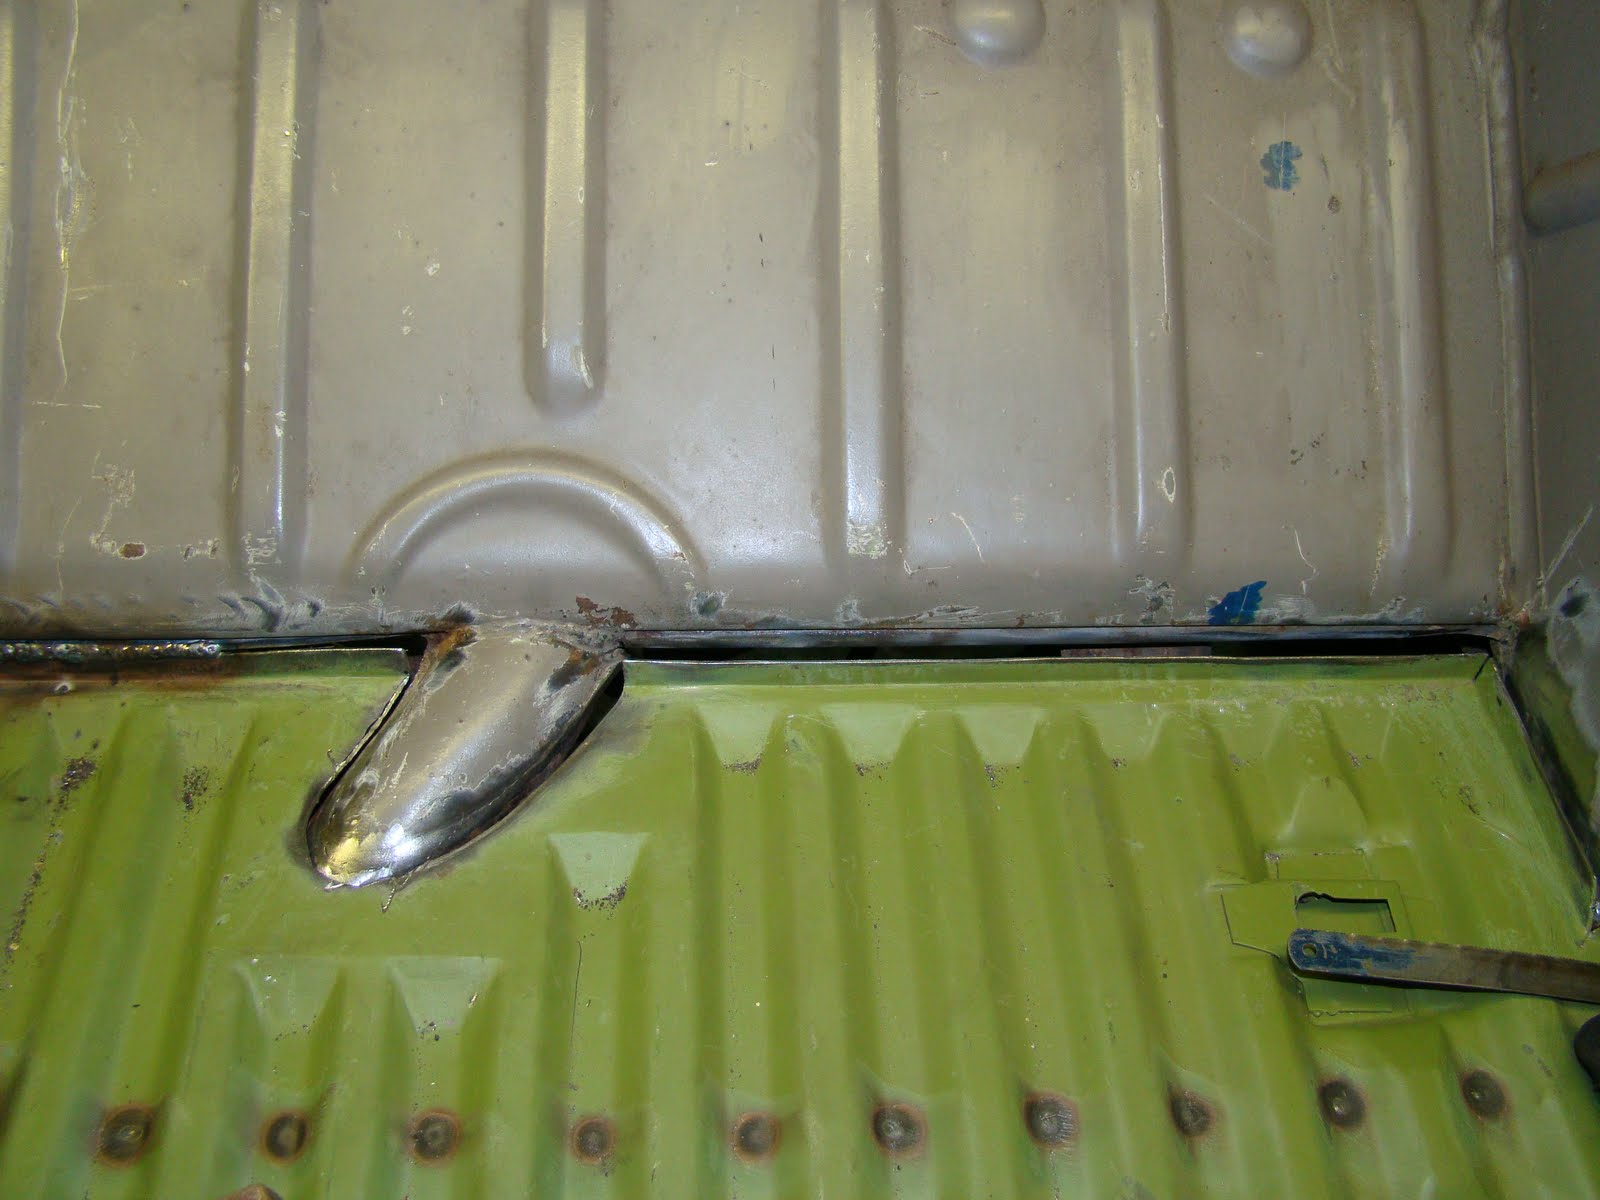
I started by grinding down a 5/32" HSS drill bit to a shallow point and drilling the spot welds untill I could see it just starting to cut the second layer of steel. I tried a few screw drivers and chisels till I settled on a podger or spike (used for aligning bolt holes and generally poking things) to lift the rolled seam away from the inner skin, and cut a channel at two points with a cutting disc.

Deck Lid repair (9)

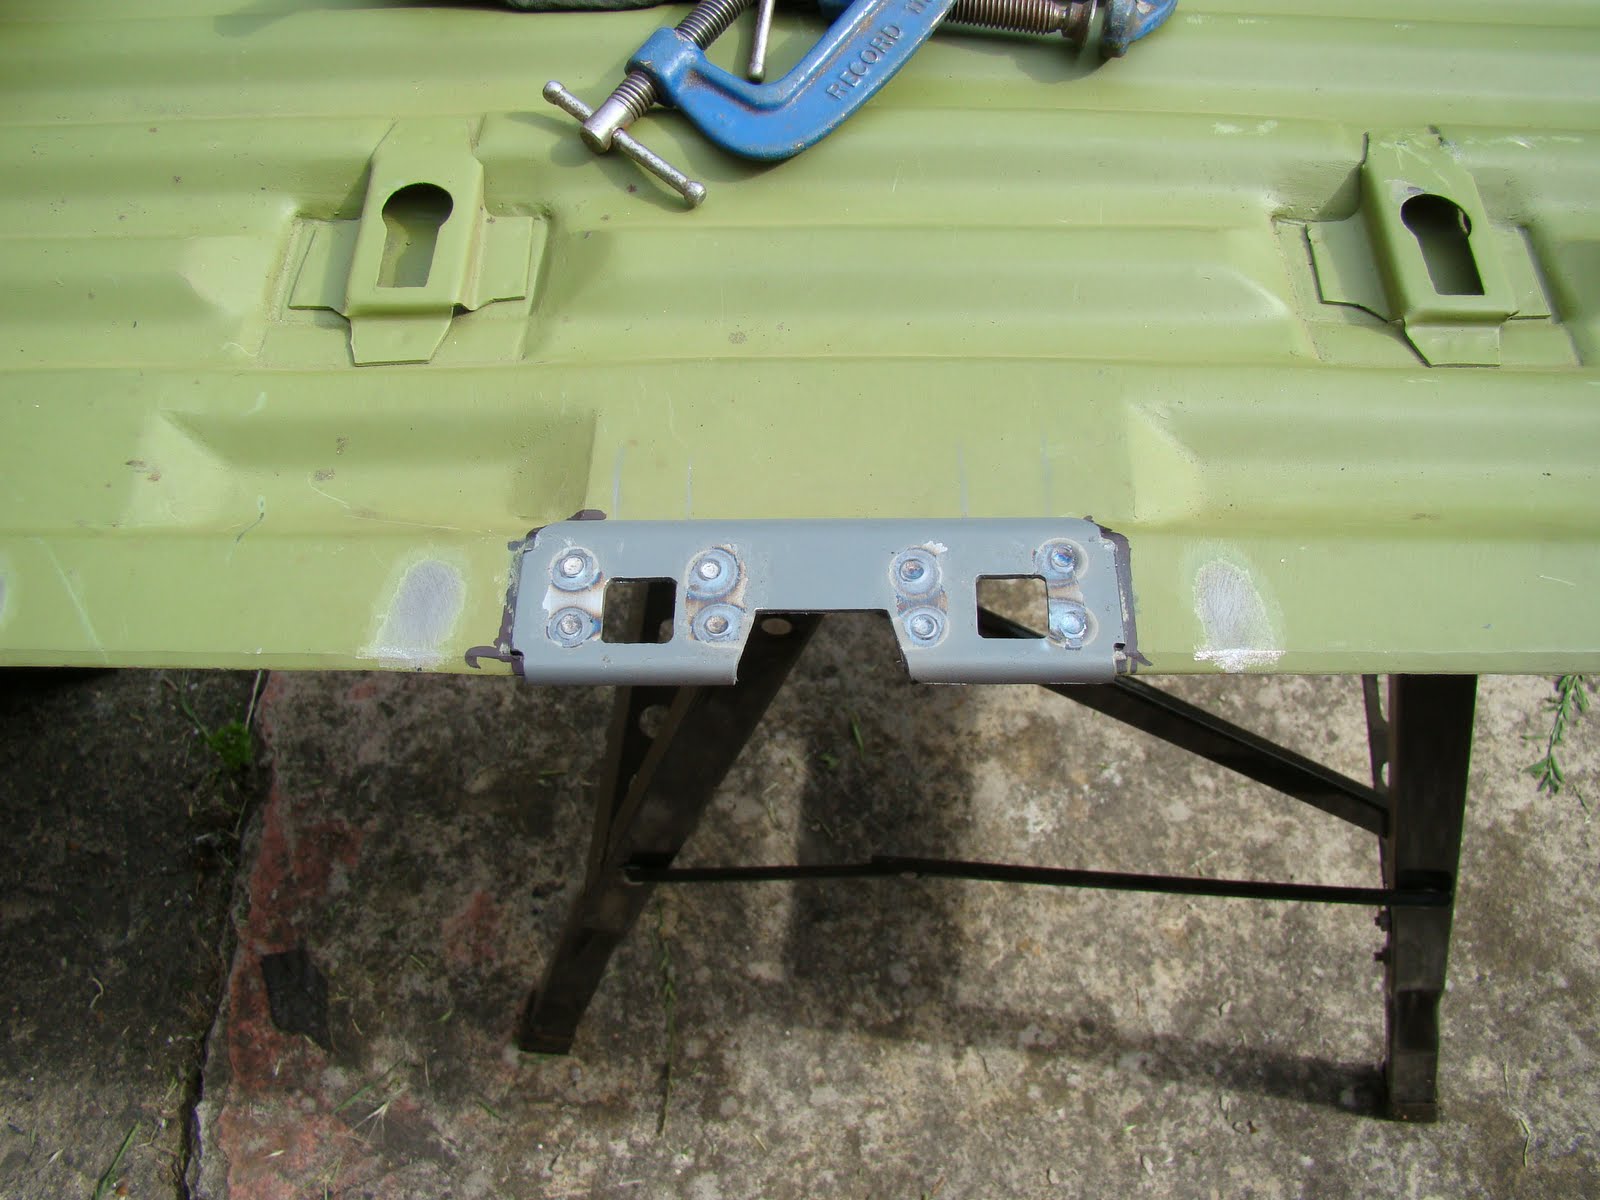
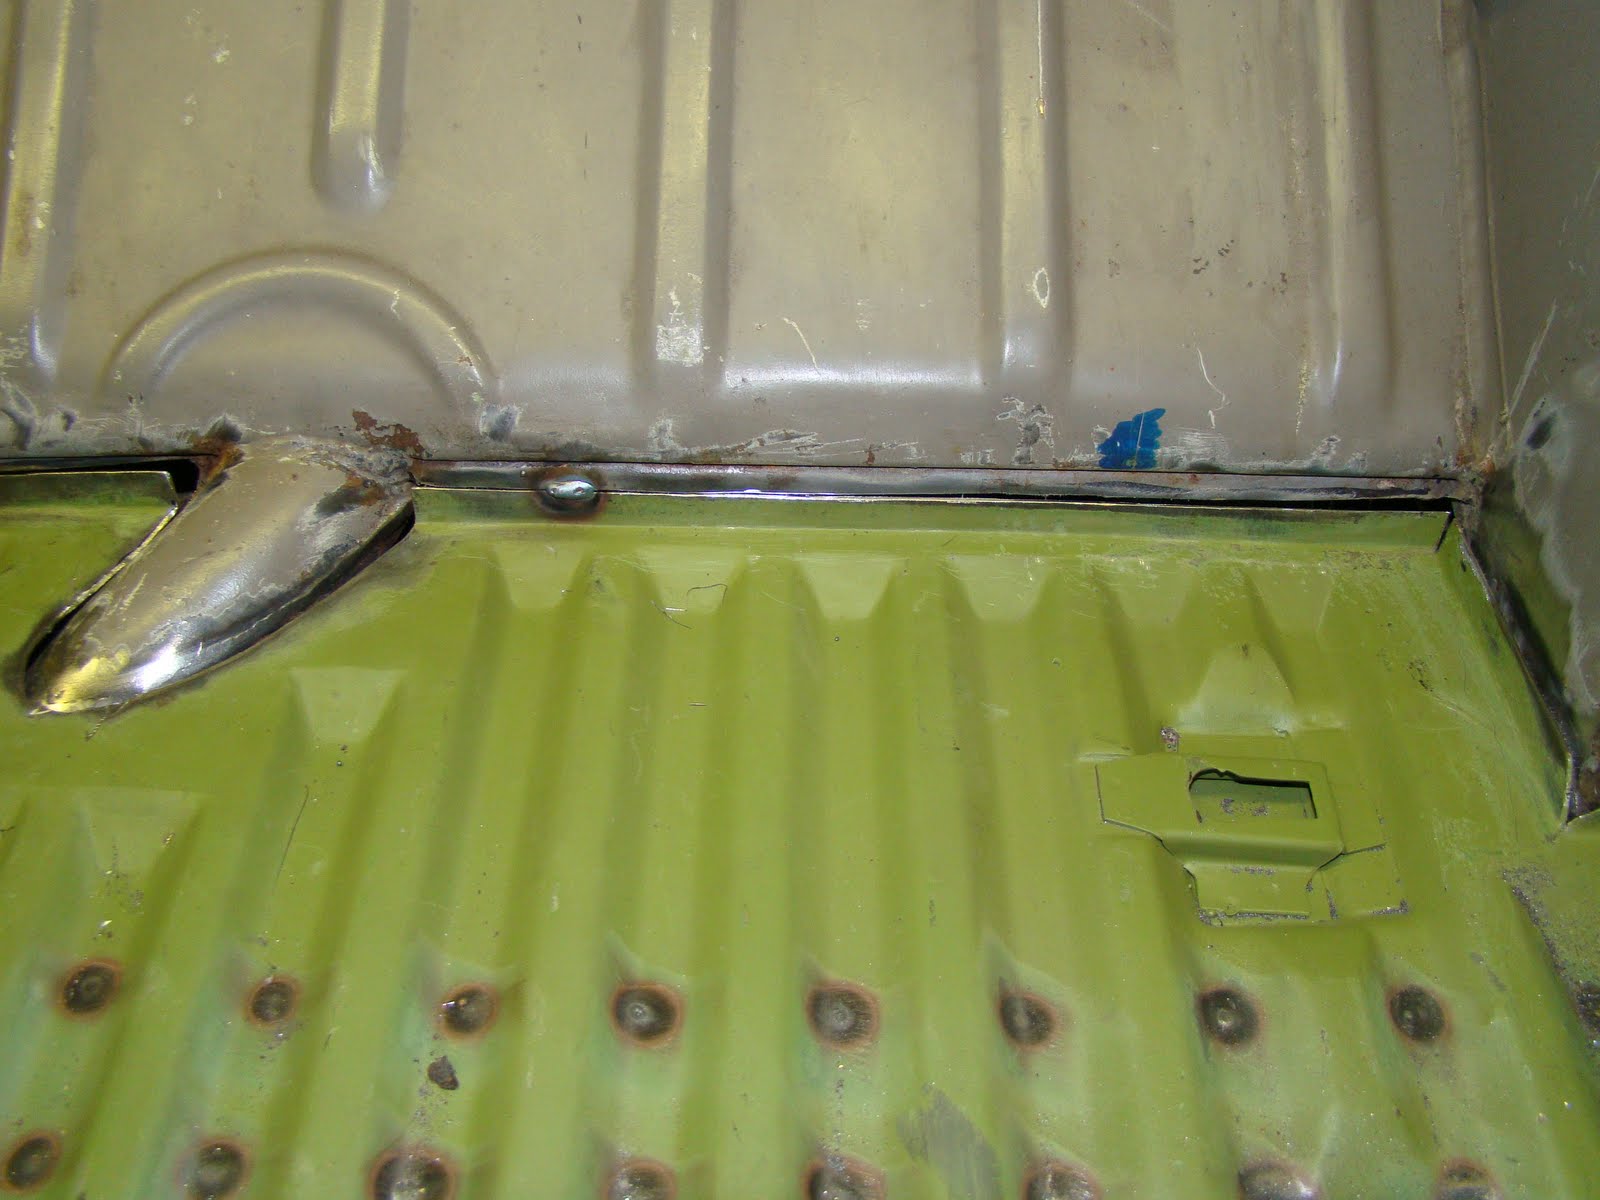
Once the spot welds were popped with a chisel and the edge seam lifted clear with a pair of pliers the damaged channel section slid out with some persuasion. This then gave me a better view of the skin damage and all the hidden rust.

Deck Lid repair (11)Deck Lid repair (10)

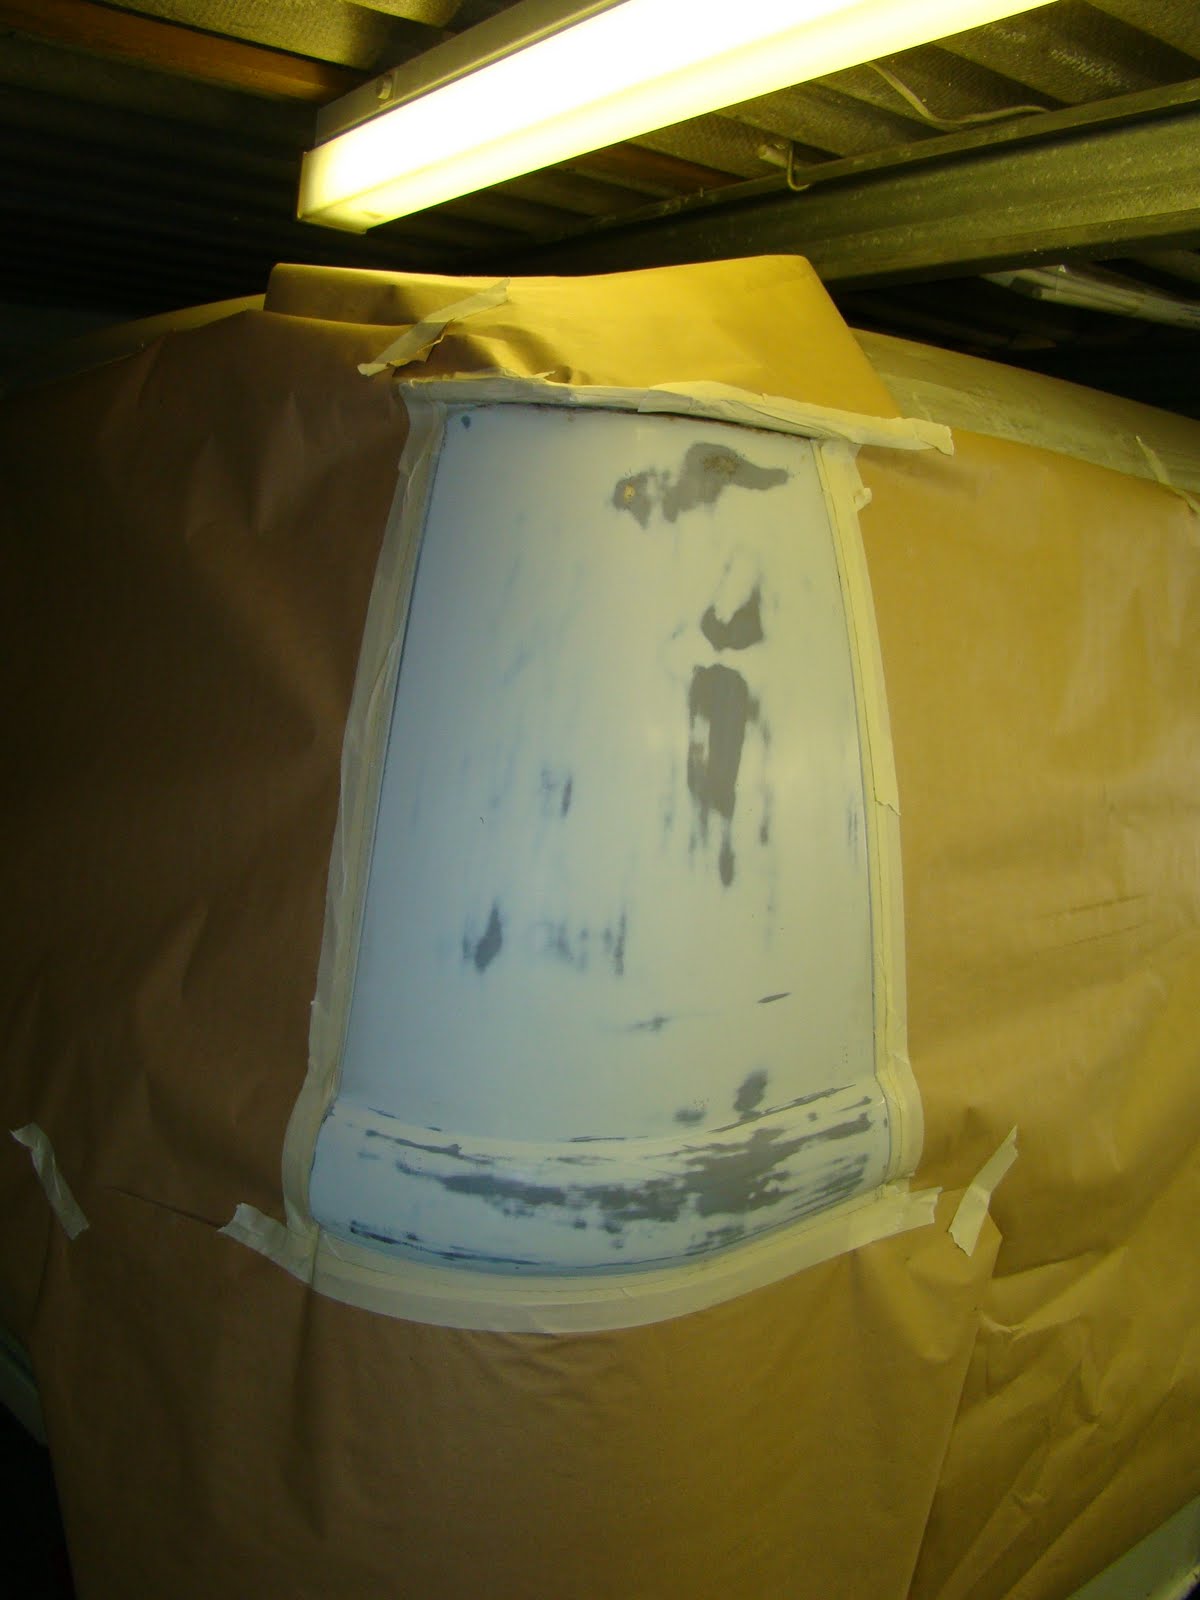
With the back channel out of the way I can now set about trying to straighted the skin, You have to bear in mind I haven't got a clue what I should be doing when it comes to panel beating. So using a hammer and block and a work bench, or to us the correct name of the dining table, I started hitting it at the top and worked my way down.

Deck Lid repair (13)Deck Lid repair (12)

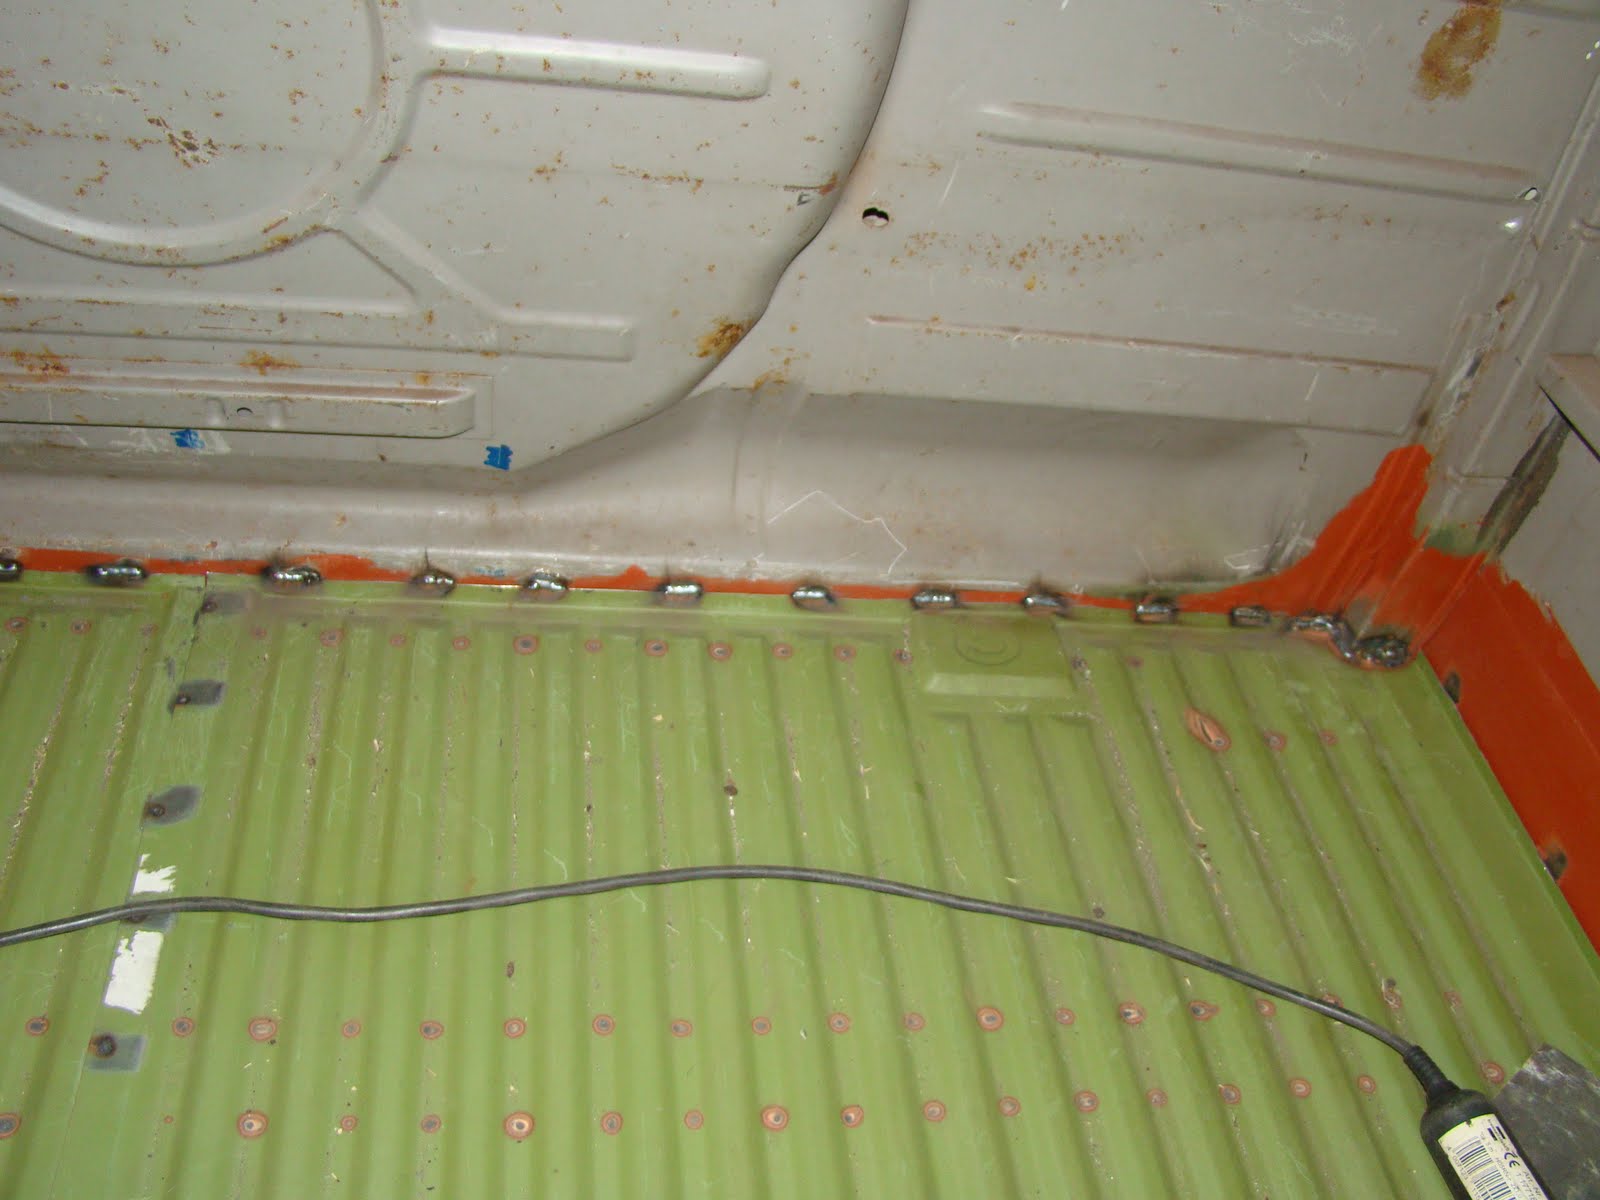
With a few positive taps it didn't take long to get the skin looking reasonably straight, although I did end up with a few high spots at the bottom edge from a little too much bashing. This was highlighted with a rub over with a block of wet and dry.

I'll cover how I dealt with panel beating the high spots soon….

Paint Colour Trial

One of the hardest decisions I have to make ever since I got the van is what colour to have it. Whenever you talk to someone about restoring a van they always ask what colour it's going to be.
I started my VW life in the late eighties so those pastel colours of the back to '89 cars have been a great influence on me. If I'd sprayed the van 20 years ago it would have definitely been pastel green with a white top rolling on Empi 5s.
To bring us up to modern day I gave myself the brief of picking a paint that has a classic look with a modern touch but would not date easily. This is a tall order, I could play it safe or try something original. Some of the new Minis achieve the classic touch with modern colours. And this muscle car from the Overhauling gave me some real inspiration.
Spending a bit of time on BusSelecta.com, then copying a picture into Microsoft paint as you get to play about with a lot more colours, I came up with a few ideas.
I wanted a colour that would match my personality, but that would have come out green and white, (or accordingly to my so called friends many variations of bland) and I needed something that would look a bit classier than my laid back combat shorts and surfer shirts clothing style.
So after many years I finally had a 99% decision that I may have a vague possible colour I might like. So I dragged Nic my consultant vehicle stylist to spend the (way too early) morning in a paint shop looking through some paint swatches. Loaded with a few sample rattle cans I then spent the day in the garage trying to teach myself how to get paint on the van.
A quick rub down with 360 grit paper, clean off with thinners, and mask off the rear corner panel with all the e-bay packing paper I could find in the house.

My first attempt at laying down paint. I wasn't confident at first laying it on too fast and thin with not enough overlap, or being even around the corner, but soon got the hang of it.... I think.

Another roll of brown paper and a very quick rub down as I was getting impatient and wanted to see some paint on.

Time to reveal the work. I did make a muck up by stroking the paint when I thought it was dry, and creasing it. I then rubbed it back but then smeared it with thinners, then left fine scratches that were highlighted when I lacquered it.

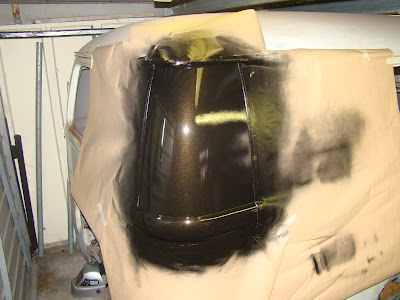
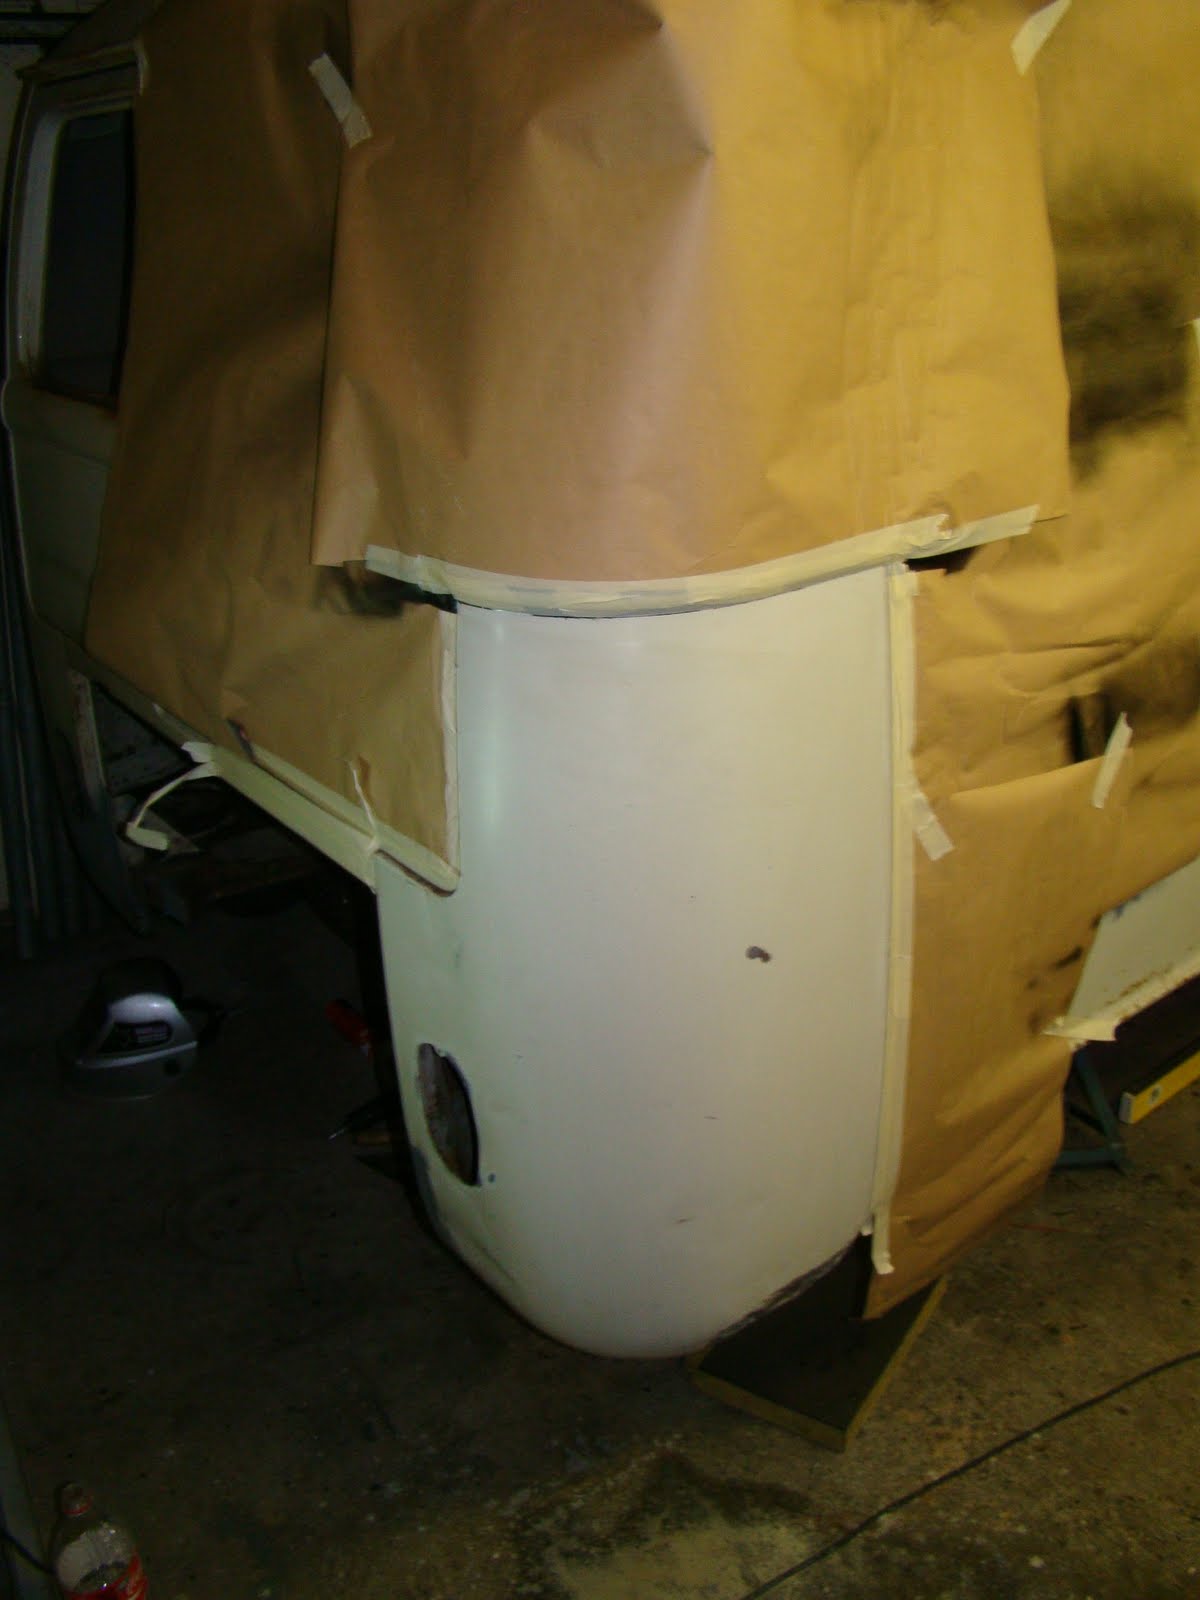
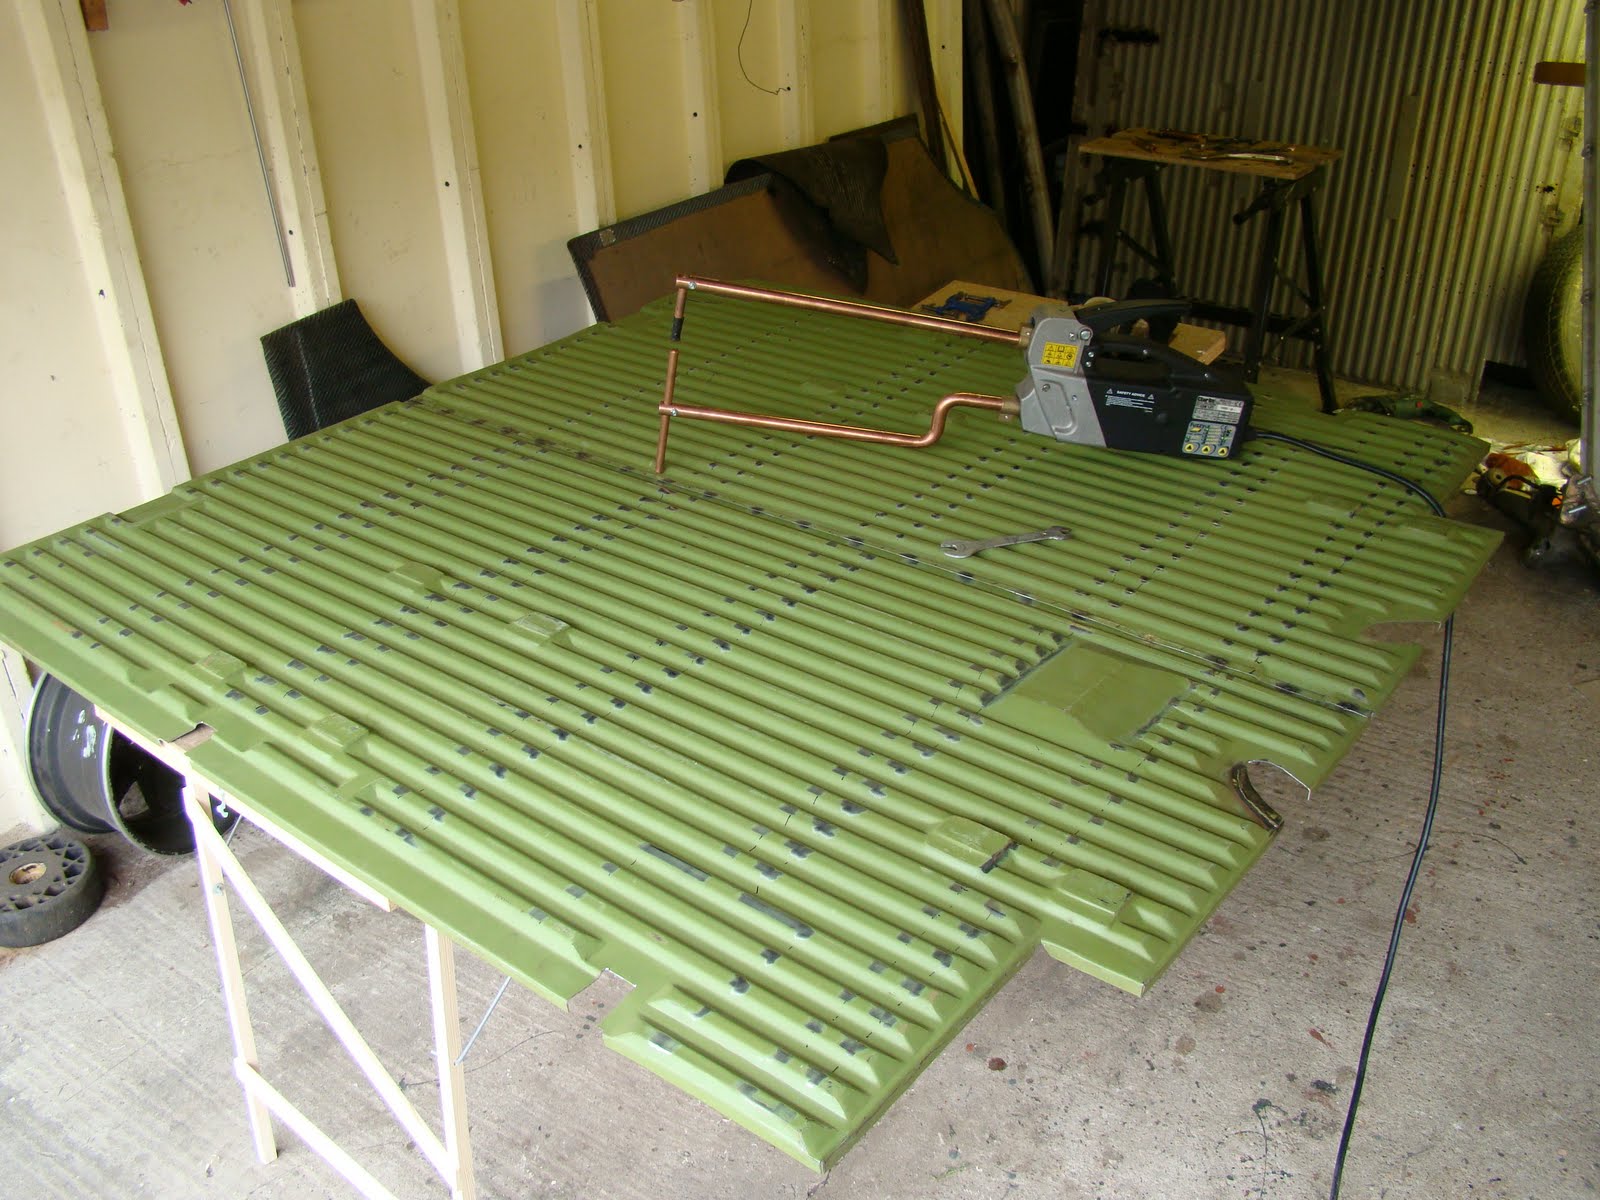
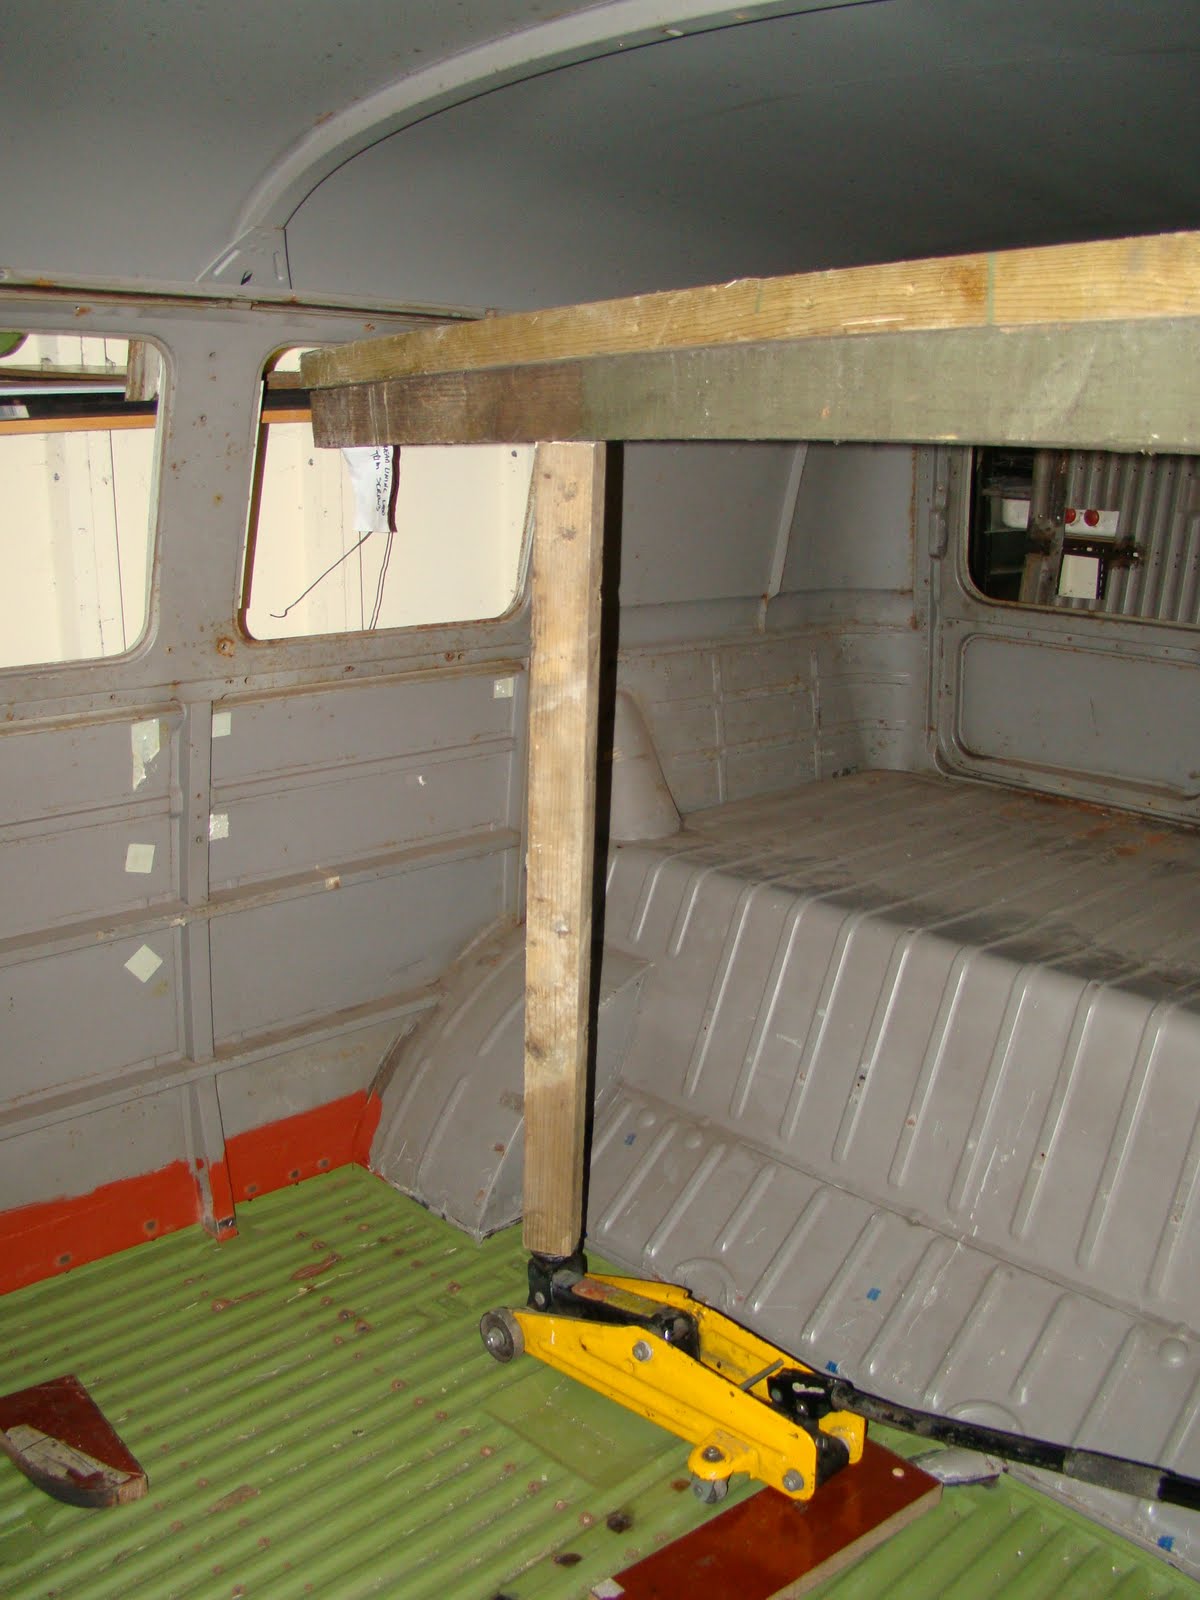
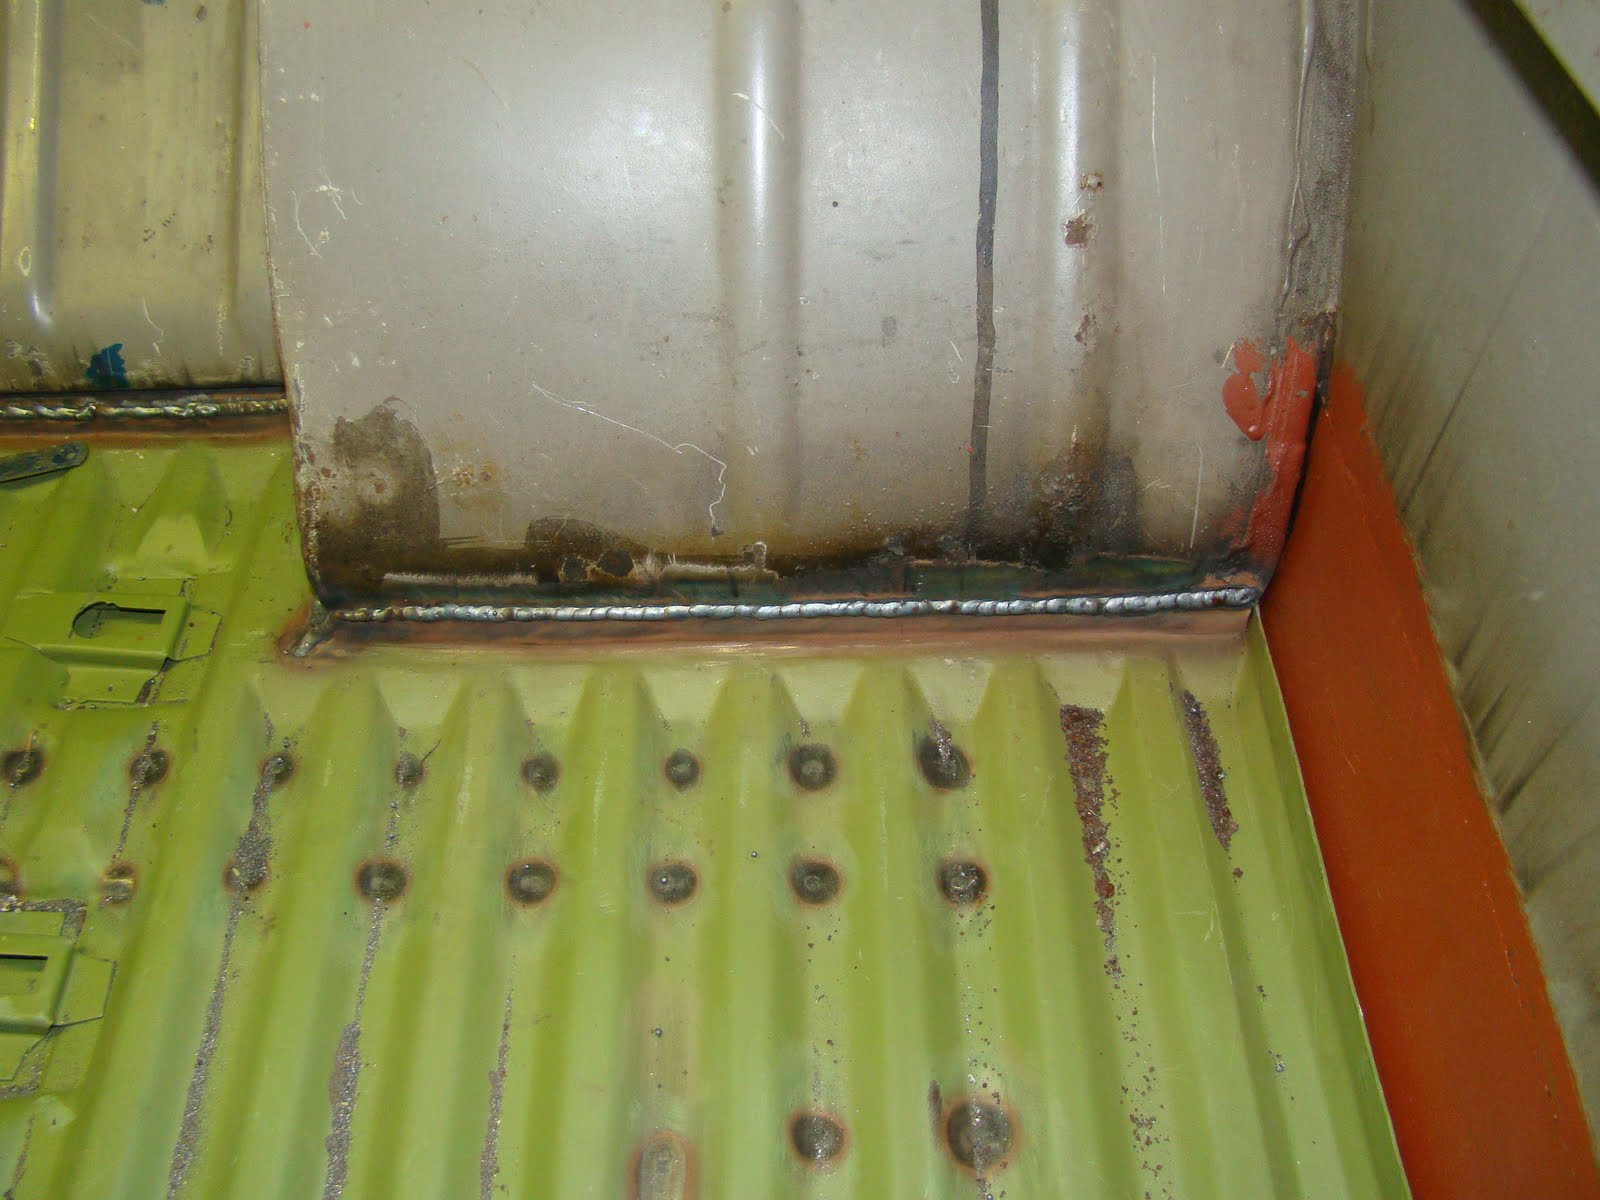
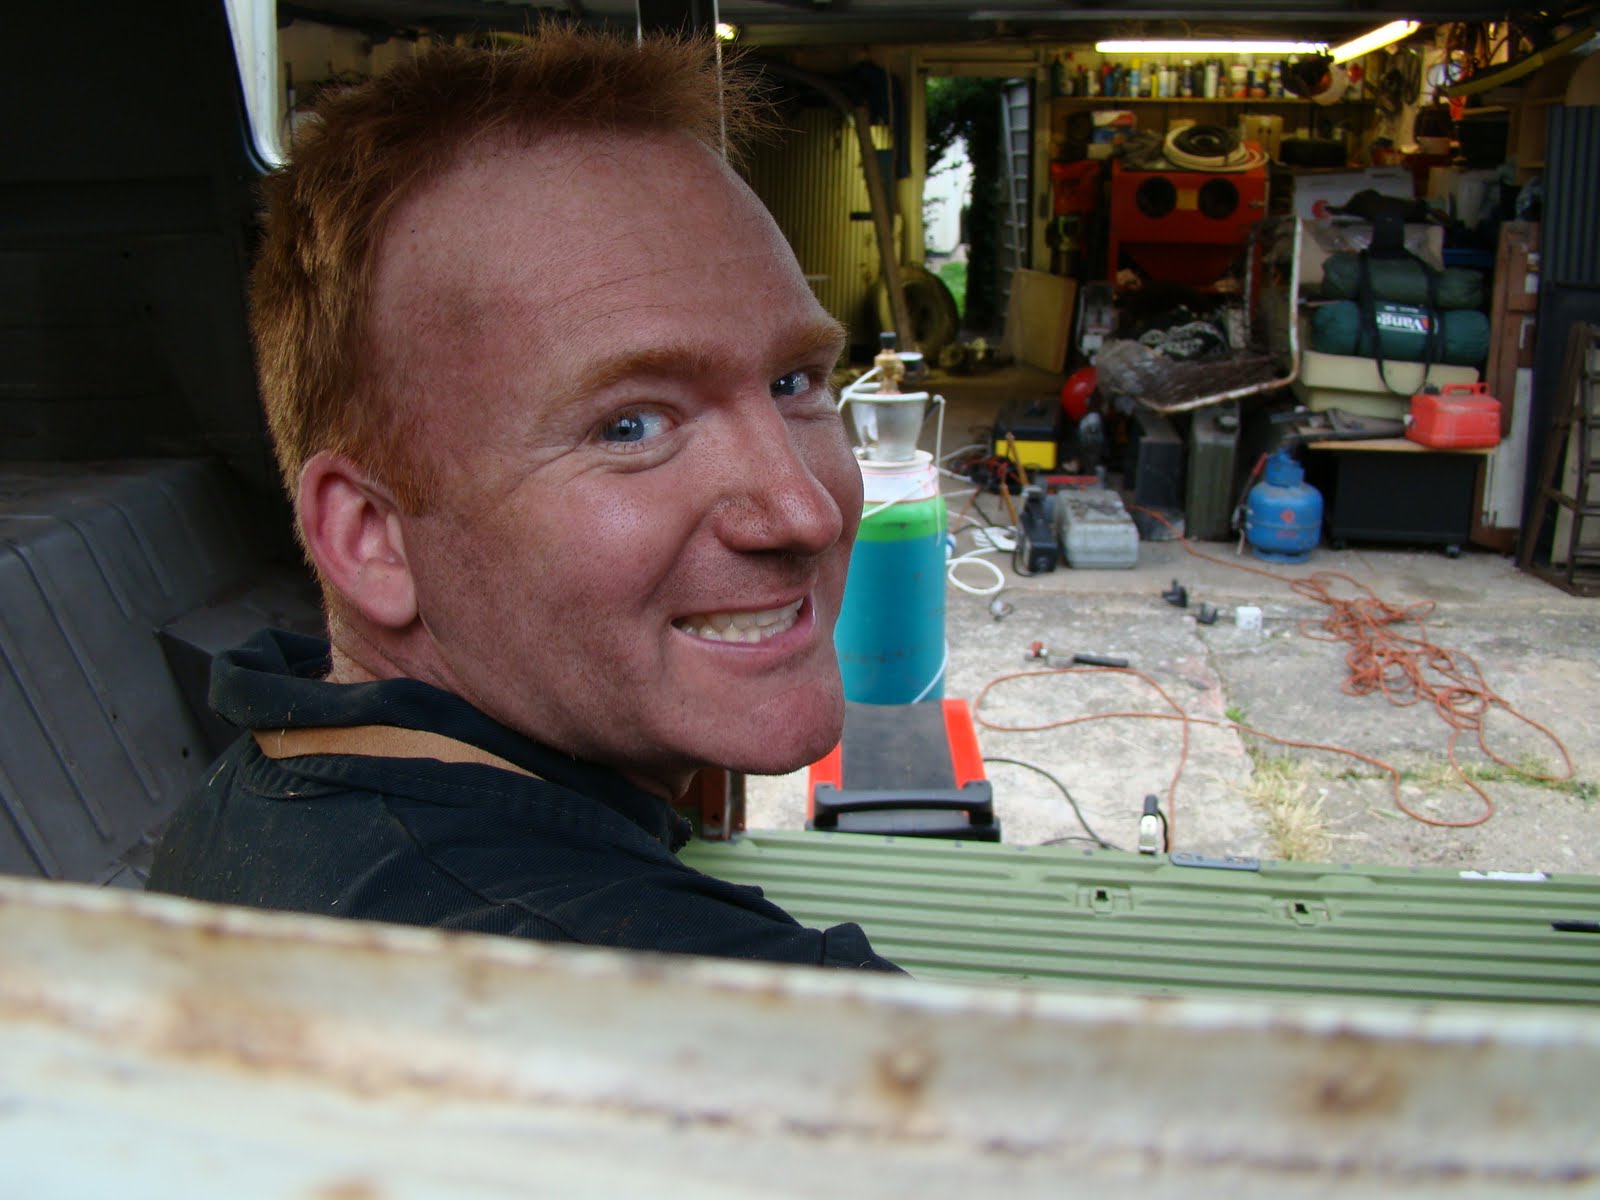
Beaming with excitement I dragged my girlfriend into the garage after her long day at work, No my darling it isn't a new bathroom suite but a painted corner of the van. She was very impressed but didn't quite share my excitement. We romantically pushed the van out to catch the setting sun. I dusted off the rear bumper, fitted the Fusch wheels and stuck a curtain rail on the side to see if the colours worked. Without giving too much away as I'll reveal the true colour later, in the dark it looks black and silver and in the sun you get a brown and gold effect.

With the van back inside I then spent the next day cutting back the lacquer to get rid of my muck ups and to get a mirror finish. The camera really shows the fleck in the black. The new paint is very smooth and tactile, each time I see (or stroke) it I'm more convinced it is right colour.

Bring on stripping and painting. : )

944 A Arm Fitting


Sorry I deleted this post by mistake by publishing over it from Microsoft word. I was trying to be clever and it didn’t work, it was Late OK. So I've had another go at wrighting it. If you’re back for another look It may be a bit different.

The rear surspension has been on the back burner as Ive been waiting (and still am) for some custom dropped spring plates to be made for me that will fit the porsche A arm bolt patten. I got these billet ali machined spaceres drawn up by my mate Tim and made by Cranford engineering. these cost a bit more than I expected to pay but I did get quoted some rediculase prices.


This is the 924 rear axel with the hindge brackets cut away from the torque tube, Each bracket was then cut along its welds to separate it from the cut away part of the tube. This took a little care as I needed to keep these brackets in as usable condition as possable.


I did make up a wooden block that fitted the curve of the tube that fitted between each bracket so that I knew there position when cut away, but I think Ill just end up using the A arm hindge points as my referance.


The brackets were then sand blasted on a very hot day in a very hot garage with sweet dripping onto the blast cabinit window and rubber blast gloves feeling like a vets visit to a cow shed. Here's the outer in its position, With much deliduration (that’s a long word for 01.47 on a Monday morning)I decided to fit the inner bracket cut down and rotated 180 deg on the inside of the top hat section.
 Heres the view with the machined ali spaceres bolted in place and the outer hindge bracket some where it should need to be welded. I would prefered to weld these up with the new spring plates and new rubbers fitted. But may run out of other jobs to do before the parts arrive.

I repositioned the spring plate on its splines horisontaly, to get a good datum position before welding the hindge brackets in place, this ment cutting more material out of the channel nearly up to the top bend. This made the fixed nut for the break pipe bracket very close to the hindge point. It also took a couple of guesses to work out the correct position for the clearance hole needed for the hindge bolt. Remember measure twice....
I used the corn flakes packet to work out the correct angle I needed to cut the inner hindge bracket.


Once cut and cleaned up with a wire wheel It needed a bit of bending and cutting at the tips to get the best fit on the inside of the gearbox mounting strut. I used a marker pen on the cutting edge to show where the bracket rubbed when fitted so I could file the high spots to make sure that the bracket would sit flush.


Now ready to take the take the plundge I assembled the arm again, clamped it in position using a spacer to keep the arm away from the torque tube and tacked it in position. Then using the hindge bolt positioned the inner and tacked that on the lower edge, then clamped it ready for welding.


I played around setting up the mig and had a pratice on some scrap, as Ive never welded such thick material before. It went OK with a couple of tries I then built up the courage and welded the brackets on. It wasn't easy doing it upside down and part blind. the outer bracket needed a secoun pass just to make sure it did'nt go any where.


Fitting Cargo Floor

I started the floor replacement by making a new lower strike plate using the dimensions from the one I cut from the original floor, I know you can buy these but for the sake of £12 and a couple of hours I could make my own. It actually took two attempts and about 6 hours. As I don't charge myself hourly labour this is a bargain.
There were a few places around the floor that needed trimming, including one of the holes for the heater tube. This was about an inch out so I cut and welded a patch to move the hole to the correct position.
The sill repair had the joggled part of the panel poking up inside, so I trimmed this off and ground the welds flush.


I then painted all the cargo bay chaise the classic rust proof Ork Blood Red to keep away any evil spirits.


Picking a hot clear day as I'm a fair weather welder, I got the van out of the garage to get it jacked up as high as it could safely go, then a bit higher.  I decided to weld the floor from the underside, this meant I didn't need to grind down each weld between the corrugations, just work upside down. I marked each position I needed to weld and rubbed the paint off.


I set the two pieces of floor up on anything I could find. This being a cheap B&Q pasting table that's not very flat when it had the weight of the floor on it. I spot welded down the center as far in as I could, then tacked the rest of the centre together, This was hard to get both parts flat then welded without leaning on them and their very wobbly stand.


I clamped up my hand made strike plate and spot welded it on. Did I mention how much fun it is welding pieces of steel together with big copper probes that glow and spark all over the place. (I'd now put a smiley here if I had one handy)
With the floor in one piece I donned my leather apron and gauntlets and crawled under the van to start tacking each piece of bare metal together. With help from my (nameless!) girlfriend inside the van pushing the floor down I starting welding from the centre working outwards. We then got to enjoy for the first time in a long time a solid floor in the van (no not in that way)
The next evening I finished the last few places that were either too hard to get to or were not able to push down with just the weight of a single person. So I put on my bodgers' thinking cap and came up with the ingenius plan to push the floor down with my 1.5t jack and some left over decking poles,


This worked OK for the back welds but when I took the contraption apart to move it forwards to use it on the forward places that I needed to weld, I discovered I had pushed my window and door frame up (who would have guessed using a trolley jack inside a van...) This was a very silly mistake to make. The door frame I managed to persuade straight again but I'll need to make a dolly up to fit between the window frame skins.


I then tacked welded the edges around the floor and finished carefully with seam welding the back joint below the engine bay bulkhead.

Clean up and paint, Job done.