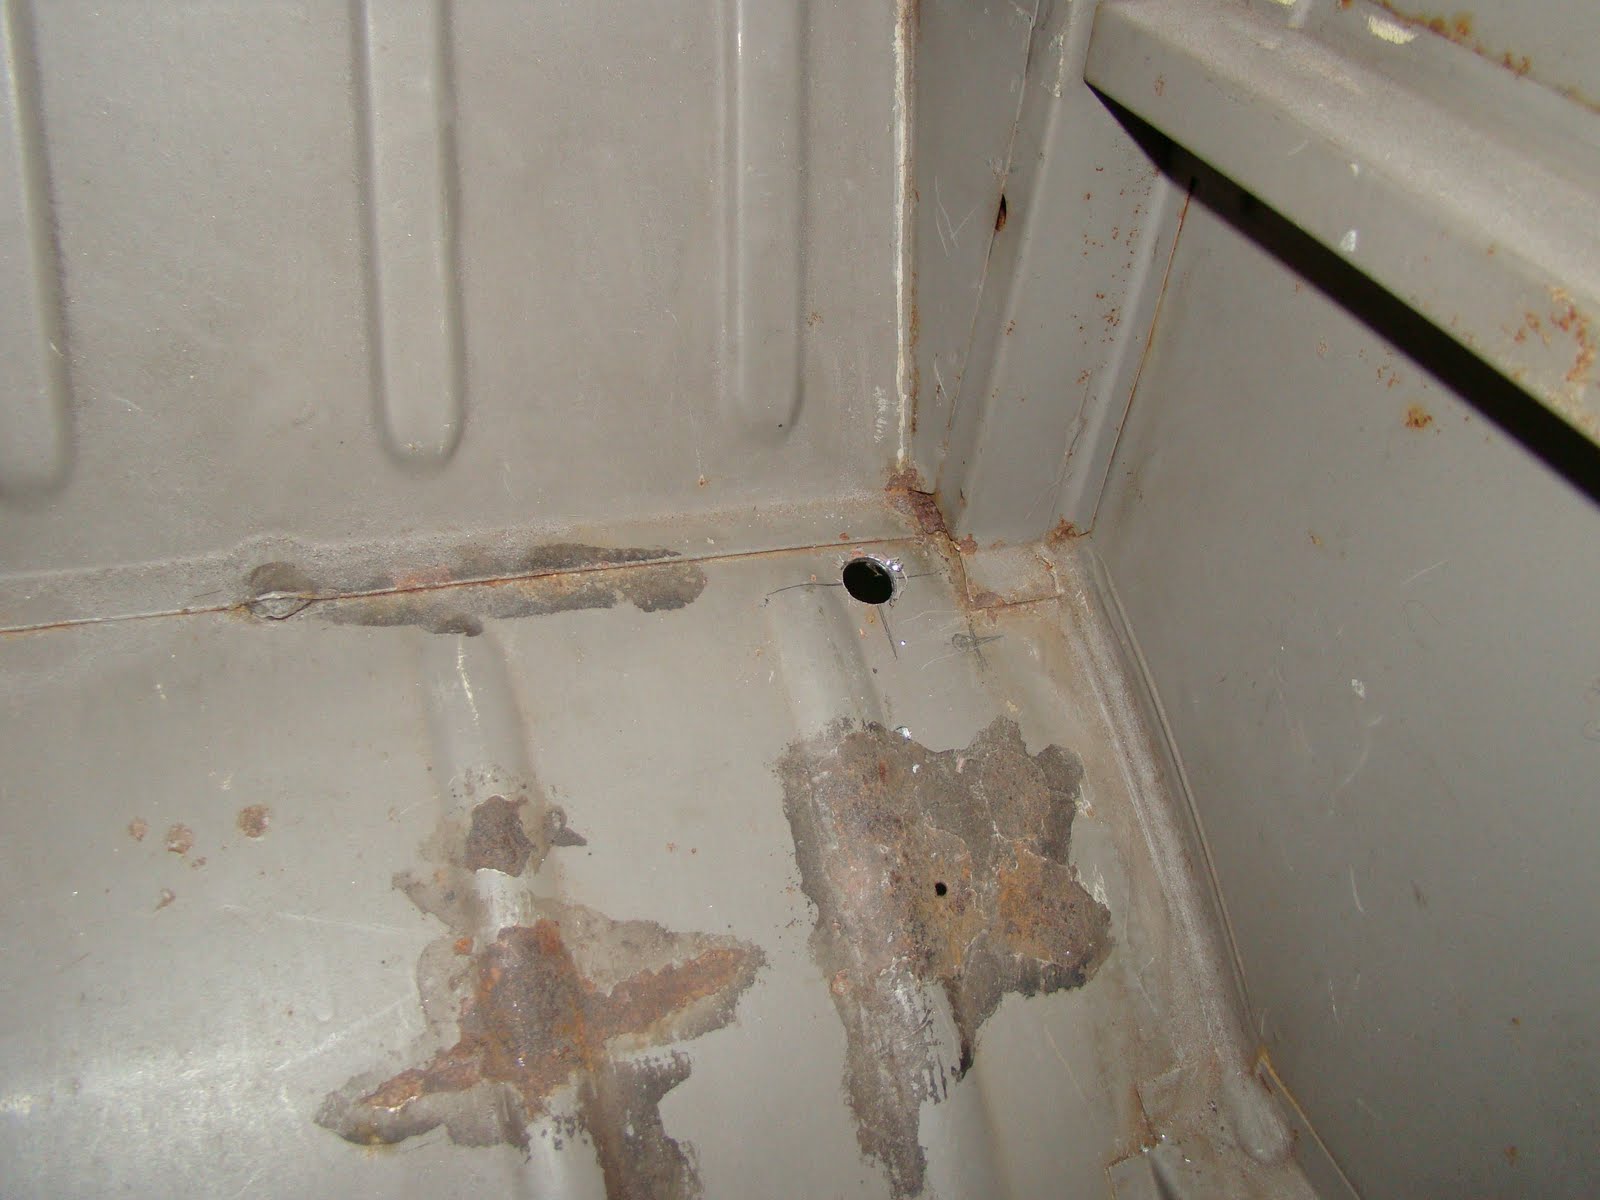
After taking the front beam off I ground out all the rust hiding under the beams upright. Here are a few pics of the repair patch.


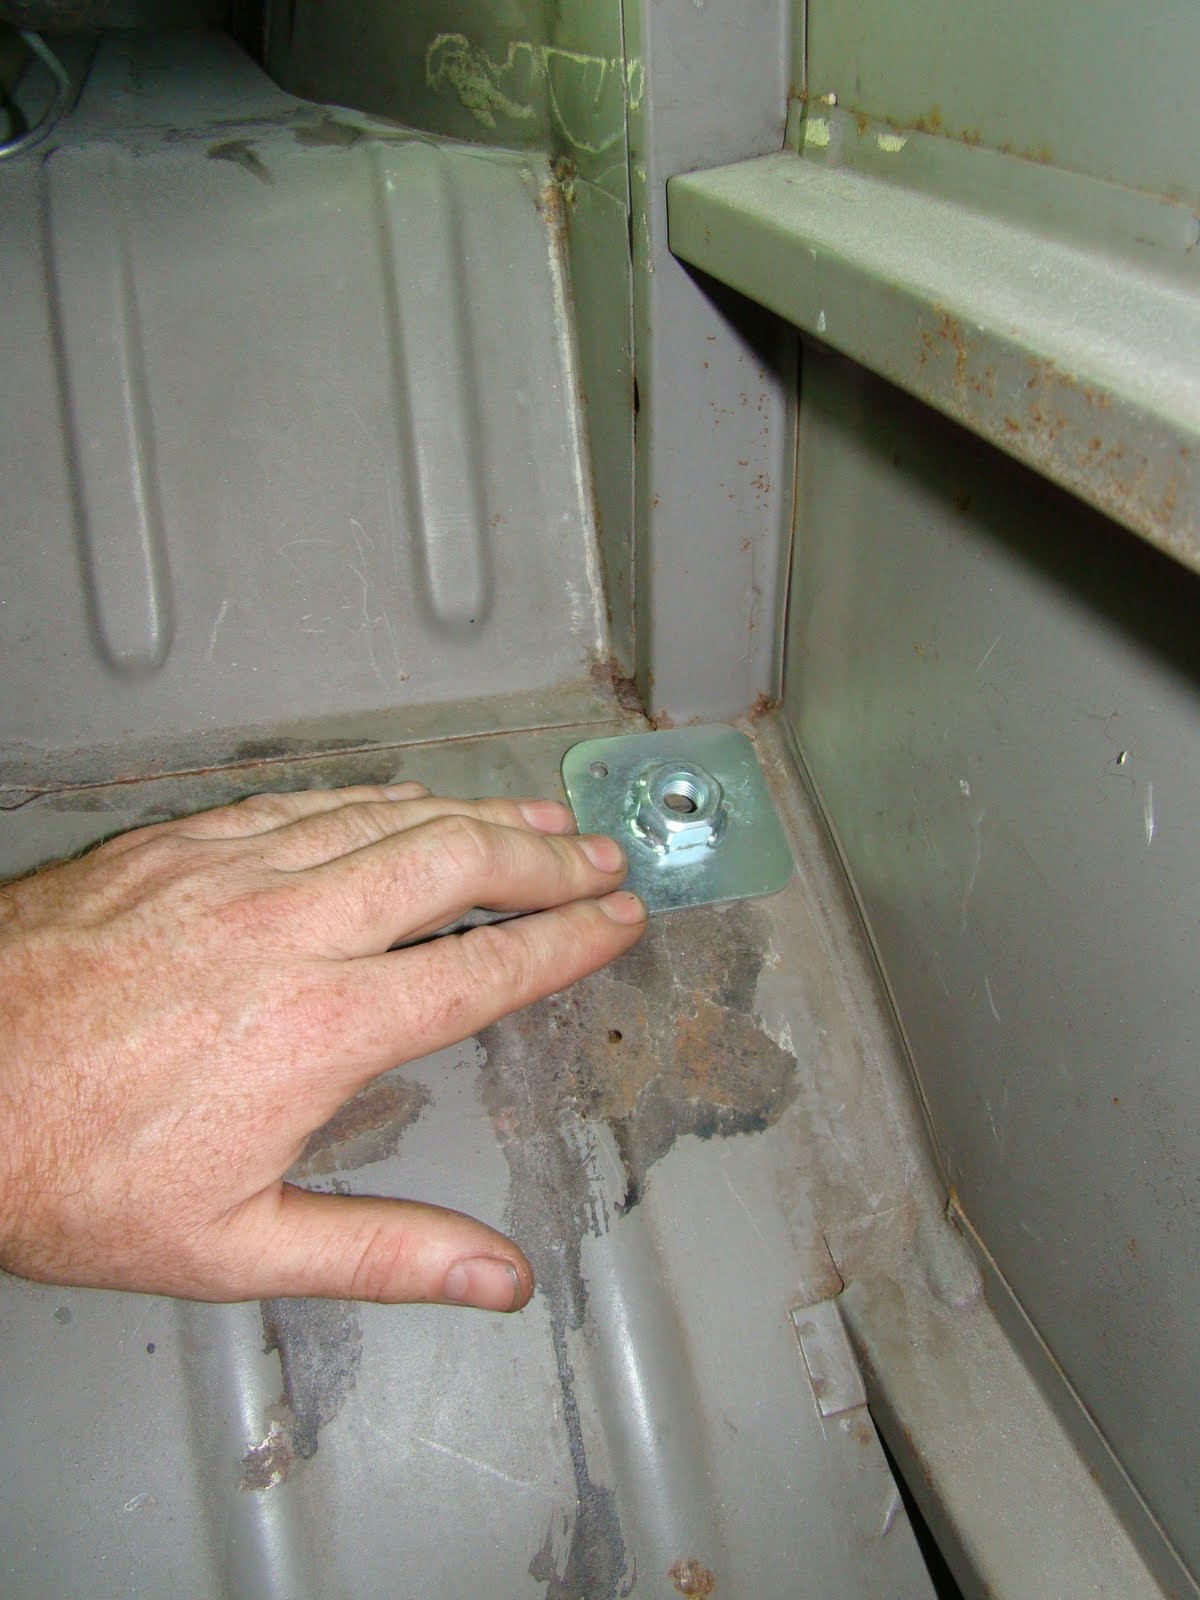

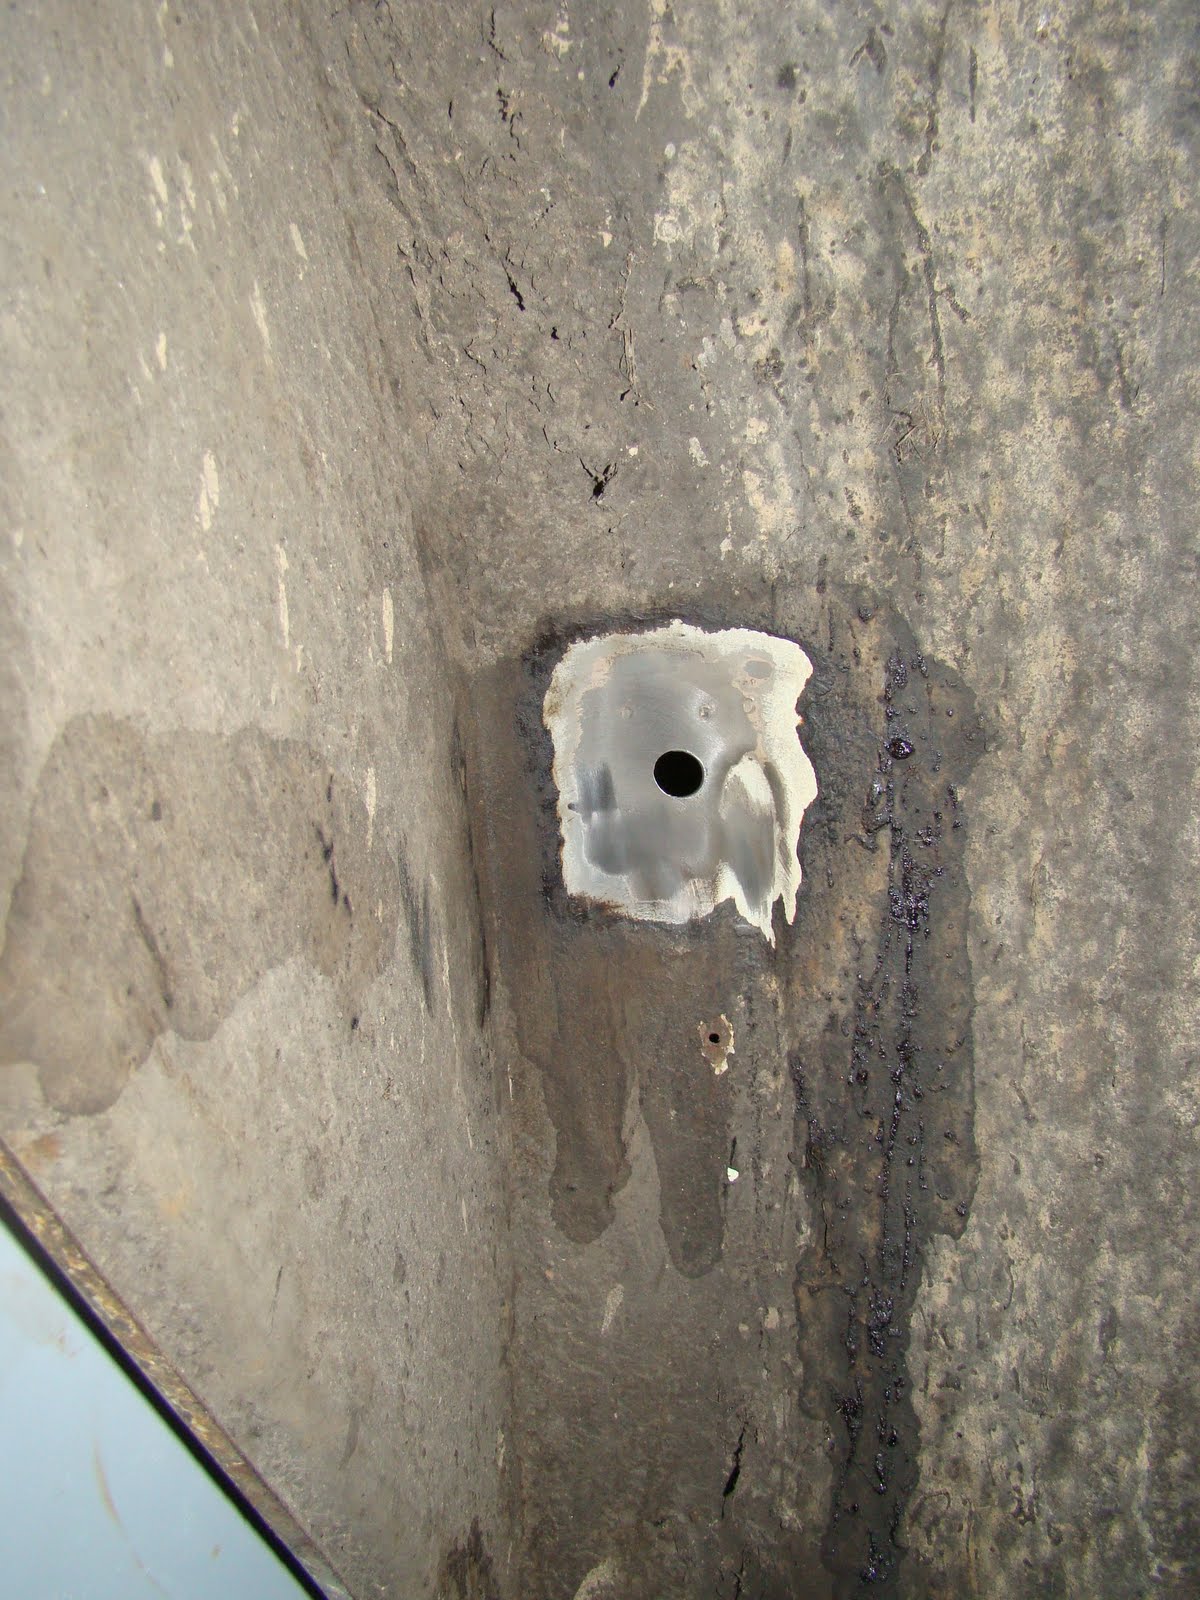
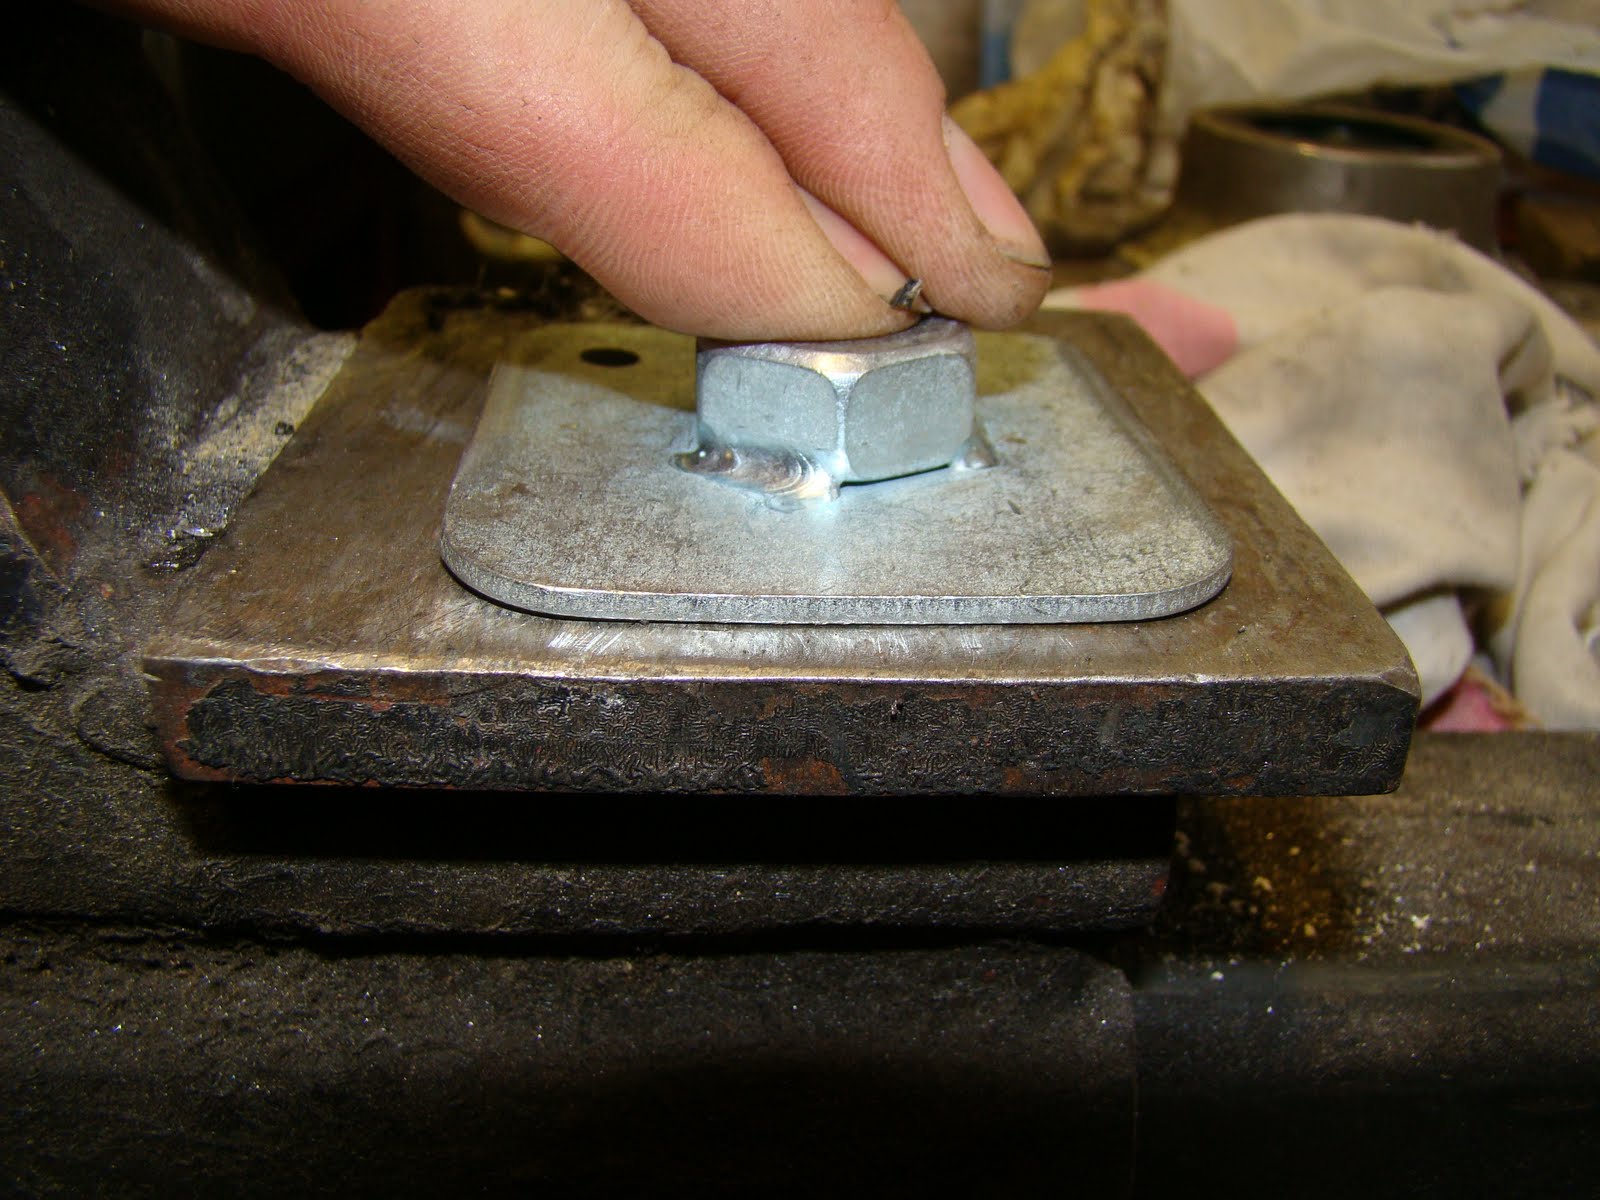

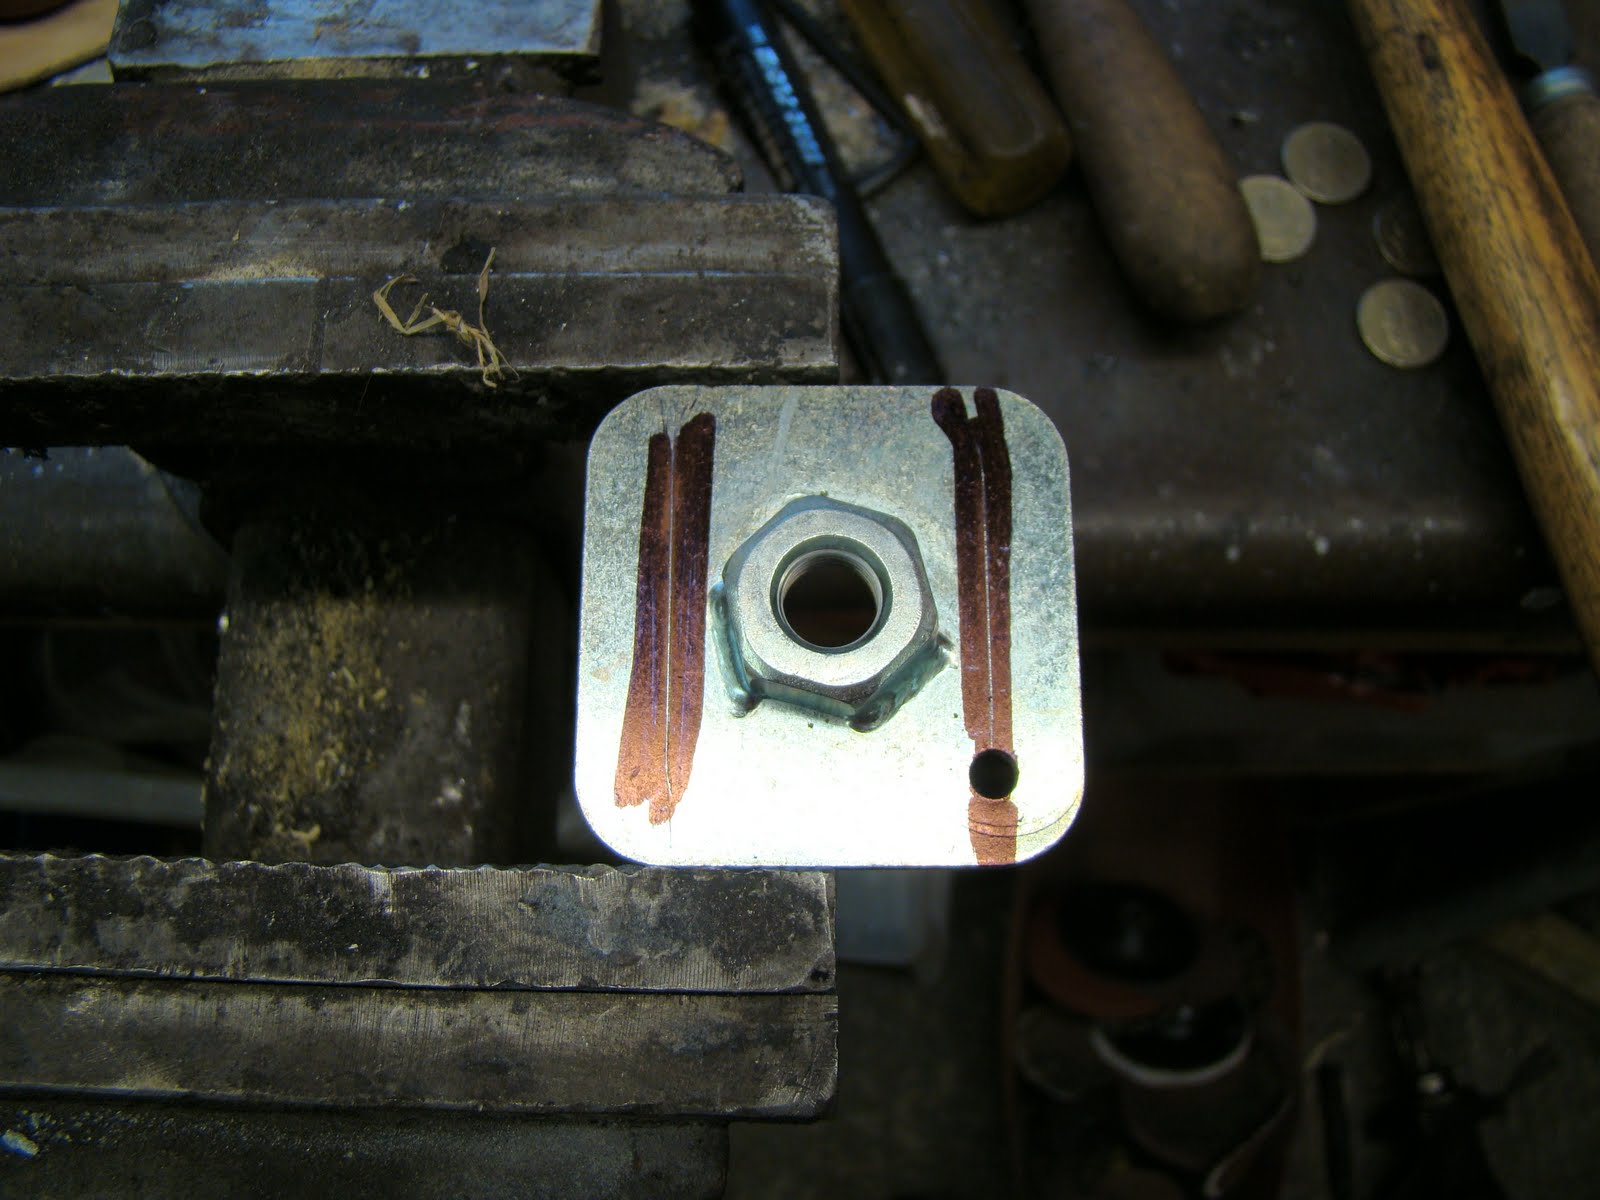


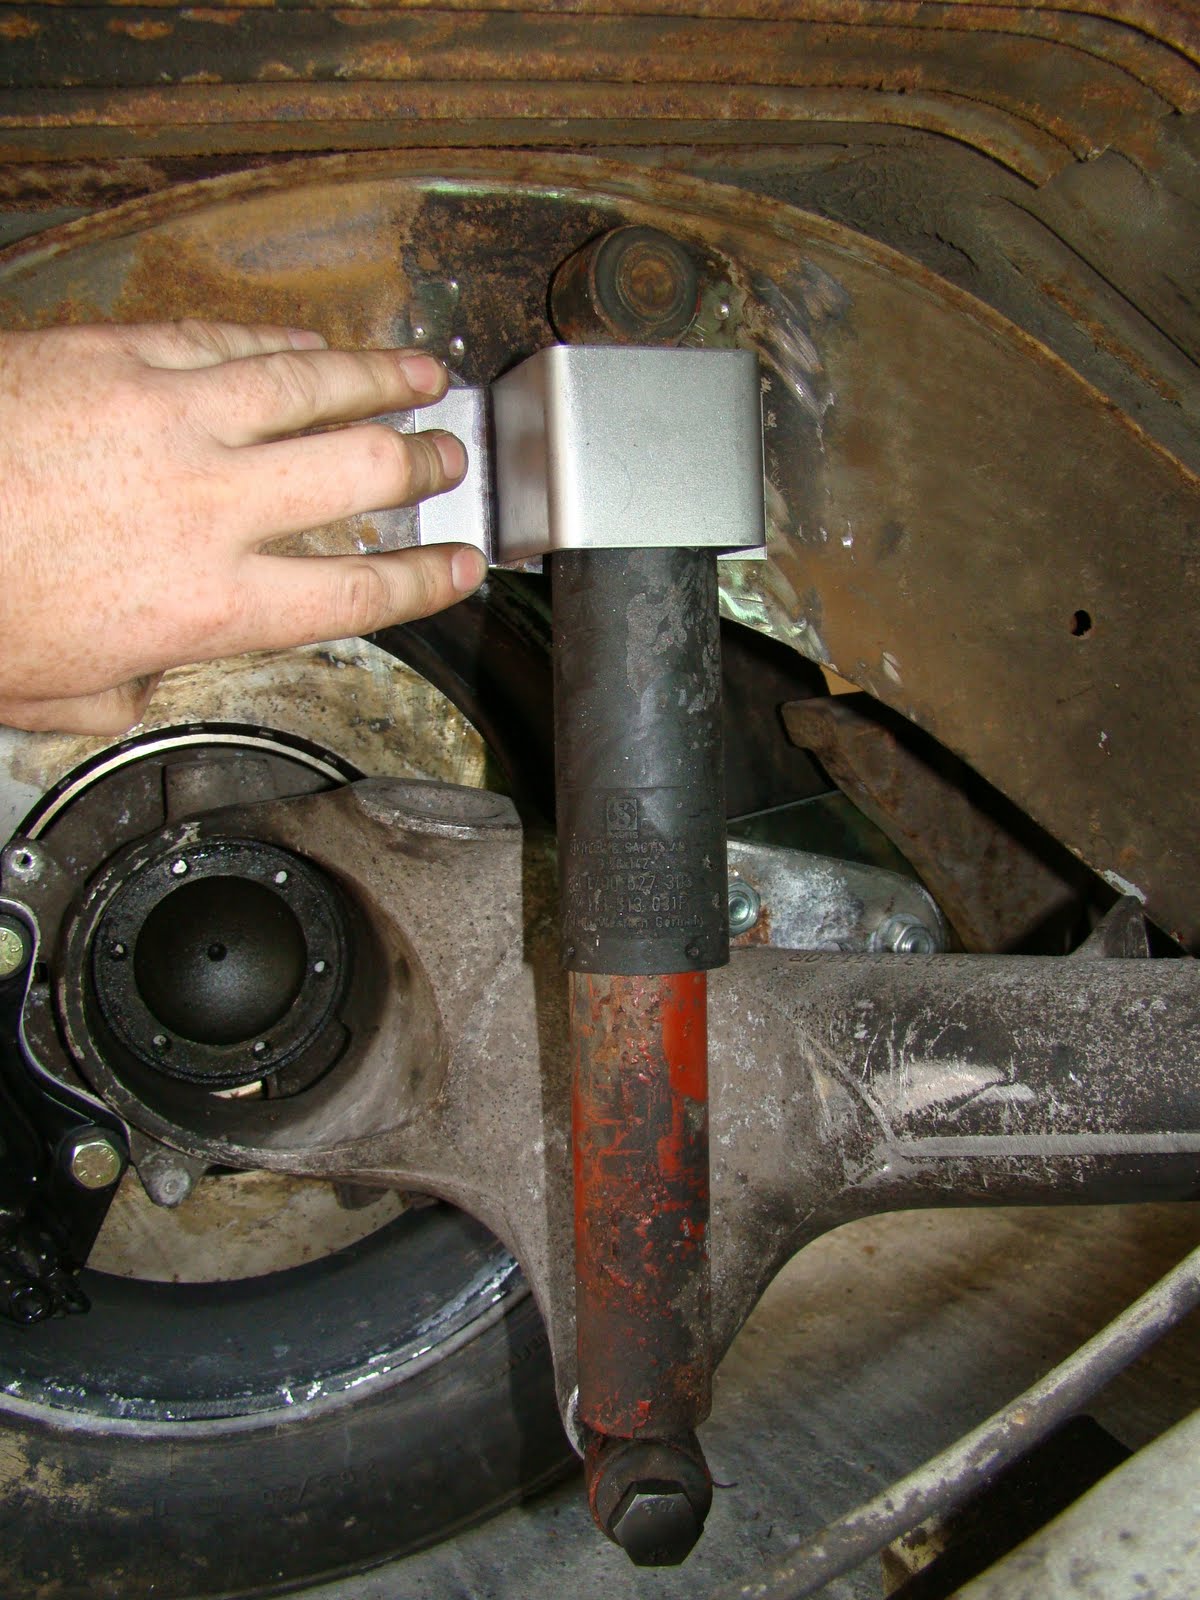
 I held the plate in place with the bolt and washers and welded the plate through the two holes, I remembered to grind away the galvenising on the plate before I installed it so that I got a good weld. A touch of oxide paint and I have one front sholder belt fitting finished. I'll tell you all the story of my mum bad brakes and the windscreen one day too...


.JPG)
.JPG)
.JPG)
.JPG)
.JPG) Once the curve was out the way I had the room to play about with different designs to see what would work. Here's a cereal packet cut and taped to make a wider top hat section that the original one to allow the shock to fit inside.
Once the curve was out the way I had the room to play about with different designs to see what would work. Here's a cereal packet cut and taped to make a wider top hat section that the original one to allow the shock to fit inside..jpg)
.jpg)
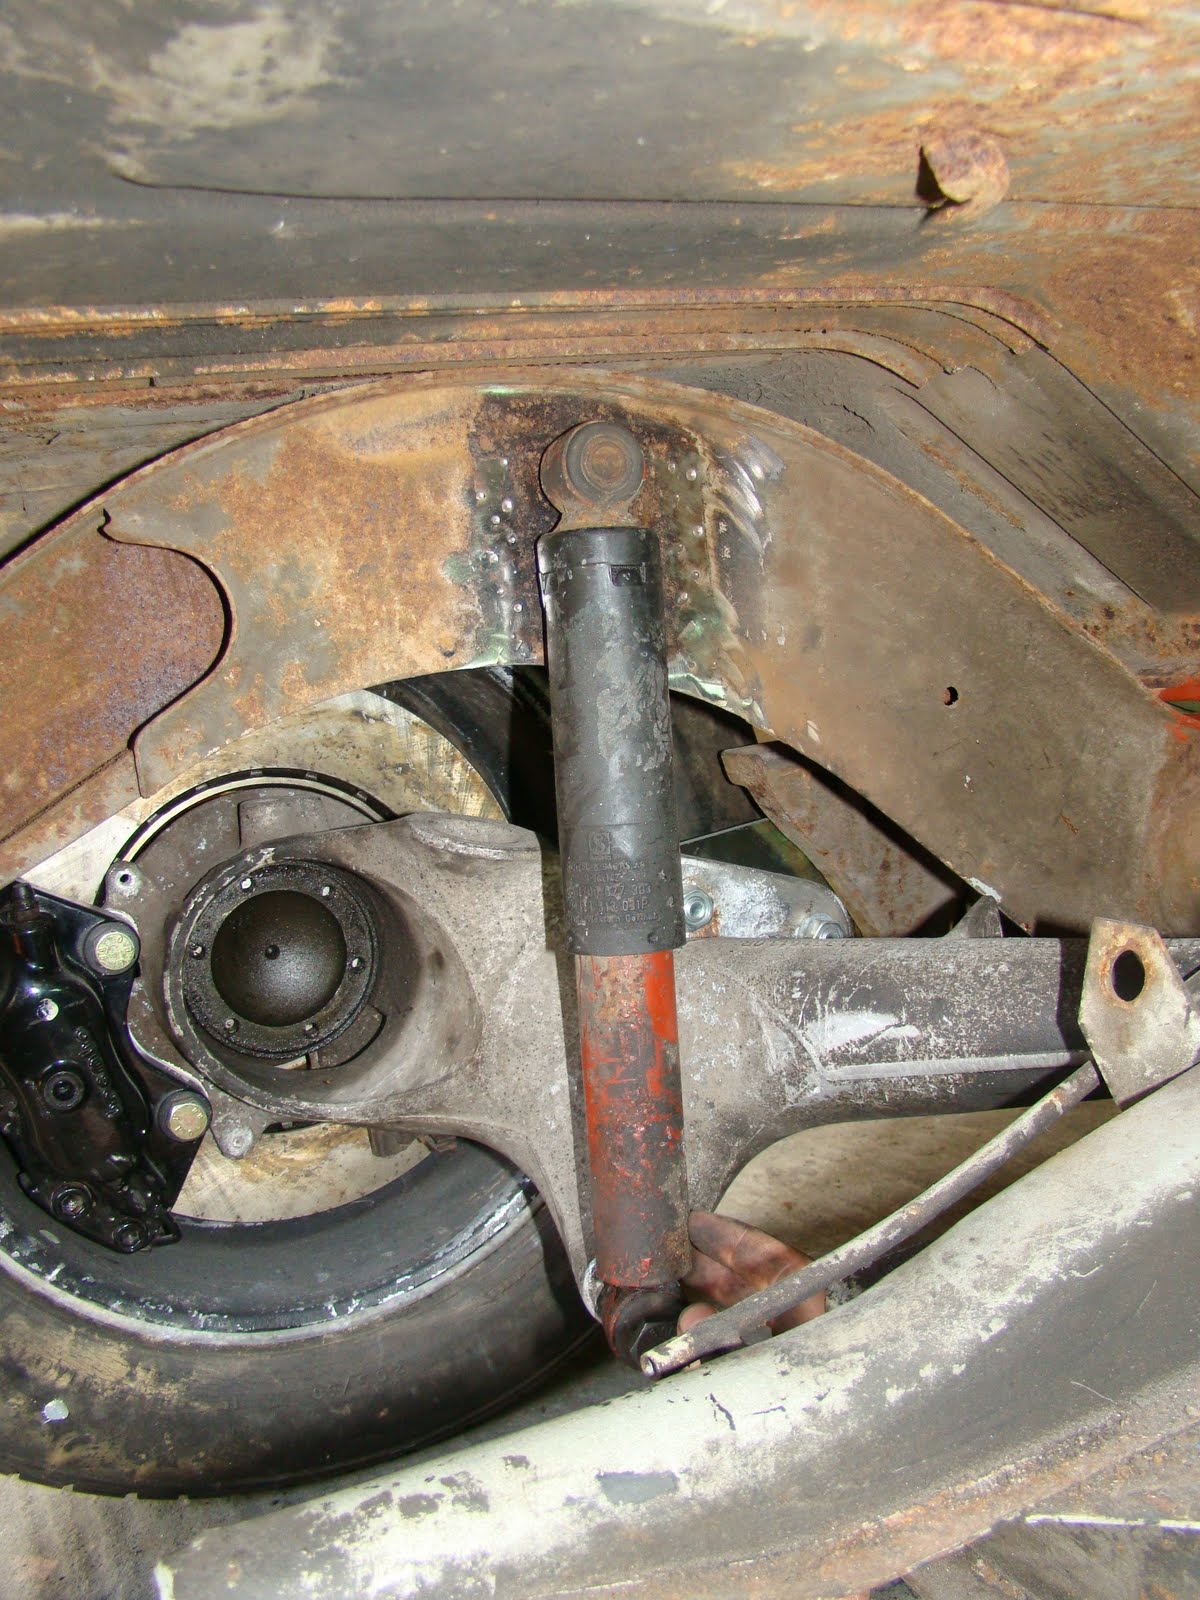
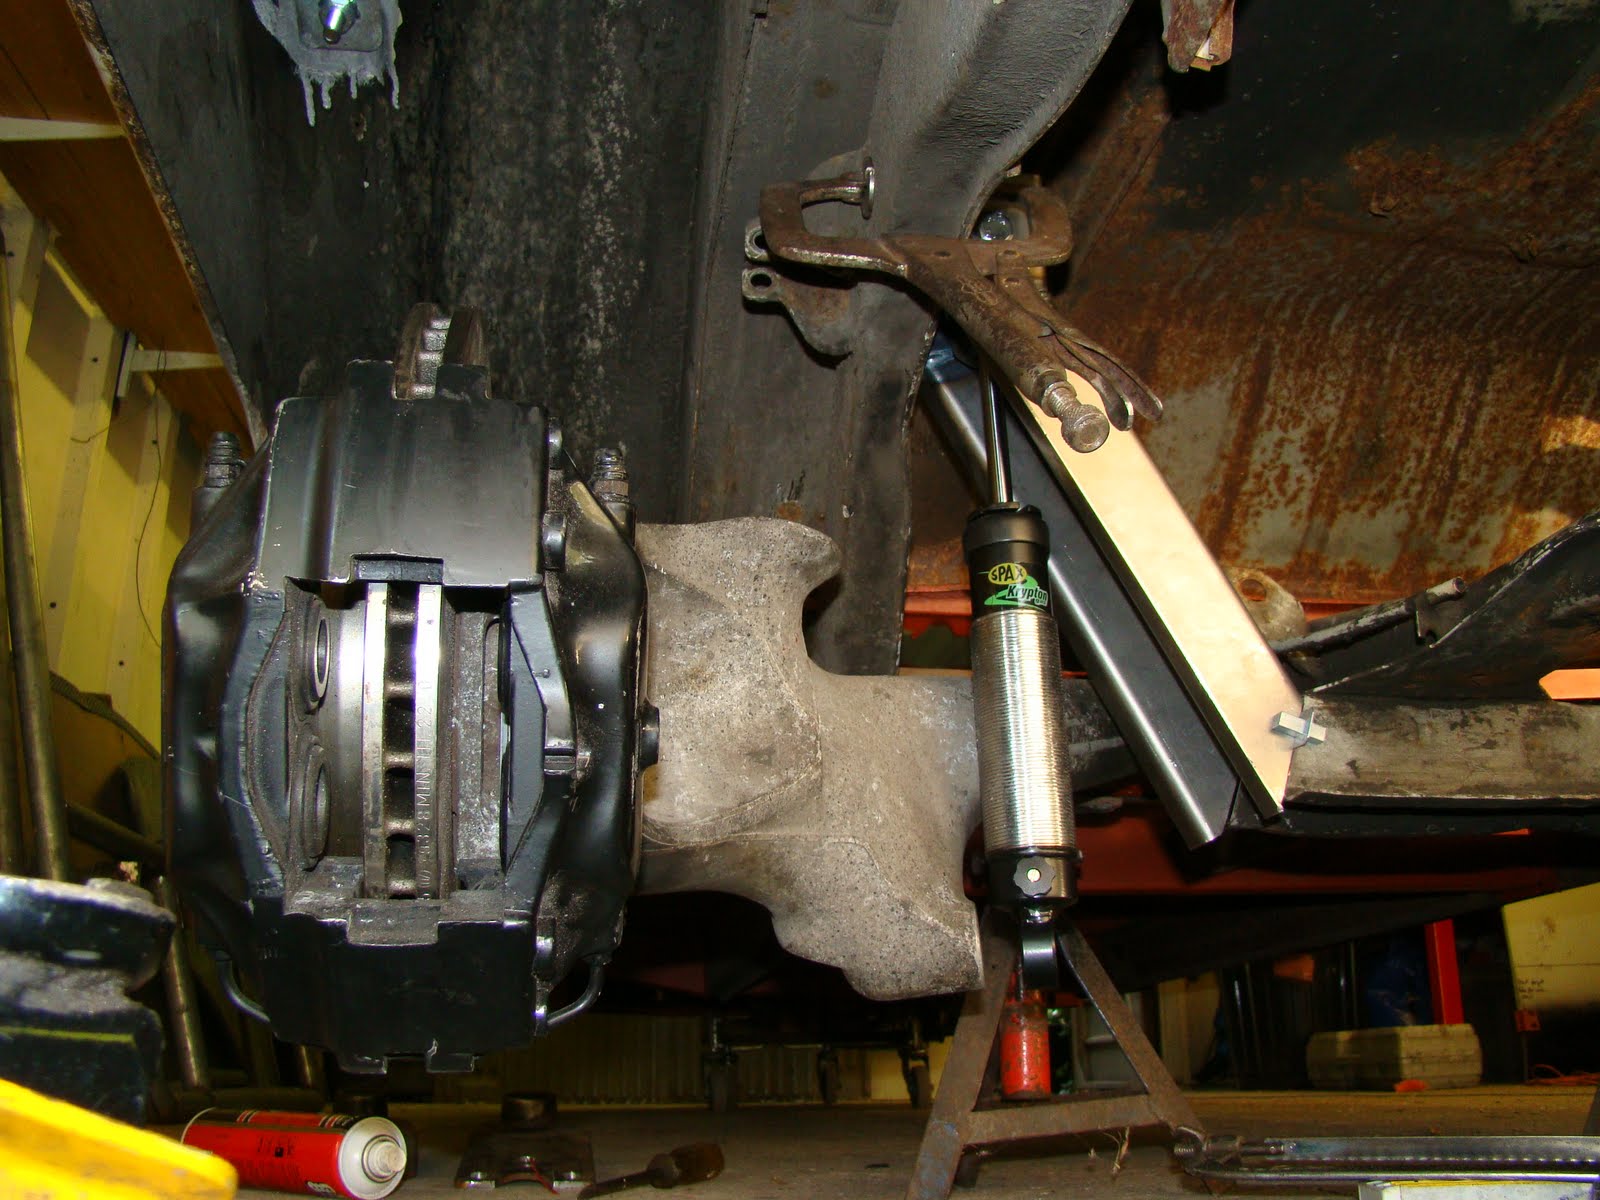
 With a cutoff of new folded section I trialed the best place for the mount to fit. I now found that the lower bolt was at a slight toe in angle and tilted the top of the shock into the centre of the van, This meant there was not enough play in the rubber mounts to take up the now angled position of the shock. I tried to sort this by buying some Creative Engineering shock mounts, these would allow me to turn the top shock hole 90 deg. But to fit these I would have had to drill through the chassis and it would have been easier to just weld a tube between the two skins of the chassis.
.JPG) Taking the angle from the cereal packet template from earlier I cut and bent the top hat section for a trial fit over the shock.
Taking the angle from the cereal packet template from earlier I cut and bent the top hat section for a trial fit over the shock. Again after another mammoth search I was able to get a pair of custom shocks from SPAX made with ball joints at either end to alleviate the problem of the lower shock bolt being at an awkward angle. To spec the shocks using Spax online chart I worked out the extension and compression to give me the total movement, then worked out what ends I'd need, then added a built in bump stop.
  Spax also helped me by providing a couple of aluminium spacers to pack out the gap between the 14mm lower bolt and the 15mm bearing, these would usually come with a 12mm spacer that I had it push out to fit the spacers. I cut the larger bump stop off the shaft and worked out I needed a 10-14mm spacer to pack out the lower mount.
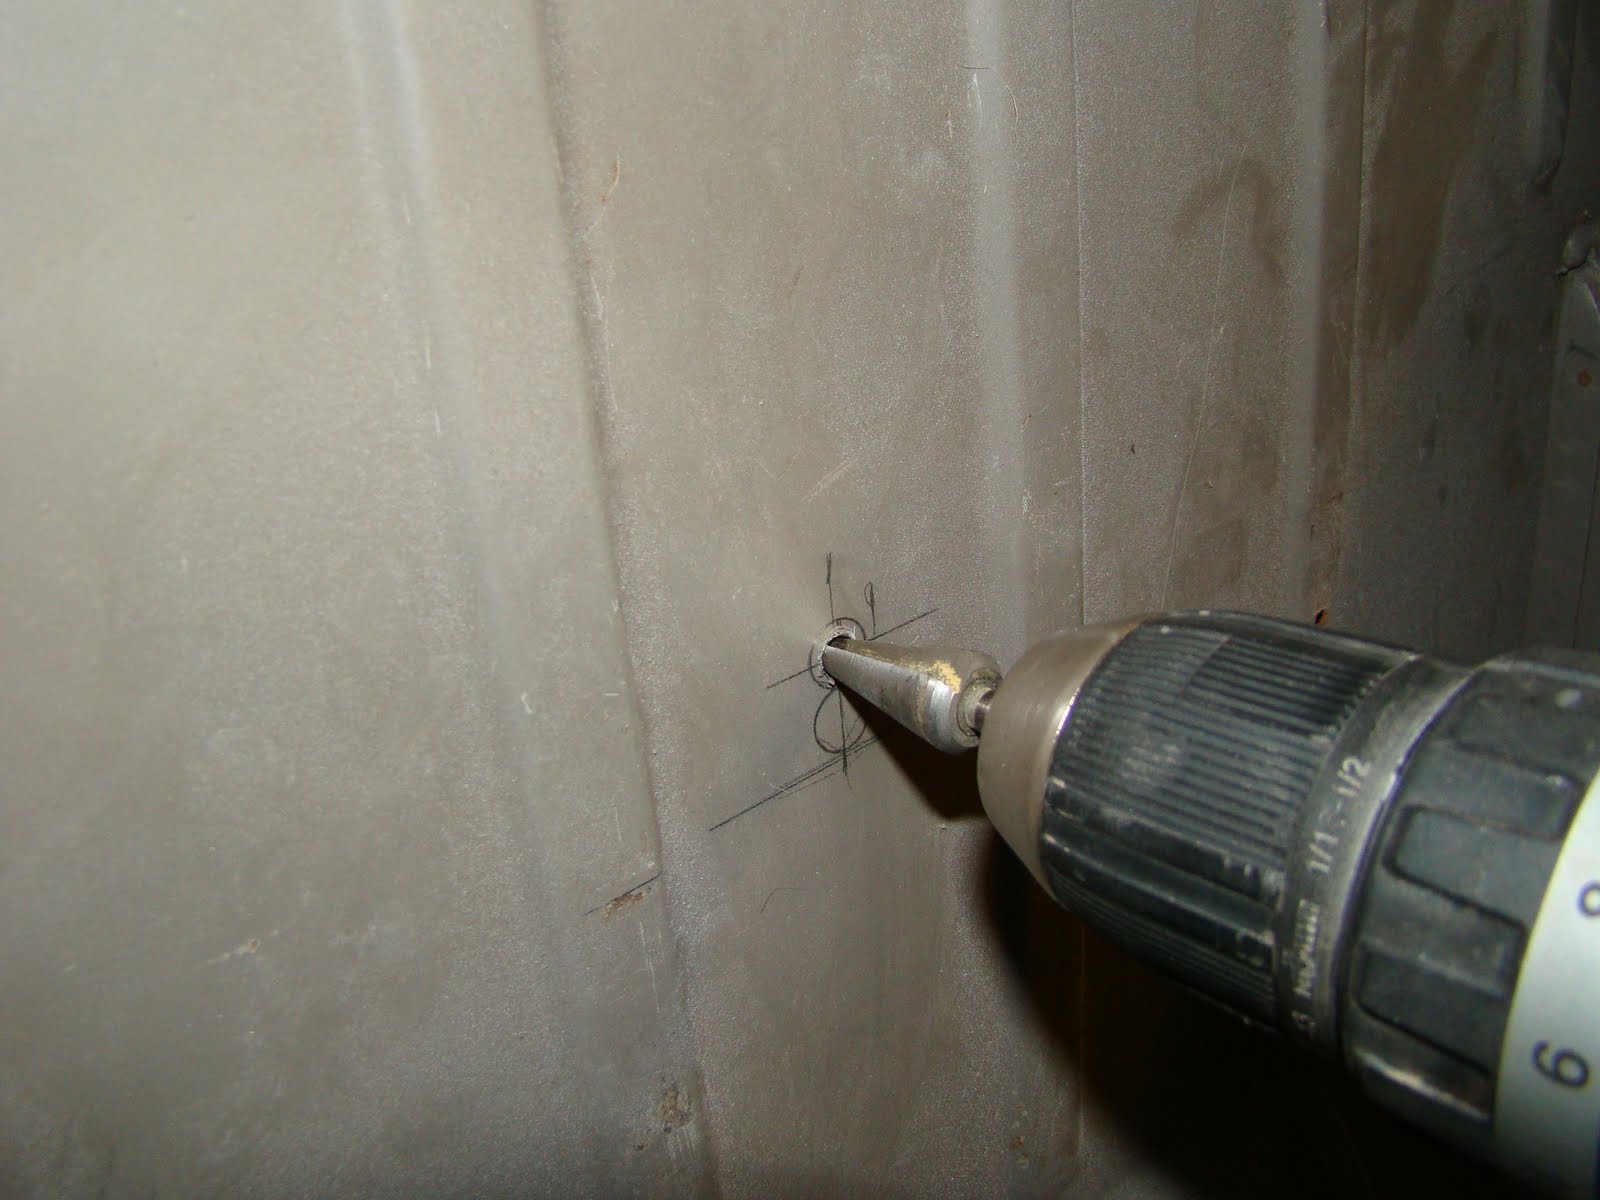
 Again using my cardboard template I marked then cut the angles in the top hat section and drilled a hole at the tip of the cuts for stress relief in the bend.
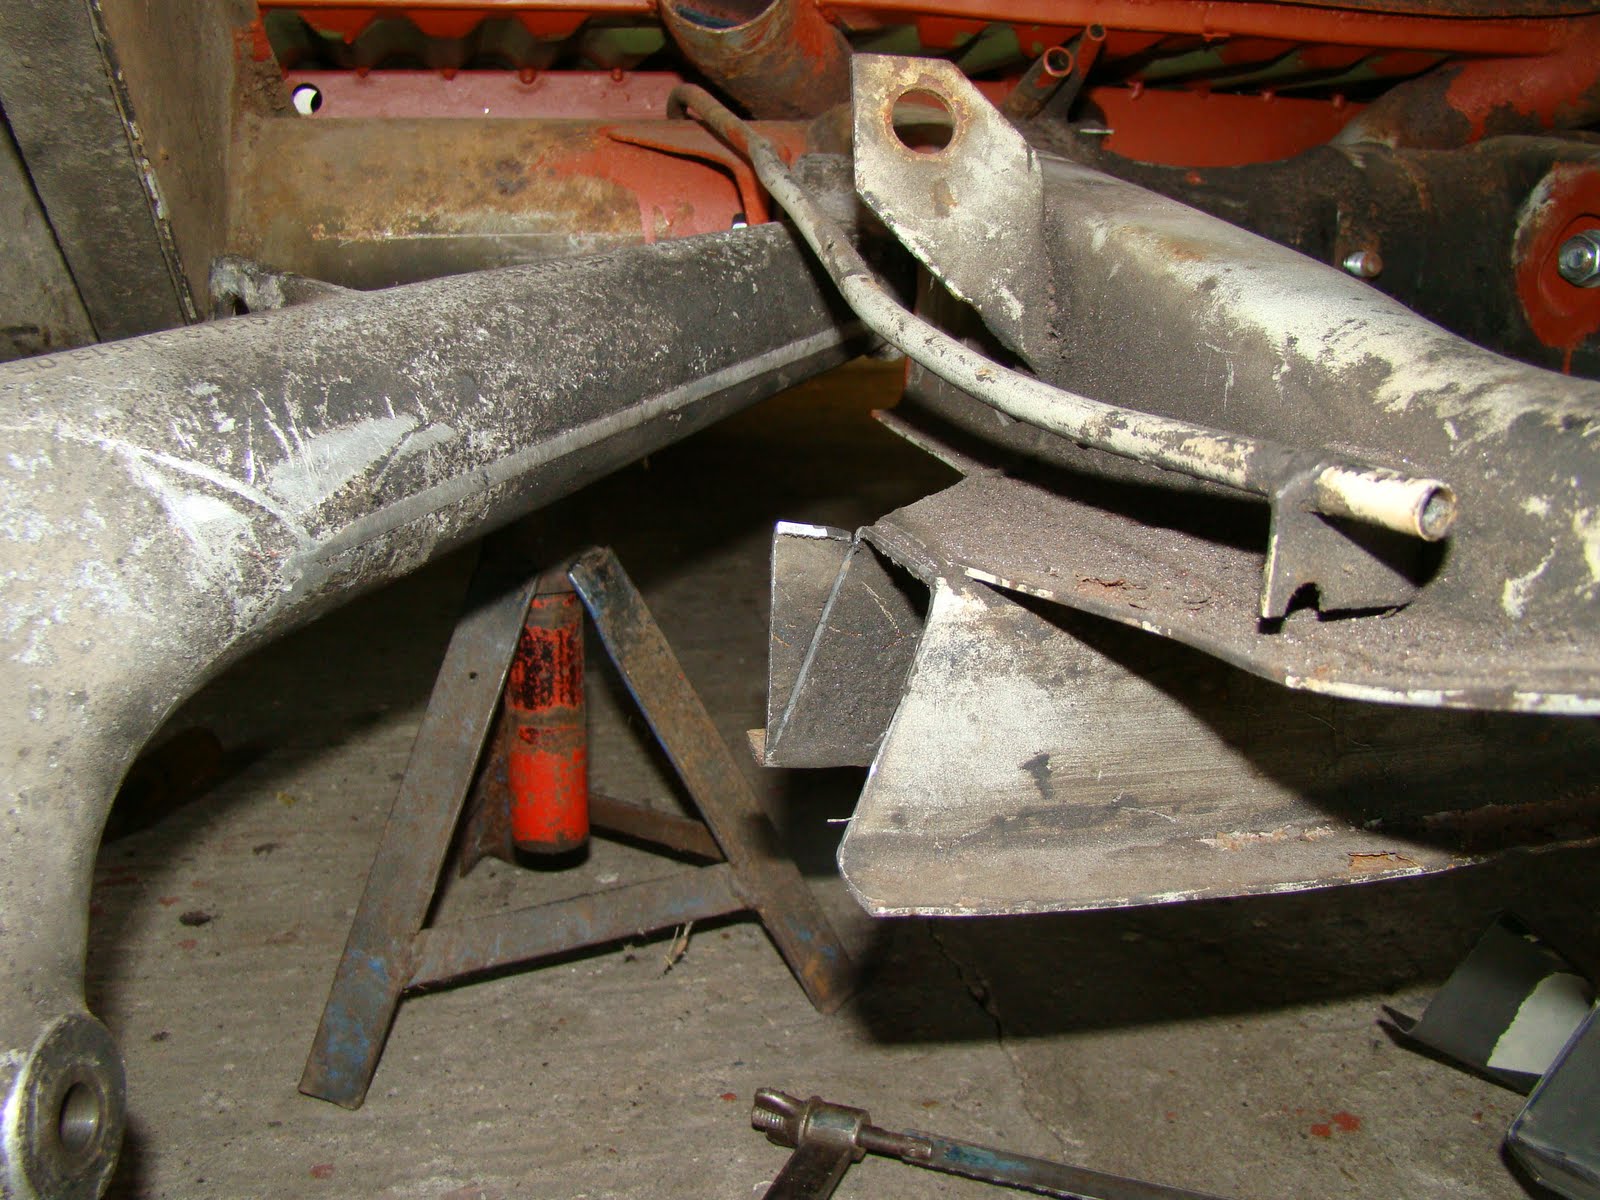
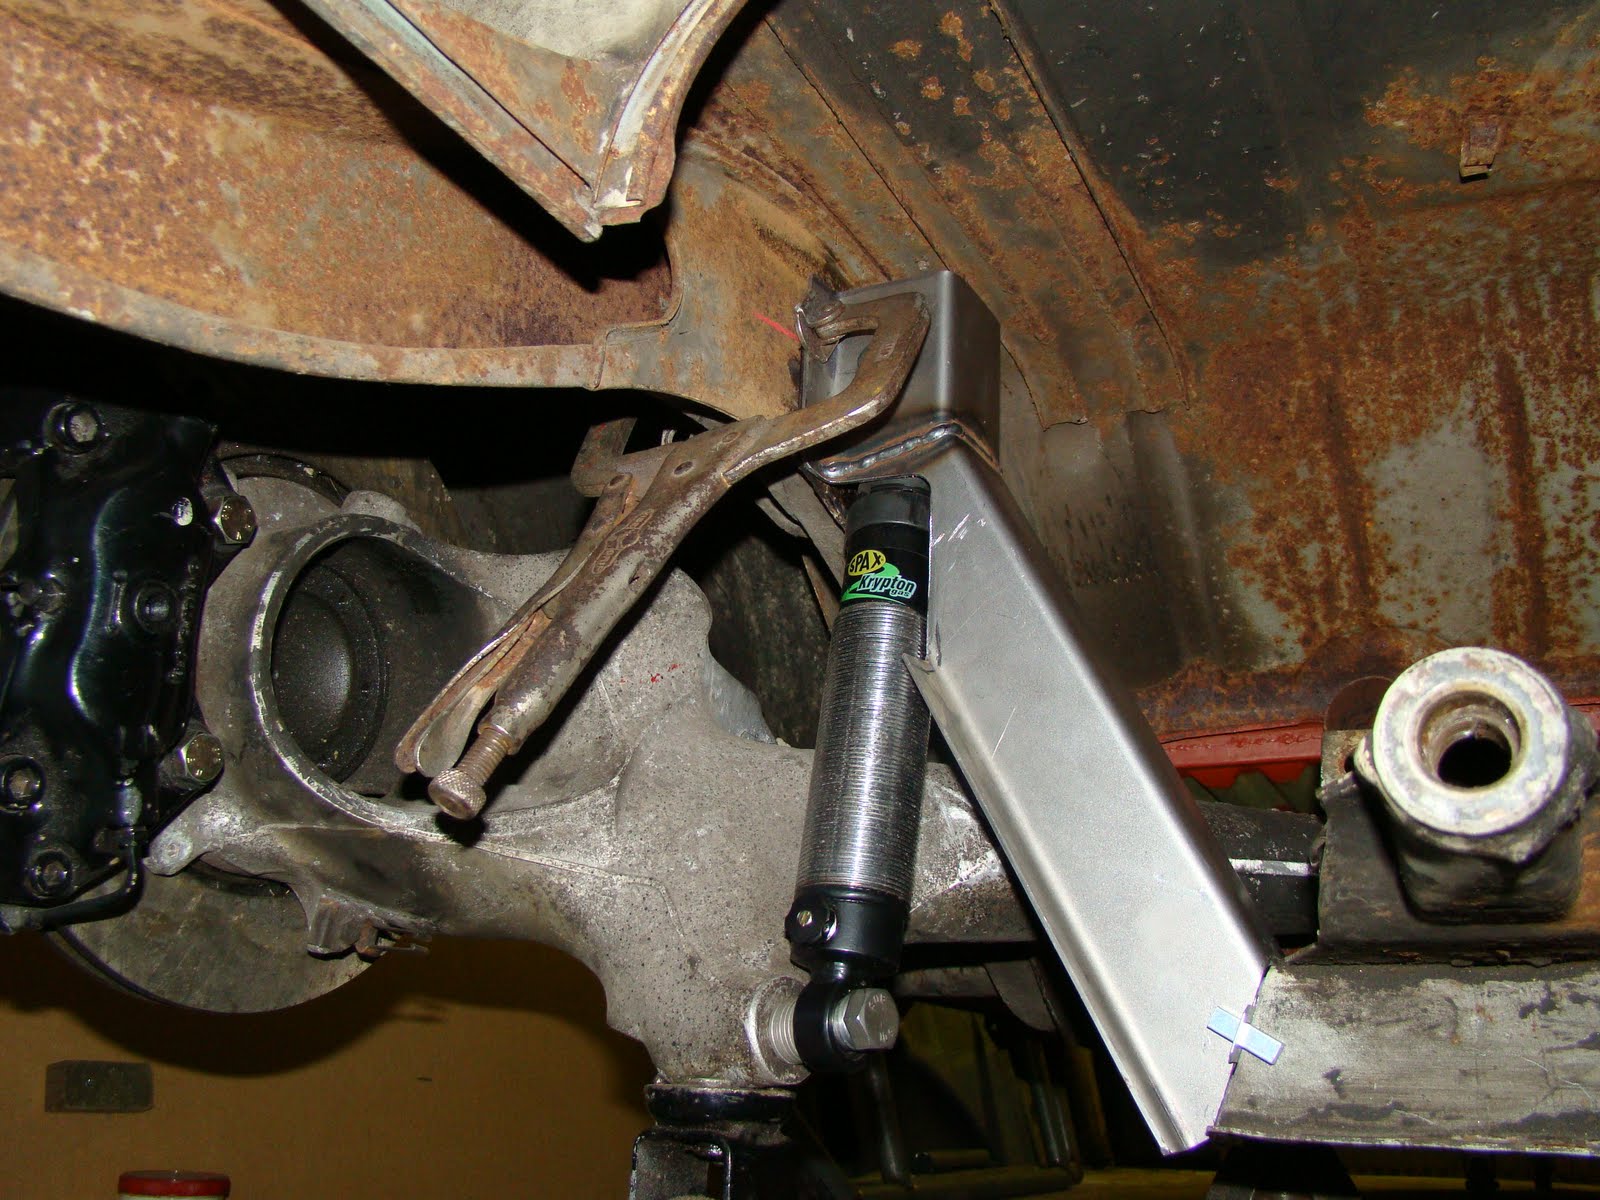
 This is the section trial fitted, I'm hopping to spot weld the top section to the chassis. You can see where the lip of the lower portion don't come together because of the uneven angle where the two meet


