Final odd jobs before Paint

I've finally found a painter I'm happy with and have set a rough delivery time but have a few small jobs to do before I send the van for a fresh coat of paint.
 
The engine bay shelf had some corrosion pitting, this crack is from the air filter bracket on the under side, these were patched and welded up.
 
 
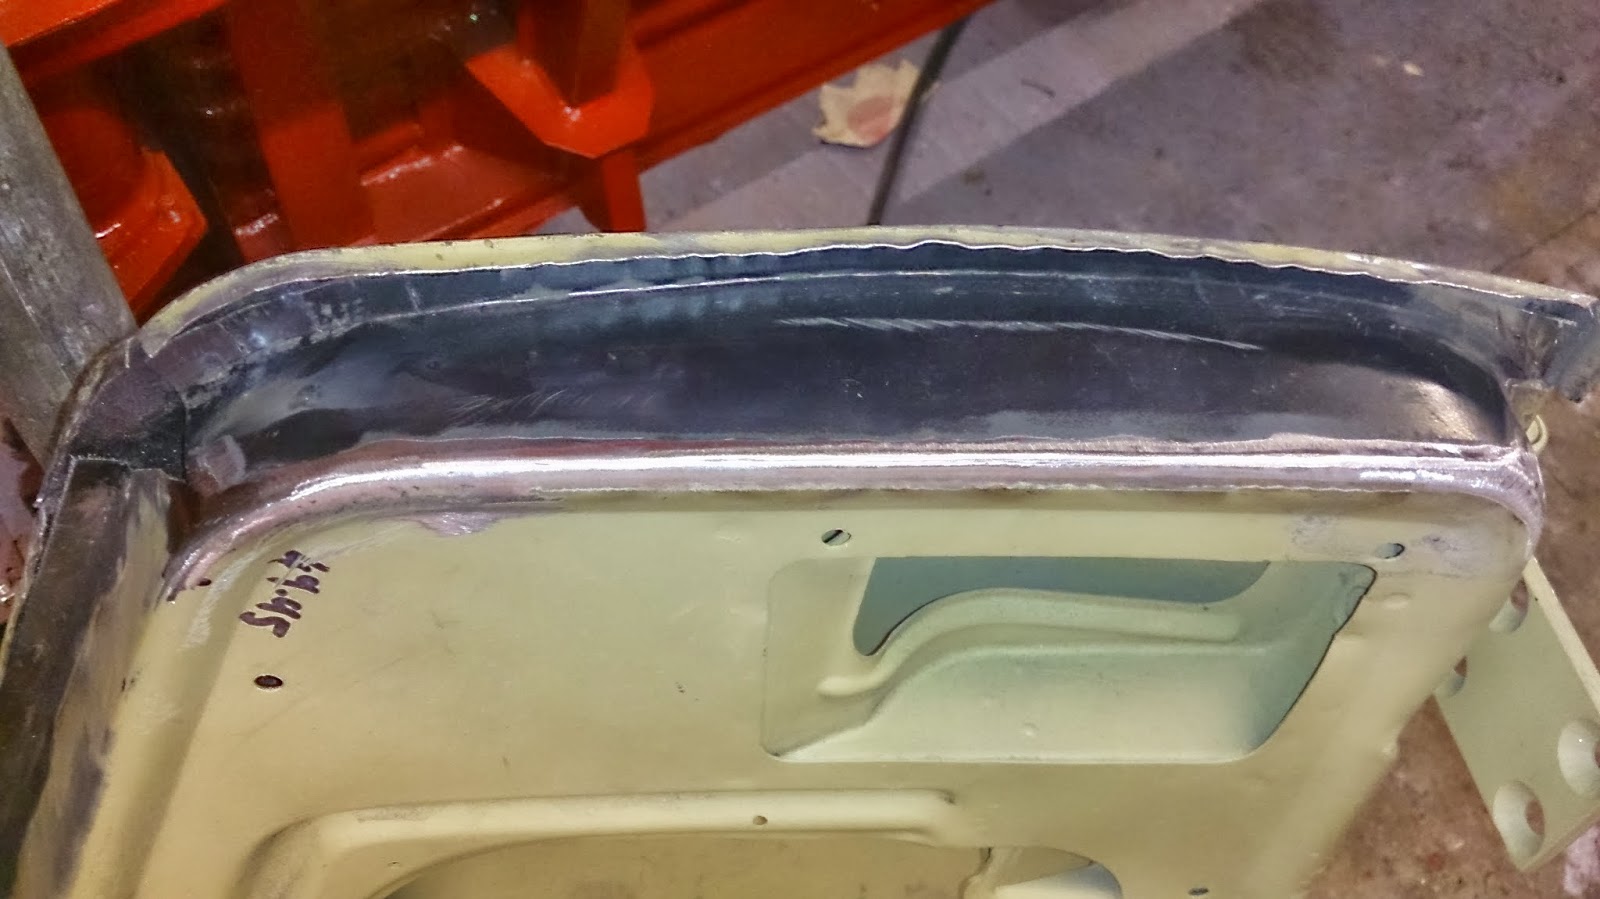
This small corner patch showed a few pin holes from chemical dipping, when I got the grinder onto It the holes grew a bit bigger than the size of a pin. I also used a pin puller to align the panel with the rear valance.
 
I went along my previous sill repair with a torch and found a few beams of light shining through.
 
A few spots of welds and a touch of grinder final made the panel hole again.
 
 Another patch of pinhole corrosion in the B pillar was welded up and the front lip needed attacking with the wire wheel and rust treatment where I think there was an air pocket when it was dipped.
 
 
The original front seat belt mounts in the bulk head were welded up along with a few other  holes used for brackets to hold the interior. I made sure I missed the seat stop screw holes.
 
A touch of filler to smooth out (hide) the welded holes.
 
 
 Another pocket of surface rust on the rear corner that was not removed from the dipping.
 
Rather that pay £20 for a pair of engine lid hinges I decided to keep the originals and replace the pins with some turned down rod. 
 
Another part I decided to make rather than buy was a cargo door strap bracket.
 
A couple of holes in the bracket allowed me to weld it to the door frame

Side Window Repair

I previously repaired the side windows on the other side of the van because of the large holes and missing metal, but this side there was only pitting in the corners uncovered from the chemical dipping.
 
I decided I better do the job properly and brought a repair section from autocraft engineering.
 
 
I carefully cut out the pitting and clamped in the repair patches I cut from the full repair section.
 
 
These panel clamps are probable one of the most useful tools I've brought for the vans restro
 
 
Some delicate spot welds and a small pin hole welded up to keep the rain out.
A coat of primer to hide the evidence and another little job done.

Bumper Prep.

While my van was sitting in a damp garage waiting to be saved it's front and back bumpers were hanging under the garages leaking gutter collecting the rain water and directing it onto the garage floor, destroying my stuff.
So as a result, and maybe because they are 45 years old my bumper were very rusty mostly on the inside.
Rather than spend days with the grinder and wire wheel I decided to get the bumpers sand blasted. Because they were to big for the blast booth they could not do a great job,(if they had let me do it I could have done a better job)  I now had to get out my wire wheel.
A bit bemused I figured I could poor some oxalic acid solution in to it and leave it for 24 hours.
Forgetting about the bumper because I didn't get into the garage for 7 day, I was left with a rusty water mark around the edge of a pool of sludge and crystal saturated oxalic acid solution
Once the solution was cleaned out and filtered to use again later I was left with a yellow coated bumper, once cleaned up the pitted rust was gone, and the tide mark of rust from the evaporated water cleaned up quick with the wire wheel.
To get under the mount brackets I made a bath with a dam of plastic bottle sides and plasticine
Although the plasticine did start to crumble a little the dams held for 24hr

Because I neglected the fresh sandblasted bumpers my greasy hand had left marks on the out side where Id handled it.
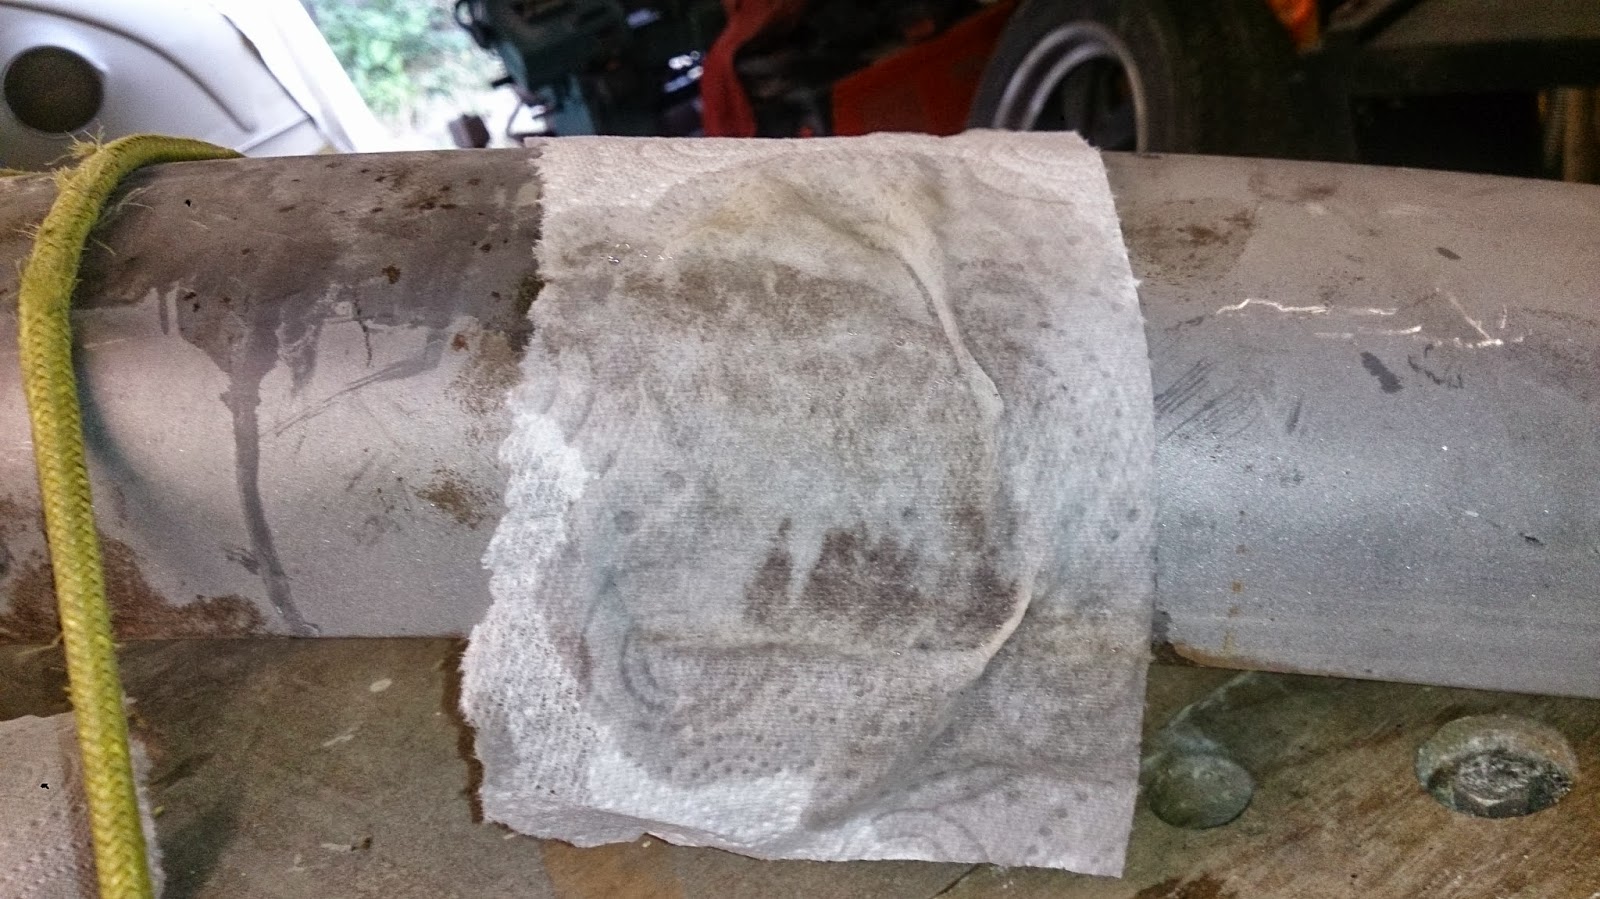
I did not have any gel rust treatment so to stop the rust blast liquid I did running off the bumper I laid a piece of tissue paper over the area and dabbed through the paper to treat the areas I needed to.
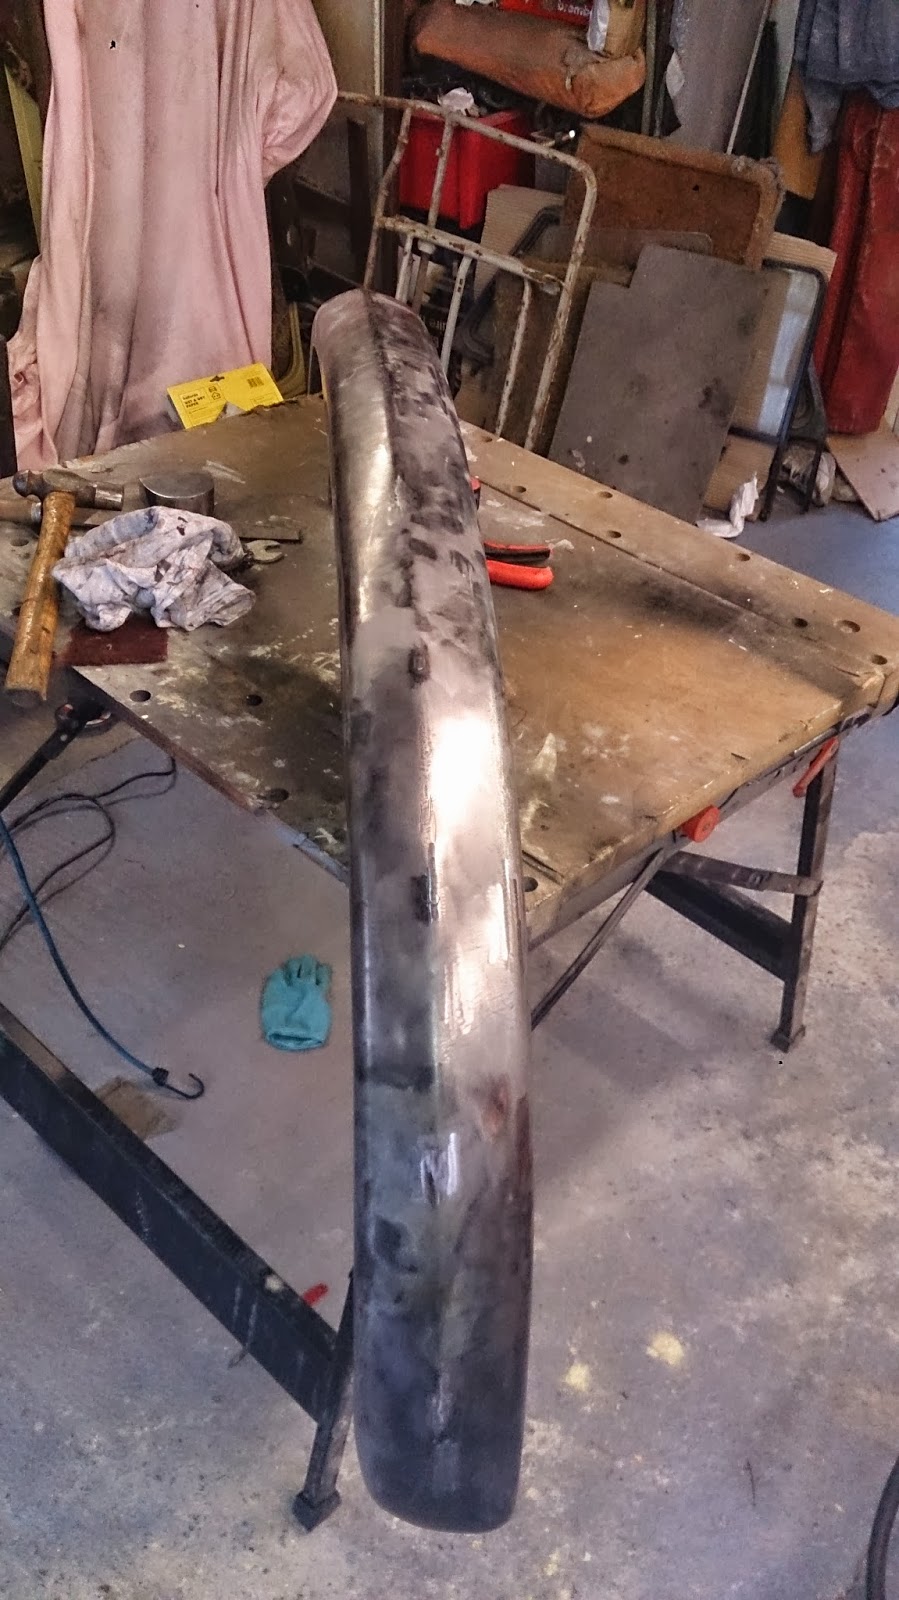
 A day spent filling flatting, filling flatting and filler primer eer ring, and I had a prepped front bumper.
 
 
I didn't realise this till quite late on, I had a dimond cut rear bumper (the shape on the left lower bumper end) rather than (what I think is the right year for a 1964) a slash cut one.
 
After a bit of deliberating and looking for a second hand rear bumper I decided to spend the money on a repro one. The quality is not to bad, its rust free and feels maybe a gauge thinner.
The repro bumper had a small cut out on the lower side, not sure if this is for clearance of the exhaust tail pipe support bracket or not.
I was not sure if should be there on a 64 bus, so I decided to weld it up anyway.
It turned out a very neat welding job, I must be getting better at welding or thicker metal is easier to weld.
The manufacturing marks and there company logo stamp needed a bit of filler.
Then a coat of primer ready for another flatting before paint. 


Cab Door Bottom Repair

After the door was dipped I was left with a bunch of pin holes on the inner part of the cab door bottom all along its lower edge.
Also the folded seam of the outer skin was holding the treated rust under it, After bending the lip up it revealed all the corrosion scar along the inner skin.
 
 
I decided to cut away the bottom of the door skin and use the cheap repair patch I had rather than make my own repair as I did on the other door.
Using a copper strip (folded from a piece of pipe) on the out side edge I tacked up the pin holes while decent access was available to the inside of the door skin.
The bend block I used to make the other door repair patch came in handy to get the new piece bent correctly, I should have double checked this against the wheel arch so it was bent in the correct position.
The damage along the lip was easily repaired with a bent strip, I made the strips upper lip wider than the original damage so that I was welding and grinding on the flat part and not in the inner radius of the door skin
Once I had the curve correct, I had to trim the repair section at the ends around the curve as it did not fit the doors profile correctly
The experience of doing repairs on the van I found the best result for a clean but joint once ground down are achieved on the external radius of a panel.
With the lower repair finished I think I should have made my own repair piece in one piece rather than cut and patch the cheap one.
I found myself chasing the small pin holes in the door with the welder. They looked like tiny holes on the outside but the corrosion on the inside had really thinned the metal.
I combatted this with a very low setting on the welder and the copper strip to absorb the heat from the back of the welds.

Rear Hatch Hinge Spring Removal and Fitting

Before the van is sent to the dippers I thought it would be a good idea to remove the two spring rods that hold up the rear hatch.
 
This was also to give me access to the new rust hole behind the hinge plate I discovered when I removed the rear hatch.
 
After a quick look at the installation I thought it would be a simple case of moving one spring one way and the other  the other. This didn't work as one would pull the other with it.
 
In the end I managed to remove the circlips and pins of the second part of the hinge then get the trusty Hammer pry bar and Ikea bed frame and with a little persuasion and a big bang the springs sprang out. this also dented the roof.
Here's a couple of pictures of there position when they came out so I know what way they go back in. If I can get them back in.
 
So after a while away from the rear hinge I've totally forgotten how to put it back together.
I grabbed the parts out of the parts box, took a few moments to work out what went where.
 I noticed the bushes in the arms were worn and had cracked on the edges.
A quick go on the lathe and two new bushes were made. 
 These were easy enough to squeeze into place in the vice
 A going over with the wire wheel and some primer
 I decided to spray up the parts off the van as its an awkward place to spray once fitted.
 Now for fitting, The two spring rods and handed, the only way I could tell which went where was due to bend in the rod end that was there to account for the curve in the roof, and the opposite end pointed down. if you fitted the wrong one the other end would point up.
Working from inside the van I held the rod at 45 deg to the rear hatch and placed the first end that was bent down to avoid the curve of the roof into the hole of the fixed bracket from its outside edge.

 Moving the second end of the rod towards it position allowed me to slot the first part of the rod into the slot of the fixed bracket. I then slid the moving part of the hinge over the rod and let it be held in the fixed bracket by the tension on the spring rod.
 
 I fitted both rod in position making sure they crossed over, before I fitted the rear hatch attachment bracket and its fixing pins.
With the rear hatch bracket fitted I then cut a slot and hole into a piece of angle that was about the length of my arm, I positioned this onto the end of the rod that was now hanging down 
 Using the leverage of the length of angle and some help to make sure the angle does not slip off the end of the rod, I rotated the angle inwards against the spring loading of the rod, this allowed me to position the rod into the slot of the fixed bracket as It rotated into the closed position.
  The pins were best pushed into there slots when the rear hatch bracket is half way open, this is when the load on these pins is transferred from one direction to the other.
The tension on the angle was manageable by one person but could very easily spring off the end of the rod while rotating into position. Do the same to the other side and your done.
Wish I'd know this when I took them apart.