Showing posts with label Rust treatment. Show all posts

Bumper Prep.

While my van was sitting in a damp garage waiting to be saved it's front and back bumpers were hanging under the garages leaking gutter collecting the rain water and directing it onto the garage floor, destroying my stuff.
So as a result, and maybe because they are 45 years old my bumper were very rusty mostly on the inside.
Rather than spend days with the grinder and wire wheel I decided to get the bumpers sand blasted. Because they were to big for the blast booth they could not do a great job,(if they had let me do it I could have done a better job)  I now had to get out my wire wheel.
A bit bemused I figured I could poor some oxalic acid solution in to it and leave it for 24 hours.
Forgetting about the bumper because I didn't get into the garage for 7 day, I was left with a rusty water mark around the edge of a pool of sludge and crystal saturated oxalic acid solution
Once the solution was cleaned out and filtered to use again later I was left with a yellow coated bumper, once cleaned up the pitted rust was gone, and the tide mark of rust from the evaporated water cleaned up quick with the wire wheel.
To get under the mount brackets I made a bath with a dam of plastic bottle sides and plasticine
Although the plasticine did start to crumble a little the dams held for 24hr

Because I neglected the fresh sandblasted bumpers my greasy hand had left marks on the out side where Id handled it.
I did not have any gel rust treatment so to stop the rust blast liquid I did running off the bumper I laid a piece of tissue paper over the area and dabbed through the paper to treat the areas I needed to.
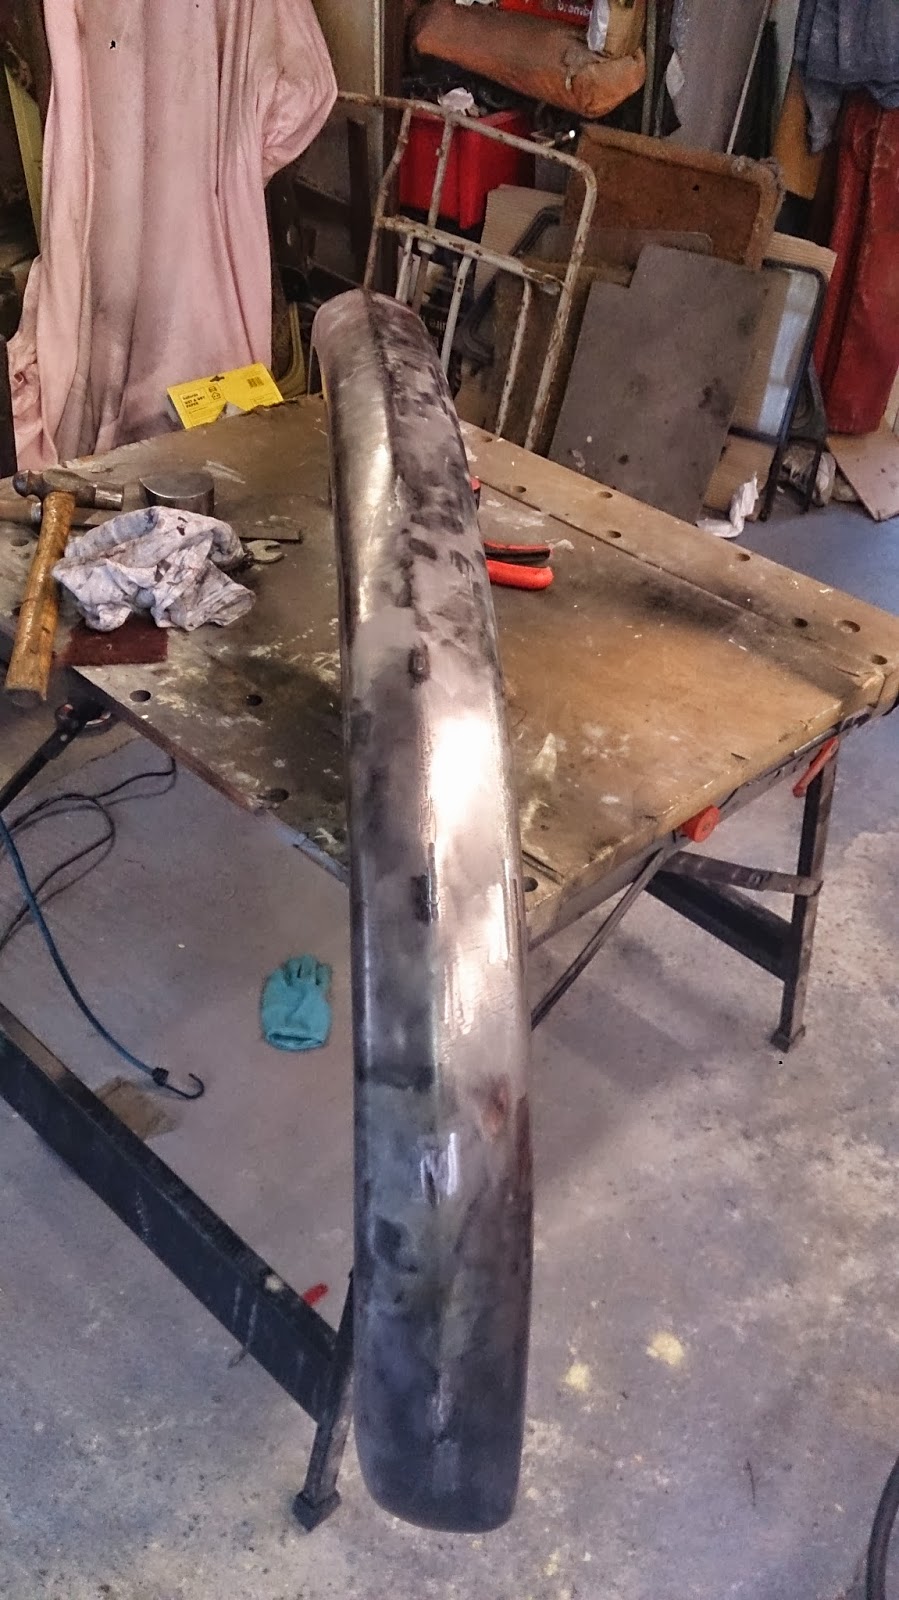
 A day spent filling flatting, filling flatting and filler primer eer ring, and I had a prepped front bumper.
 
 
I didn't realise this till quite late on, I had a dimond cut rear bumper (the shape on the left lower bumper end) rather than (what I think is the right year for a 1964) a slash cut one.
 
After a bit of deliberating and looking for a second hand rear bumper I decided to spend the money on a repro one. The quality is not to bad, its rust free and feels maybe a gauge thinner.
The repro bumper had a small cut out on the lower side, not sure if this is for clearance of the exhaust tail pipe support bracket or not.
I was not sure if should be there on a 64 bus, so I decided to weld it up anyway.
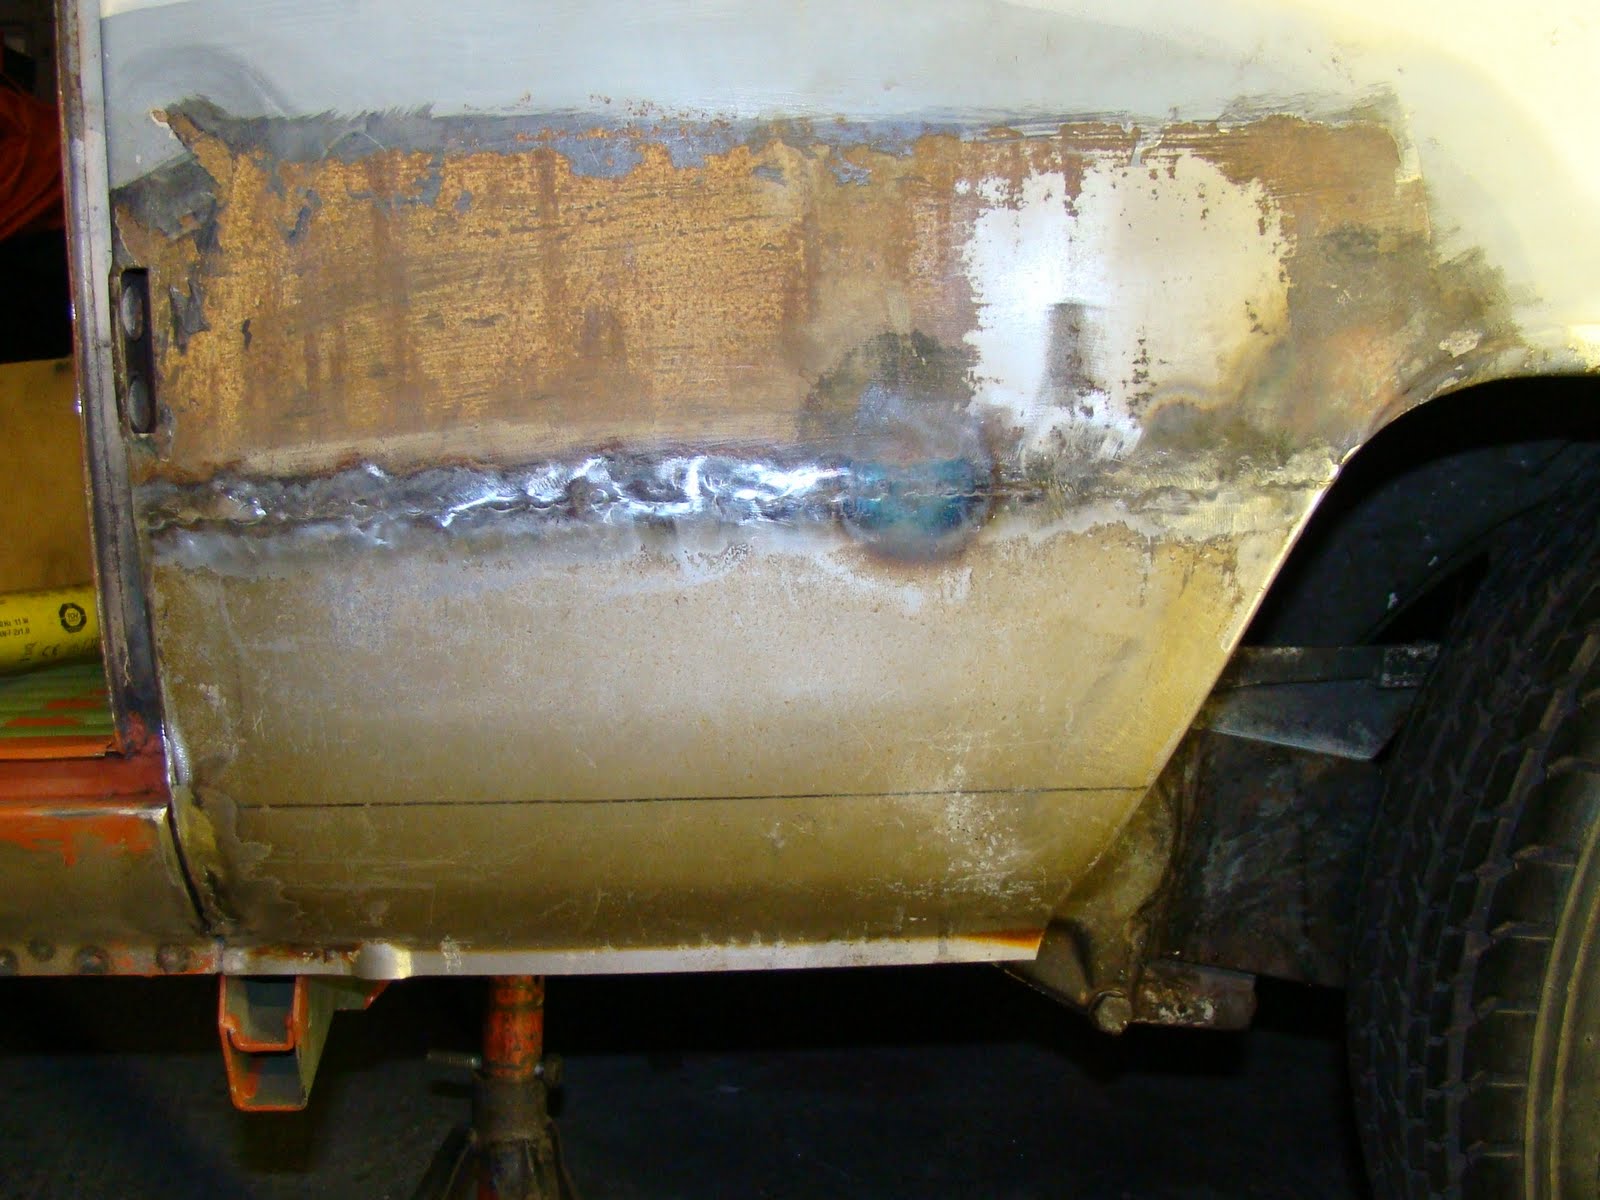
It turned out a very neat welding job, I must be getting better at welding or thicker metal is easier to weld.
The manufacturing marks and there company logo stamp needed a bit of filler.
Then a coat of primer ready for another flatting before paint. 


Painting the under side primer and stone chip


After sweeping up and hovering the garage floor I started to hang protective sheet around the garage, got board so left the rest,as all I wanted to do was get on with spraying.
I brought a litre of wash primer and activator This was just enough to do all of the underside 
 I used the wash primer to make sure there was paint in all the panel gaps
 This was also an easy step into my first time spraying such a big job.
 It was easy to spray on just a bit fiddly to get into all the tight spots whet the gravity feed pot on top of the spray gun kept getting in the way
 A couple of seams I forgot to seal up
 I then broke out the stone chip gun, This is the same as I used for the cavity wax just with out the tube. I'm using Dinitrol stone chip 447 this is the grey version, It also comes in black.
 This was fun and easy to spray, I took it in sections and made sure I got into all the tight gaps before I sprayed over the hole panel. I did a couple of coats in the wheel arches.
 I was hoping for a smoother finish, So I varied the pressure to the gun but less pressure made it spit more and more pressure flooded the areas I wanted to spray making it drip. 
I decided to leave the cab floor area as I have an original panel to cover that.
I used up 6 x1 litre tubes and still needed to finish above the gear box. My mask also became saturated with the solvent so it was time to finish before I started hallucinating that my van was finished.

Seam sealing the roof and engine bay

With the Van back from the dippers it was time to get the van rust protection started

The rear shelf above the engine bay had some signs of rust treatment that had not been cleaned out properly, I got my wire wheel to this.
I treated it with a spray of Dinitrol Converrust RC900, this converts the rust and stabiles it so it can be painted over.
There was a small amount of rust still between the panels of the roof and the gutter.
Again I wire wheeled this and treated it with RC900. I decided to do this around the hole roof seam just as a precaution. I used a small brush to guide the liquid between the panels.
I cut the nozzle of a tube of seam sealer at a 45deg angle and made my way carefully around the van covering the joint of the gutter and the roof panel with light grey seam sealer.
A little trick I learnt from working with aircraft sealant was to use a soapy solution on the end of a gloved finger to gently smooth the lumps and create a smooth curve.

The roof turned out ok.
I went over the area above the engine bay that I have treated with the Dinitrol rust cure
I then went around the seams in the cab.


Then onto the engine bay. To seal the seams in the hard to reach corners I attached a tube to the end of my nozzle. This took a bit a guess work and a steady hand but turned out very well.


Oxalic Acid rust treatment

I discovered a cheap alternative for treating rust using Oxalic acid and warm water. I purchased this from ebay for £3.20 per 1Kg plus postage it worked out about £6 per Kg

I decided to get a few test pieces out to give it a try, using gloves and safety goggles the powder was mixed with warm water at about 500g to 5 liters 1:10 ratio and added some degreased very rusty tin ware
 This piece was half submerged for 24 hours and you can compare the results, there was still a little rust in the pitted bits but a top up with more warm water to activate the crystals that had collected in the bottom of the pot and another dip and these should be gone.
 There was a yellow residue on the parts when removed that I washed off with the garden hose, then dried quickly to stop any flash rust. These were only test pieces so on a proper job I'd remove all the paint first.
The work college that let me into this little secret said the good thing about this is it will only react with the oxidized rust and not eat into the steel so parts can be left in the pot with out disappearing.

See videos below.


Rust Blast Treatment

Here is a few photos from using a rust treatment called Rust Blast from KBS Coatings, they had a stall at Volks World so thought I'd give it a try.
I started using the brush on liquid while I was fitting the rear arch panel. This part of the panel that needed treatment had been left bare metal for about 10 years while the van sat in the garage.
The instructions states you need to keep the metal wet for 20 minuts for light rust and 40 for heavy rust, this wasen't the case for me, It took a good few hours to get the lighter rust off with out any abrasion, probably something I could do quicker with a grinder and wire wheel.
Eventually the panel started to show some progress but with a lot of help from some scotch brite pad.
The results do look good but just take four times as long as it said on the tin. The Rust Blast is ment to leave a zink layer which gives it a grayish tinge.
The last bits of rust left were the pitted arears, when you apply the Rust Blast the corrosion in the pits turn a darker coulor and show up so making it easiery to see whats rust is left. These final bits I removed with a whire wheel, this dug deep into the pitted areas untill the material was shining and rust free.