Showing posts with label Painting Underside. Show all posts

Re-painting the underside

After getting the van back from the painters, I was very pleased with the top of the van, but had the problem of the over spray on the under side.
 
 
The booth that was used to spray the van had the extraction in the floor, this meant the paint was sucked under the van, this would not have been to much of a problem if I had painted the under side cream to match the sides.

I wasn't prepared to roll the van on its side again to repaint the floor so I had to get the van as high on axel stands as I could, 1ft and would have to do the spraying on my back.

 
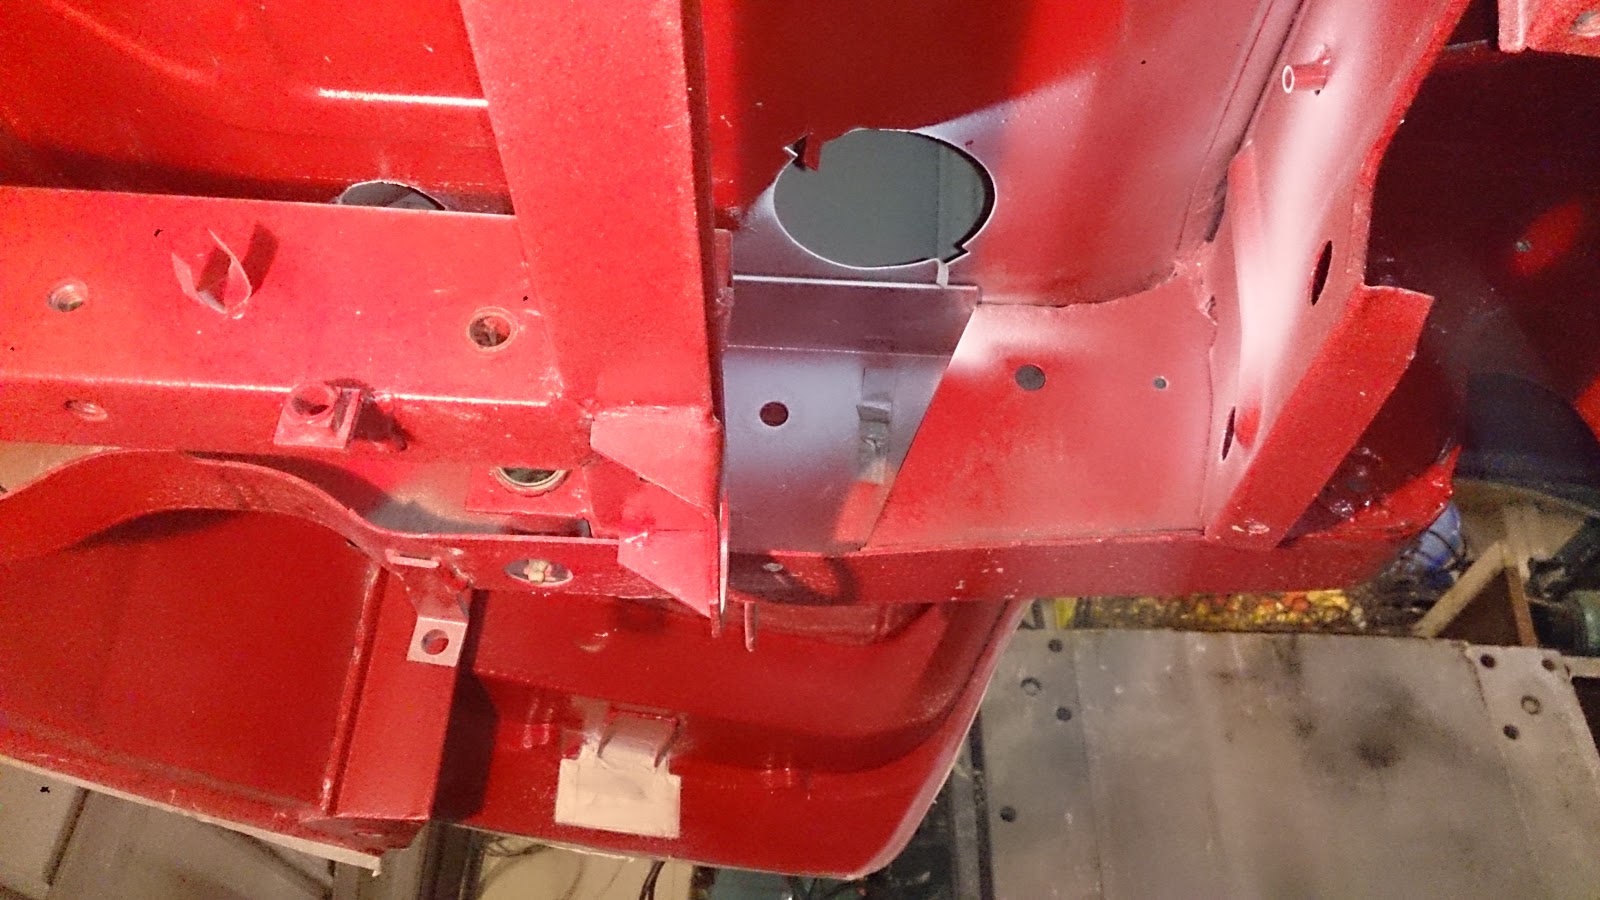
Having a look at what I needed to re spray I also realised I hadn't got any protection on the top of the chassis rails. Before I stated the re spray I gave this all a good rub down then rust treated and primed them by hand using a bent brush.  

I also noticed both arched had no stone chip or paint and showed some surface rust on the lips. so I cleaned these up with a new toy.
 
Just to be safe I rust treated it all before priming.

A few other details that needed tidying was some filler that needed tidying up left over from the body prep.
 
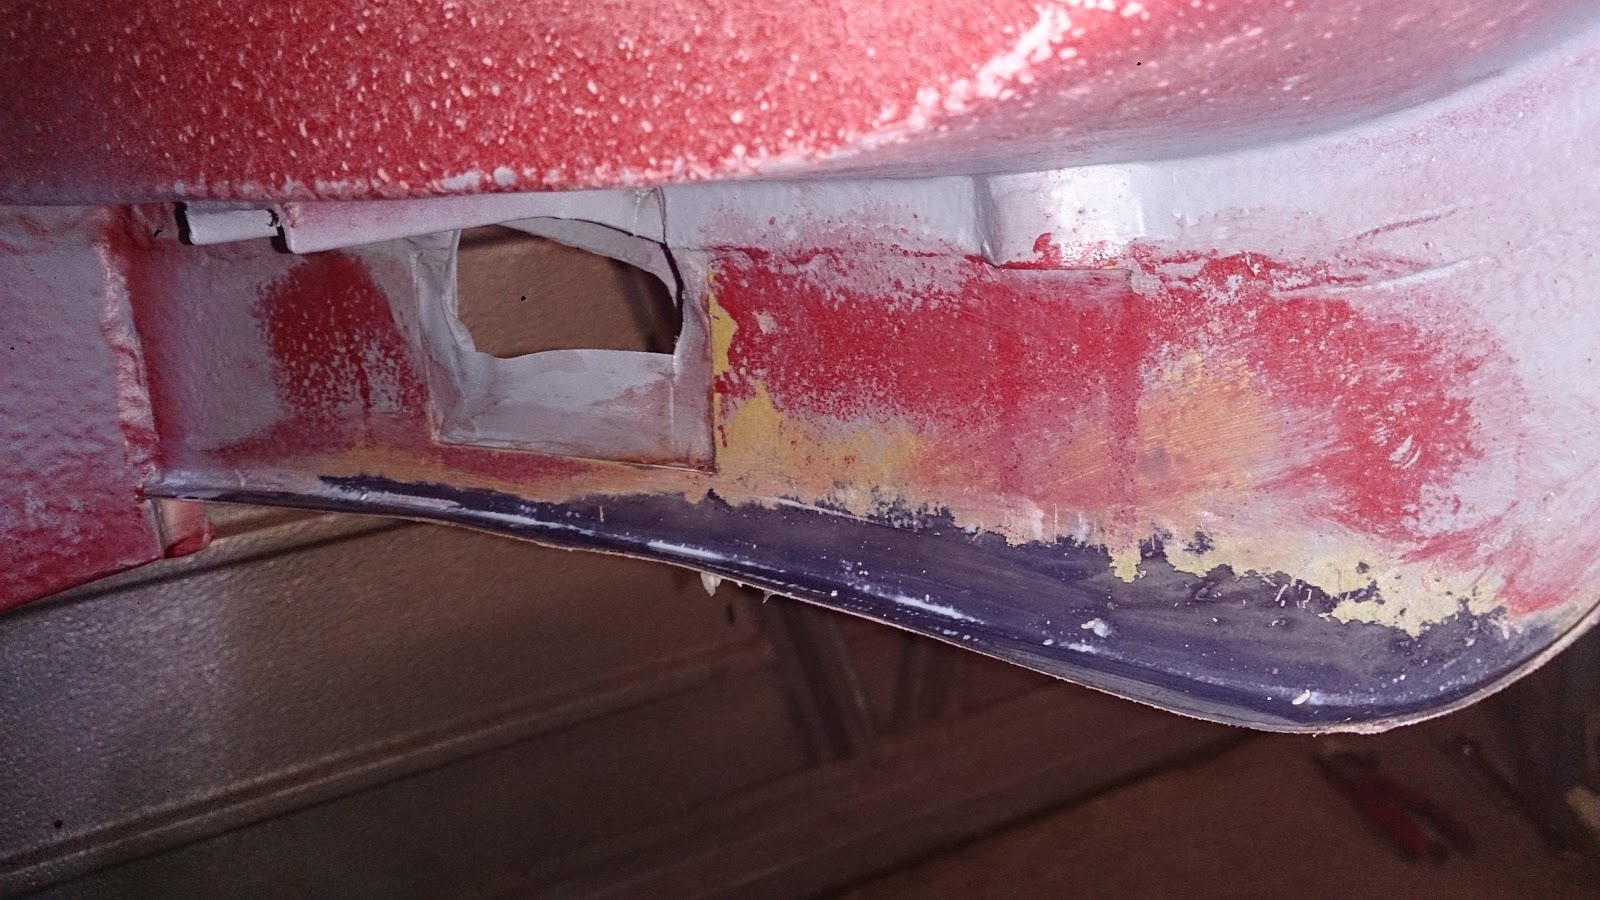
I now had to protect the brand new paint job from over spray, I ran some tape around the whole lower edge of the van using a scalpel ot cut it flush with the edge 
As I was running low of materials I used the vans cove to help protect from the paint.
 
After a day rubbing as much of the under side I could handle I got onto priming the chassis parts that had been blocked by the roll over rig.


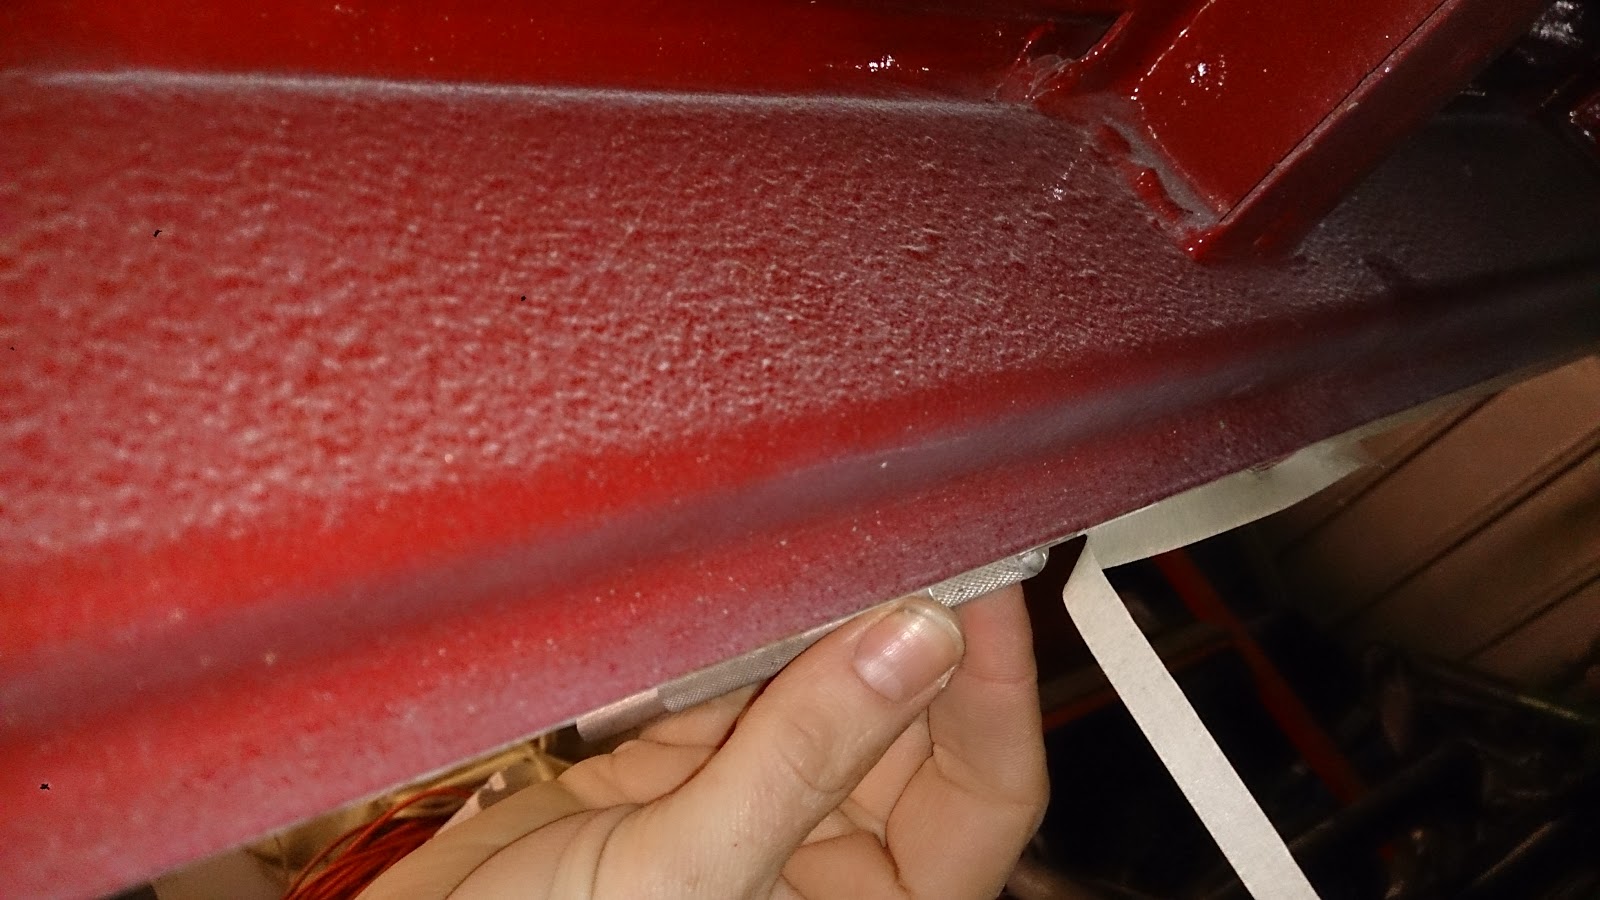
I then spent 3 days cleaning and repainting the front middle and back of the under side in base coat, using the smaller spray gun that I modified to fit into small places made this easier.
But lying on my back painting with the van an inch away from your nose was not easy.


After I managed to recover from my back problems I got back into the garage and got back on my back to spray the clear coat on.


 Apart from the work lamp making the photos look orange I am really happy with the results of the re-spray. A second coat of the red helped the deeper red I was after and the clear coat does show up the metallic that's in the red , although no one going to see it.
 

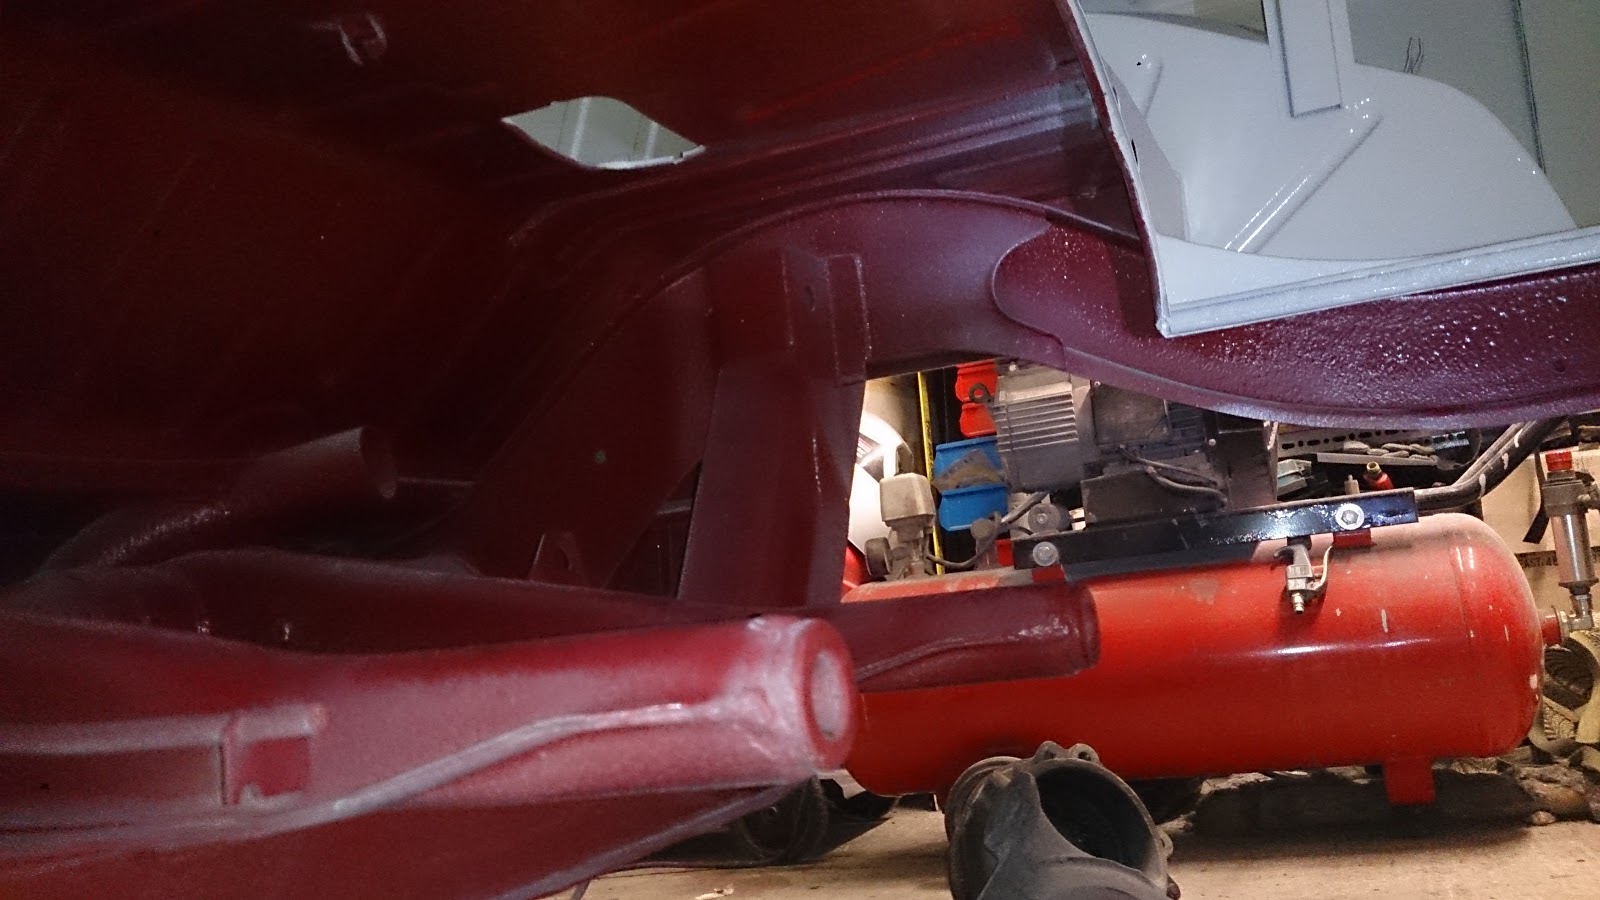
Now two months after getting the van back from paint I can finally get on with the rebuild.
 
or can I...

Painting under side Red

It was a bit of a impulse decision but I decided to paint the bottom of the van red, I mean RED. There was a little bit of persuasion from the other half, some thing about Louboutin.
I trialed a few colours on the belly panel, the candy red looks a cool red but with two coats and a lacquer I thought it to much for the bottom of the van. So I decided for a bit of both colours, a darker shade but with a matt lacquer.
I picked up a litre of paint and thinners some, extra tubes of stone chip to finish what Id missed around the gear box. 
I started each area in sections this also allowed me to get use to the spray gun and help setting it up.

If the bottom of the van was flat a quick spray left and right and job done, but I had to spray into all the nooks and cracks under and over pipes to get a good coverage, this took more than a liter and a half of paint, so another trip to the paint shop for half liter was needed.
Here's the compressor and gun I used, the pot on top of the gravity feed spray gun was a bit orquard to get into some of the tight spots

I used the trial spray can for the really tight spots but this run out very quickly


With all of the red painted I called it a night and let it dry over night, I would have left it in this colour but this is a base coat and needed a sealing coat.
 With the van dry over night I was going to spray a matt sealing clear coat, but Rachel perswaded me to go with a gloss, so another treip to the paint shop.


 The clear went on a lot easire, but a little harded to see where you've painted I had to keep catchiung the light to see where Ive missed inbetween the structural parts.

Spraying the underside with wash primer, stone chip, red base coat and clear coat took 4 days and cost about £300 in paint and materials, but was good fun. Still not sure if its the right colour.....


Painting the under side primer and stone chip


After sweeping up and hovering the garage floor I started to hang protective sheet around the garage, got board so left the rest,as all I wanted to do was get on with spraying.
I brought a litre of wash primer and activator This was just enough to do all of the underside 
 I used the wash primer to make sure there was paint in all the panel gaps
 This was also an easy step into my first time spraying such a big job.
 It was easy to spray on just a bit fiddly to get into all the tight spots whet the gravity feed pot on top of the spray gun kept getting in the way
 A couple of seams I forgot to seal up
 I then broke out the stone chip gun, This is the same as I used for the cavity wax just with out the tube. I'm using Dinitrol stone chip 447 this is the grey version, It also comes in black.
 This was fun and easy to spray, I took it in sections and made sure I got into all the tight gaps before I sprayed over the hole panel. I did a couple of coats in the wheel arches.
 I was hoping for a smoother finish, So I varied the pressure to the gun but less pressure made it spit more and more pressure flooded the areas I wanted to spray making it drip. 
I decided to leave the cab floor area as I have an original panel to cover that.
I used up 6 x1 litre tubes and still needed to finish above the gear box. My mask also became saturated with the solvent so it was time to finish before I started hallucinating that my van was finished.