A friend that knows their way around a CAD program was able to help me in a morning produce an engineers' drawing. We started drawing all the known dimensions e.g. brake disc size, caliper size and spindle mounting hole pitch, from these we were able to calculate all the dimensions required for the mount, then with an outline added we created the virtual caliper mount. This wasn’t far from the rough sketch I'd made in the garage to produce the wooden prototype, the hardest part was calculating the curve that would match the profile of the caliper inner mounting lug.
Hi welcome to my 1964 VW Type 2 split screen campervan restoration blog. This will be a record of the vans restoration, and hopfully share infomation about bringing a splitty back to life.
Machined front caliper mounts
Van Restoration Relocation
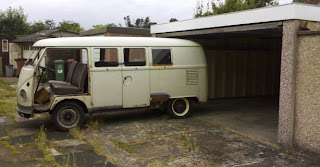
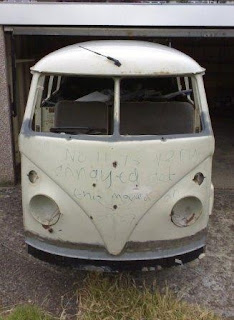
 Haven't had much time to get on with the panel repairs because the restoration has had to be relocated, I was able to find a nice big double garage with power and water, this means I'm now able to work on the side of the van and not just the front and the back. Amazingly, through a door in the back of the garage I found, tucked behind some bushes and an over grown garden a house that also had electricity and running water. My girlfriend was happy to stay there while I get on with the rest of the restoration.
 When I originally found the garage and measured it up for the fit, there was loads of room to work, but it was very close on height. I thought I may be pushing it in and out of the garage with flat tires, or having to start another project of raising the roof, and I don’t think I'll be able to keep a roof rack on for long.
The vans trip to its new home went smooth, A few curtains twitch as a rusty heap was unloaded from the flat bed on to the street, Then, what I forgot to do was measure the width of the access lane to the garage. Pushing a van enthusiastically down an ally when you have 6in or less clearance either side and you don't have any breaks is a bit scary.
Having all this room In the garage didn't last long, to accompany the van came all the VW parts I’ve been hording for the last 10+ years (just in case I might just need that old rusty part), gear boxes, engines, tones of engine tin wear, exhausts, front beams and boxes of all the smaller bits. It's going to take some time to clear away the unwanted parts, and sort out a working garage, but in the end it should make getting the van back on the road so much more enjoyable.
Subscribe to:
Comments (Atom)