Showing posts with label Panel Beating. Show all posts

panel beating front panel

Short video of my panel beating attempt using a shrinking disc, hammer and dolly.

The front panel was filled with filler from a previous crash repair
Using a butane torch I heated a few of the dents.
then using a garden spray to cool the panels and shrink the panel where needed.
Trying to reach around the panel over the top and through the front light hole.

The worst of the damage is now removed from the top part, a skim of filler will be needed to take out the scratches and help with a final smooth finish. I now need to work around the light bowl area.


How to make a metal shrinking disc


After having a go at metal shrinking with a gas torch that has now run out of gas, After seeing a video on you tube how to shrink metal with a disc I thought I'd try and make one and see how well it worked.

I started with a piece of scrap stainless 0.050" thick, cut from a removed commercial kitchen bench. drilled a great big hole 7/8" in it to fit a angle grinder. When I stuck it on the grinder it nearly severed my hand off. It was to big, wobbled like buggery and was sharp enough to sever a man's head
To stop loosing an appendage from the disk vibrating and the samurai sword edge. I trimmed the edge to 7 " diameter and to a perfect circle to balance the disc and dull the edge.
To get the curve across the surface of the disc I attached a bolt through the center hole and held it in a vice so it was able to just spin. I placed a dolly under the disc and rested it against the vice. As I hammered I made each blow move the disc. After each rotation I moved the bolt position in the vice to set the dolly closer to the edge, I used a pointer dolly to get a steeper curve at the edge.
After each turn the disc started to look and sound more like a cymbal. I kept hitting it till the curved looked steep enough to touch the metal with out cutting it with the edge and stop the center thread of the grinder scratching across the panel surface.
The best way to describe how it works is to watch the youtube video, I found it a bit noisier than I expected, Its also hard to get a wet rag to cool hot metal in one hand while you are trying to man handle a lethal cutting disc in  the other. I think it will take a bit of practice getting the timing and movement right to get the desired shrinkage.

After a few quick goes I had to adjust the center nut to replace it with a flush one. I needed to squeeze the nut into the disc to make it fit, this made the hole a little bigger and harder to get the disc dead center. This now let me get the disc flatter on the panel making it just hit the panel high spots.

Front panel damage


When I first brought the van I was aware of the damage to the front of the van but the repair filler and paint that had been done didn't look too bad a job. It is now time to see how good or bad it is.


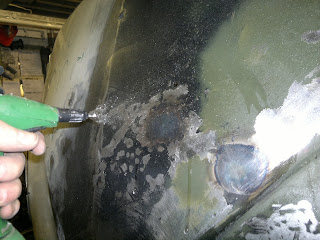
Having spent an afternoon with paint stripper that does not work and getting covered in dust with my wire wheel I got most of the filler off, just one big lump left.


There was also damage to the inside of the panel, it wasn't too bad just quite a lot of it.

With a days' work and a can of environmentally friendly paint stripper that doesn't strip paint I finally got the front of the van cleaned up. The damage was to all off the left side of the panel. There was no need to repair the panel although there was a small weld next to the light bowl that may have been used to pull the panel's dent out originally.


As I don't have or can get access to Go Go Gadget arms to reach through the front windows I figured I'd need to remove the head lamp bowl to get to both sides of the damage for panel beating. I started by drilling the spot weld with a drill bit in a normal battery drill, I soon found the drill wandering as I could not get on the spot welds square.


I then had to use an angled die grinder to grind out all of the welds trying not to go through both skins. With bigger holes than I intended the welds were free. A whack on the back of the bowl just left a dent, so where I could get access I eased the lip and released the rust with a tiny pry bar and ground down hacksaw blade


Then grinding the attachment of a dent puller to the shape of the bowls lip and a spray of WD40 I gently persuaded the bowl out without damaging it.


The bowl came out quite easily with the puller and a bit of penitence. A clean up in the blaster should tidy the bowl up.


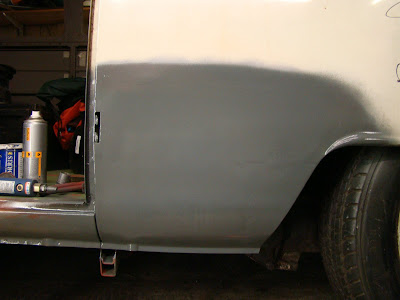
I then used a light coat of black paint as a guide coat to cover the panel and went over it with a sander to reveal the high and low spots.
If you click on the photo for a better look you can see the beating the panel got from the previous repair and how aggressive they were with the sanding disc. I'd hate to think how much time and money it would take to get a pro to straighten this out so I can see why they just pulled out the worst and layed on the filler.
So with my new bargain priced £170 panel beating kit and panel file I'll be spending some lonely hours trying to get this panel looking better. There will probably have to be a bit of filler put back onto the panel as my panel beating skills are still at grade 1, but hopefully not a van load.


Panel Shrinking Video


These videos are the same, just the one above is flash player.
This is my first video for the blog, Just thought Id try this as it's easier to explane what I tried to do with the media of moving pictures.Its also make an easier life for my blog editor so he doesent get to frustrated with my appauling spelling and grammer. Un fortunatly you get to listen to my monotone voice.


Cab Door Bottom Repair

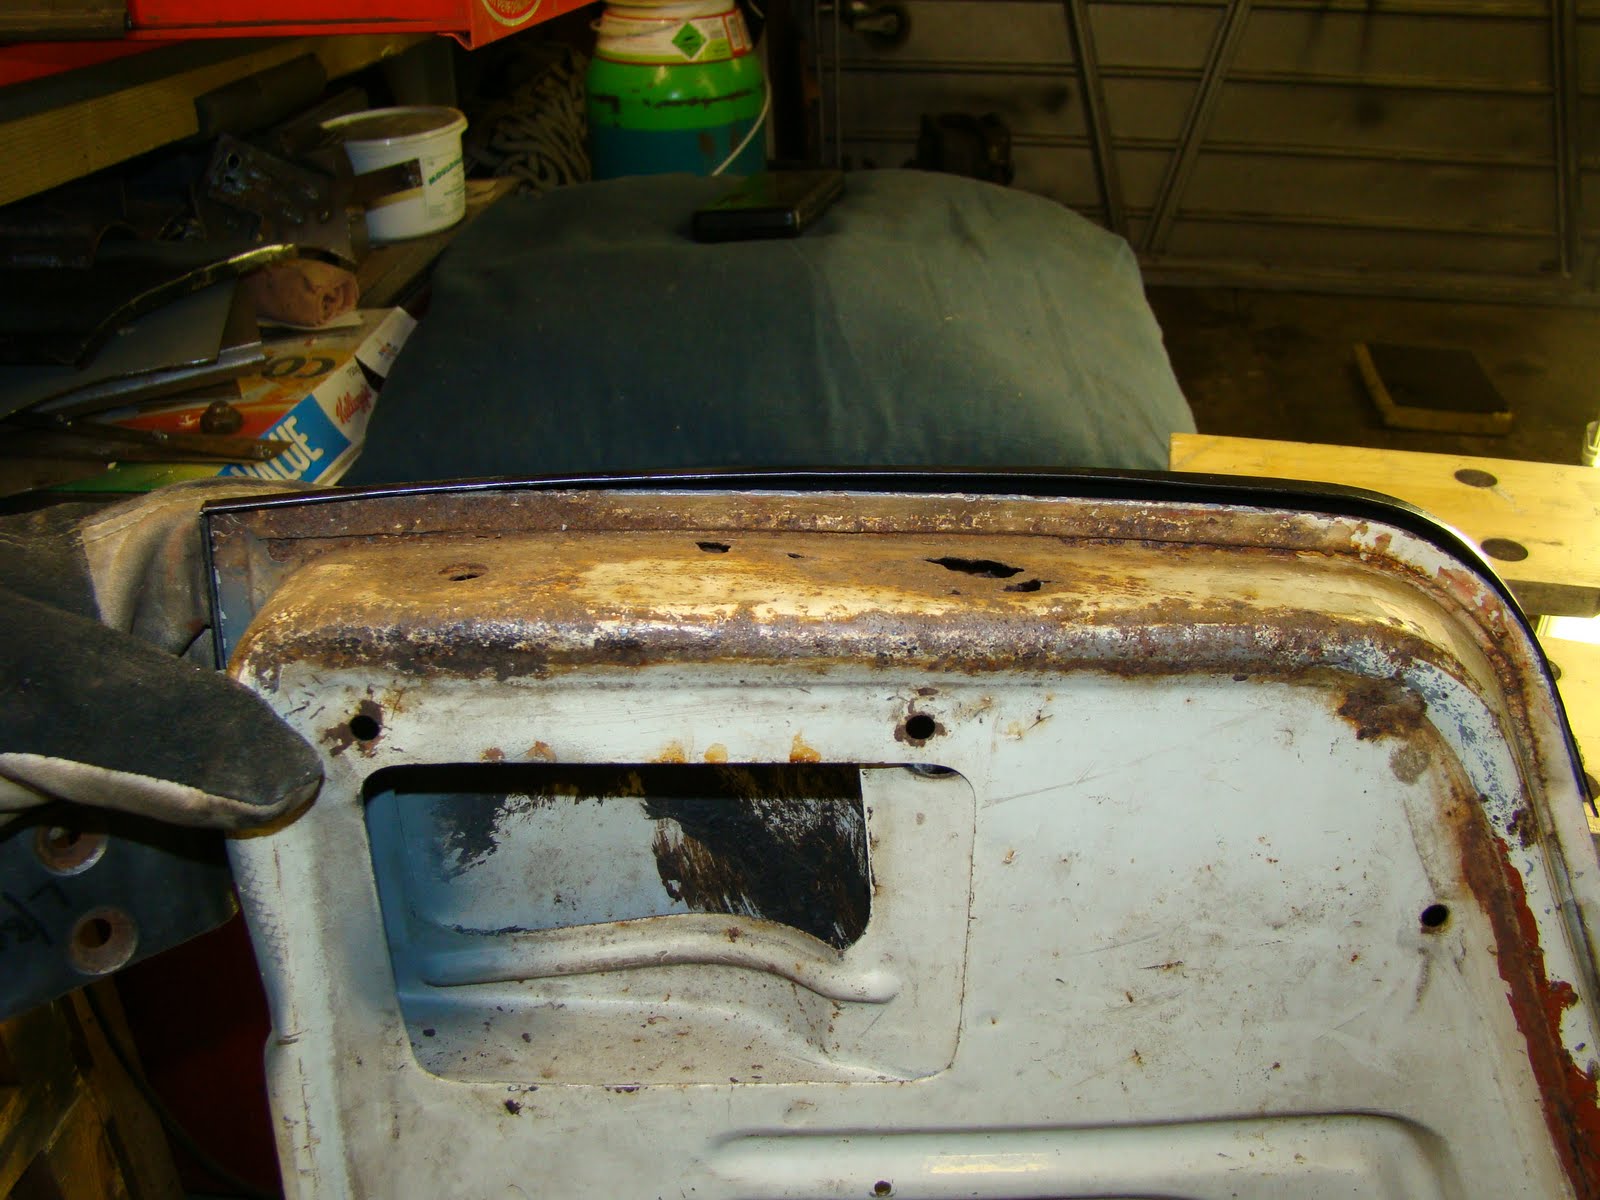
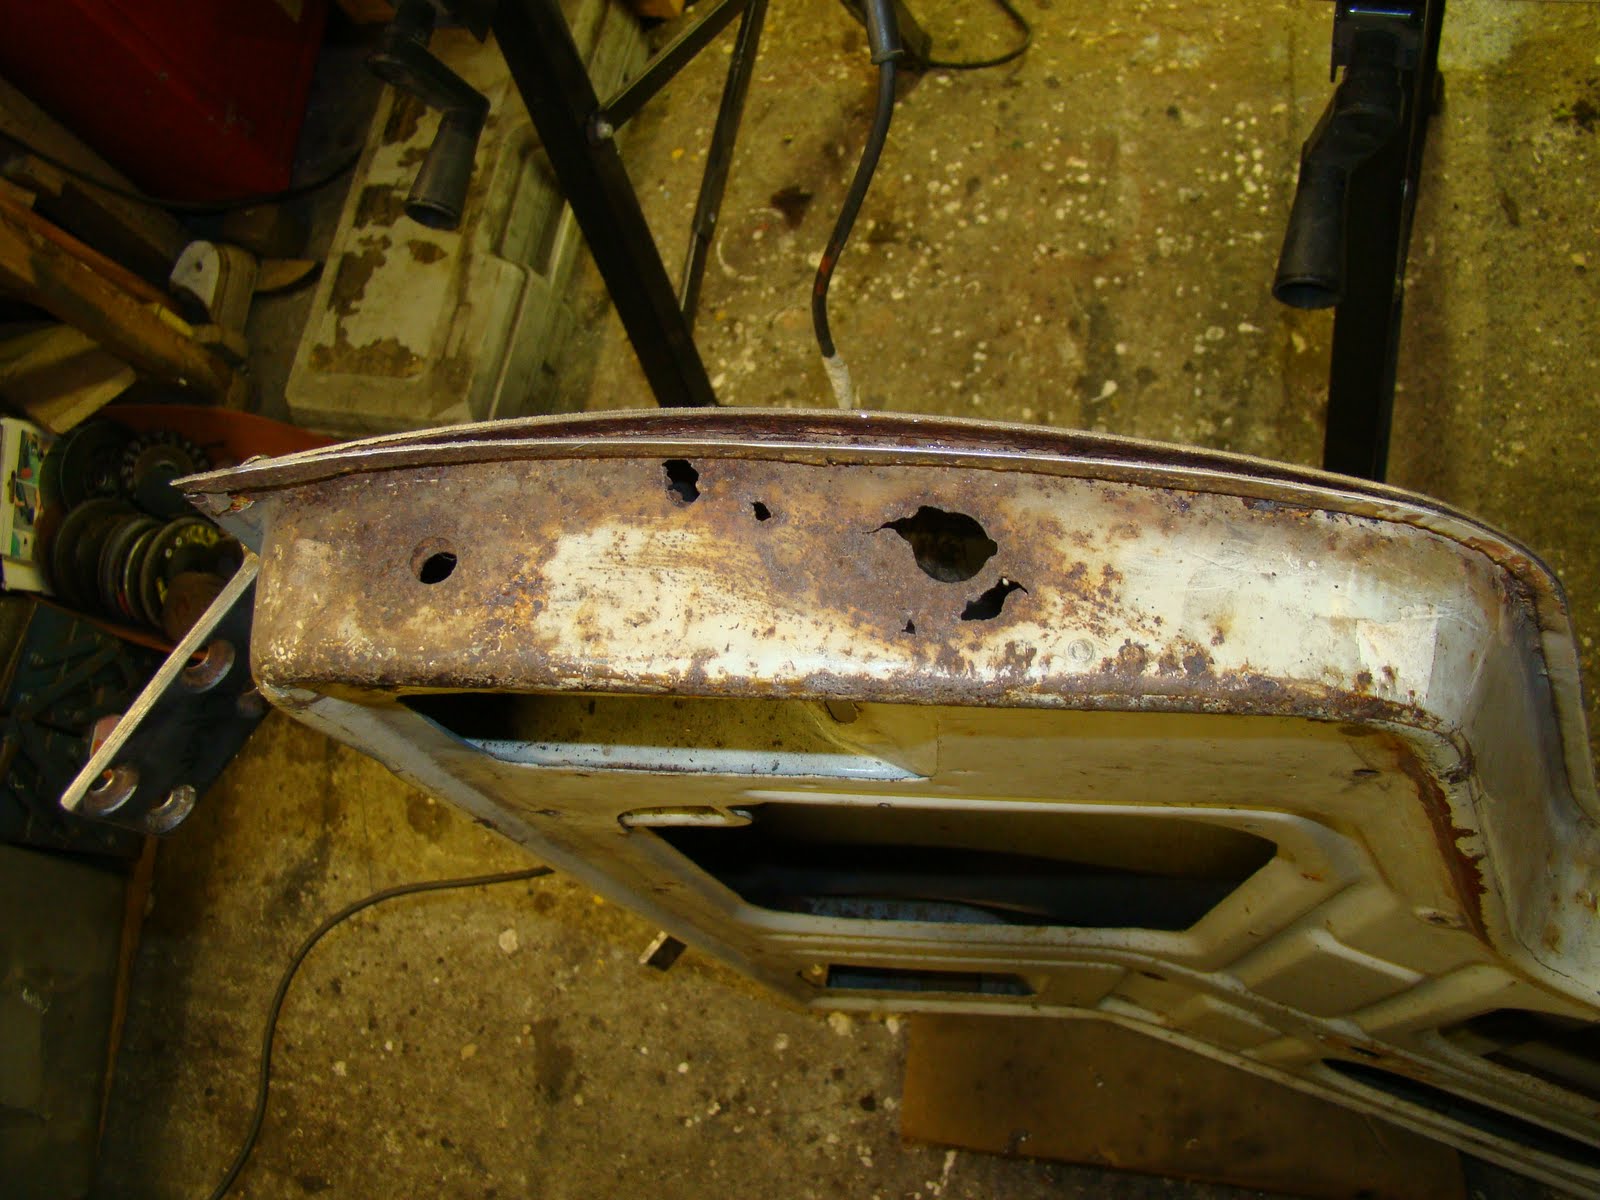
This is a more a picture than word post on how I repaired my cab door bottom. The rust has been hidden under a layer of filler and rattle can primer, and has kept well since I first covered it up 20 years ago.

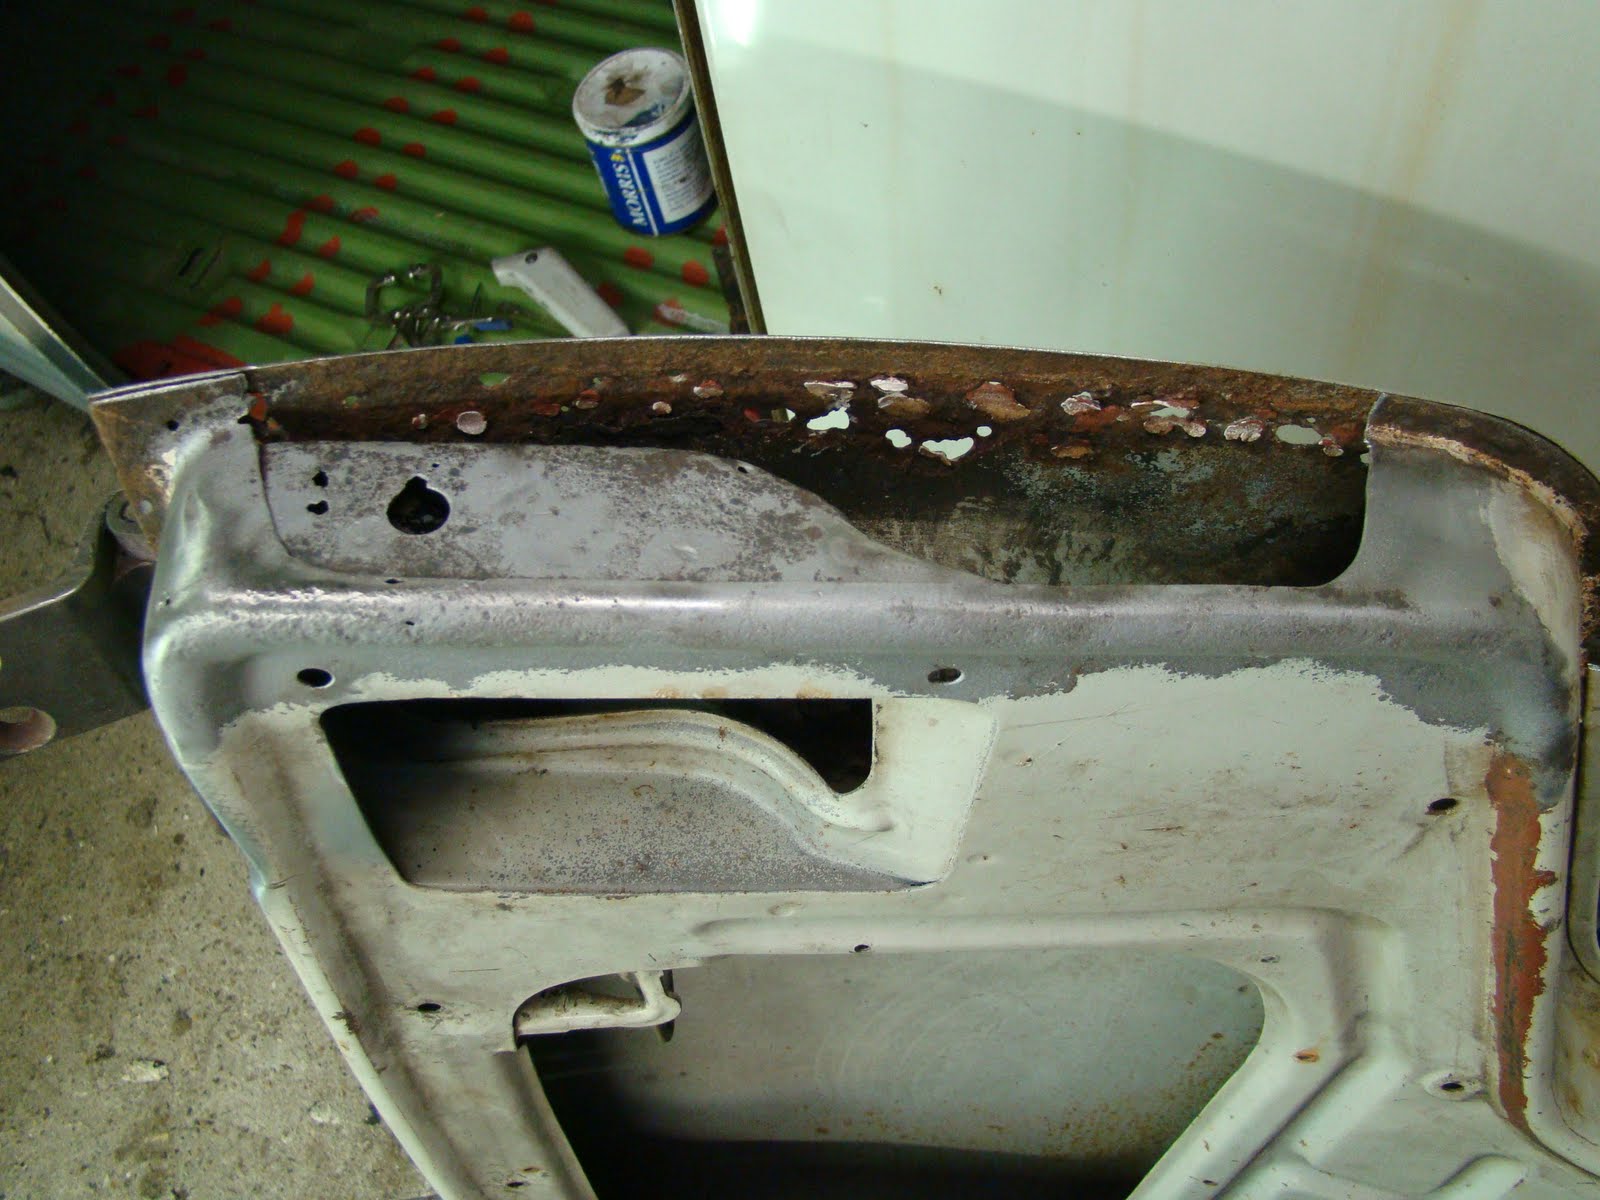
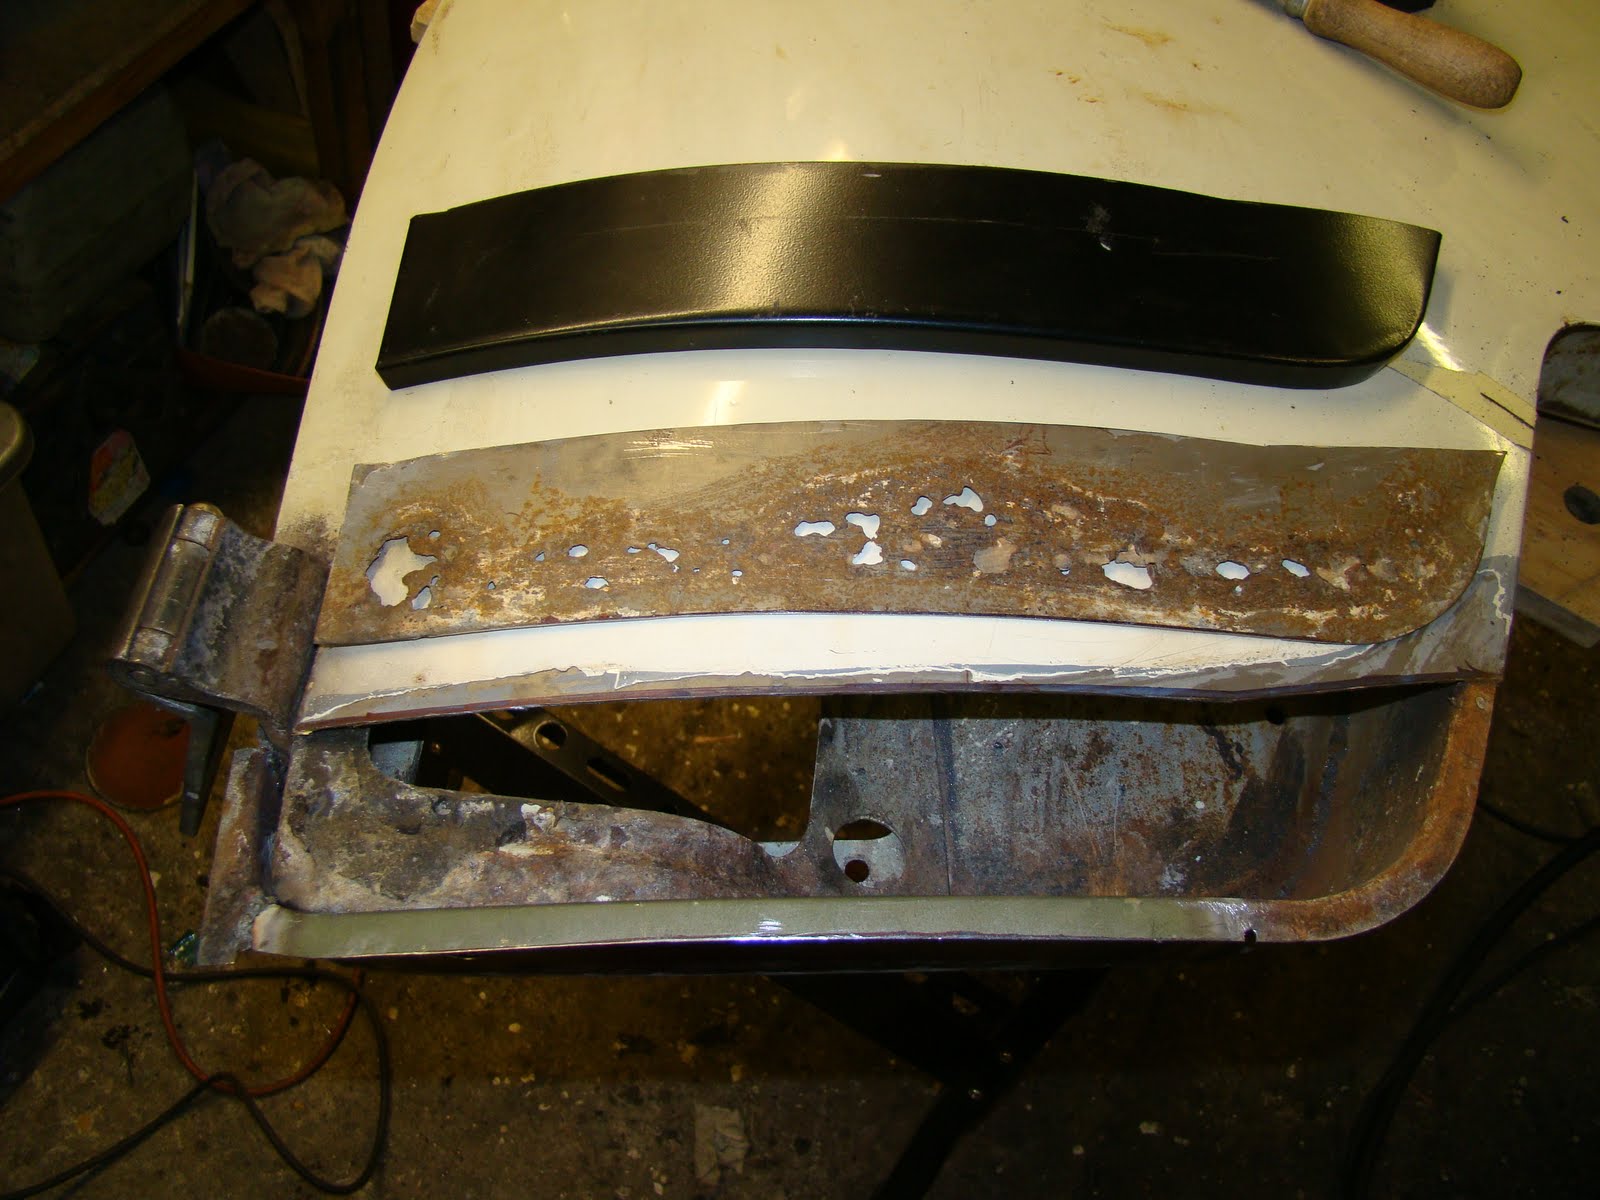
Here's the repair patch lined up on the outer skin of the door. And the rust hole that I didn't notice until the door was off.

Before I could patch the outer skin I needed to do something about the big hole. I carefully ground the folded lip off the bottom of the door skin.
 
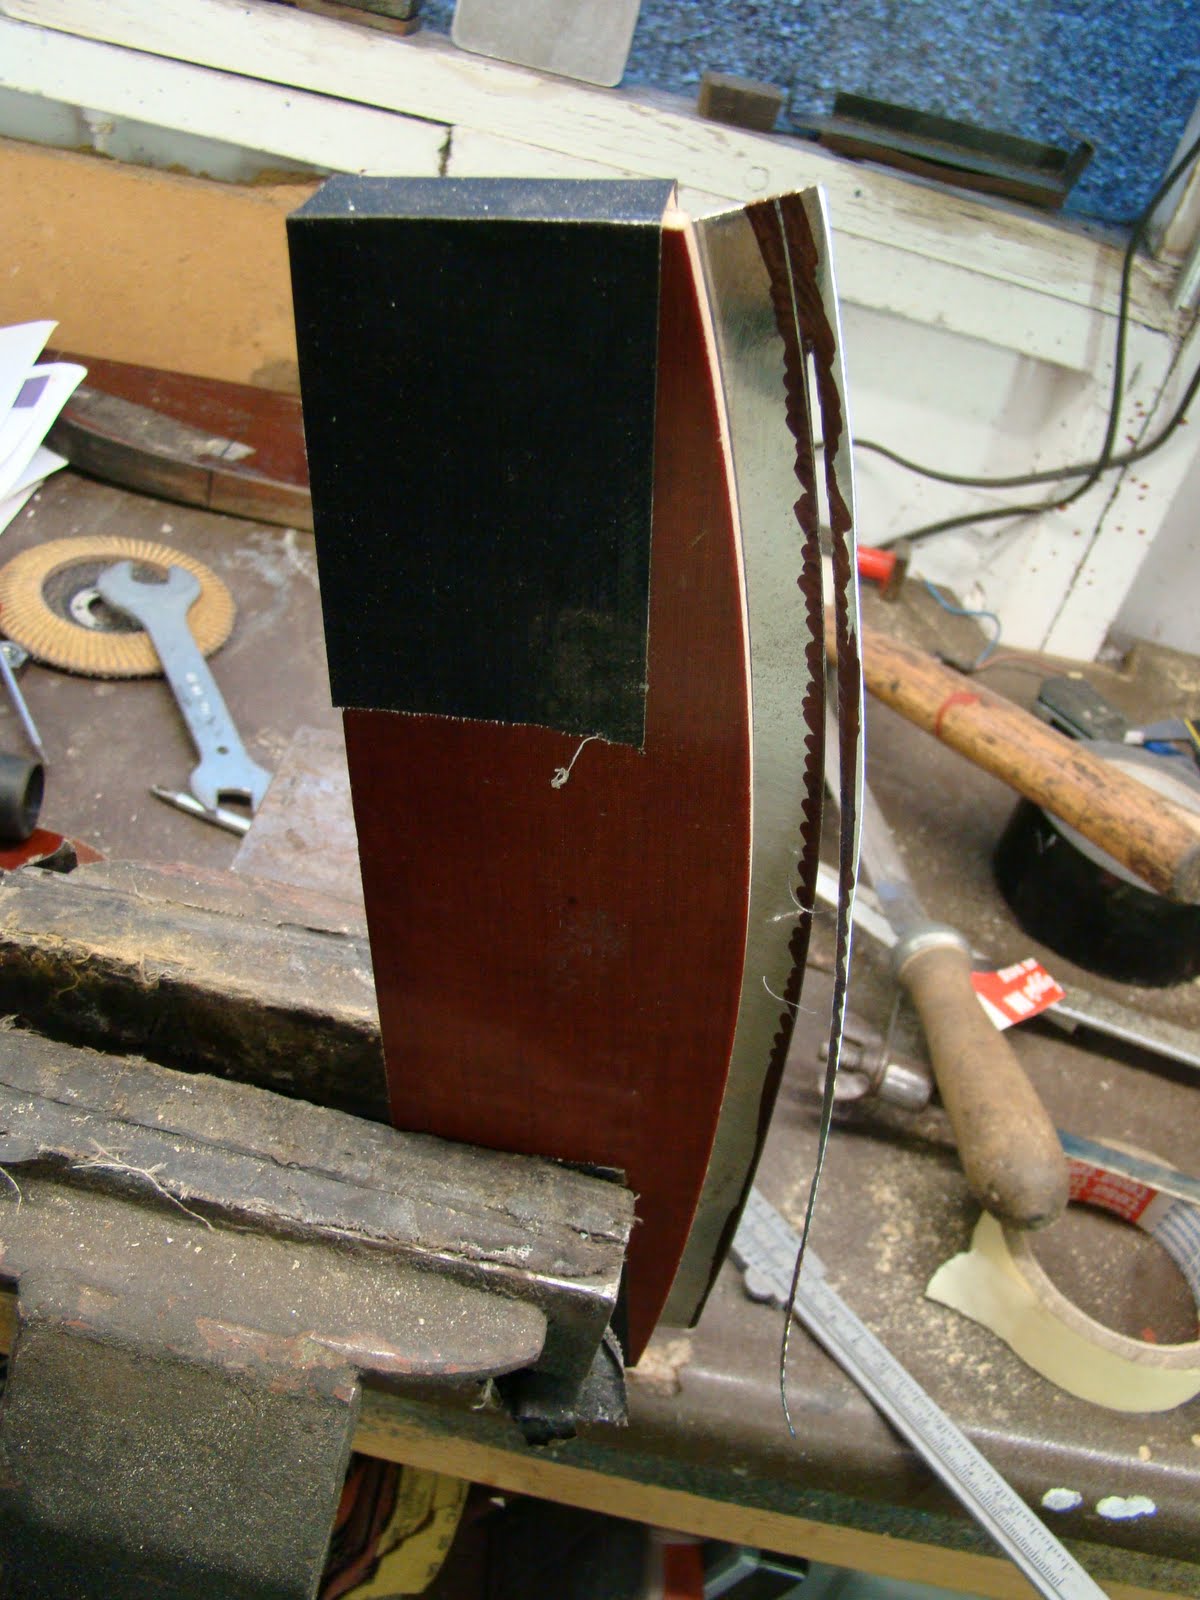
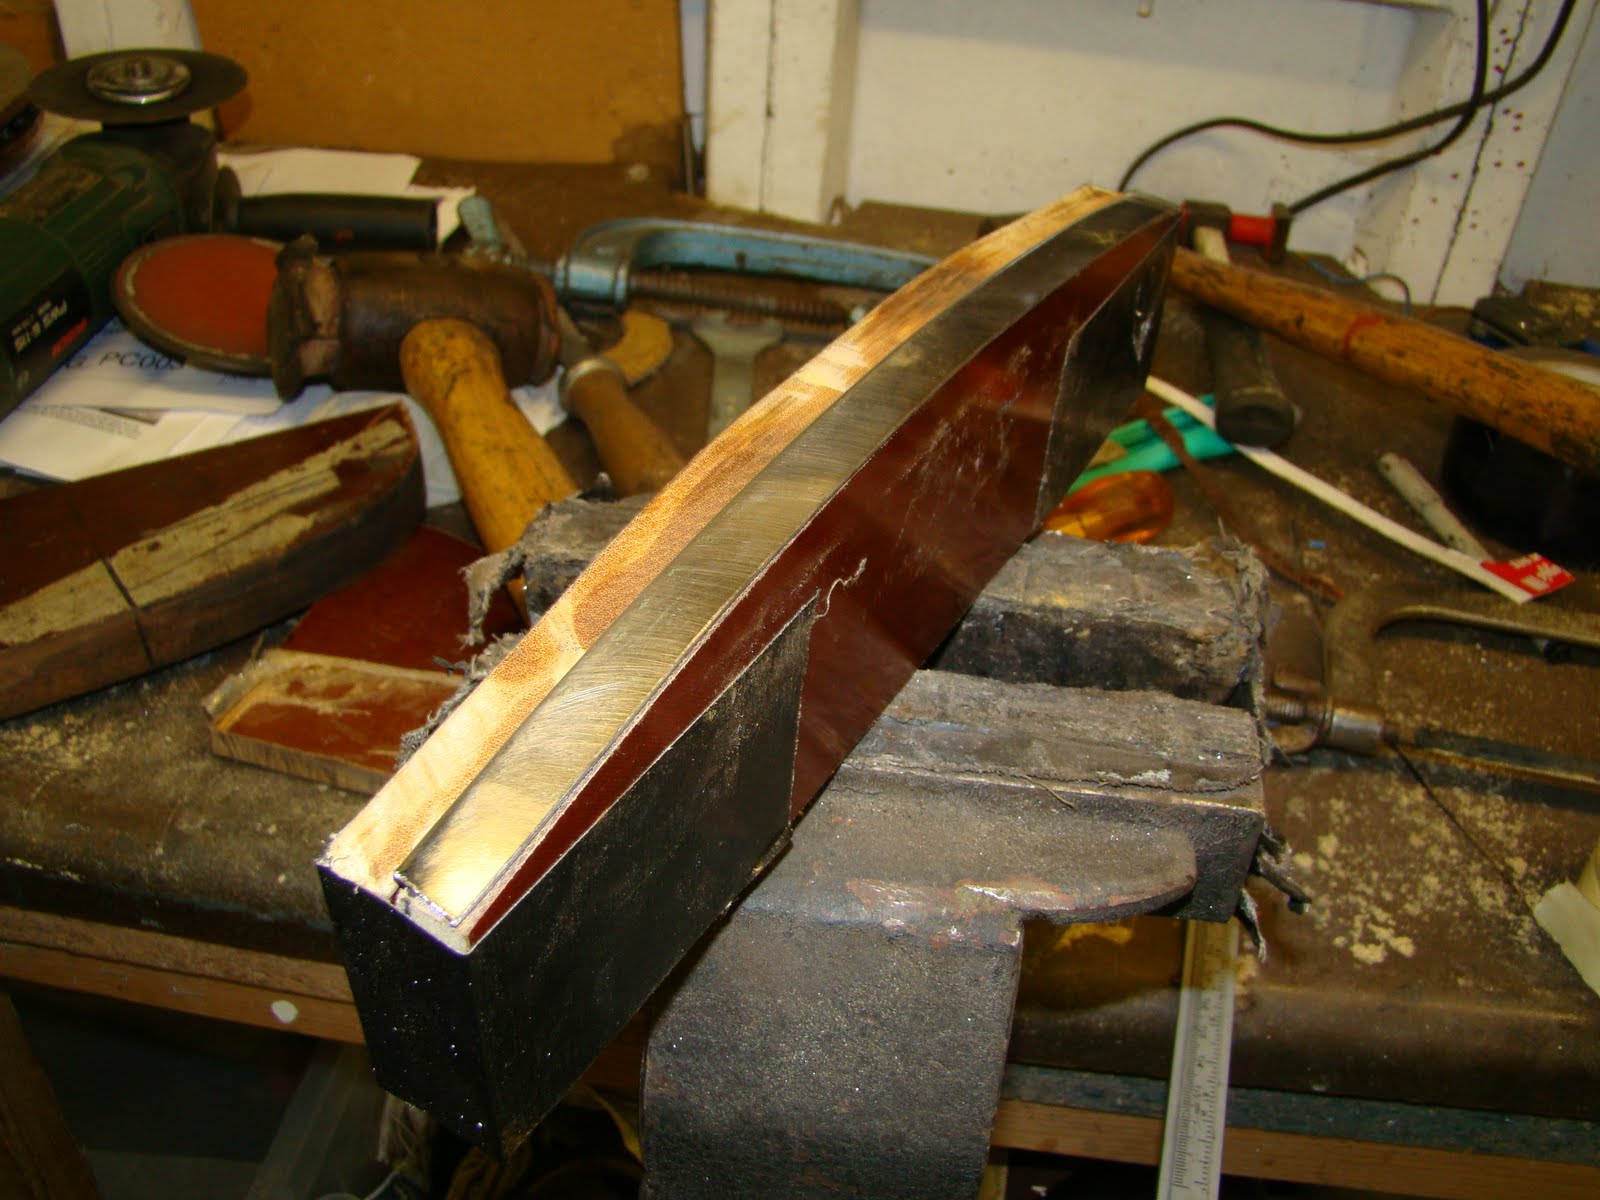
With a cardboard template I cut a bending block out off hard wood lamite block.
 
Then cut a 15mm lip to bend over the block for the patch.
Then hit it a lot
I cut and chain drilled the rusted skin out tidying the edges with a die grinder.
Then stuck it in my sand blaster, there was a little leak of blasting dust as I couldn't quite get the door fully closed.

I treated the rest of the pitting with the rust blast treatment and a wire wheel.

 
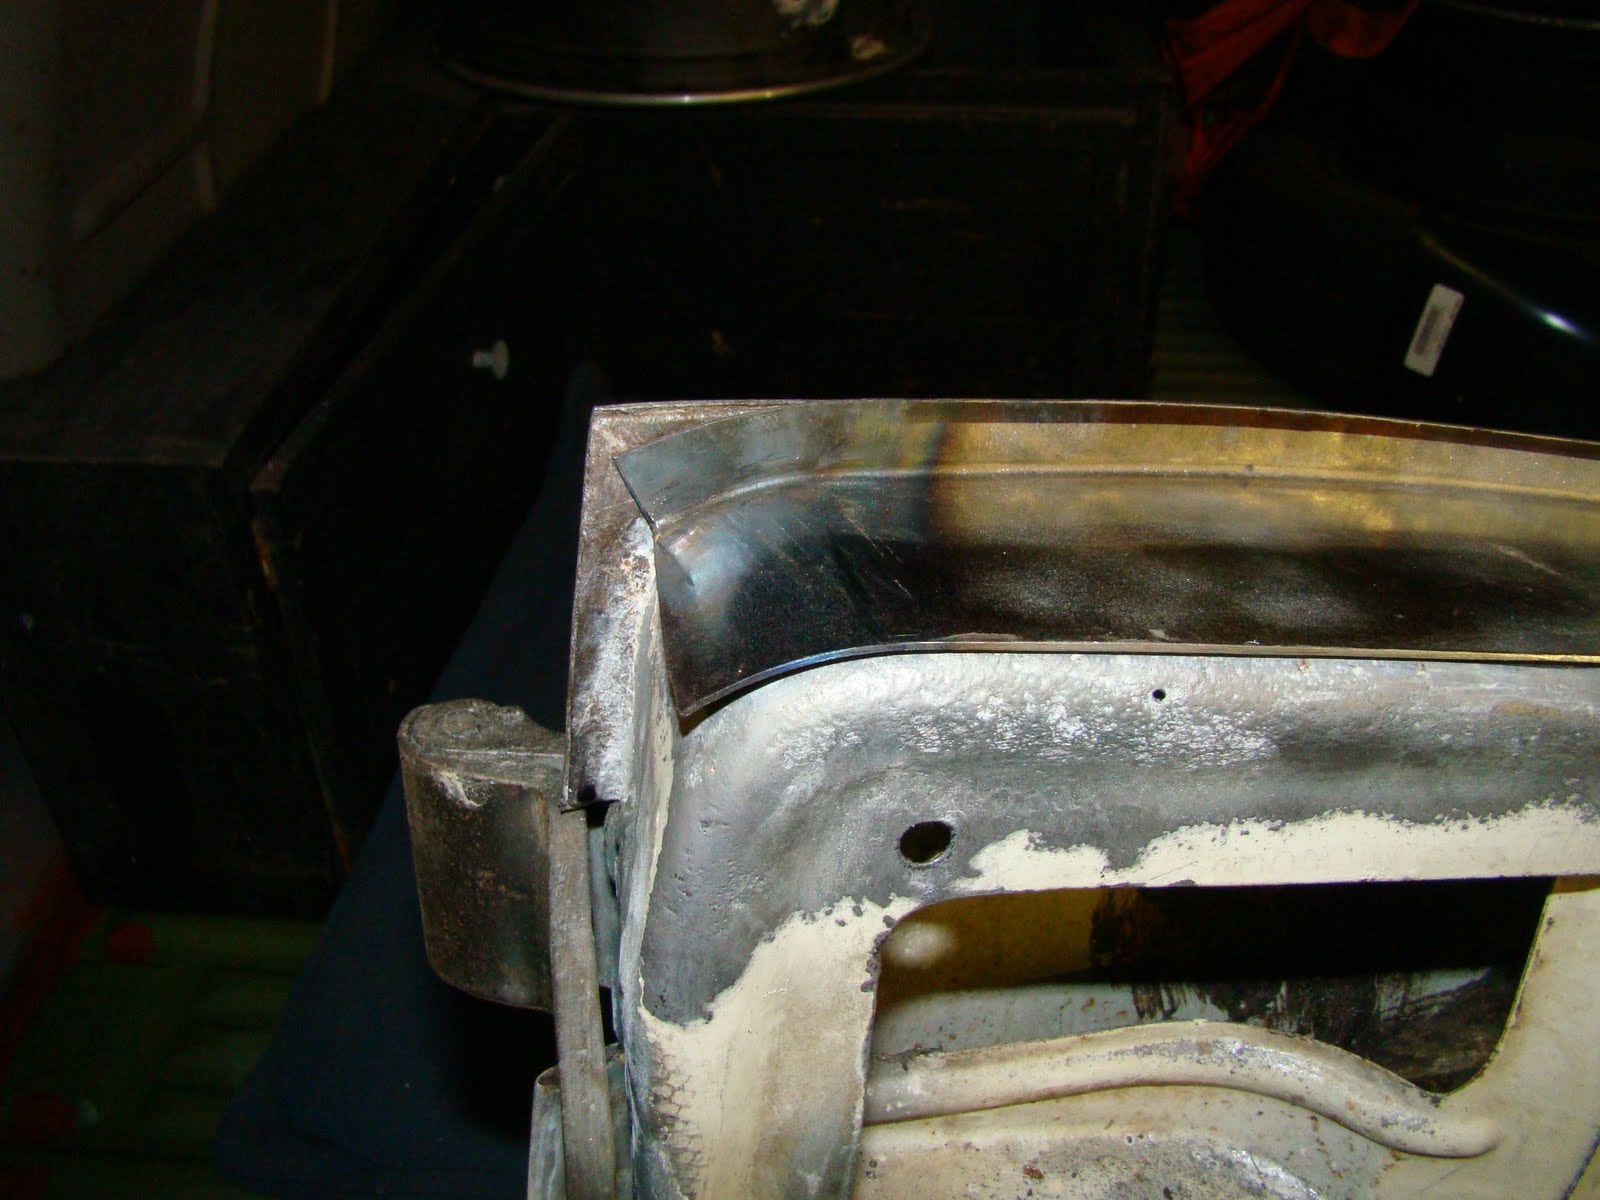
Before I cut the patch to size I stretched the end to fit the profile of the corner curve,

I didn't leave enough material to fill the whole of the lip but figured it is going to be well tucked away and forgotten about.
Satisfied with the curve I treated the metal, punched the drain hole back in place then trimmed the patch to fit the hole.
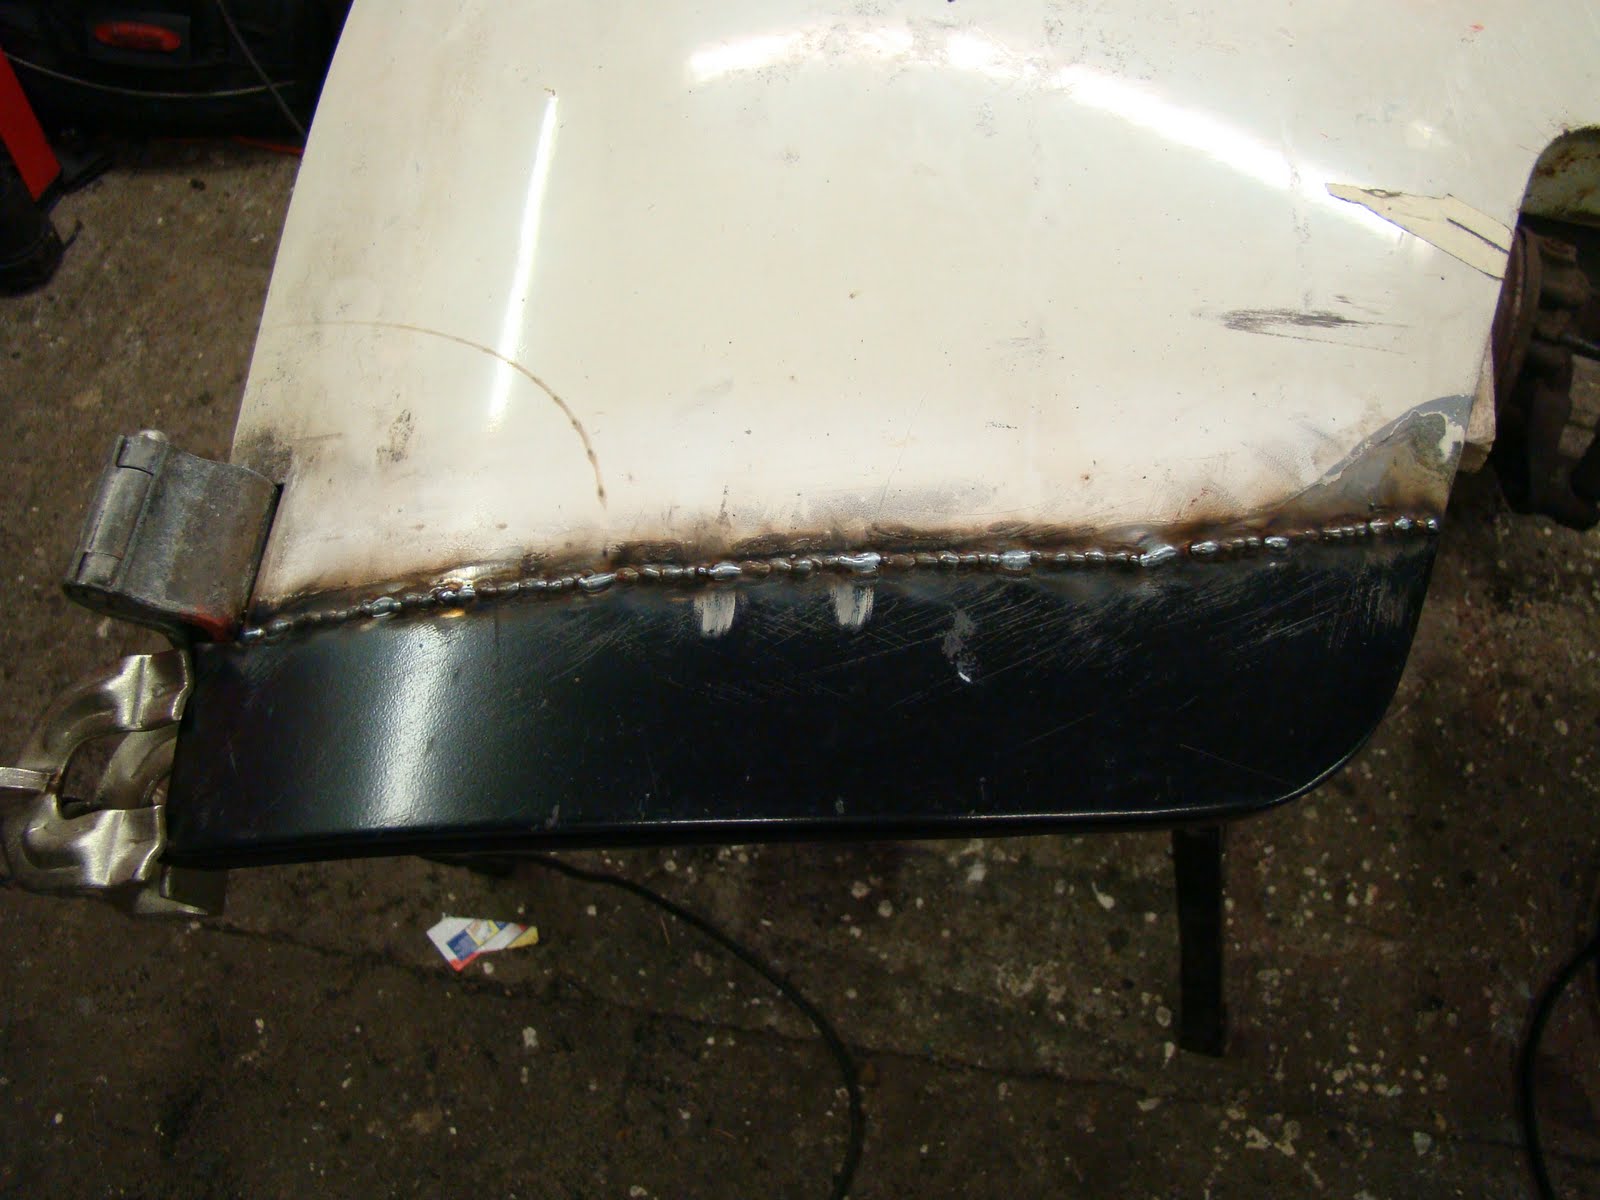
Welded it in and cleaned it up just like that, (actually 3 day work and two patch attempts)


Once the inner skin was repaired I could cut away the outer, to reveal more rust.
Back into the sand blaster and another treatment of rust blast.
Any holes were plugged and cleaned up.
Applied a decent coat of rose blush lip stick.
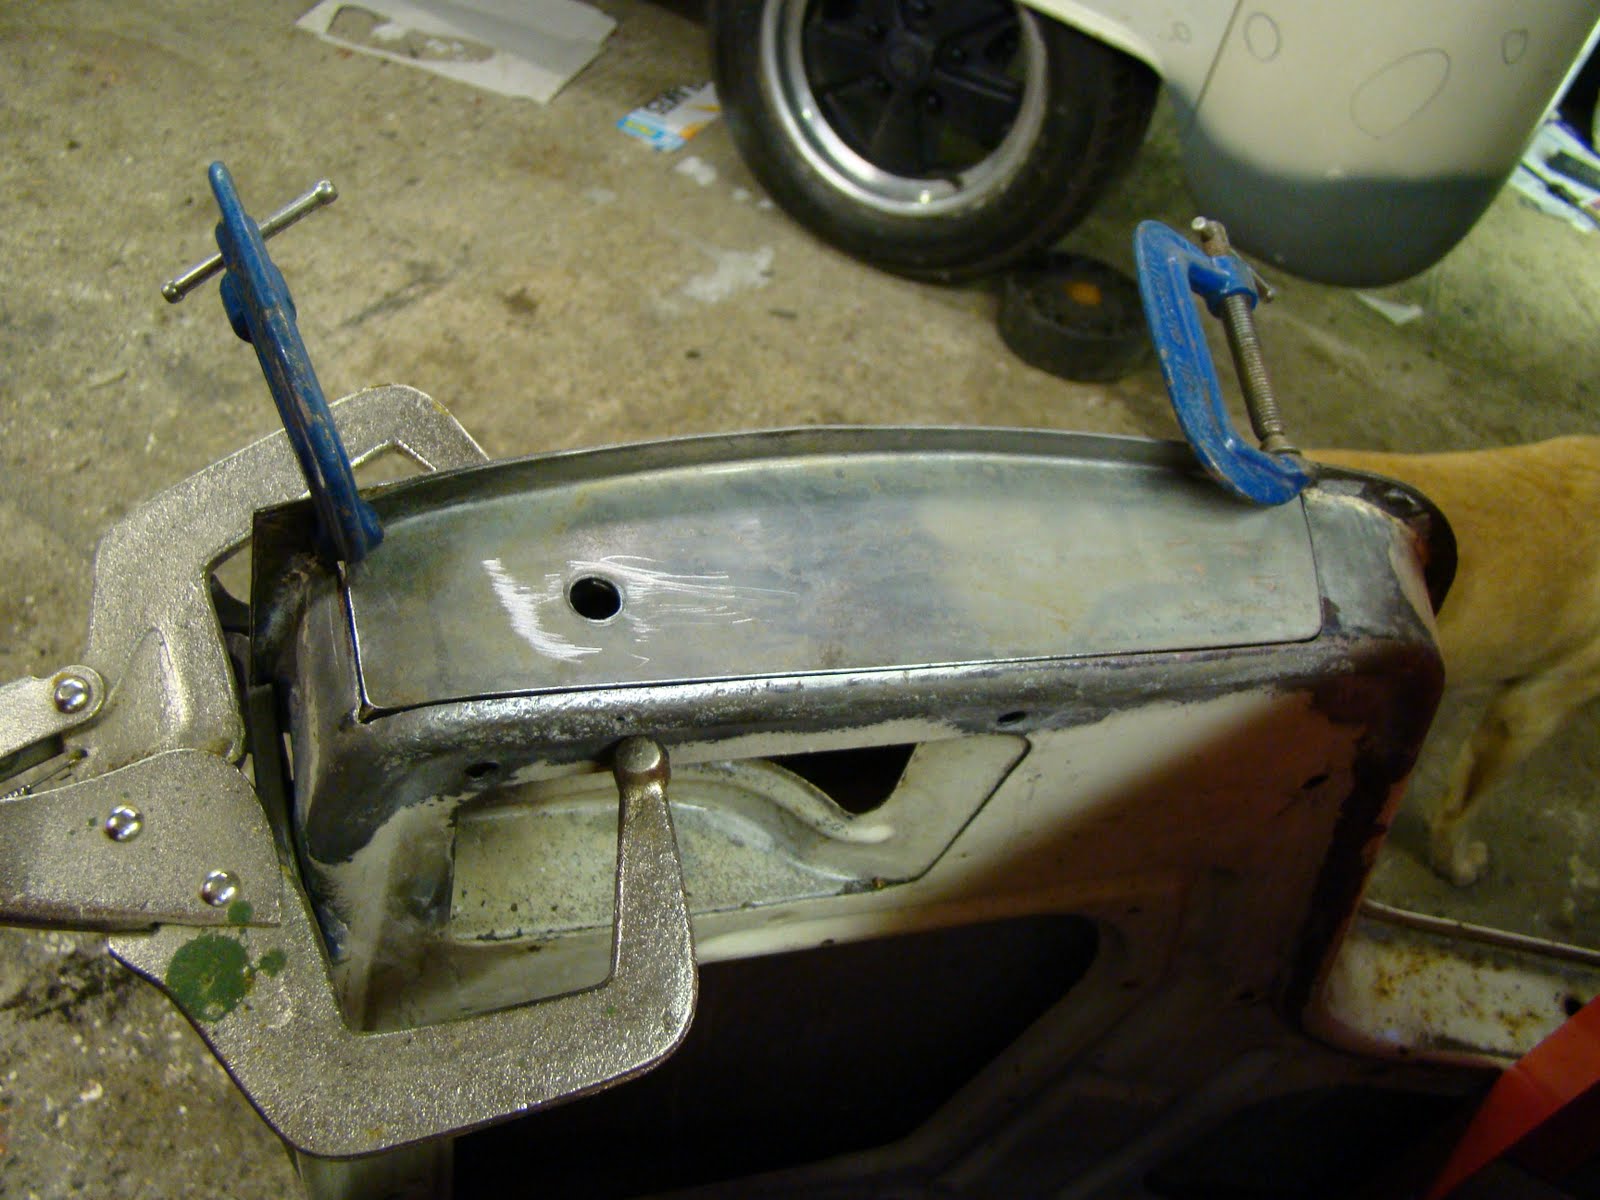
Then tried out my new over priced panel clamps that get stuck in the gaps if the metal warps from the heat of a tack weld. Another tool I should have brought at the start of the restoration.

A tack weld, or two


Then a lot more tack welds, Still finding it hard to stay patient enough between welds to keep the panel cool.

I had to trim the lip a little so it did not foul once bent over.
I took the door to collage and panel beat the dents and warps out, using the skin File to find the high and low spots.
Then primed and back on the van job done. Next...

Rear Wheel Arch Repair

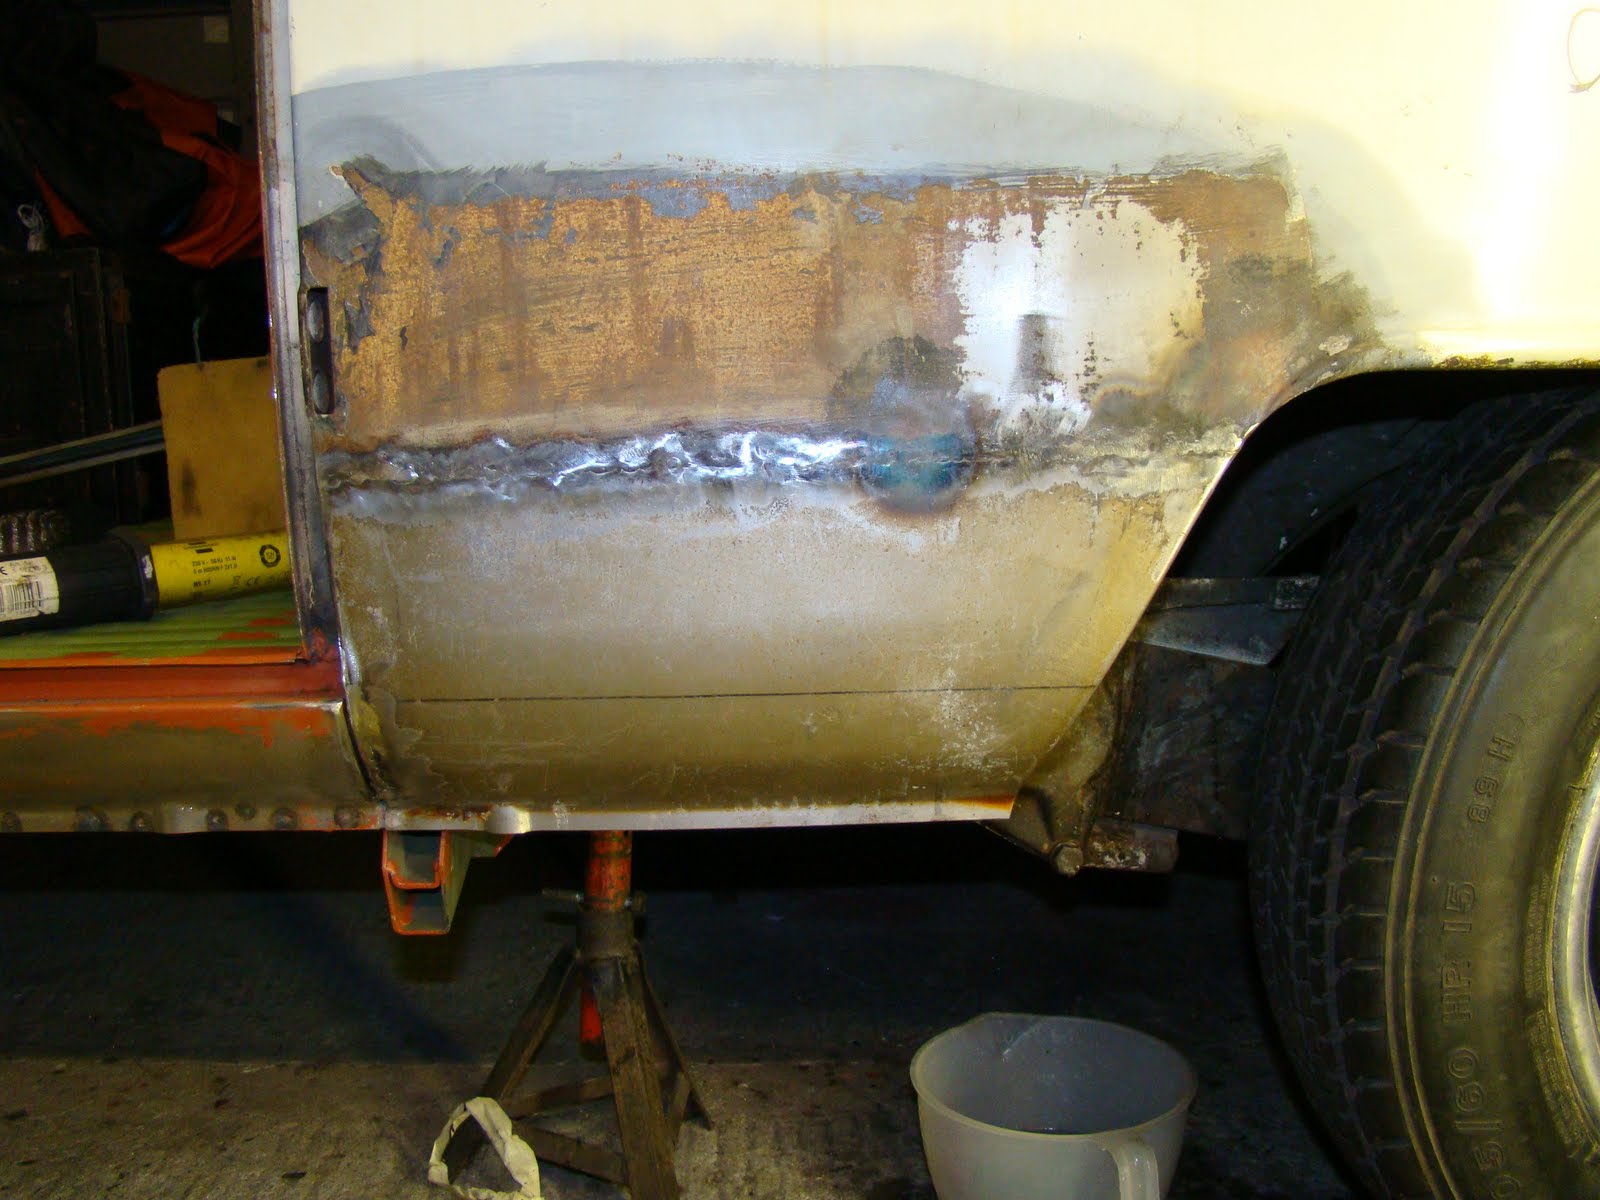
Here is another repair I did when I first started getting the van back together many (many) years ago. Looking back I'm not happy with what I did. The panel was buckled and the curve was more of a fold, the lip at the bottom of the sill was too low compared to the one on the cargo sill. I tried to bend it further up but this just formed another crease.

So I decided to cut it out and start again with an Autocraft repair panel.

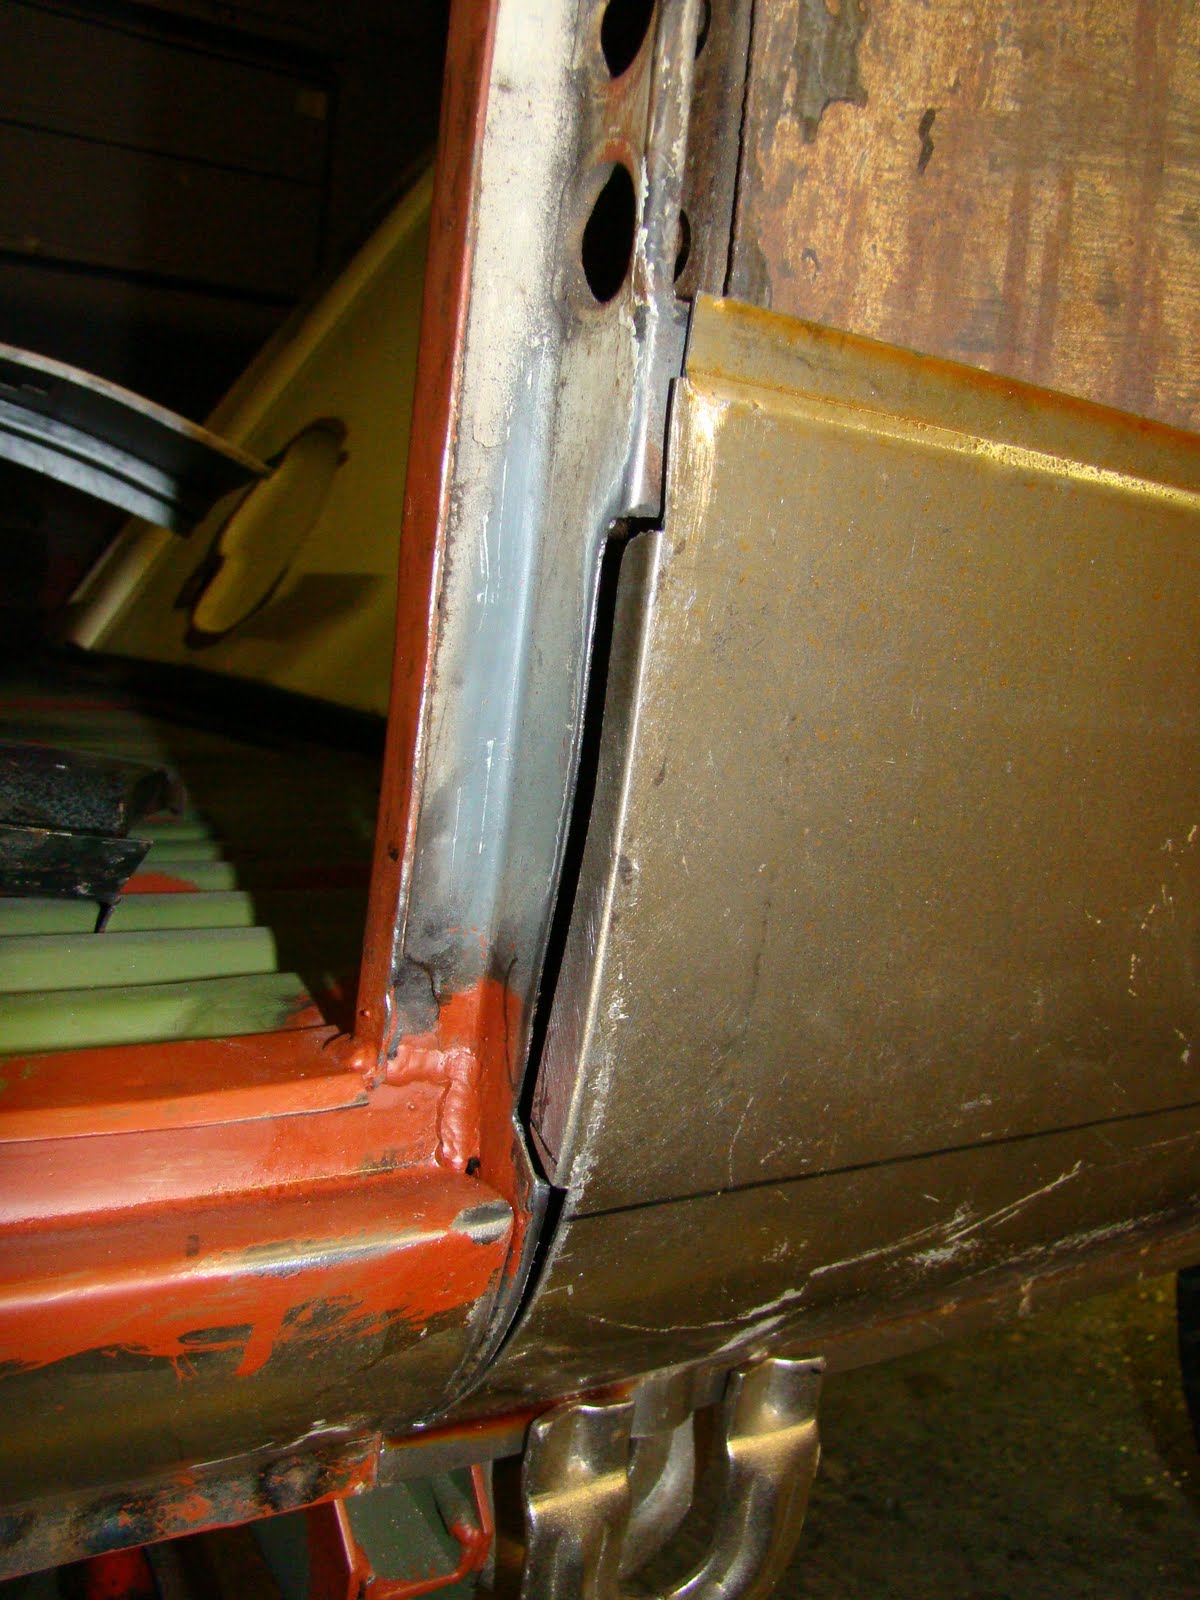
Trouble is that when I levelled the bottom of the panel with the bottom of the cargo door sill the panel came up short front and back, or more front or all back what ever way you look at it. The way I had cut the old patch out didn't make it easy to fit the new one either. The panel needed to be fitted lower or streched out longer. Not sure if this is because I welded my cargo door sills too high?
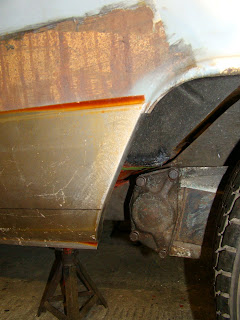
So with a bit of fabrication I cut and re-folded the forward edge but could not widen it as much as I needed to as I'd previously cut too much off so I got it lined up as best I could. I like my magnetic orange arrows.

With the cargo doors fitted I used a long spirit level (as seen in other posts) clamped to the doors to make sure I got the panel sitting flush and straight along the length of the van.

When I tacked the panel into position it warped in the centre butting the edges together. I took a cutting disc to the tack welds where the panels touched, this relieved the pressure and buckle between the two panels and got the skin flat again.

I still needed to line up the curve of the arch with the shorter repair panel, I did this with a gas torch and persuasion hammer. You can also see some hot spots on the upper panel where I heated the part of the skin that had been streached from the previour repair. I heated each spot to cherry red, when it started to deform I quickly blocked and hammered it flat, then again quickly whacked on a wet rag to shrink the metal. You really need three hands to do this.
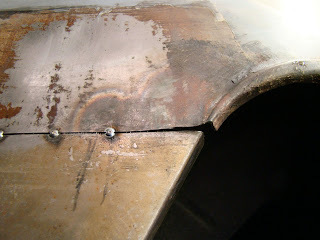
I seam welded the front and top edge and dragged out my spot welder to get a few spot welds to hold the panel to the front inner wheel arch support and to spot the lower lip to the inner sill. I shrunk one last spot along the top seam weld. The repair now looks a lot better than the previous attempt.