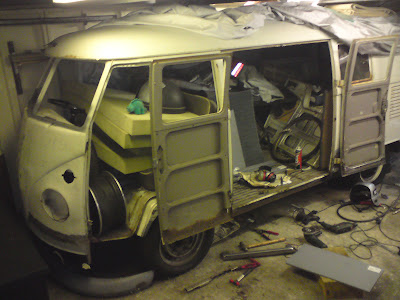
Well its Bug Jam weekend and sadly I’m not there, so it's a good time to focus my VW passion somewhere else and get back into the garage. Fueled up with leftover Chinese and some classic Aerosmith on repeat, I've decided to skip any attempts to repair the front arched (dog legs) and move further around the bus and start on the cargo door bottoms.

I've had a pair of cargo door inners for a while from the first batch of panels I bought a long time ago. They have weathered well but the quality of these is something to be desired, so I've recently ordered another pair from Auto Craft Engineering, They actually look like the bottom of the doors, they also include a box section to help locate the door handle locking rods.

A bit unsure where to start, I decided to try and keep as much of the original door inners as possible while keeping the length of the doors wright, this meant starting on the inner panel and getting that all to fit before cutting away the outer skin. My first cut was just below the first inner radius, I then tried the repair panel against the inner door and found the top hat section of the repair panel is a little thinner than the original. To recover from this I flattened out the inner radius of the repair piece to give me the length to cover the bad material (gap I'd cut out), this would not have been a problem if I'd just cut the old bit out at either end.

 Once the panel and door were cut and filed, and I was sure they matched against the outer skin, I then made the bold move to cut away the outer skin. Using the tape as a guide and a 1 mm cutting disc I sliced off the lower portion of the repair skin to keep as much of the original door skin as possible.