Cargo door hinge roller pin replacement

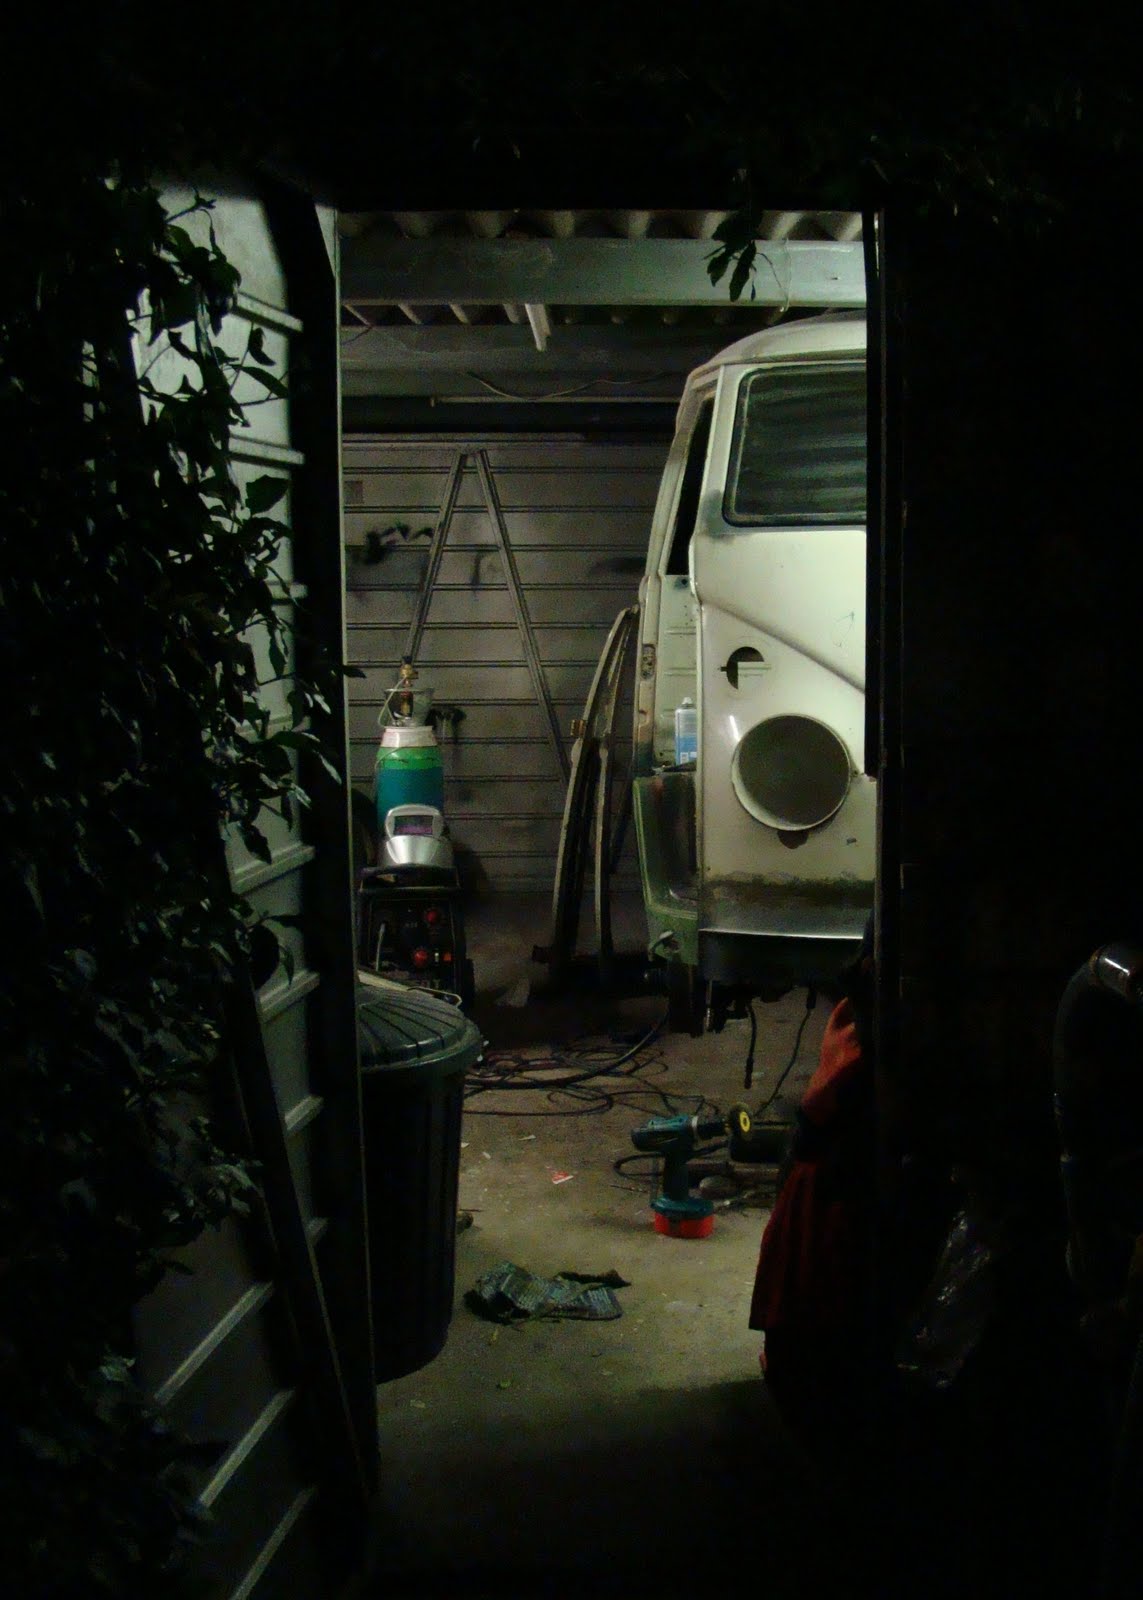
I had the bold idea that if I was to remove the cargo doors and give the roller pins a whack they would just pop out so I could fit the new ones. Of course not. If you're thinking of doing this to your van it is better to remove the doors because if you hit the hinge while attached to your van you may buckle the frame around the hinge.

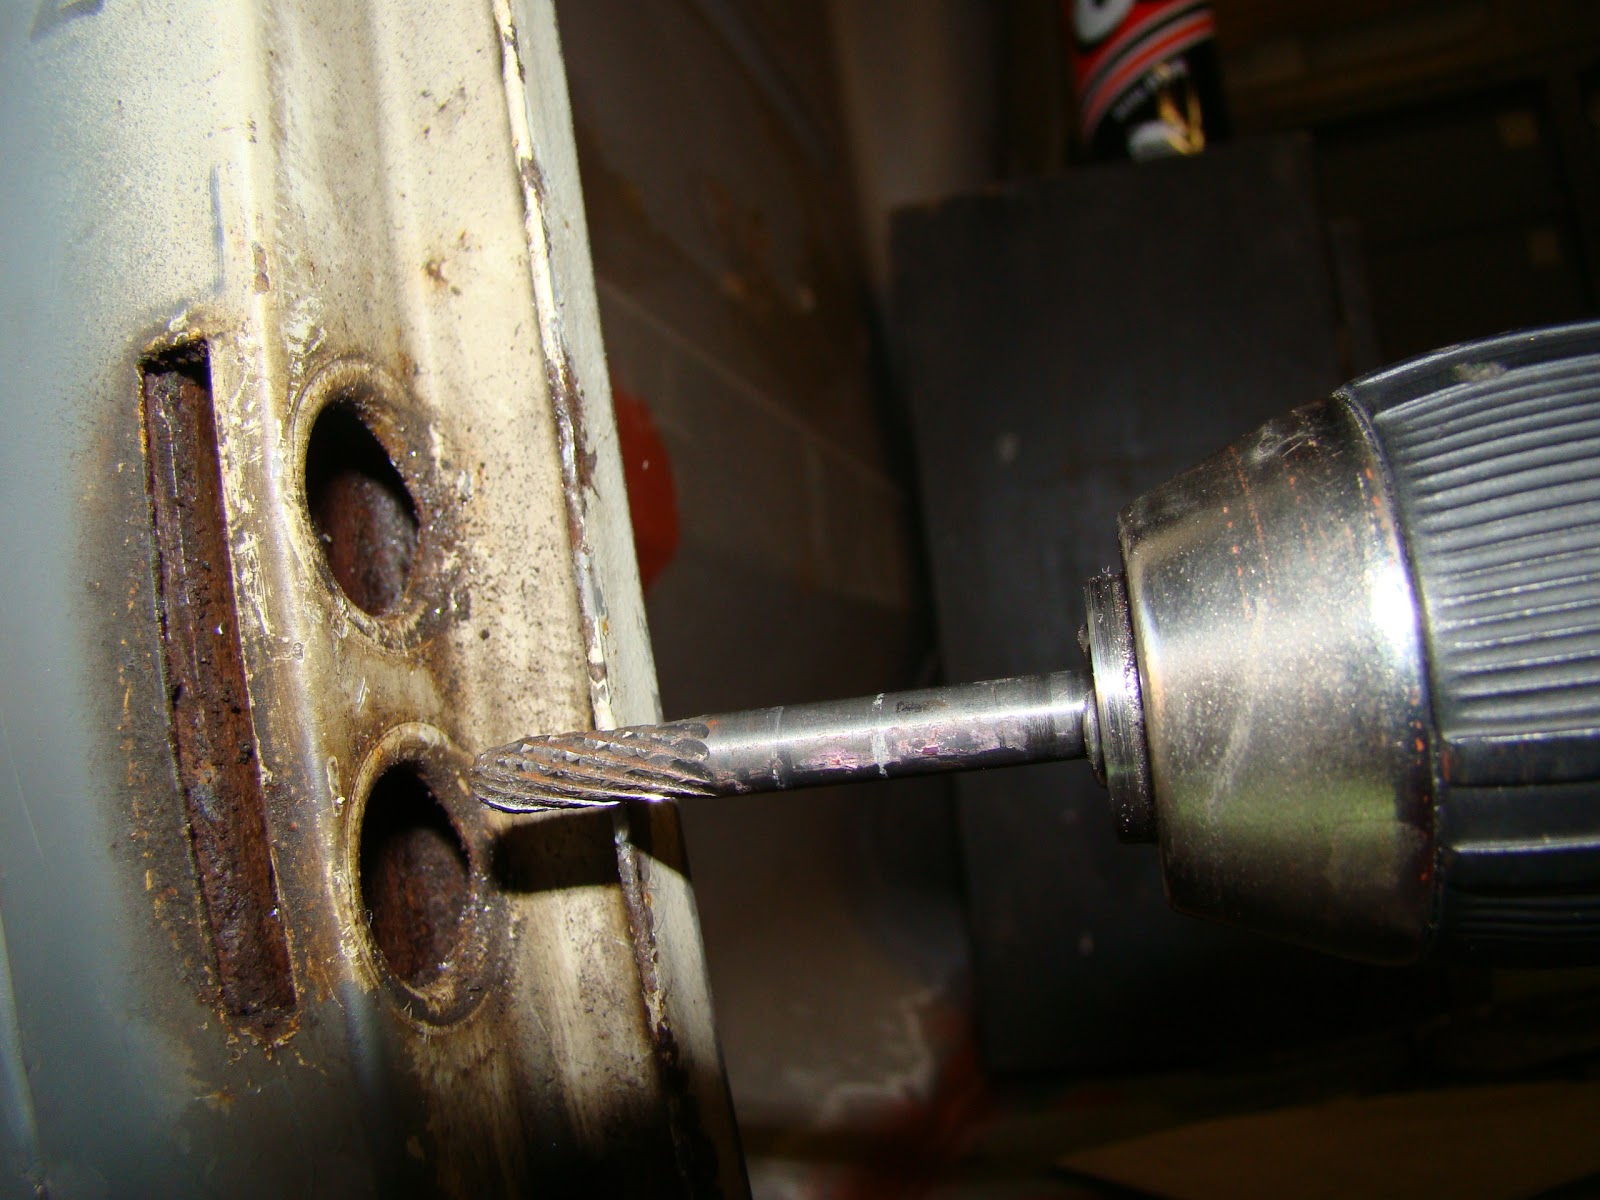
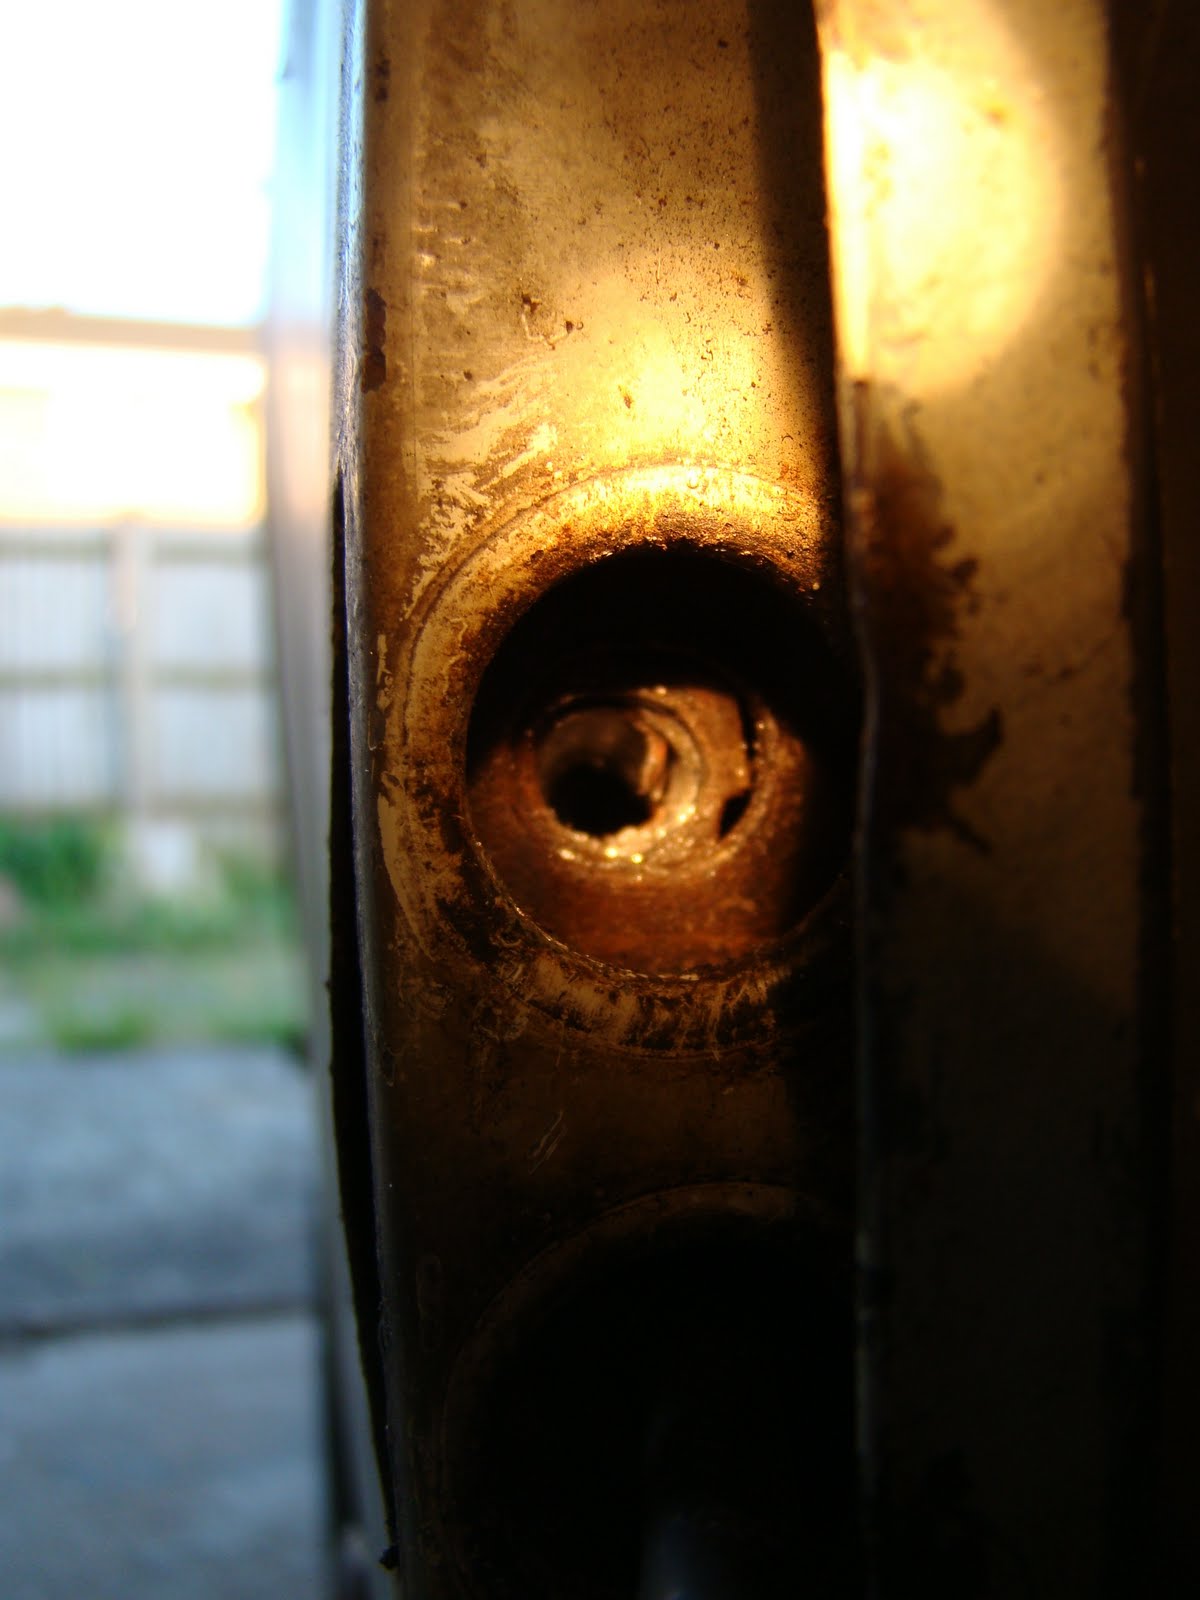
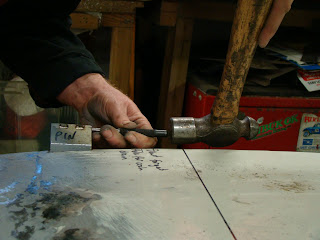
Also get some muscley help to do this, it was not easy trying to hold a door and hit it at the same time. I started drilling the roller pins with a drill bit the same size as the hole to clear out the rust and crap. Then worked up to a 3/16"- 4.7mm, drilling from either end into the pin just past the second hinge points to free up the tension in the roller pin. I used the smaller drill bit poked in the other end as a guide to make sure I was drilling straight.

With still some material left in the centred of the pin I was able to knock the whole pin out with no problem but made sure I had some thing solid to push against the hinge to knock it out.


With all the pins out you may be able to see the damage on the old roll pins. The new pins are stainless steel so they won't rust. There was also a strip of felt with a twisted wire in the center that came out of one of the hinges, not sure if this was meant to be there from the factory.


I sand blasted the hinges while they were off, then with plenty of lube squeezed the new pins into place with a vice, double checking the hinges were in the correct position. Get someone to help you with this as it was a ball ache holding the door squeezing the vice and making sure it went in straight, then taking a picture.


With the hinges fitted on the door and a bit of paint I fitted the cargo doors back on the van. There was still a bit of play on one of the hinges. I think this is because the roll pin was  not able to expanded enough in both parts of the hinge due to the different diametre of the holes due to the aforementioned 40 years of wear. A run through with a reamer smaller than the pin  would have probably solved this.
Now the cargo doors are fitted I noticed that the lower corner of the door was sticking out, this may be from the panel beating I've been doing on the van or where I spot welded the outer skin again in a couple of places but probably in the wrong position. Hopefully a big hammer and block of wood will sort this out. Any volunteers?

Pop out window Strip down

 I rescued my pop out windows from all the crap piled up in the van to give them a bit of TLC.
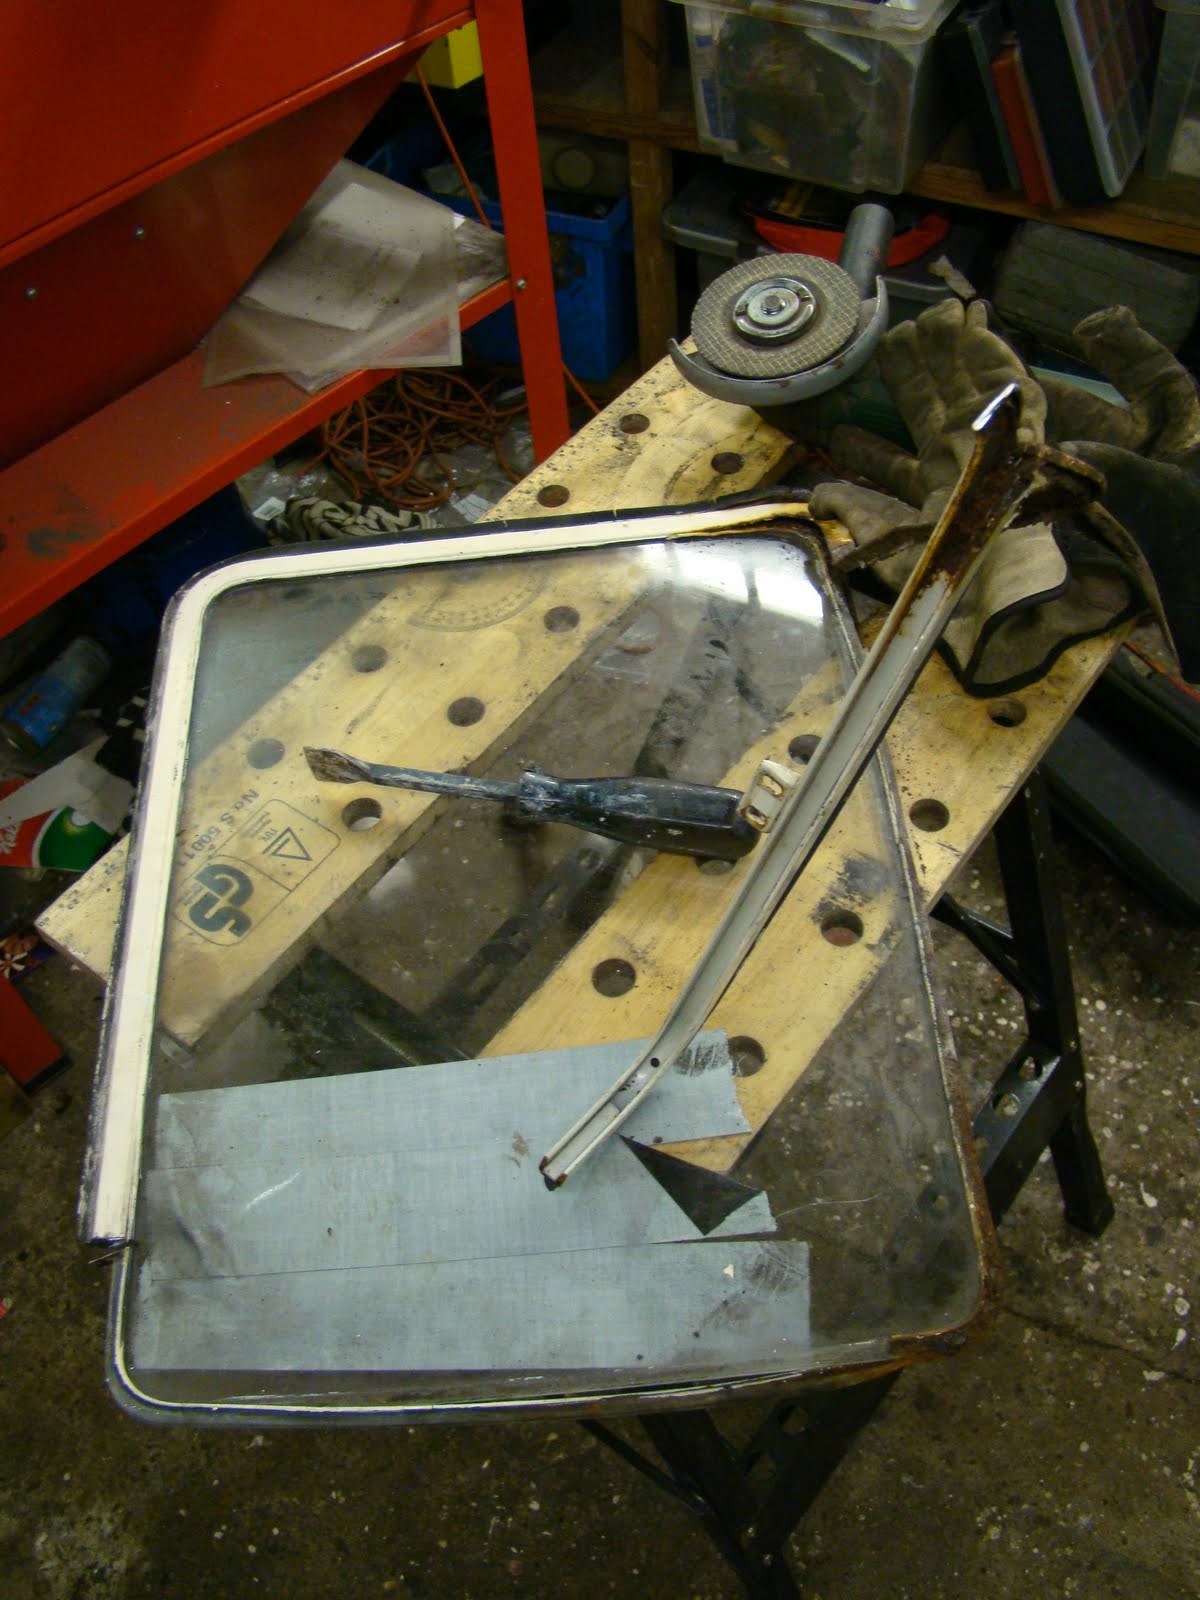
 By TLC I mean chop the buggers up and pull them apart
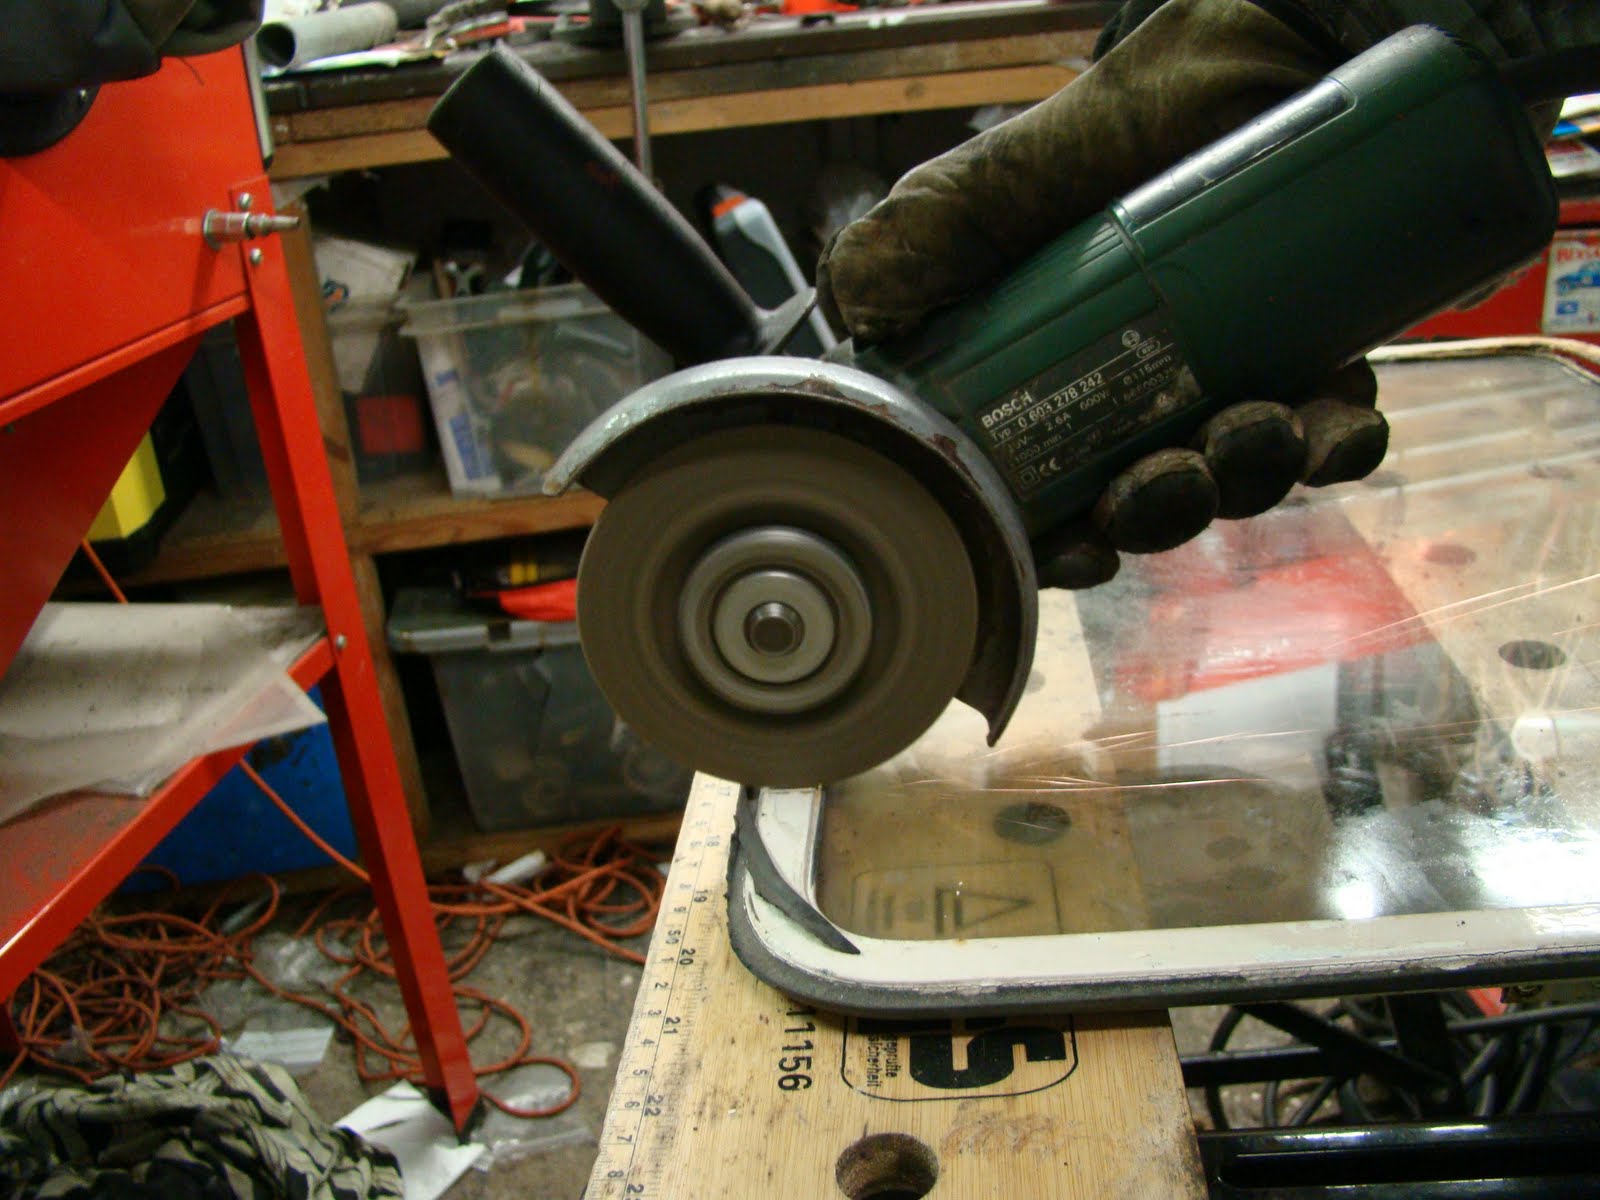
 I cut through the joints and very carefully pulled the frames off the glass. If any one needs some channel for a repair let me know.
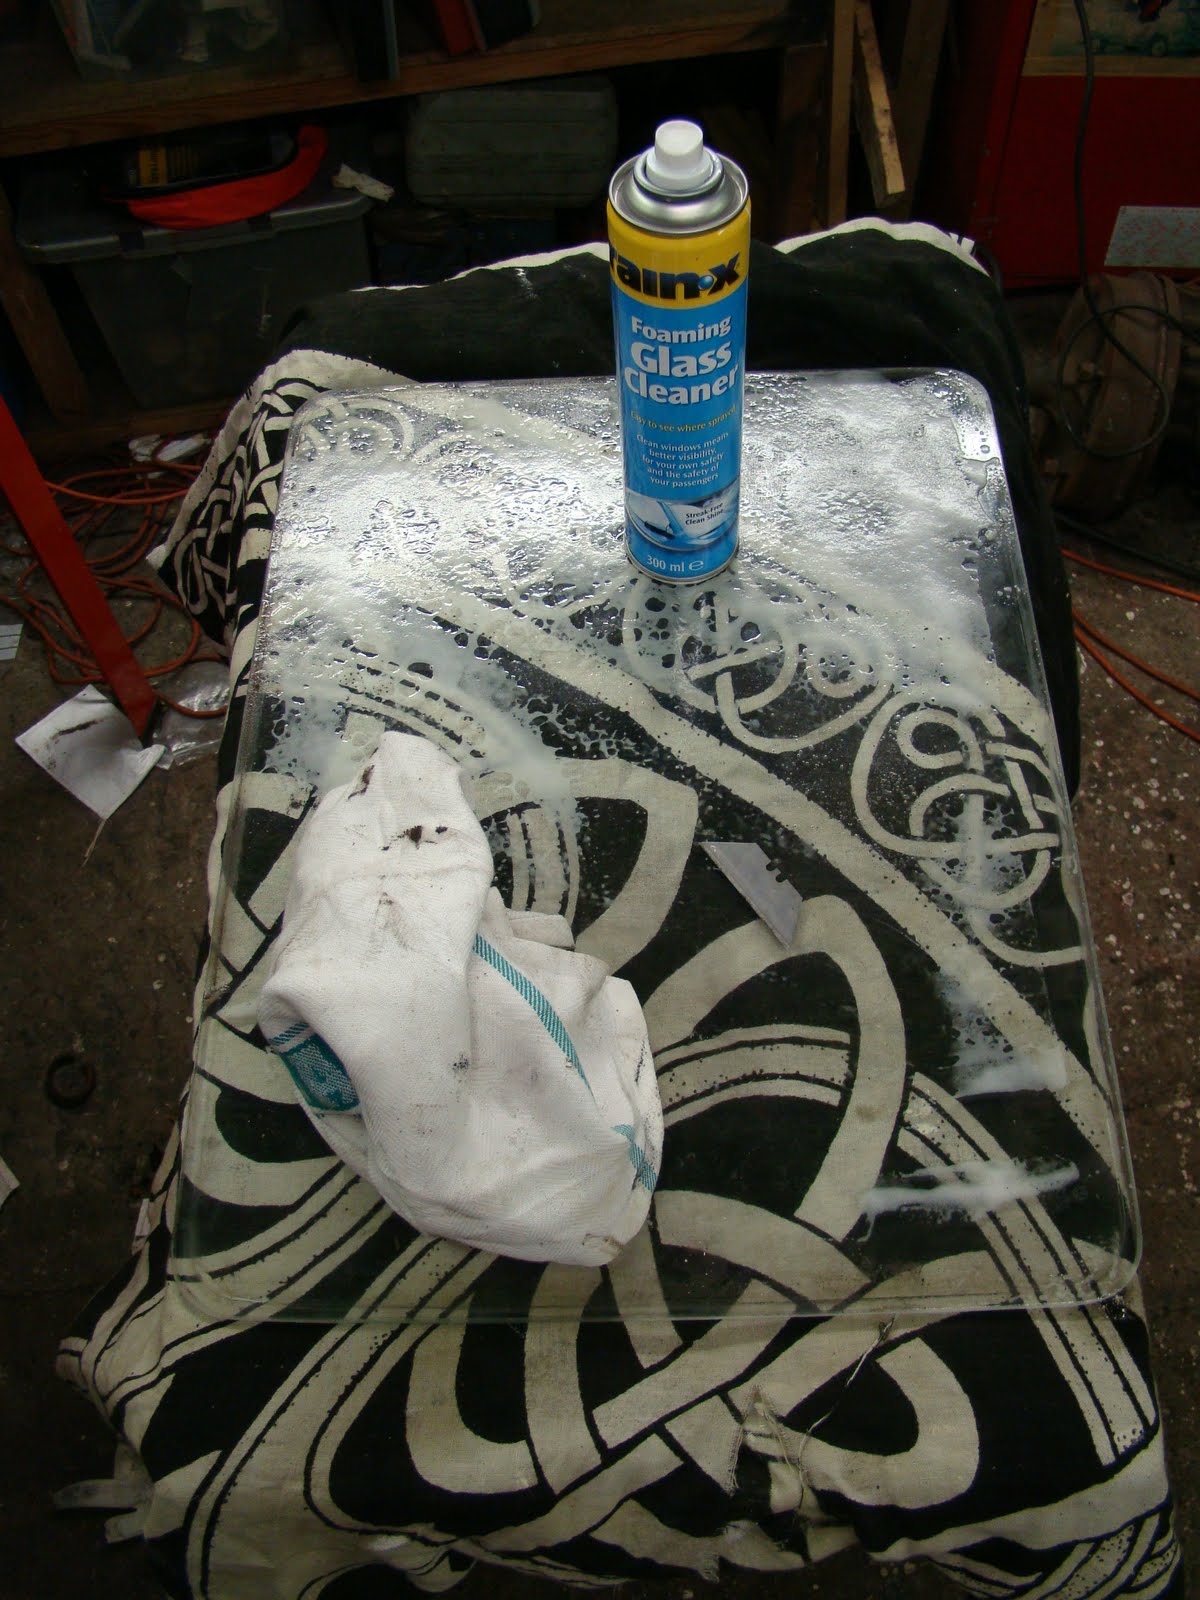
 Gave the glass a good clean then wrapped it all up carefully. The 1990s throw was back on my bed that night.
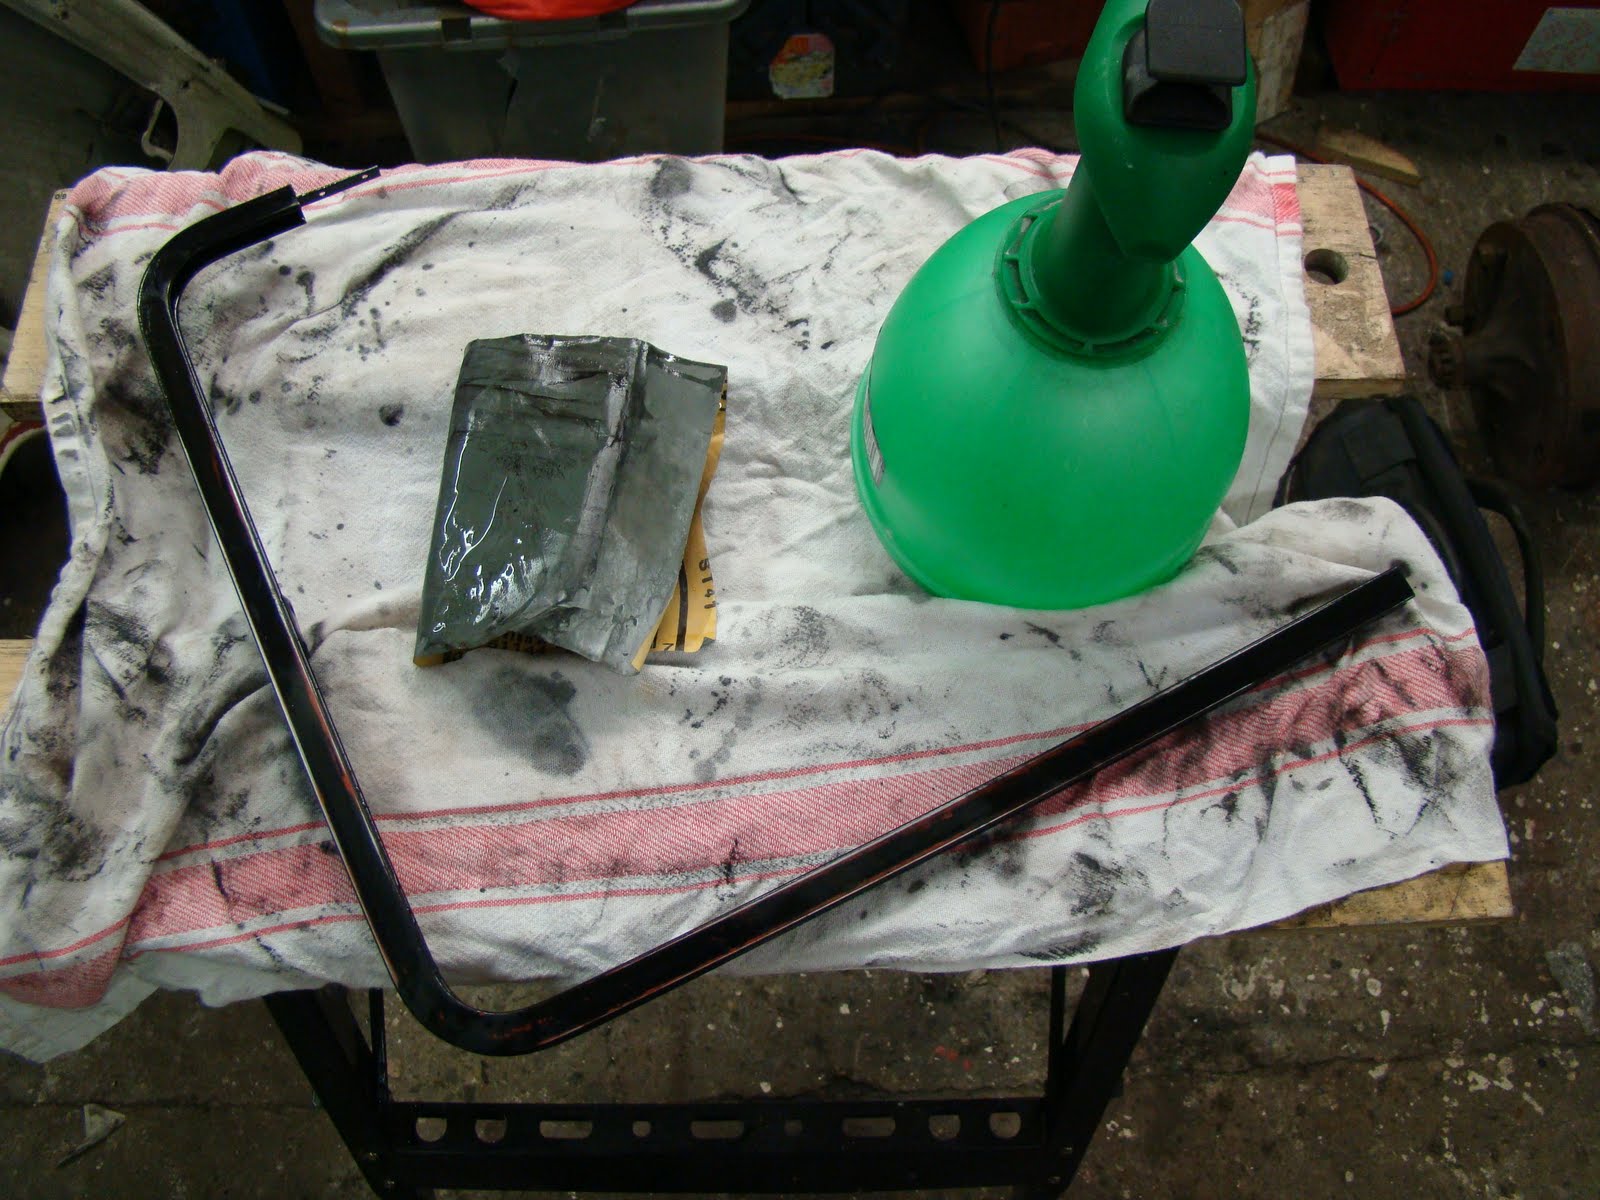
I started painting the new frames that I got at the Volksworld show, but soon got bored of wetting back the top coat. I'll have to come back to this when I have less urgent things to do.

Removing a Rusted Cargo Door Hinge Bolt

This is the lower cargo door hinge that has probably not been removed for a good 40 years, so there's bound to be a bit of rust keeping it all together.
So after trying a large screw driver and an impact wrench and the bolt not budging I finally drilled into the head off the bolt past the thickness of the hinge and then snapped the head off. This allowed me to get the door off but left a bolt shaft in a hole with no rear access.
I'd had access to the back of the bolt when I'd repaired the arch, but that is all patched up now. So I had to drill through the bolt and try an easy out. That didn't work, next step was to grind the bolt away very carefully untill it broke into the thread of the nut plate. This took a lot of patience and a good set of eyes (I borrowed some).
Although it's not a great picture you may be able to see a part of the bolts' thread that I was able to pick out once I'd ground down the inside of the bolt. Once I'd ground enough off the old bolt away I used a tap to clear the rest of the thread.  

Safari Window Wing Nut Bracket Fitting

 
Cleaned out the Cab bay all apart from the big black round thingy. Doesn't look too bad compared to some vans I've seen that need restoring. A fresh coat of paint should get this looking good as new. One day...


Anyway back to getting the Safari windows fitted...
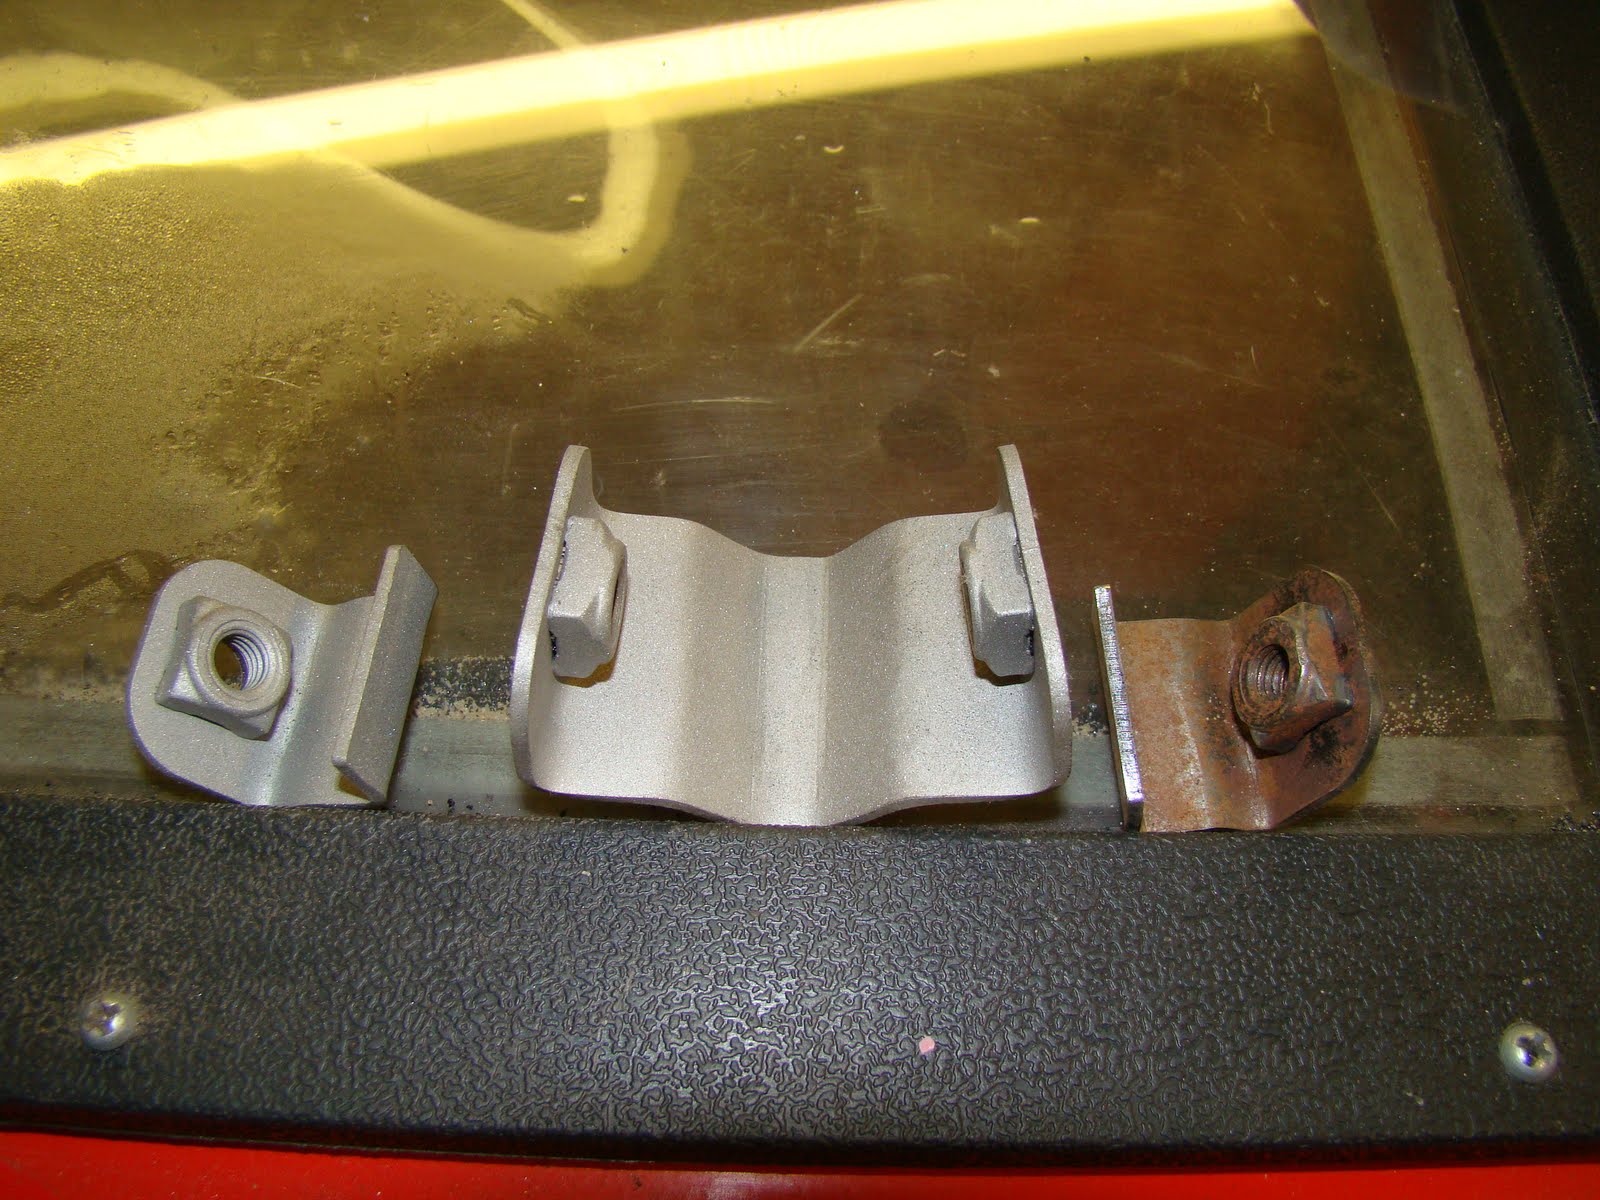
Brackets from CE arrived 'rat look' so needed a blast in the blast cabinet (Open the blast doors open the blast doors)

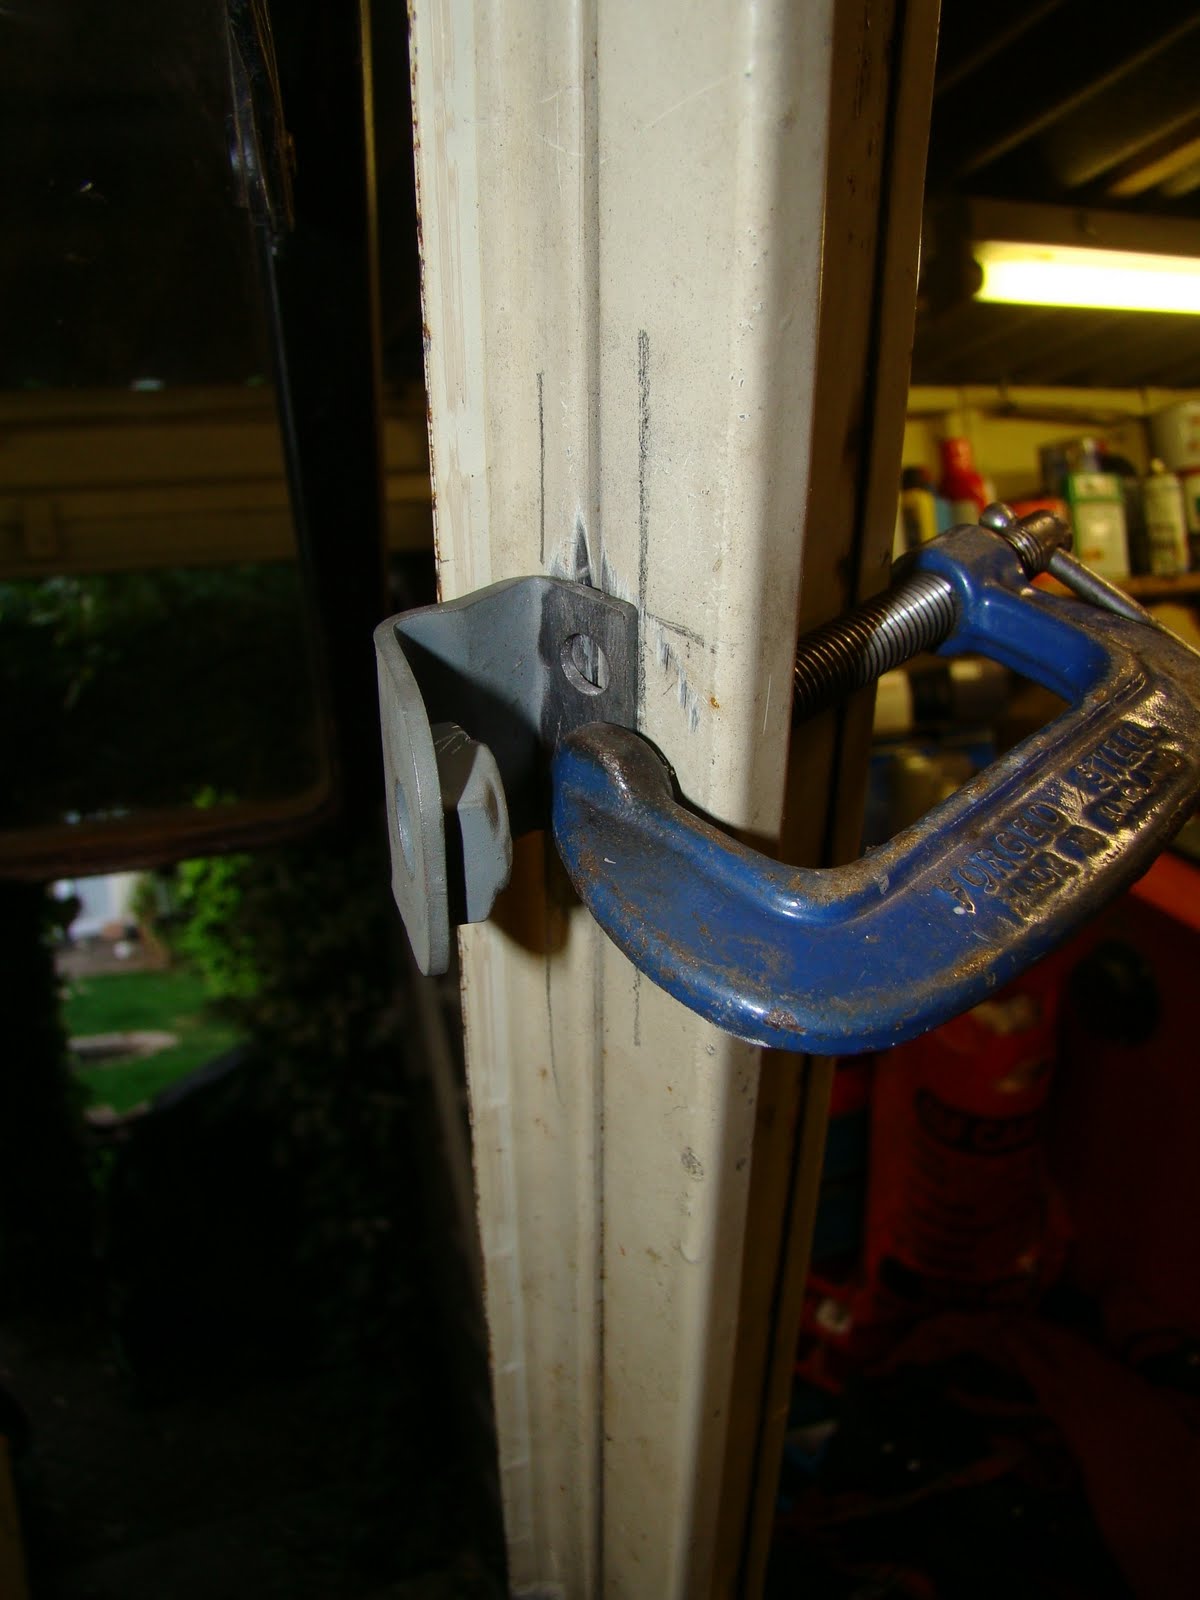
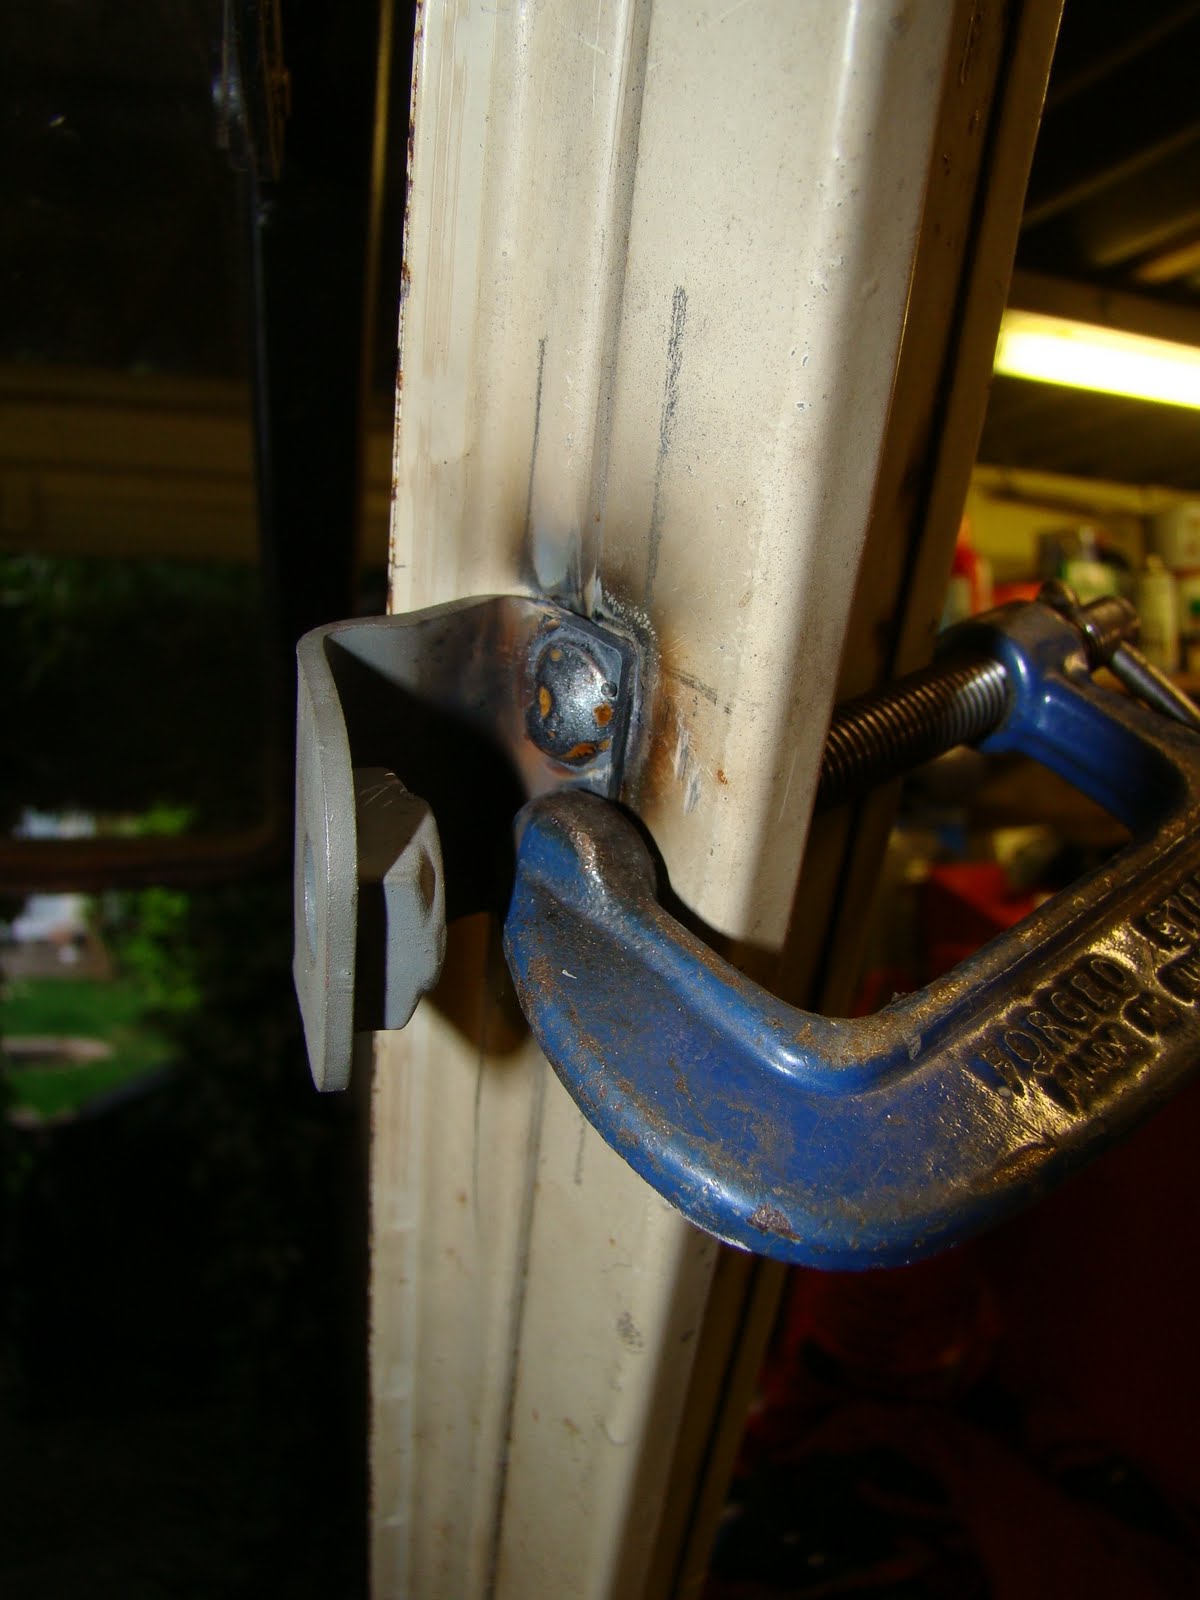
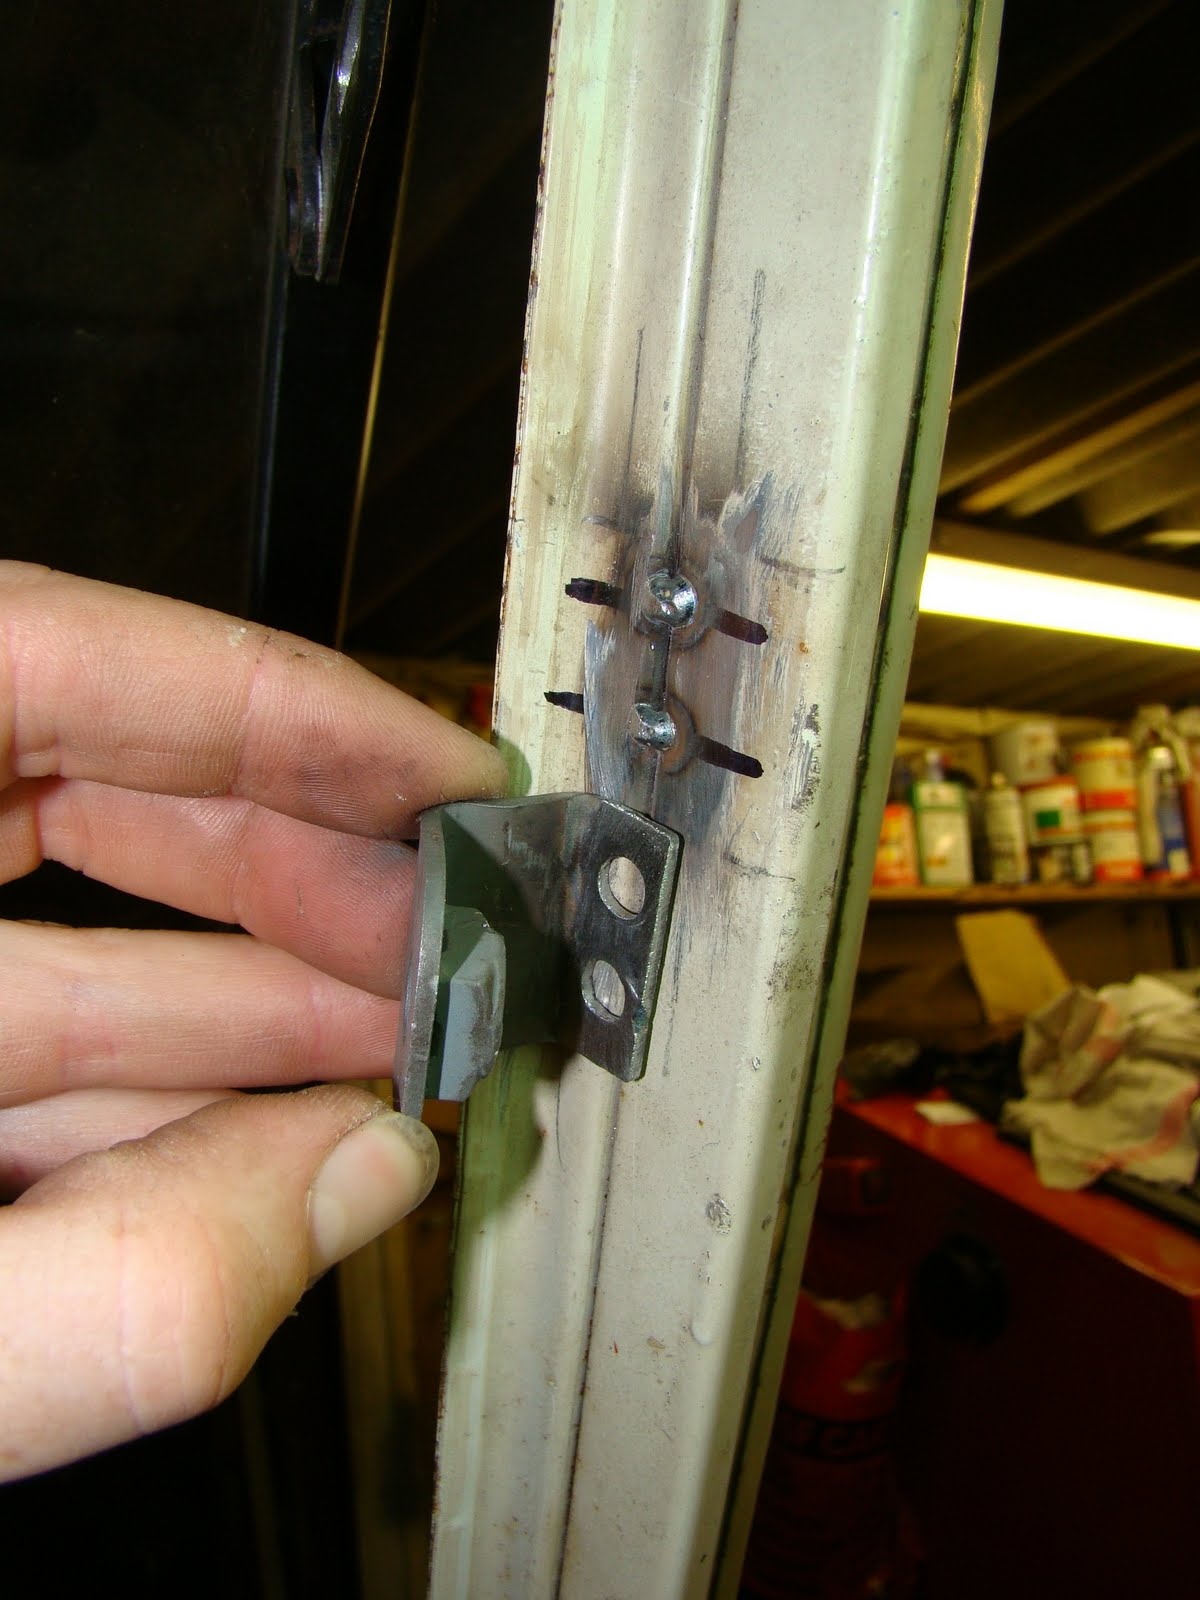
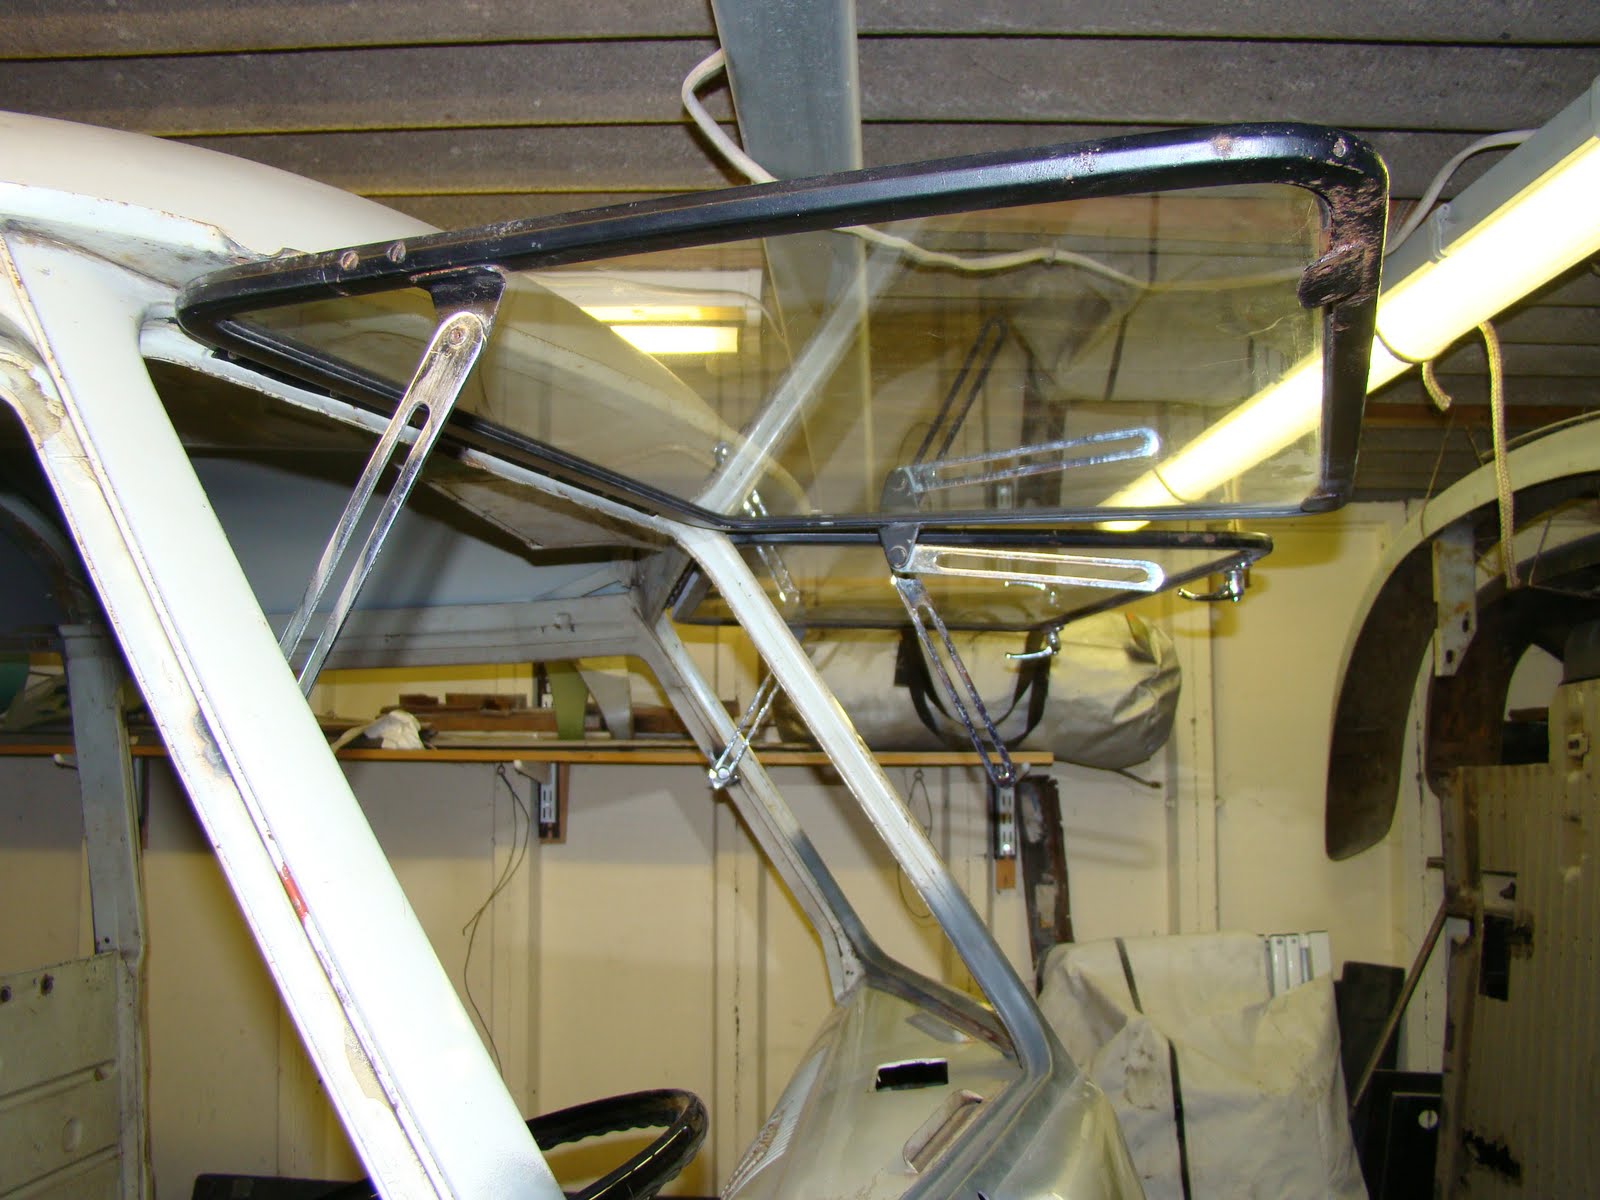
Positioned the bracket, high enough for the windows to be horizontal but low enough so the sliders were tucked close as I could get to the frames

 Cleaned the paint up and drilled a couple of holes in the brackets
The body work of the left side was not flat so had to put a bend in the bracket so it sat better. I used the seal to get the gap to the frame correct.
 The right side welded but when you wobbled it you could tell the weld had not penetrated enough onto the frame. It snapped off with a couple of wobbles. 
So had a cunning plan to put a couple of tack welds on the frame then line up the bracket to the welds to get a better weld through the latch.

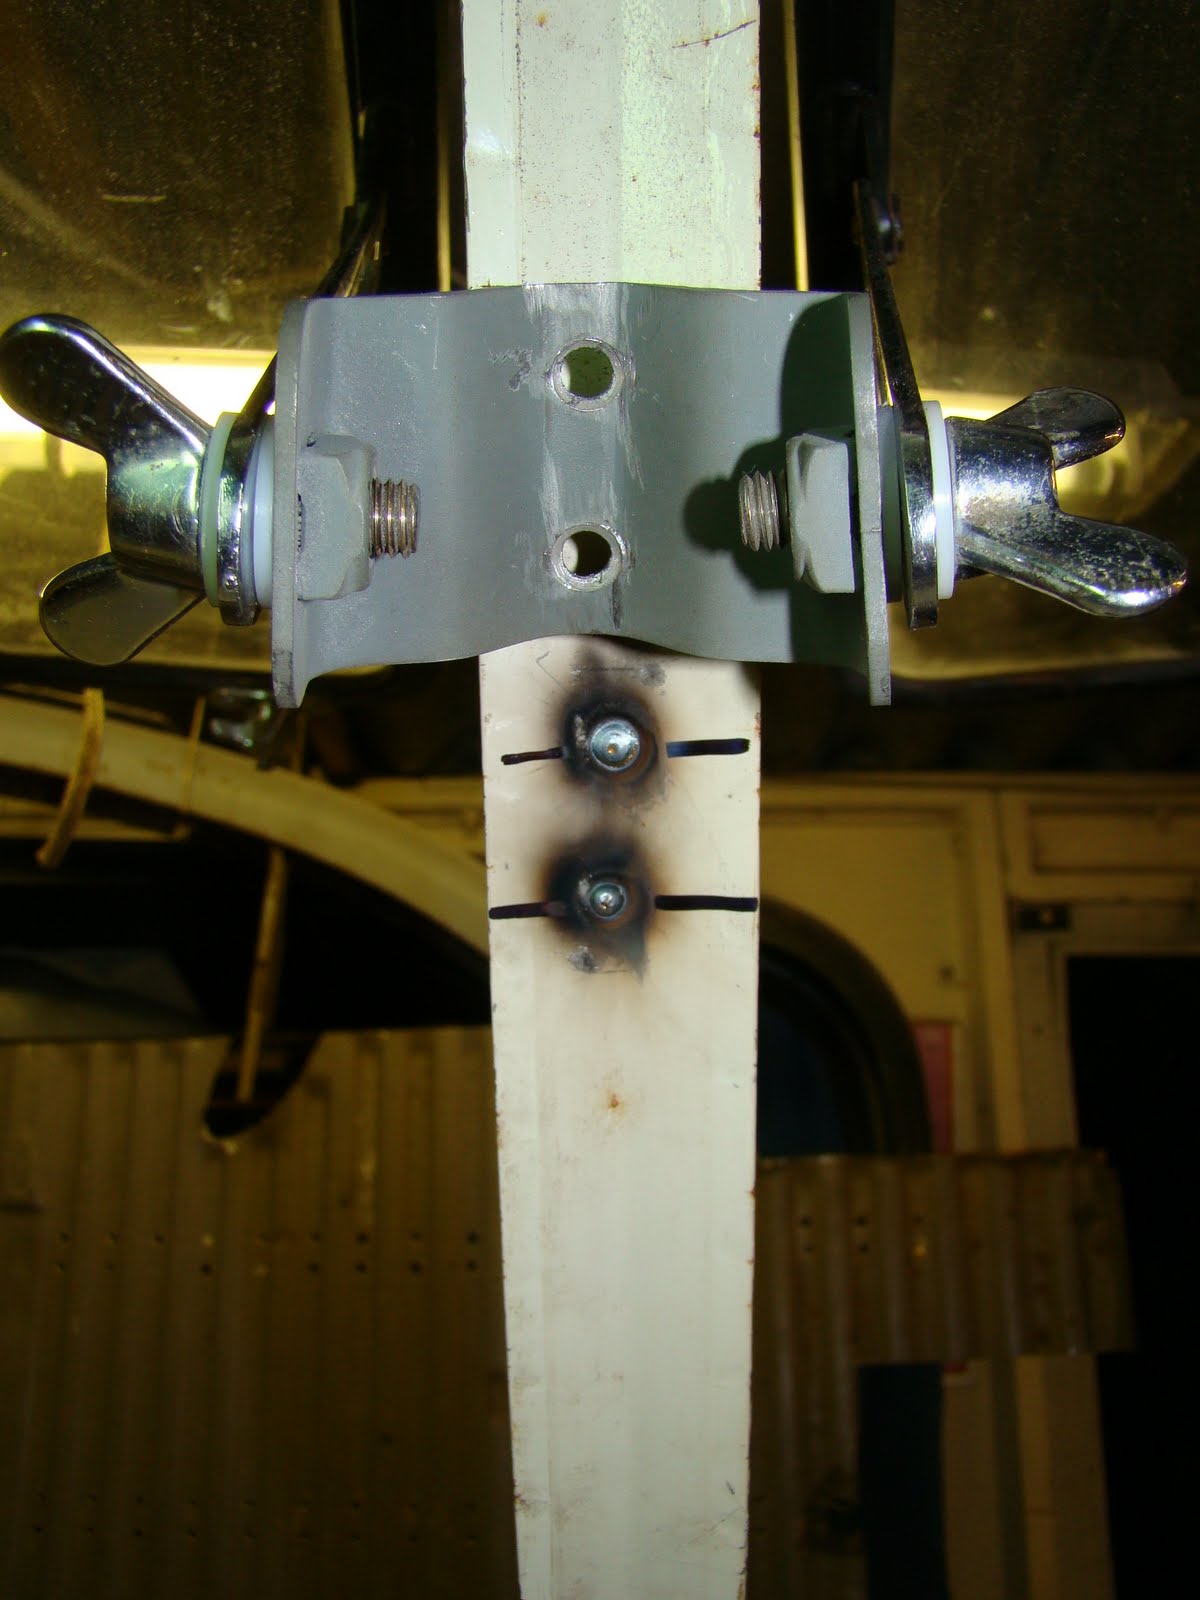
 With both sides welded I positioned the windows for the centre latch.
I tried the same trick with the centre adding a chamfer to the holes and got a much better weld. But I welded it about 1mm off centre,  
 I did have a bit of trouble getting the thicker seals to fit but there is enough flex in the latches to bend them out of the way without having to cut the seals.
Guess the moment of truth will be a trip out in the rain. 
I now have another problem to solve, the lower frame latches are too low and don't give any room for the plates to fit under. 
I tried to cut away the top curve of the outer latch plate so the latch could pass over it but I would have to cut away the bulge in the bracket that pulls the frame tight so it could pass over without fouling.
I may have to raise the mounting plate or have a go at making my own bracket to fit...

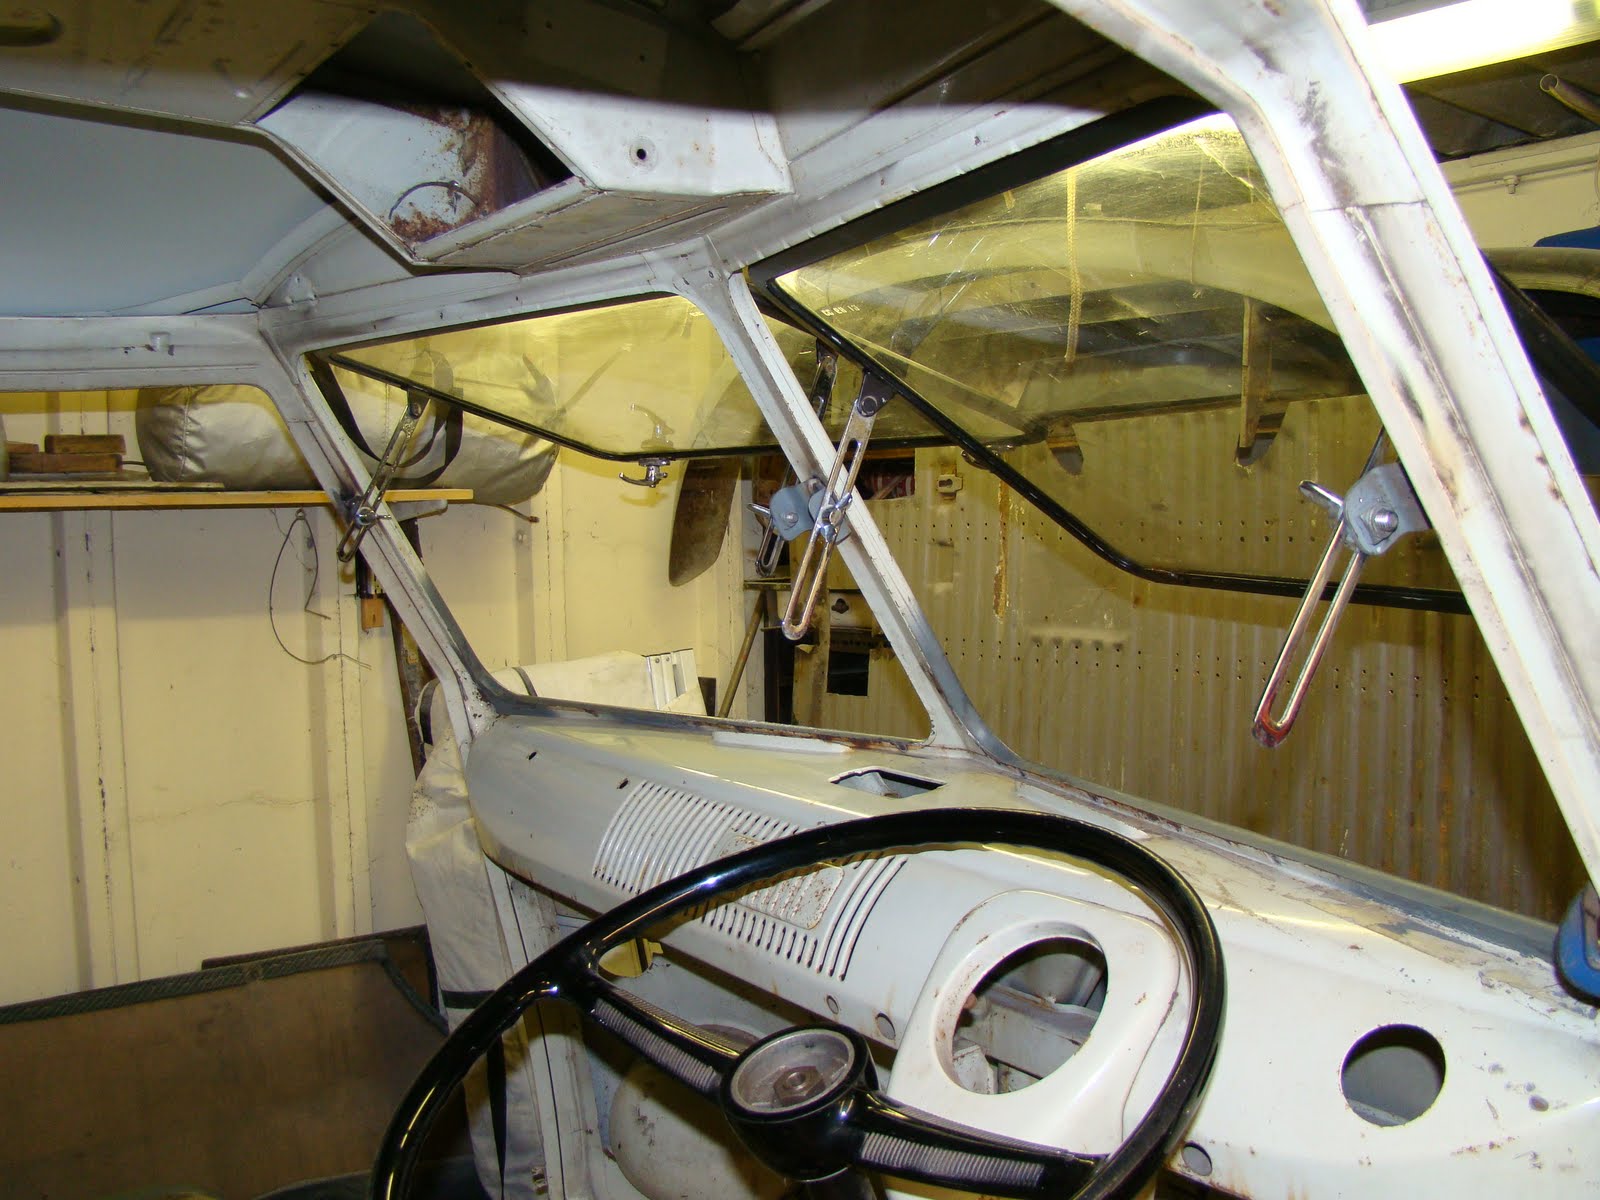
Capping the bottom of the A pillars


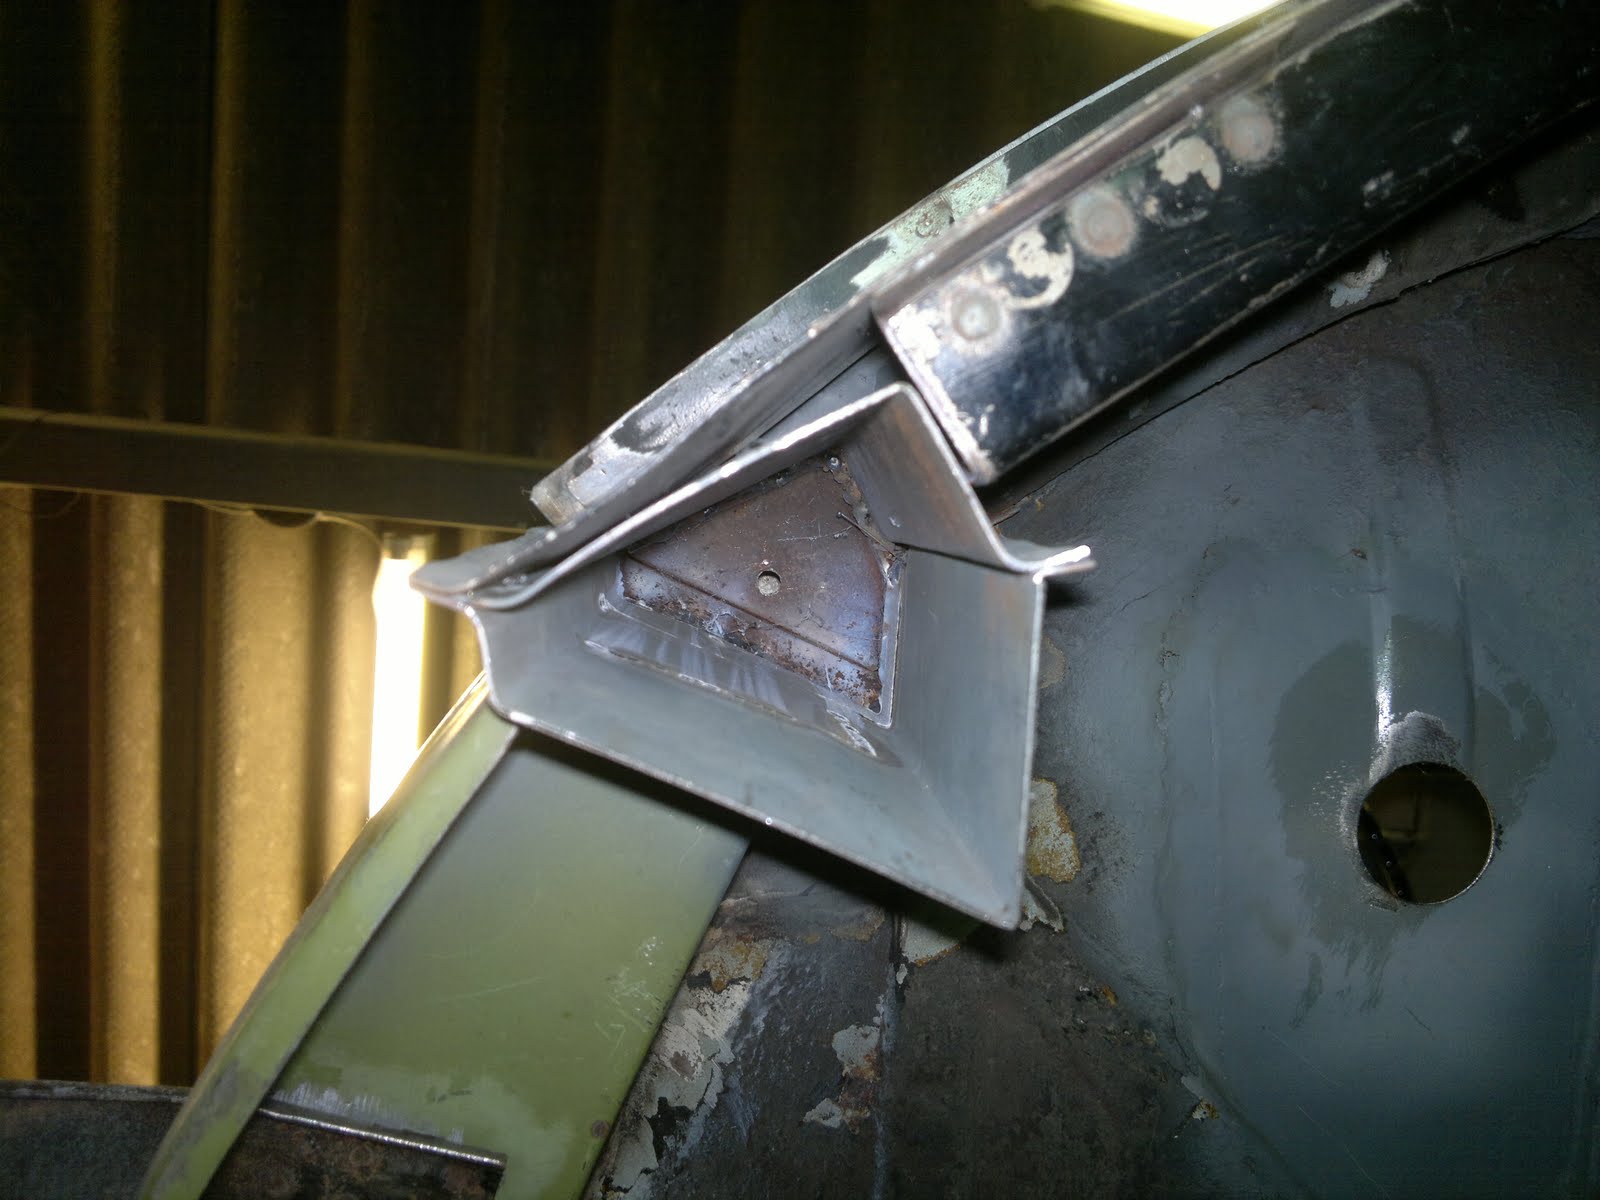
I needed to cap the end of the A pillars but the plates provided with the repair section I got were no way near the same shape as the bottom of my pillars so I decided to make my own.

With a long series drill bit I put a hole in the top of the boxed section of the A pillar. Not sure if this is good for the corrosion to stop moisture build up or bad for it because it will let moisture in? 
Hopefully a good squirt of corrosion inhibitor once its complete should keep it rust free for a while. 
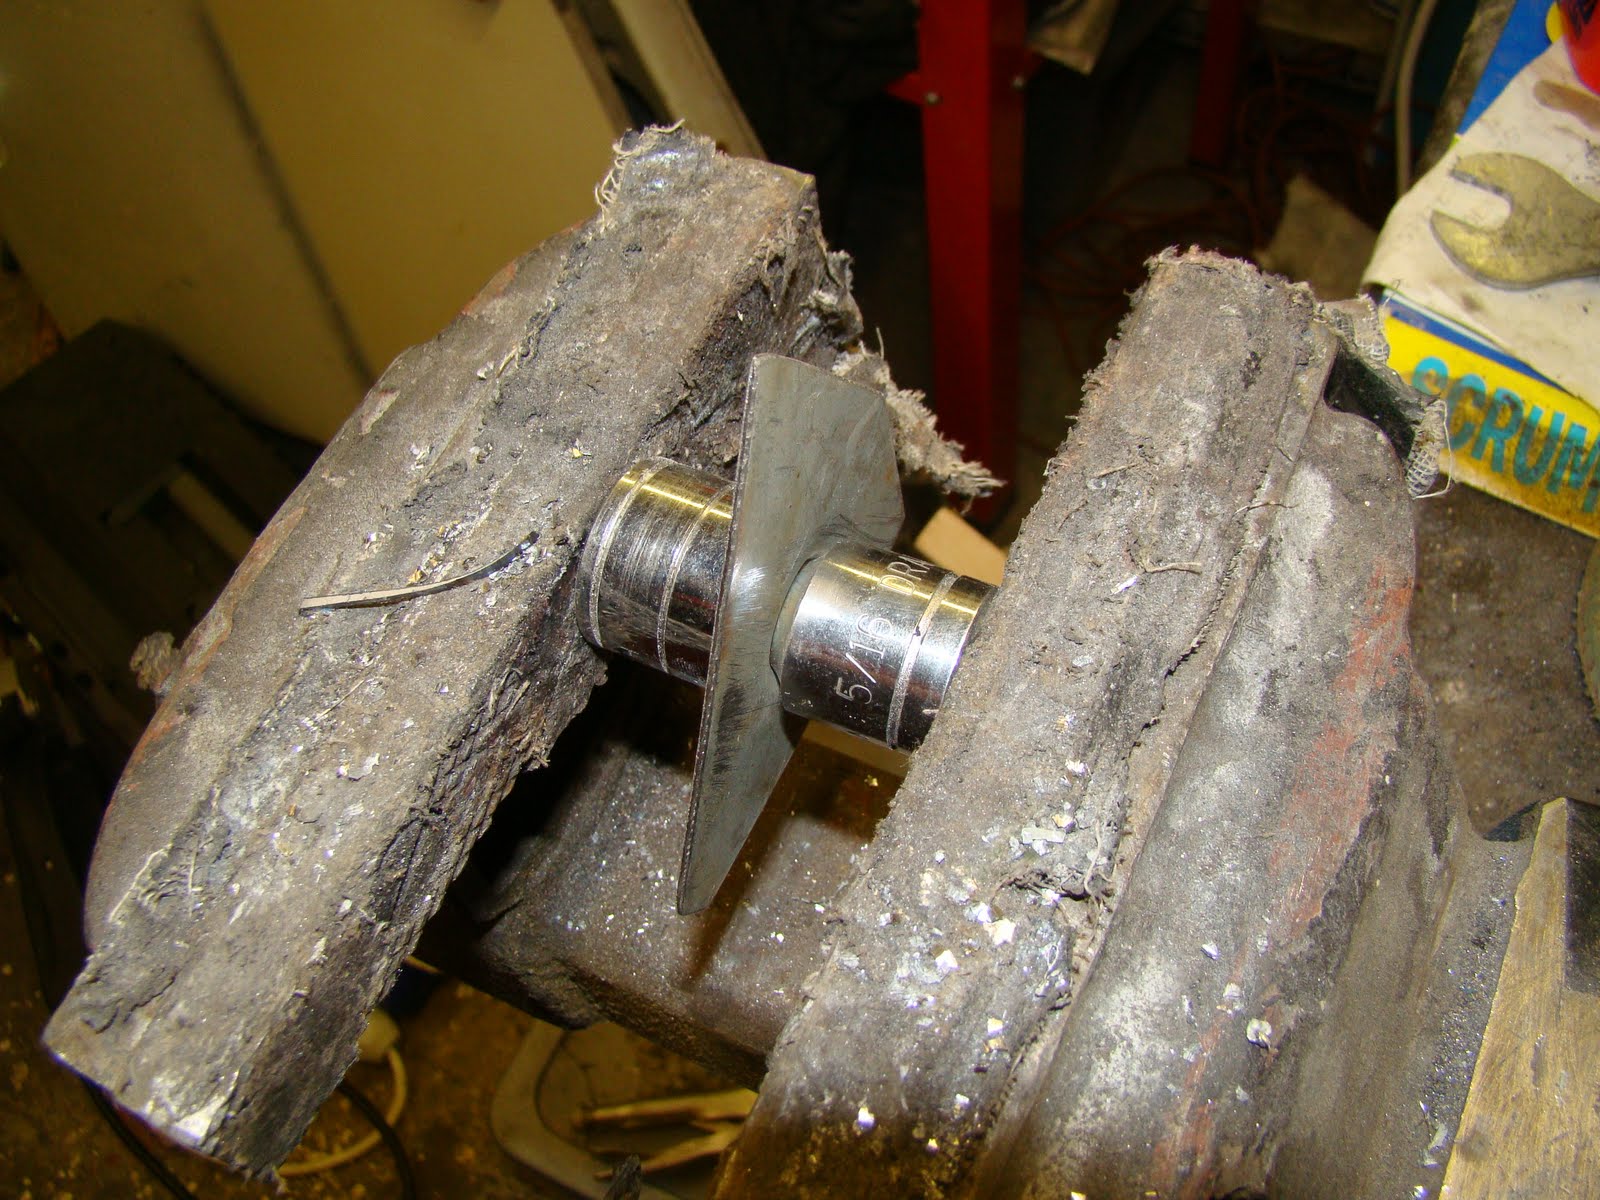
I wanted a drain hole in the bottom as well and managed to achieve this with a tapered hole cutter and then used a couple of sockets, one with a large radius on its shaft squeesed between the vice jaws, to get the flanged hole.
This is the patch once profiled and pressed with the two sockets I used to make the flange.

I then welded around the sides of the plate upside down with the welds dripping all over me. Then cleaned it up and later painted it. 
I then did the same for the other side, although the patches I repaired the A pillar with came down a little short so added a lip to this patch.
Then welded upside down again. Its not a happy place to be.

Finally painted it up once the welds were cleaned up, I'll cover the inside of this A pillar with corrosion treatment once I get the van painted and seam sealed but look, my arm hair and the paint are the same colour.


Cab Floor Patch Repair

This is a bit of a rust hole (to the right of the massive round meant to be there hole) I'd kept forgetting about it as it was tucked away under all the crap I kept storing in the cab floor.

 
 With the confidence now to get this patched up in a couple of hours I excavated it and cleaned it up.


To make the recess in the repair piece I measured  the width and depth of the step and got some steel plate that was thick enough to give me the same  depth and width and then positioned a couple of other straight edges to get the correct gap from the inner piece too. I made sure the edges were burr free so I got a clean joggle.
I tried to squeeze the whole lot together in the vice, but only got a shallow bent on the joggle. I don't have a fly press handy, so beat it with the biggest hammer I could find in the garage. It turned out ok although a little shocked.

With the patch trimmed to fit and a decent coat of weld through primer, I clamped it in place with the biggest G clamp I could find.
Quick splert around the edge of the patch with a mig weld

A clean up with the angle grinder that's starting to sound a bit rough, hope it holds out a little bit longer.
Then a quick spray with the Airfix paint I had left from the Battle of Brighton set I got for Christmas

Panel Shrinking Video


These videos are the same, just the one above is flash player.
This is my first video for the blog, Just thought Id try this as it's easier to explane what I tried to do with the media of moving pictures.Its also make an easier life for my blog editor so he doesent get to frustrated with my appauling spelling and grammer. Un fortunatly you get to listen to my monotone voice.


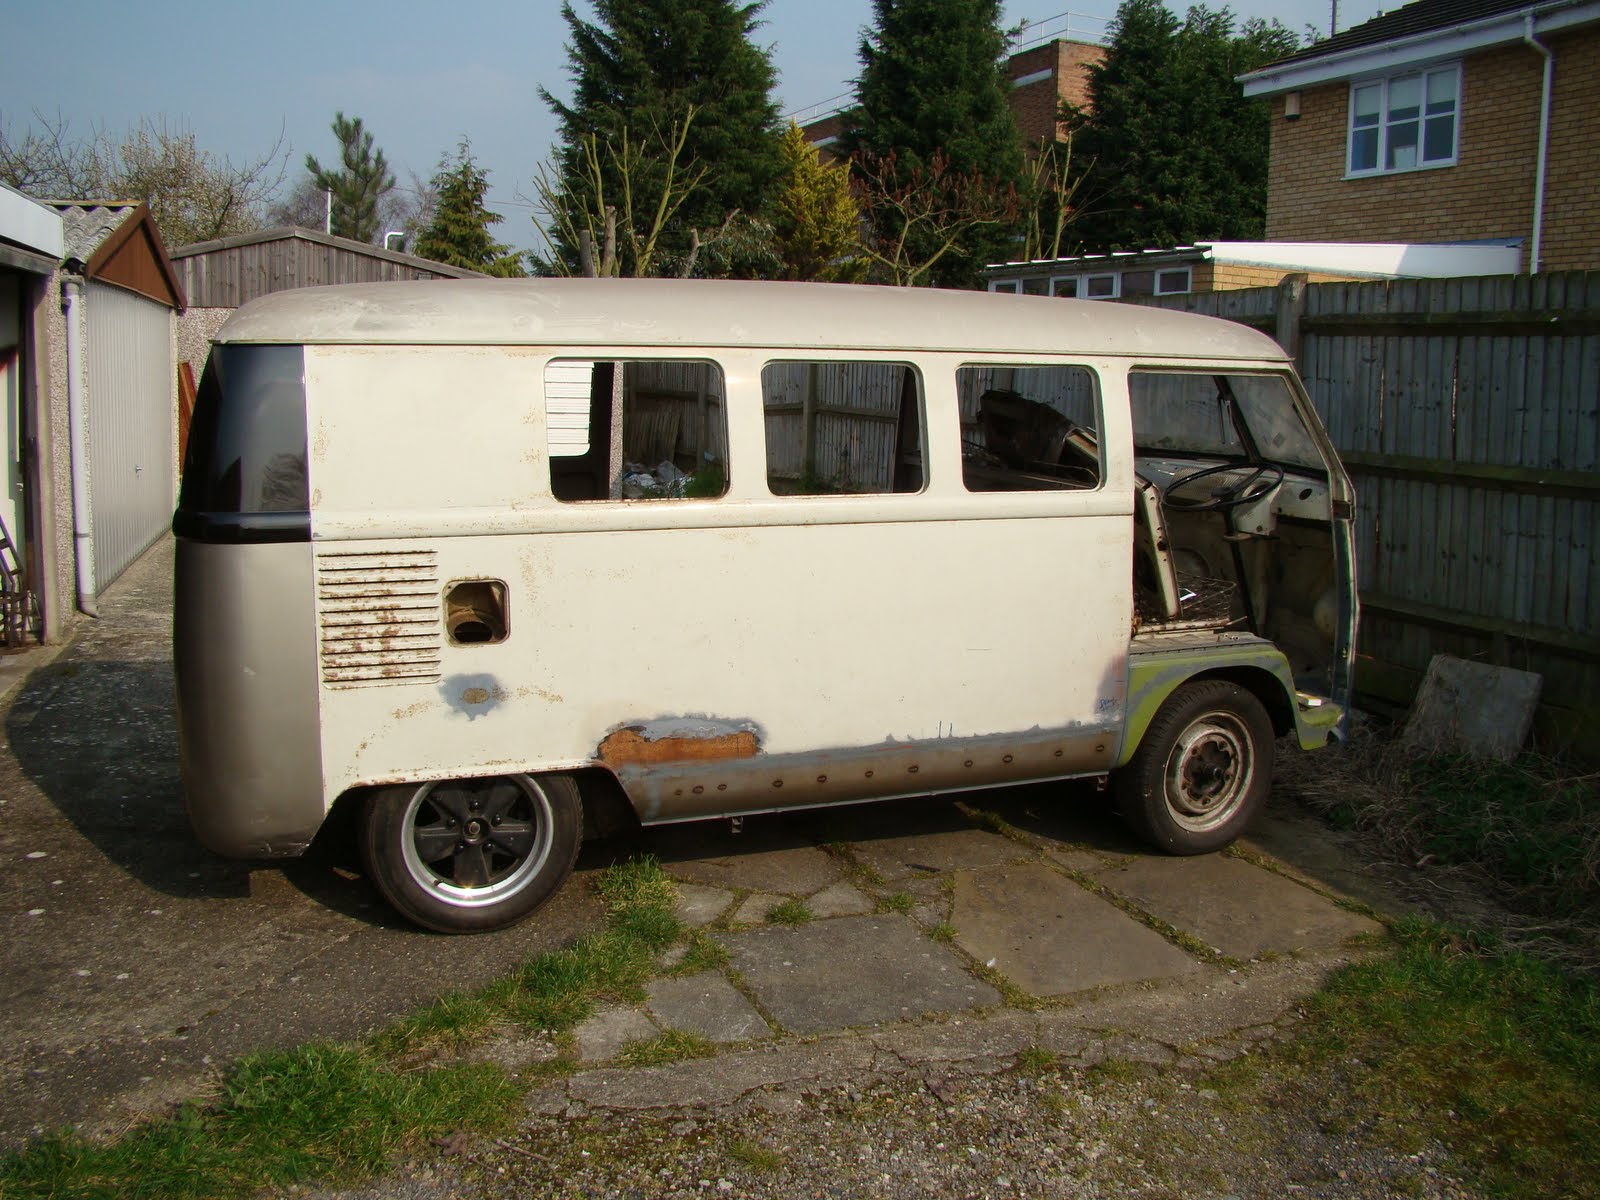
Dusting off the van

Dragged the van out to tidy all the rust and filler off the garage floor, thought I'd post a few pictures of the van, rather than close ups of welded panels and rusty holes for once.

It is so close to being solid again, just a few small jobs to do before dipping and paint prep. This may be a little further away than I thought as I spent my paint fund on an engagement ring.........

Guess a wedding gives me a goal to get the van finished by.

IRS Gear Box Nose Cone

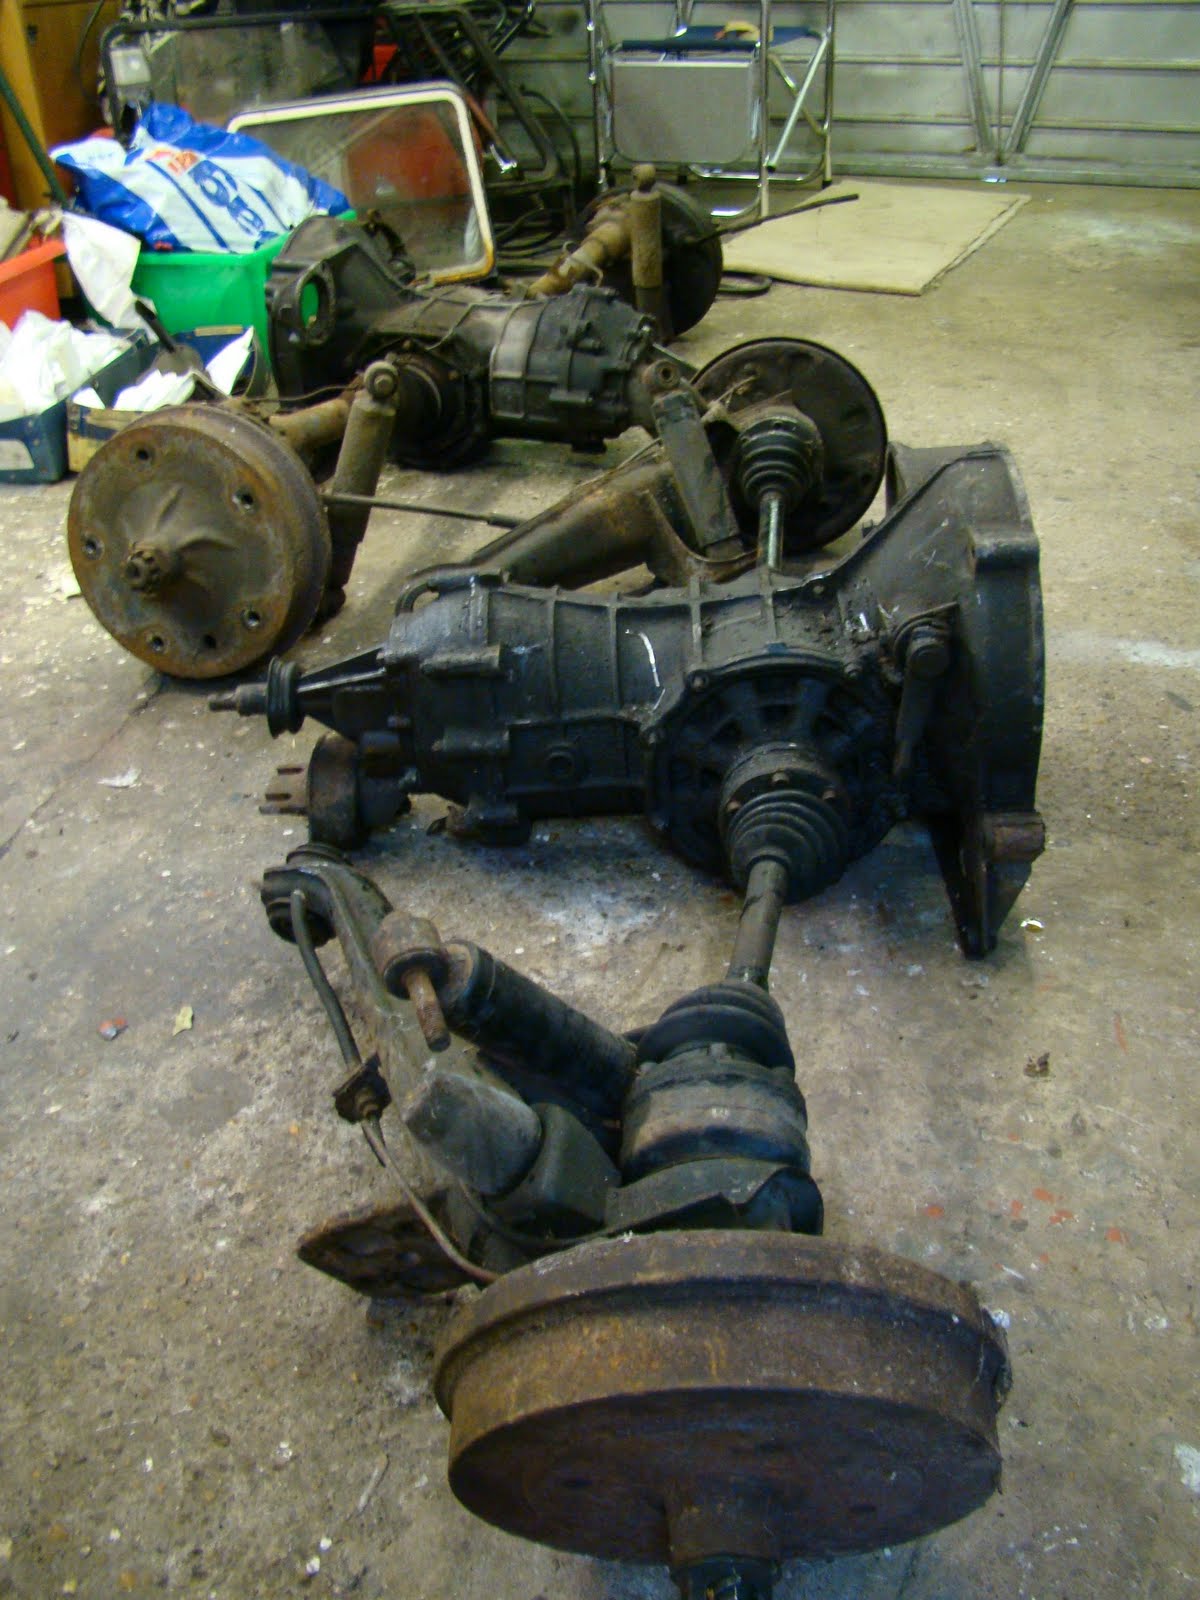
I dragged my IRS gearbox out of the shed, I think I got this from a late squareback for £60 from Just Kampers when JK was a small work shop.
I pulled off the nose cones to swap
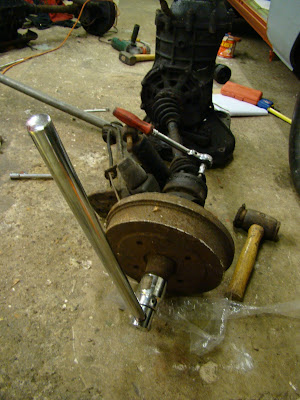
I struggled to get the CV joints undone, probably because I first tried to get an allen key bit into the rusted bolt head but then worked out I needed to buy a set of torque bits that fit better (or correctly!). Then needed a lot of welly and scaffold bar to get them to undo. Luckily I didnt shear any off.
Pulling the selector rods out of the nose cones I noticed one was bent, never seen this before.