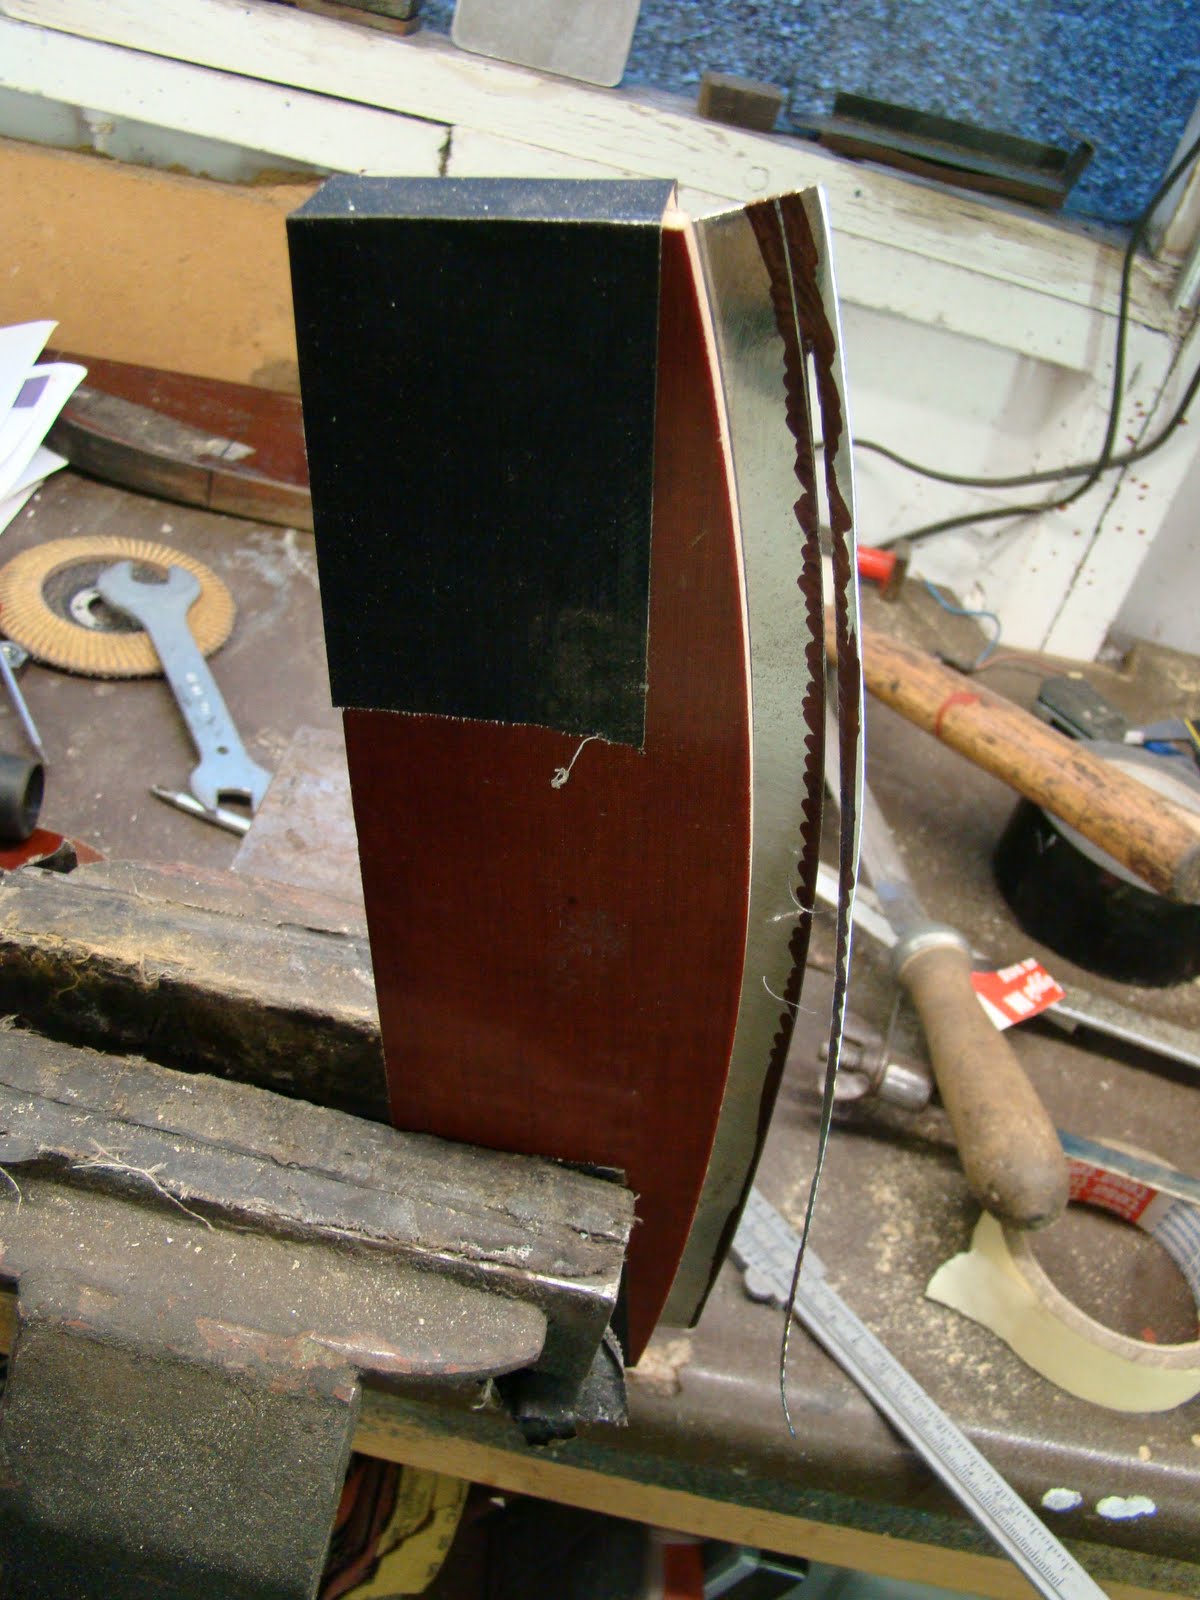
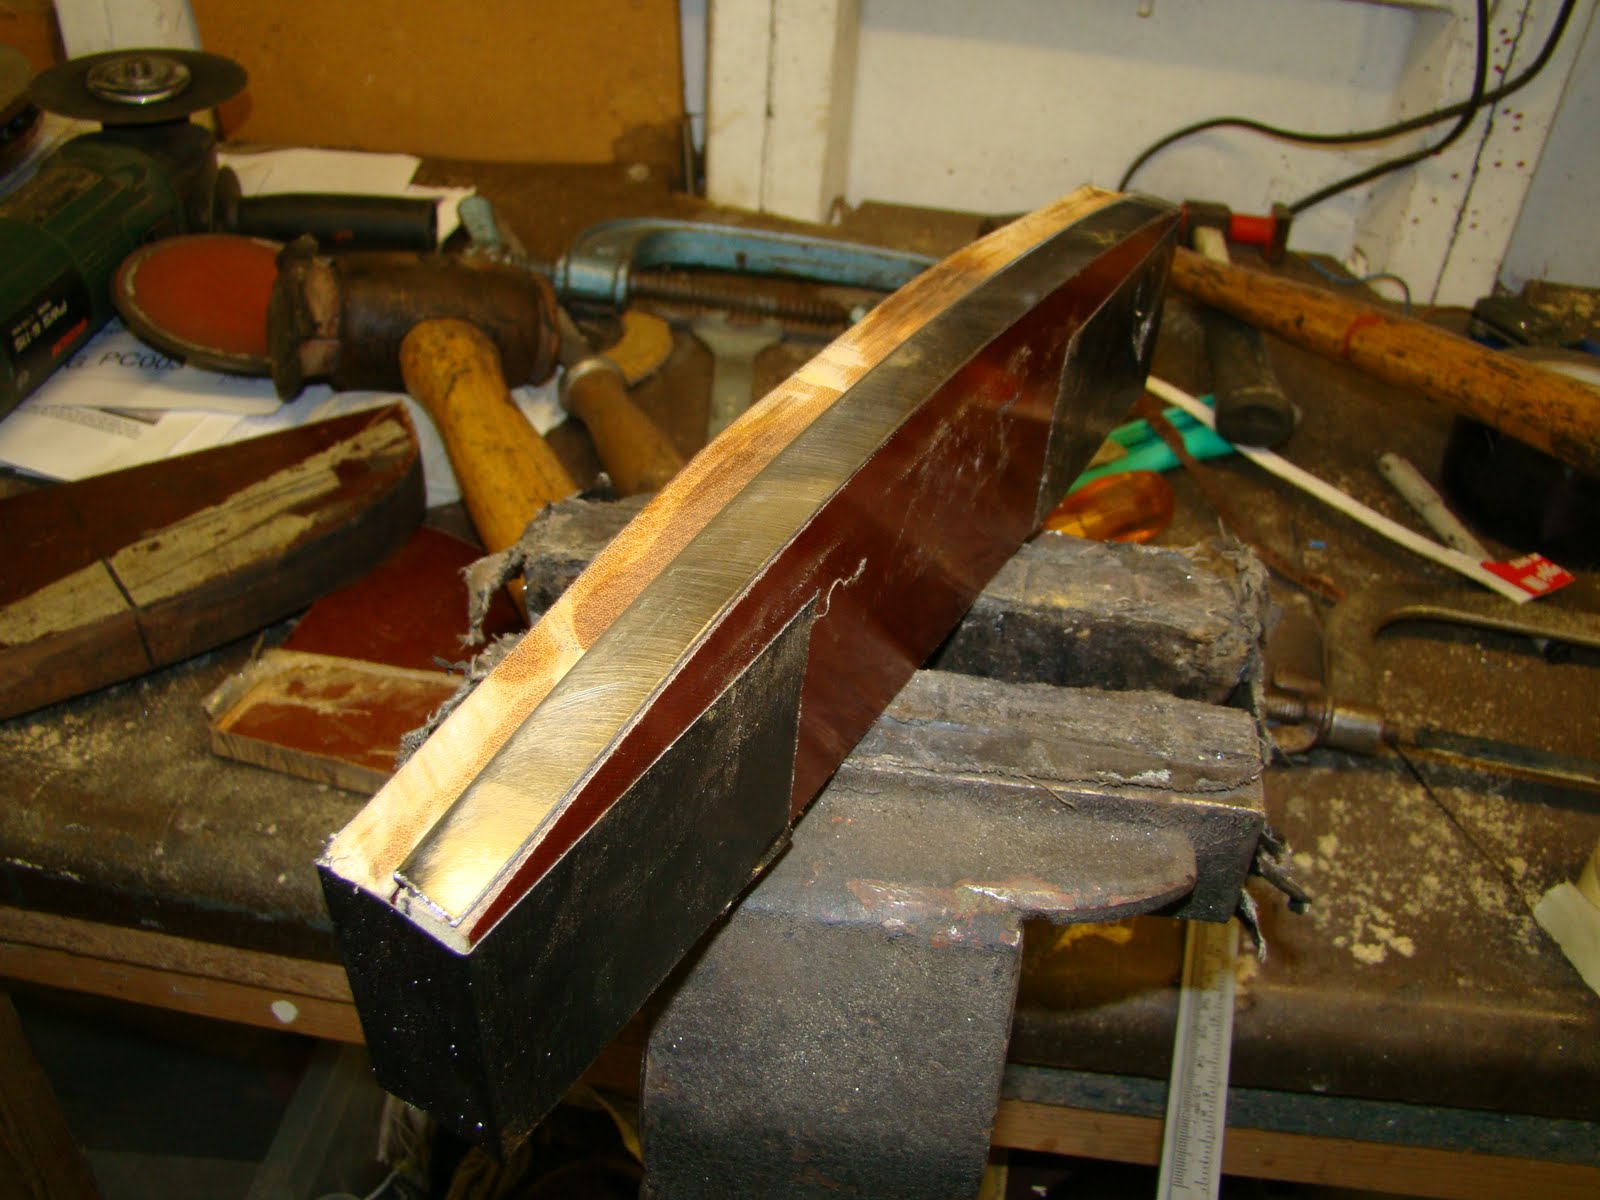
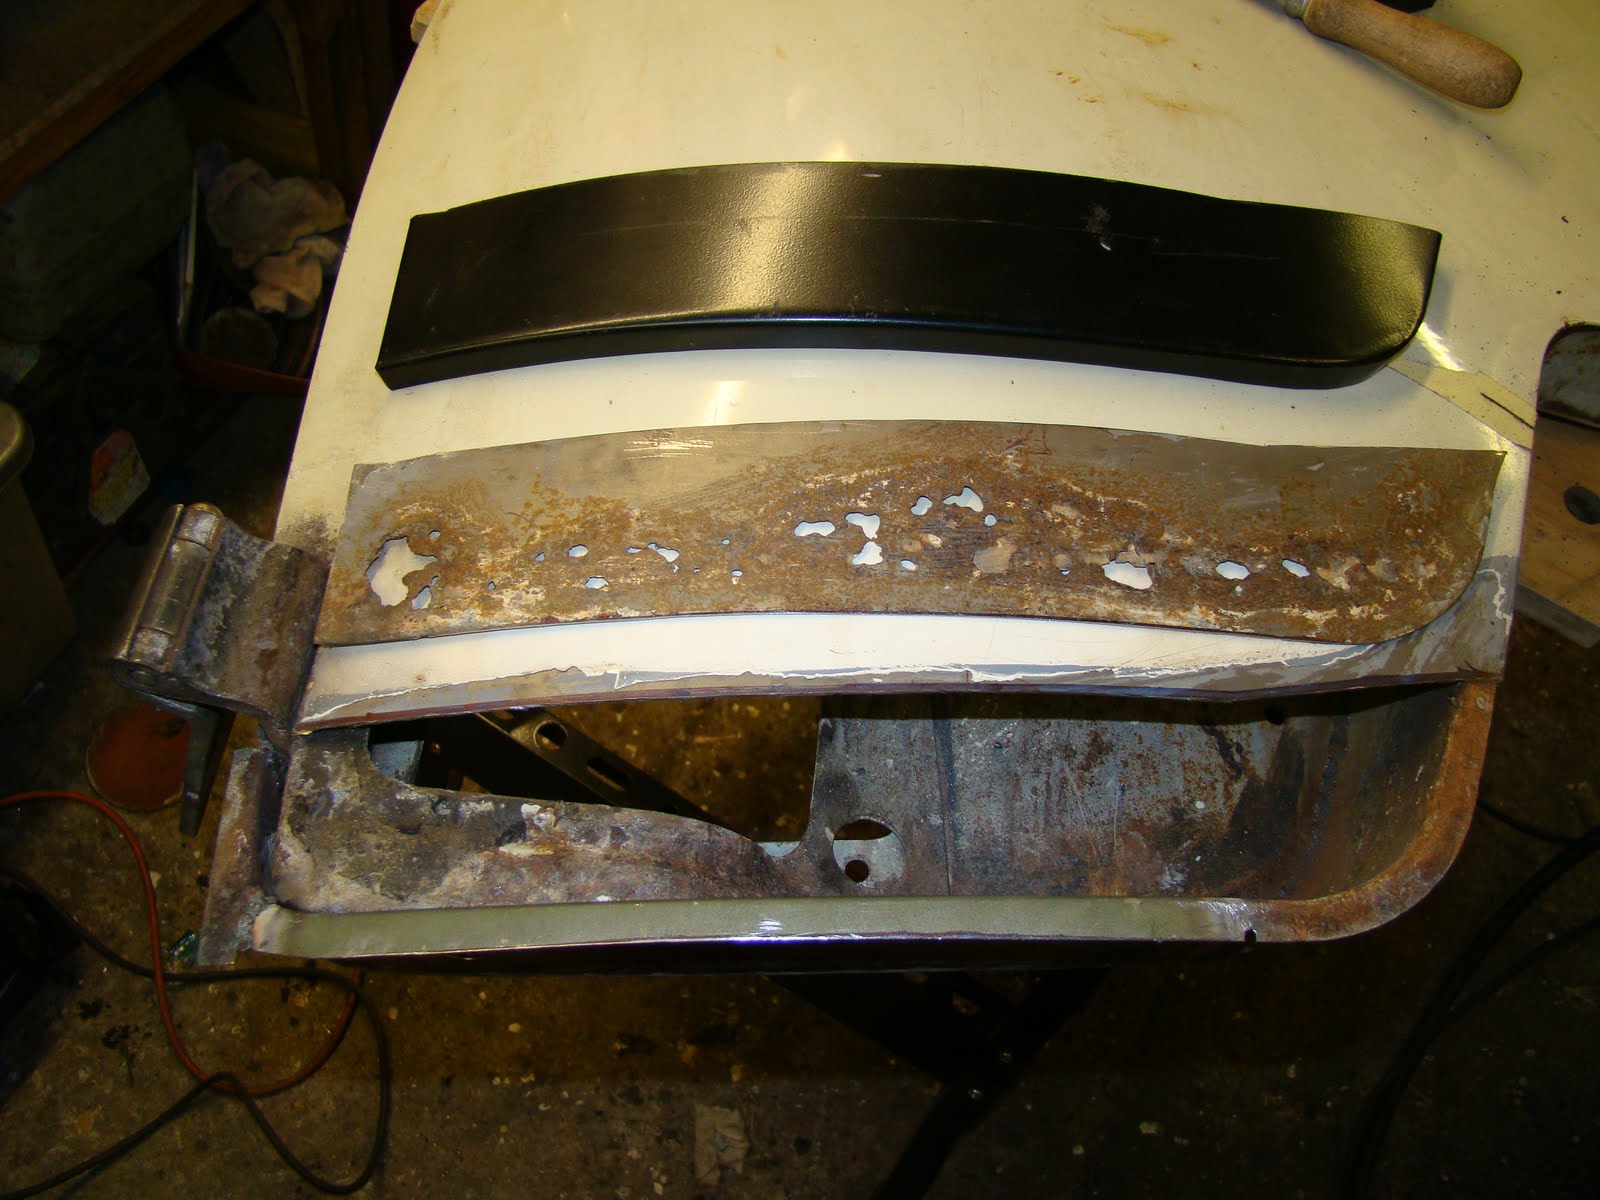
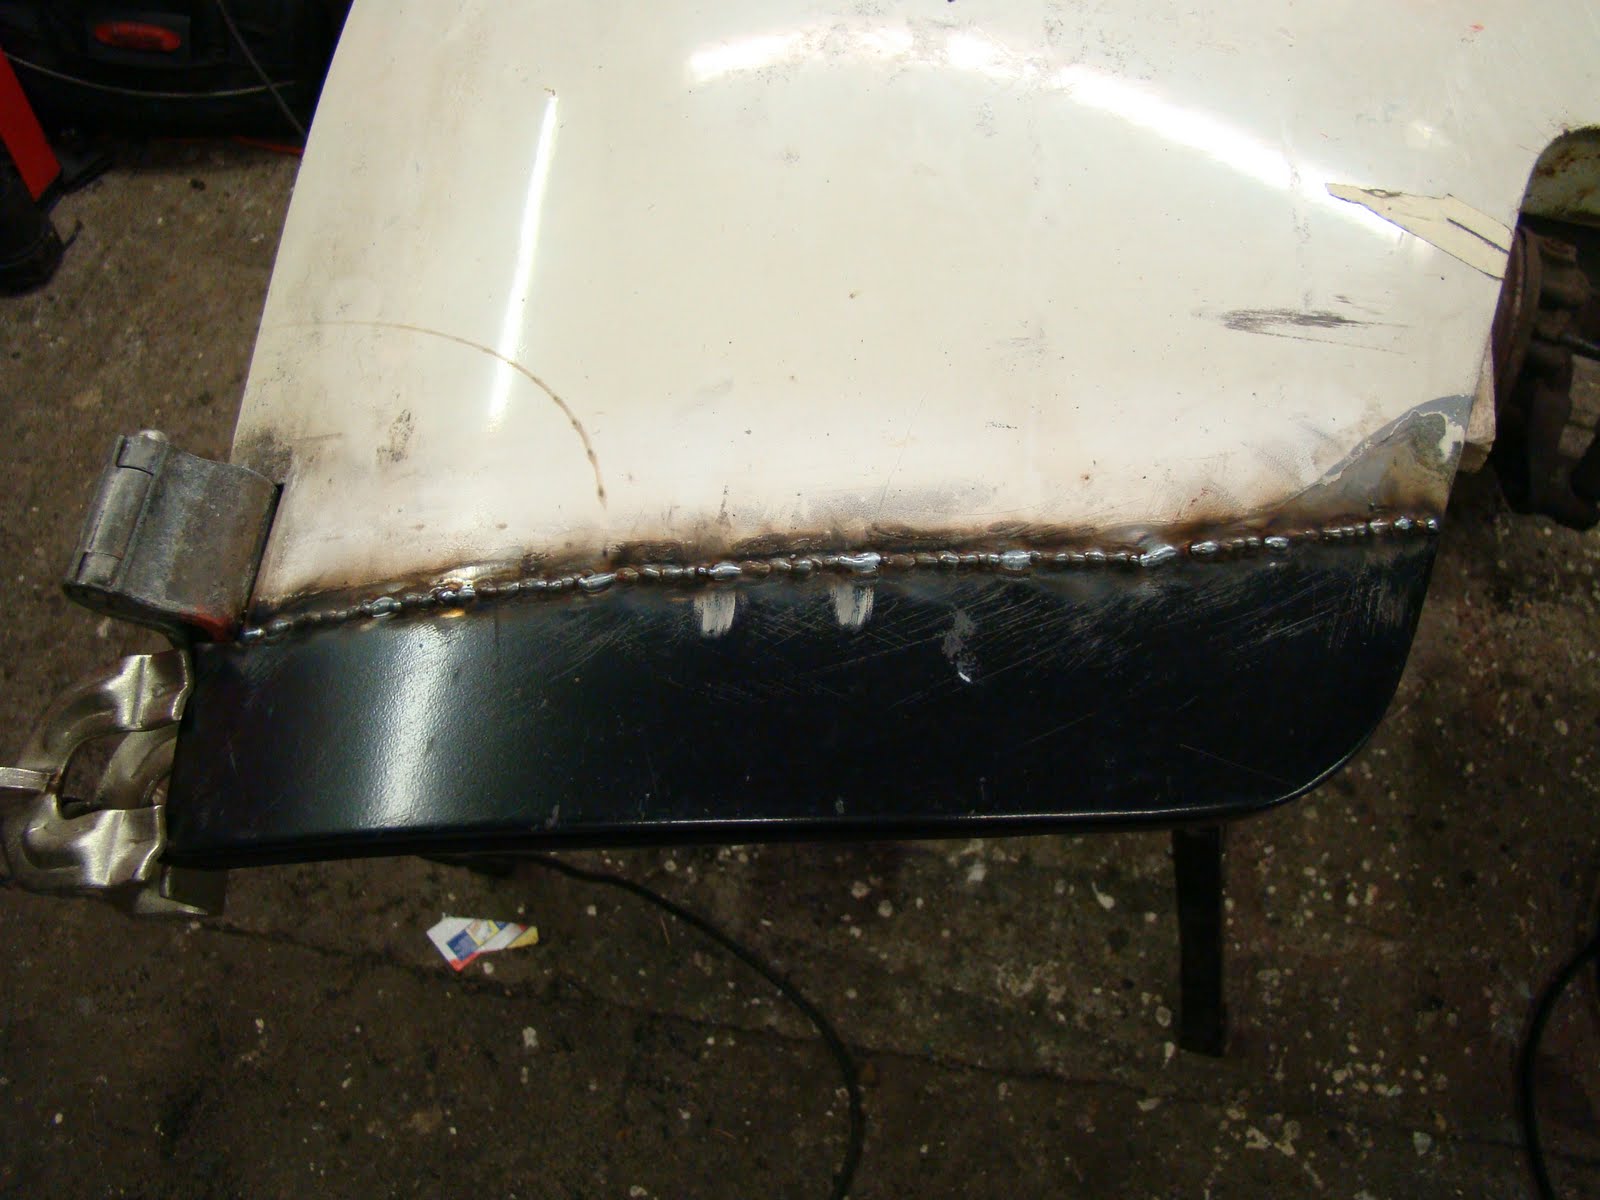
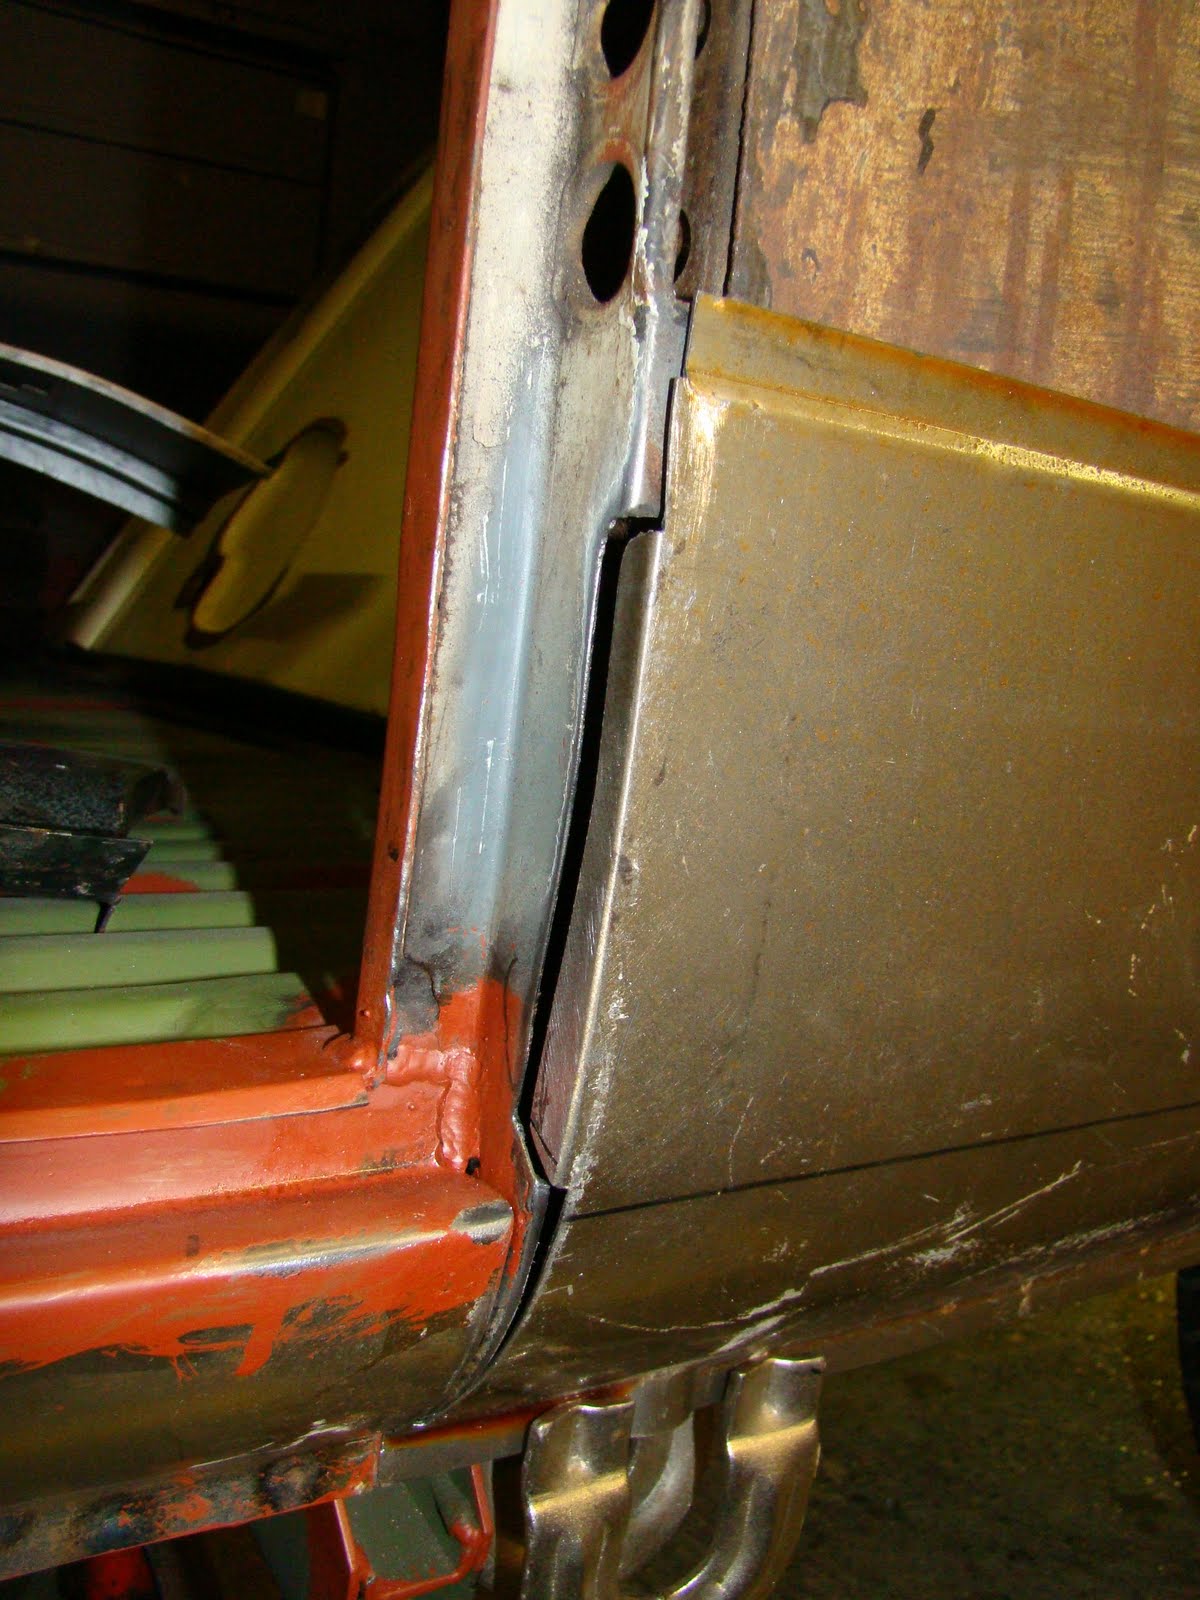
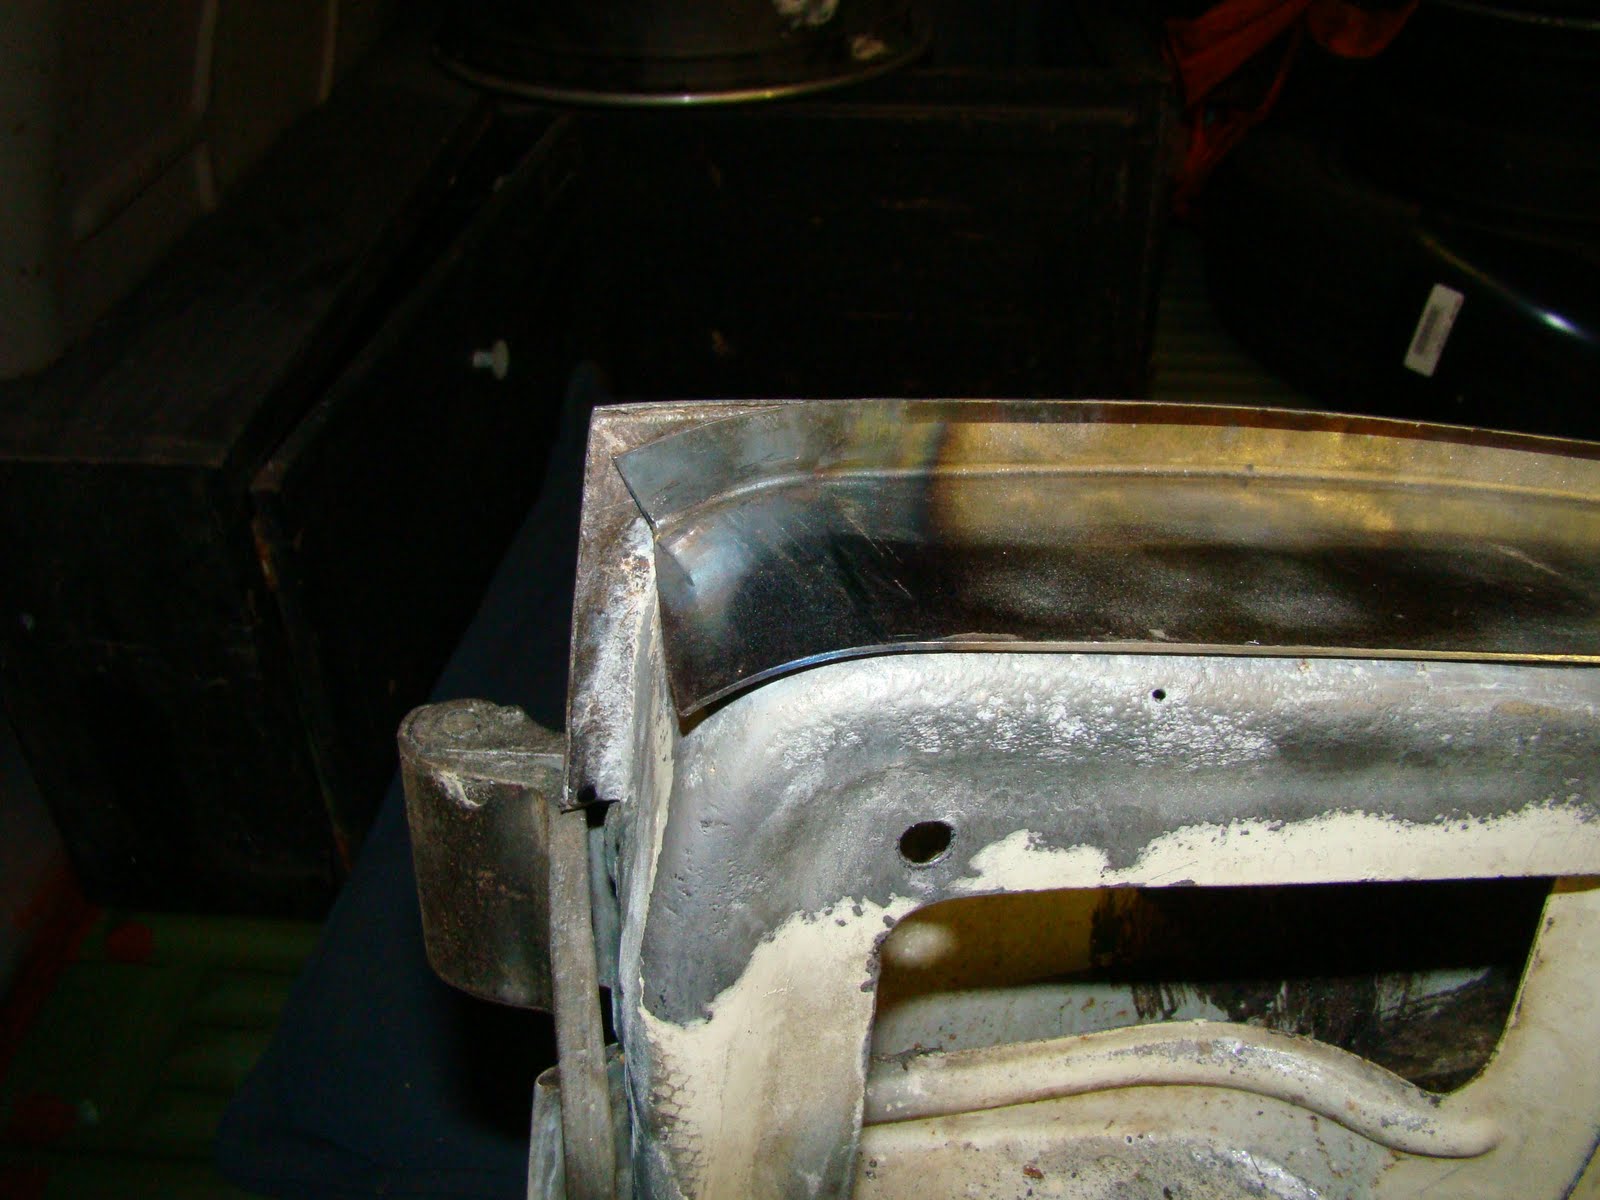
Before I cut the patch to size I stretched the end to fit the profile of the corner curve,
Hi welcome to my 1964 VW Type 2 split screen campervan restoration blog. This will be a record of the vans restoration, and hopfully share infomation about bringing a splitty back to life.
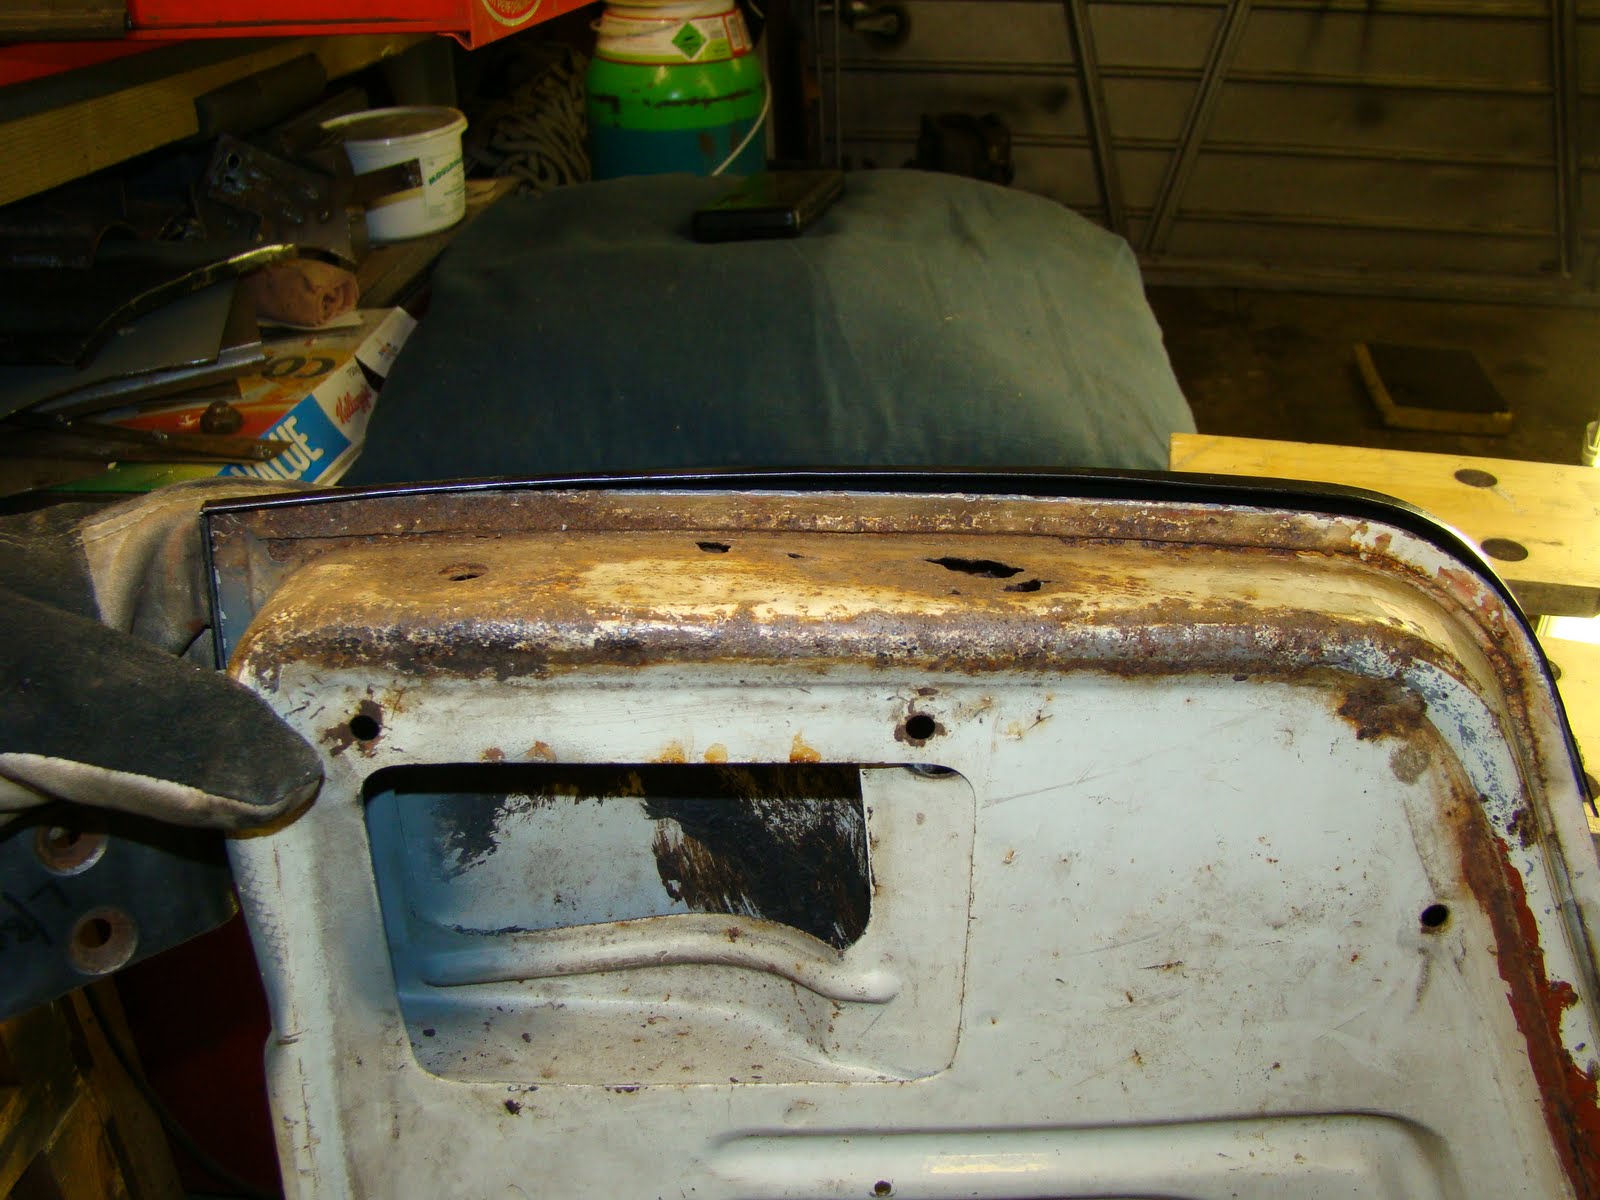
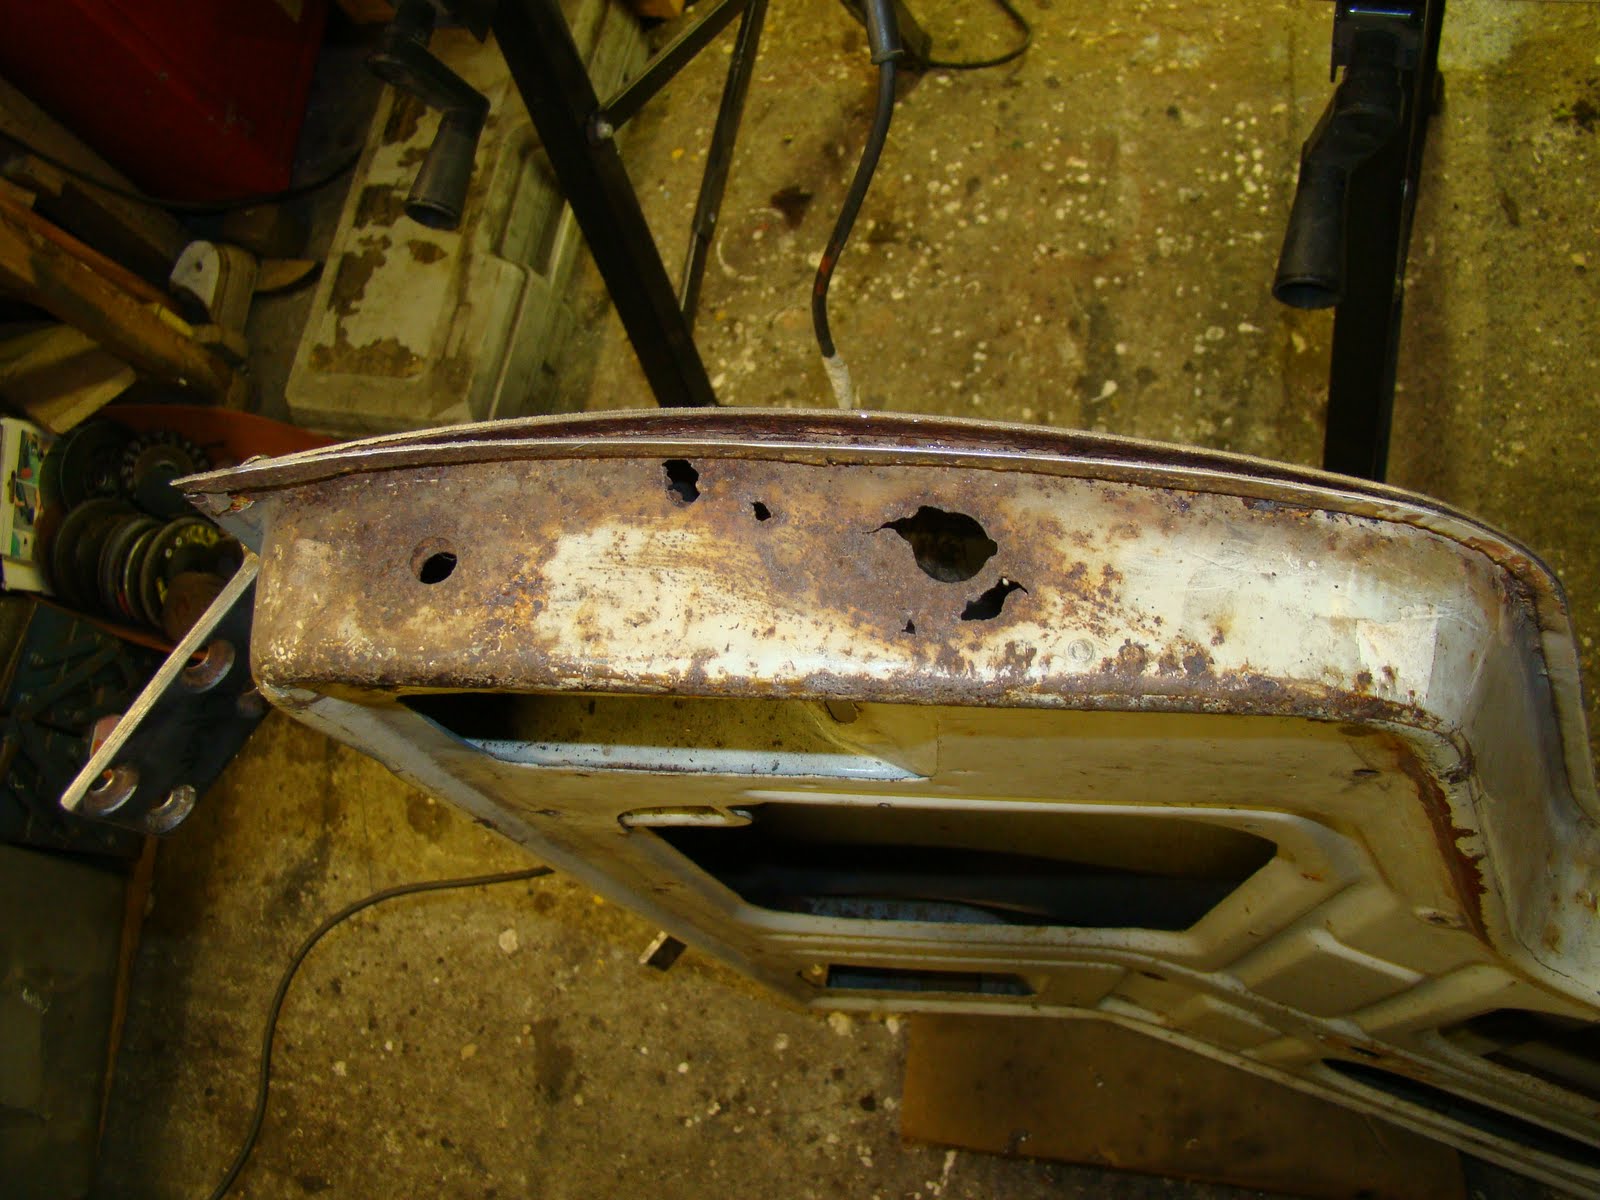
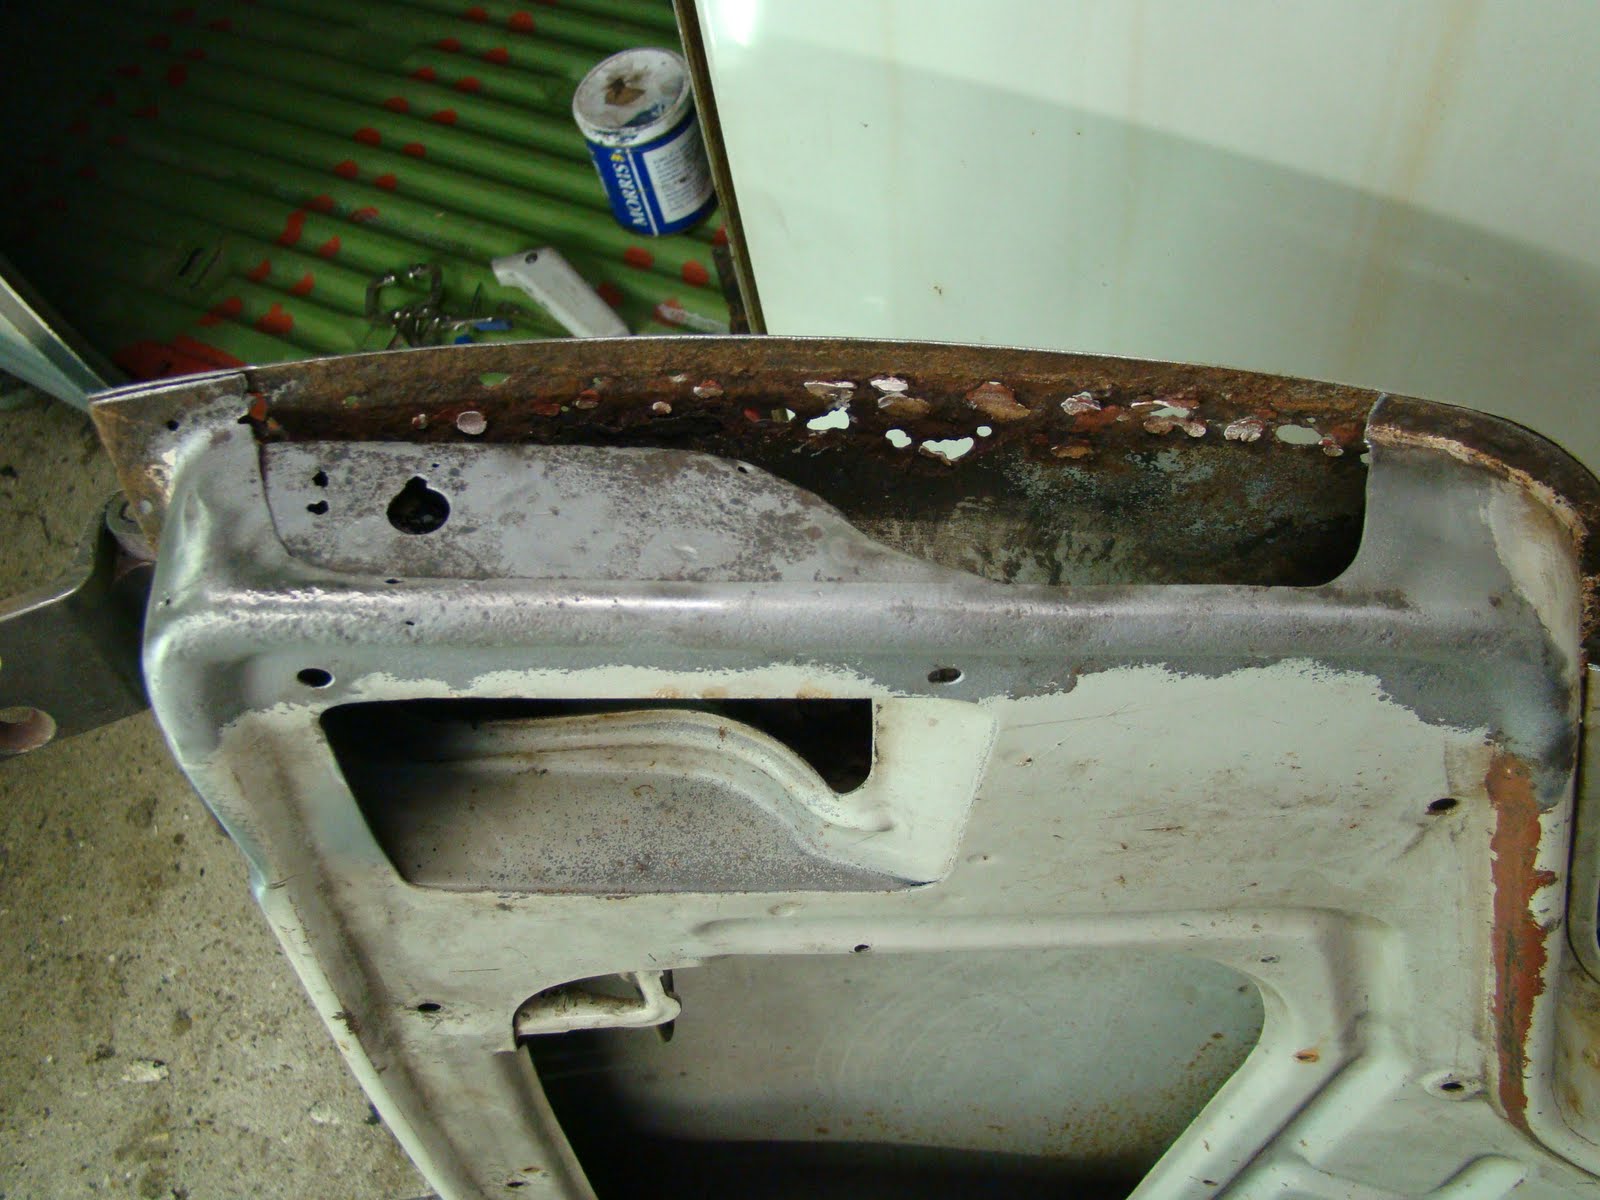
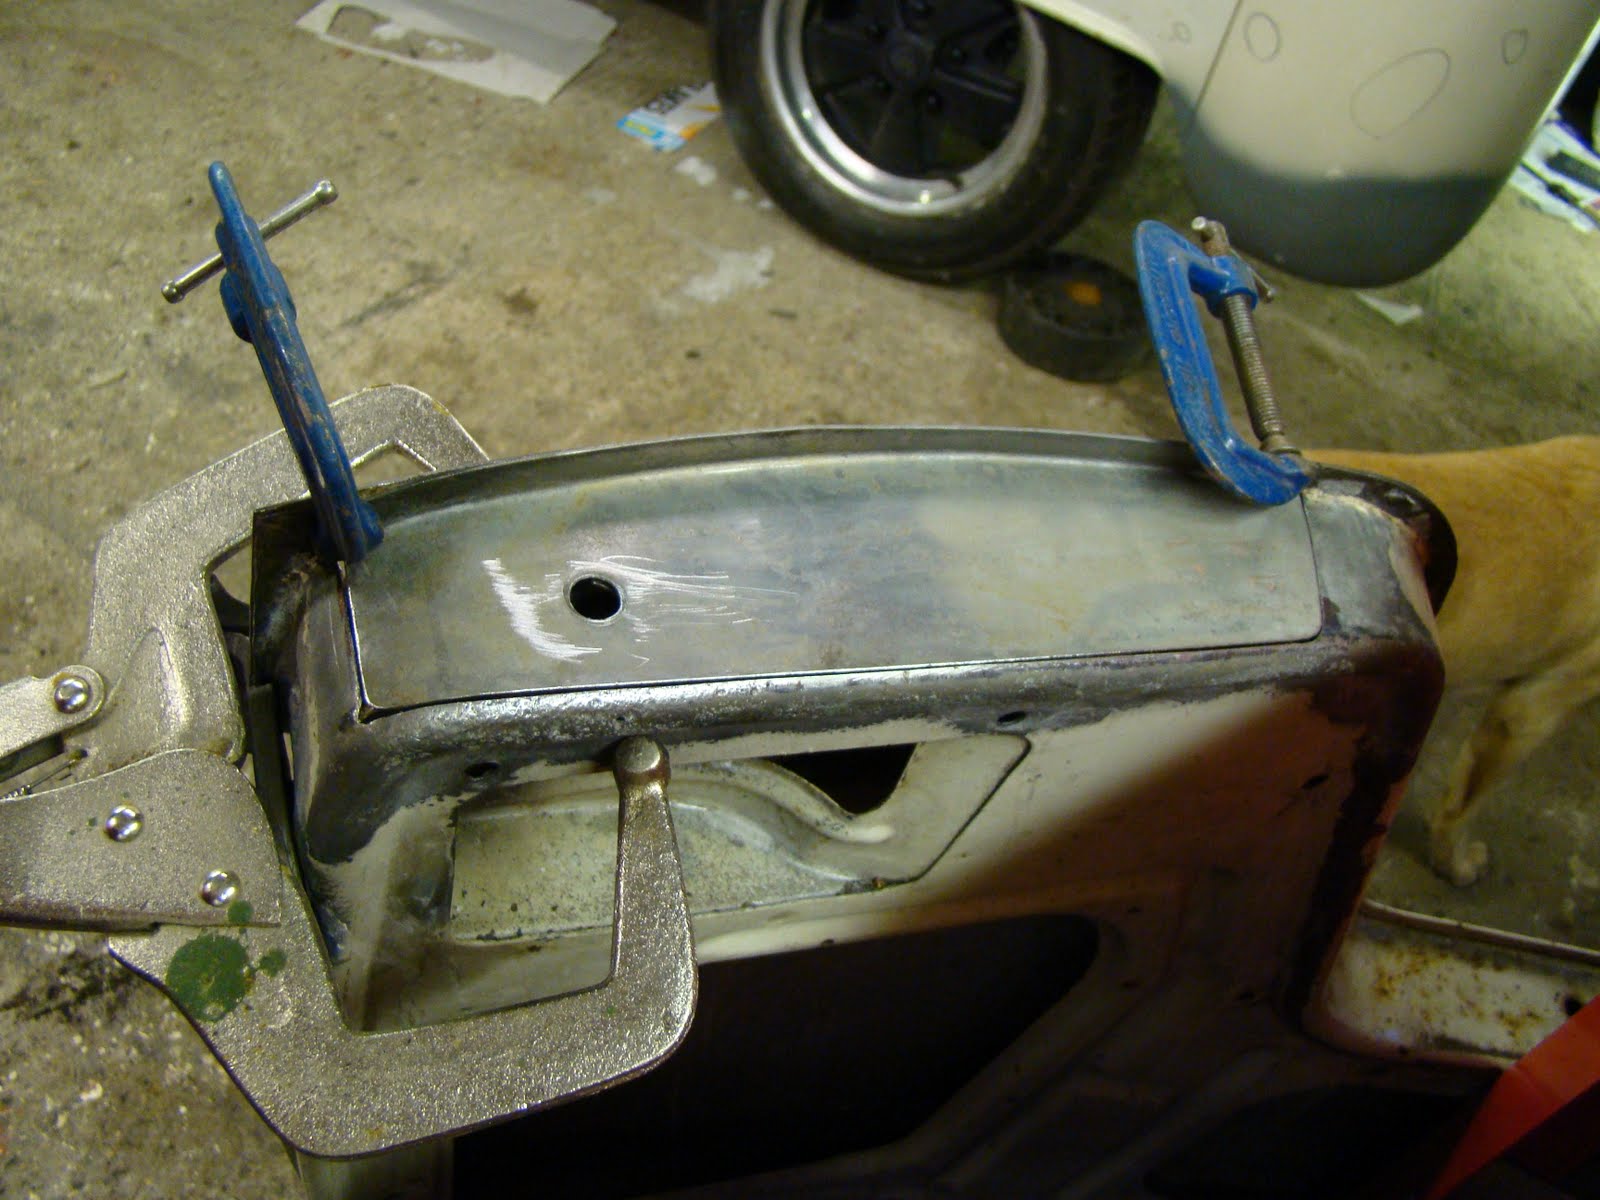
Cab Door Bottom Repair
Before I cut the patch to size I stretched the end to fit the profile of the corner curve,
Rust Blast Treatment
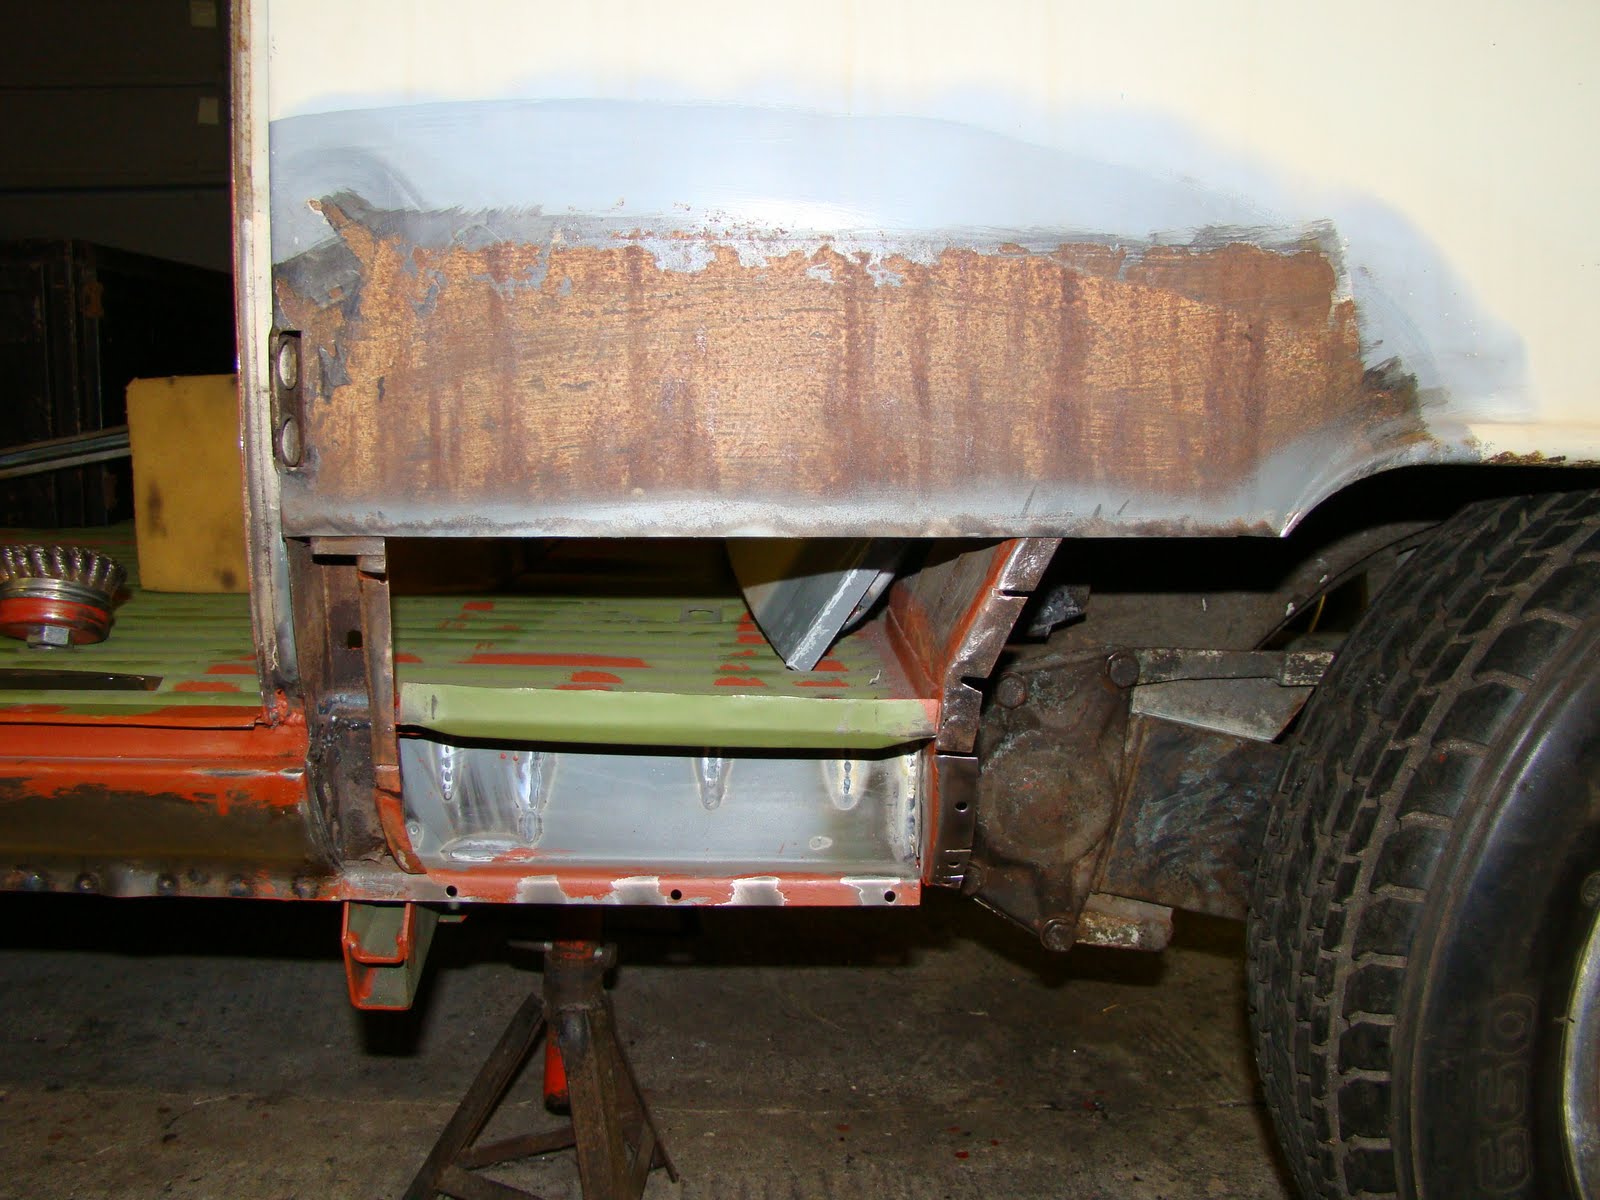
Rear Wheel Arch Repair
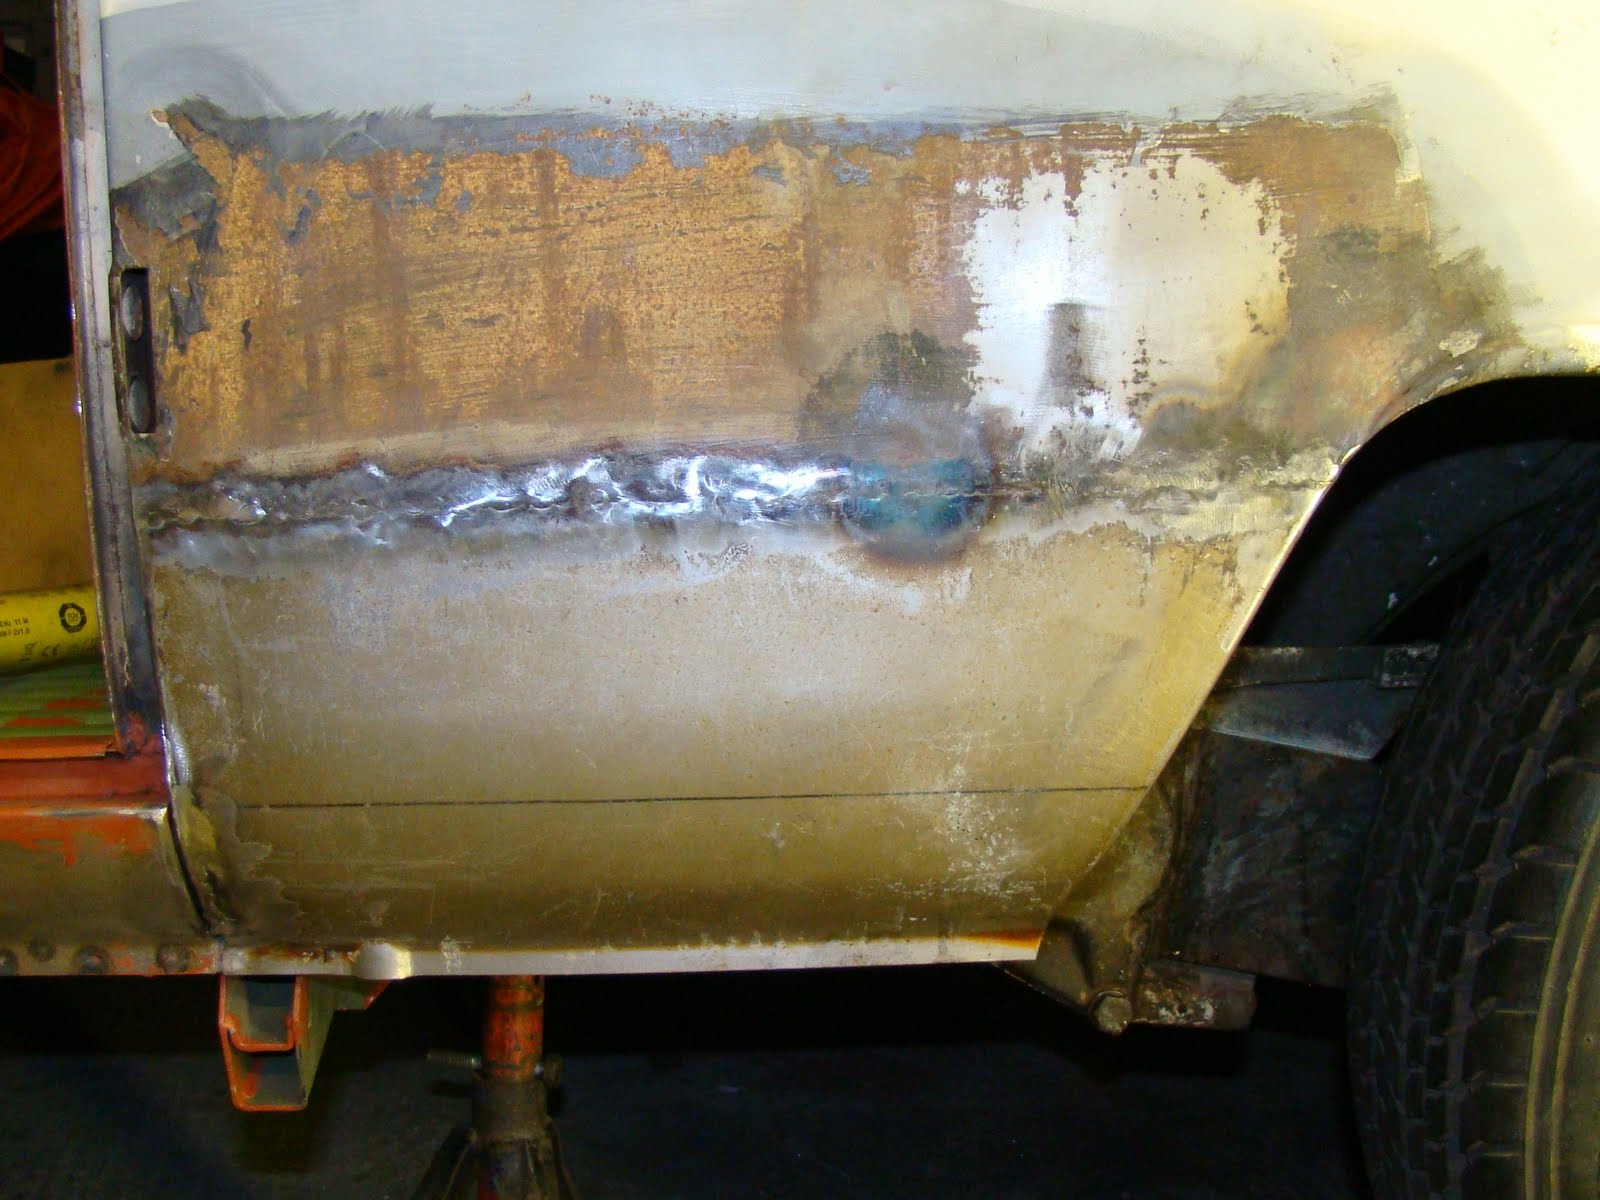
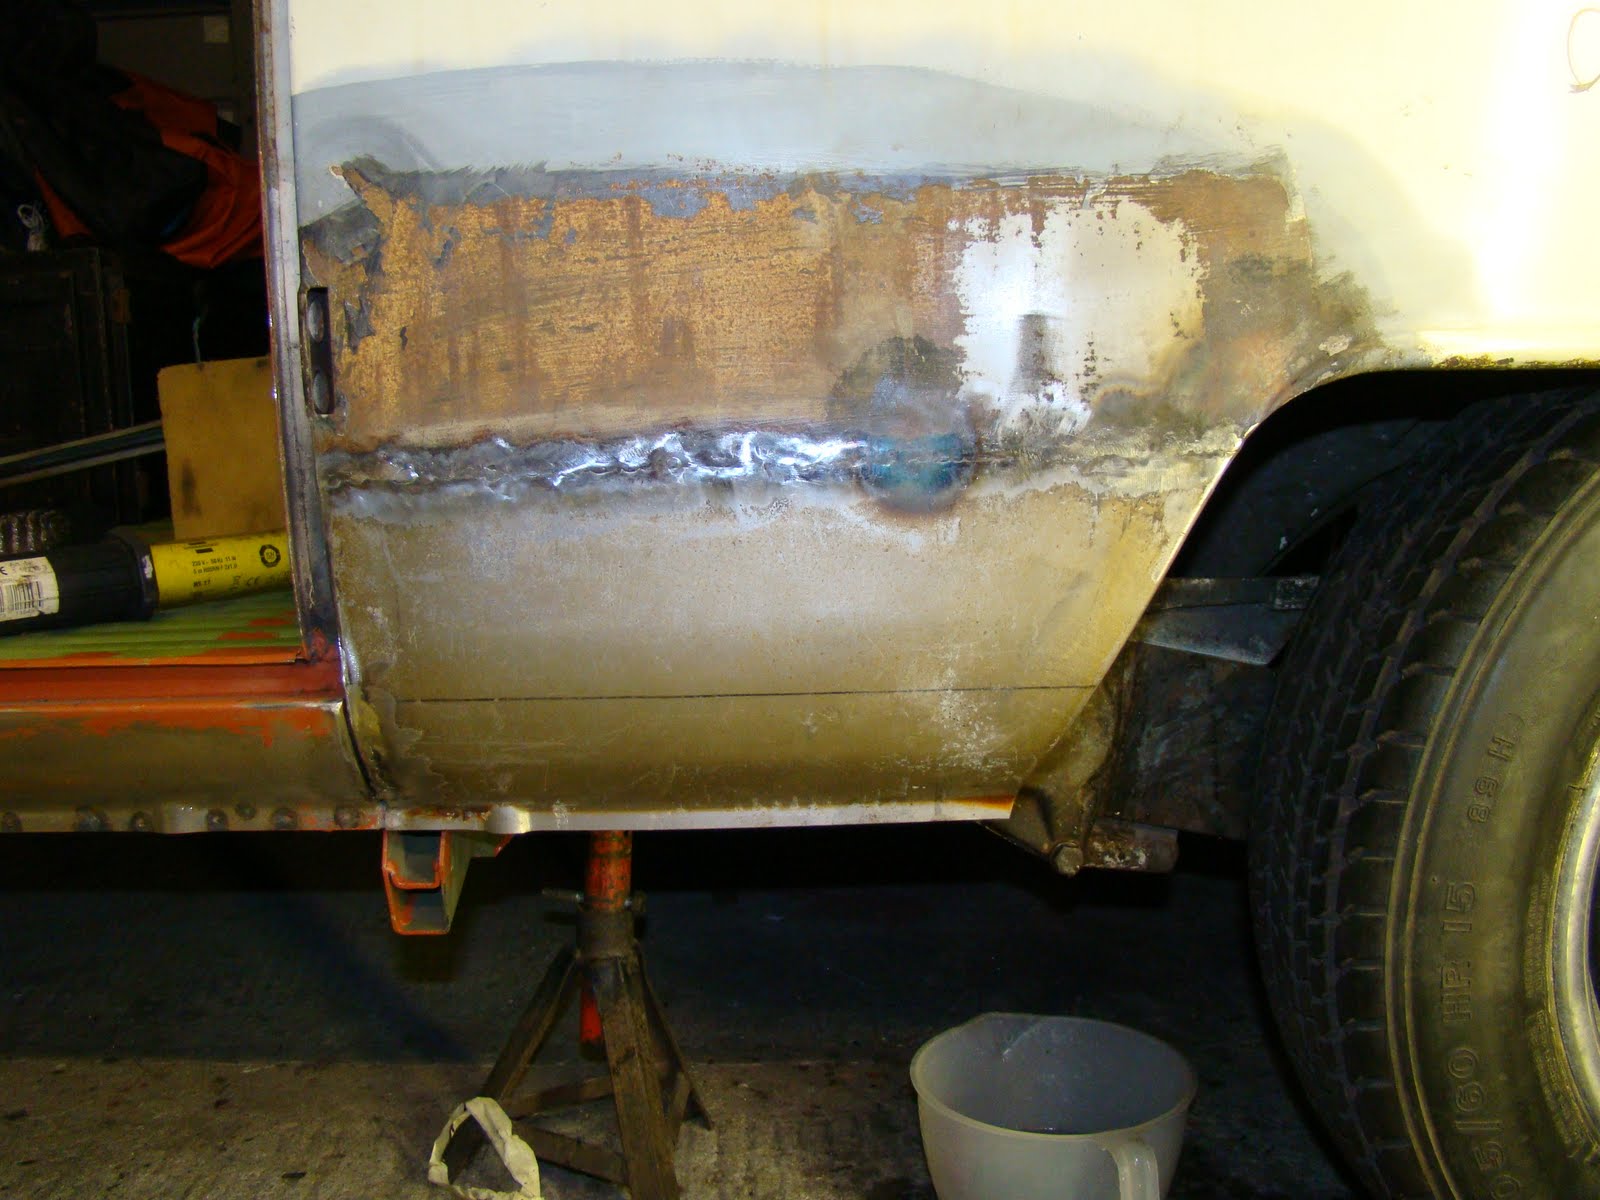
Here is another repair I did when I first started getting the van back together many (many) years ago. Looking back I'm not happy with what I did. The panel was buckled and the curve was more of a fold, the lip at the bottom of the sill was too low compared to the one on the cargo sill. I tried to bend it further up but this just formed another crease.
Trouble is that when I levelled the bottom of the panel with the bottom of the cargo door sill the panel came up short front and back, or more front or all back what ever way you look at it. The way I had cut the old patch out didn't make it easy to fit the new one either. The panel needed to be fitted lower or streched out longer. Not sure if this is because I welded my cargo door sills too high?
So with a bit of fabrication I cut and re-folded the forward edge but could not widen it as much as I needed to as I'd previously cut too much off so I got it lined up as best I could. I like my magnetic orange arrows.
With the cargo doors fitted I used a long spirit level (as seen in other posts) clamped to the doors to make sure I got the panel sitting flush and straight along the length of the van.
When I tacked the panel into position it warped in the centre butting the edges together. I took a cutting disc to the tack welds where the panels touched, this relieved the pressure and buckle between the two panels and got the skin flat again.
I still needed to line up the curve of the arch with the shorter repair panel, I did this with a gas torch and persuasion hammer. You can also see some hot spots on the upper panel where I heated the part of the skin that had been streached from the previour repair. I heated each spot to cherry red, when it started to deform I quickly blocked and hammered it flat, then again quickly whacked on a wet rag to shrink the metal. You really need three hands to do this.
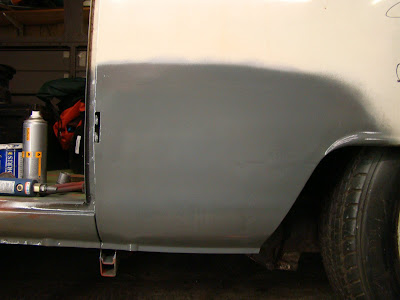
I seam welded the front and top edge and dragged out my spot welder to get a few spot welds to hold the panel to the front inner wheel arch support and to spot the lower lip to the inner sill. I shrunk one last spot along the top seam weld. The repair now looks a lot better than the previous attempt.
Panel Beating Cab Door
With only a few more panels and parts left to repair, my focus has now turned to preparing the body for paint. Having only rarely lifted a hammer in anger I decided last summer to try and get on a restoration course at college to learn how to hit the van to get the dents out! After reading VolksWorld's article on their test car I decided to give North West London College a try.

Attending the college evening classes they gave me the heads up on panel beating by starting with a mini front wing. With the basics under my belt I though I'd try my luck at getting the dent out of my front door. I filed and polished up the block and hammer until both were smooth, otherwise I'd press these imperfections into the doorskin which would be rather counterproductive even by my standards. So then I got to work getting the worst of the dent out.
I pushed and beat the dent from the inside to start, then using the block on the inside started to persuade the rest of the dent through. This is hard to explain with just pictures, something I'm still trying to get right. When you get a decent strike between the hammer and the block there's a satisfying "ting" which squashes the skin and raises it up depending how hard you hit it.
With a little of the dent raised I filed over the area with a bastard file taking off the paint and showing the high areas, this let me work on the lower points.
With a bit more beating and filing you can see the skin looking smoother but the low points started to spread.
I then used a rattle can of guide coat paint to replace the paint I'd removed from filing, this stuff dries in 30 sec.
With another file over the top it reveled the a final few low spots that needed beating to get the area smooth.
This took about 2 hours, the hardest part is not hitting the panel too hard thus making it stretch and bulge. I also had to make sure that I didn't mistakenly hit the dents around their edge and end up chasing it across the panel.
Then a final coat of filler primer to protect It for now. It doesn't look too bad and not a pot of filler was opened. A coat of gloss paint should tell how good my handy work turned out.
I have just awarded myself the Panel Beater (Stage 1) badge.
It's Been A Cold And Slow Winter
There has been another reason to keep me from working on the van and that's the new addition to the familly. A 3 months old golden labrador, she is small enough to hide under the van with variour parts from the garage floor in her mouth refusing to come out because it's too much fun; for her.
She is also good enought to inspect my panel work with her teeth, so hard to get any thing done when a cute puppy just wants to lick your ears all the time. She is rubbish at welding though, the mask keep falling off her snout.