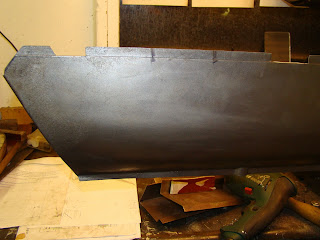
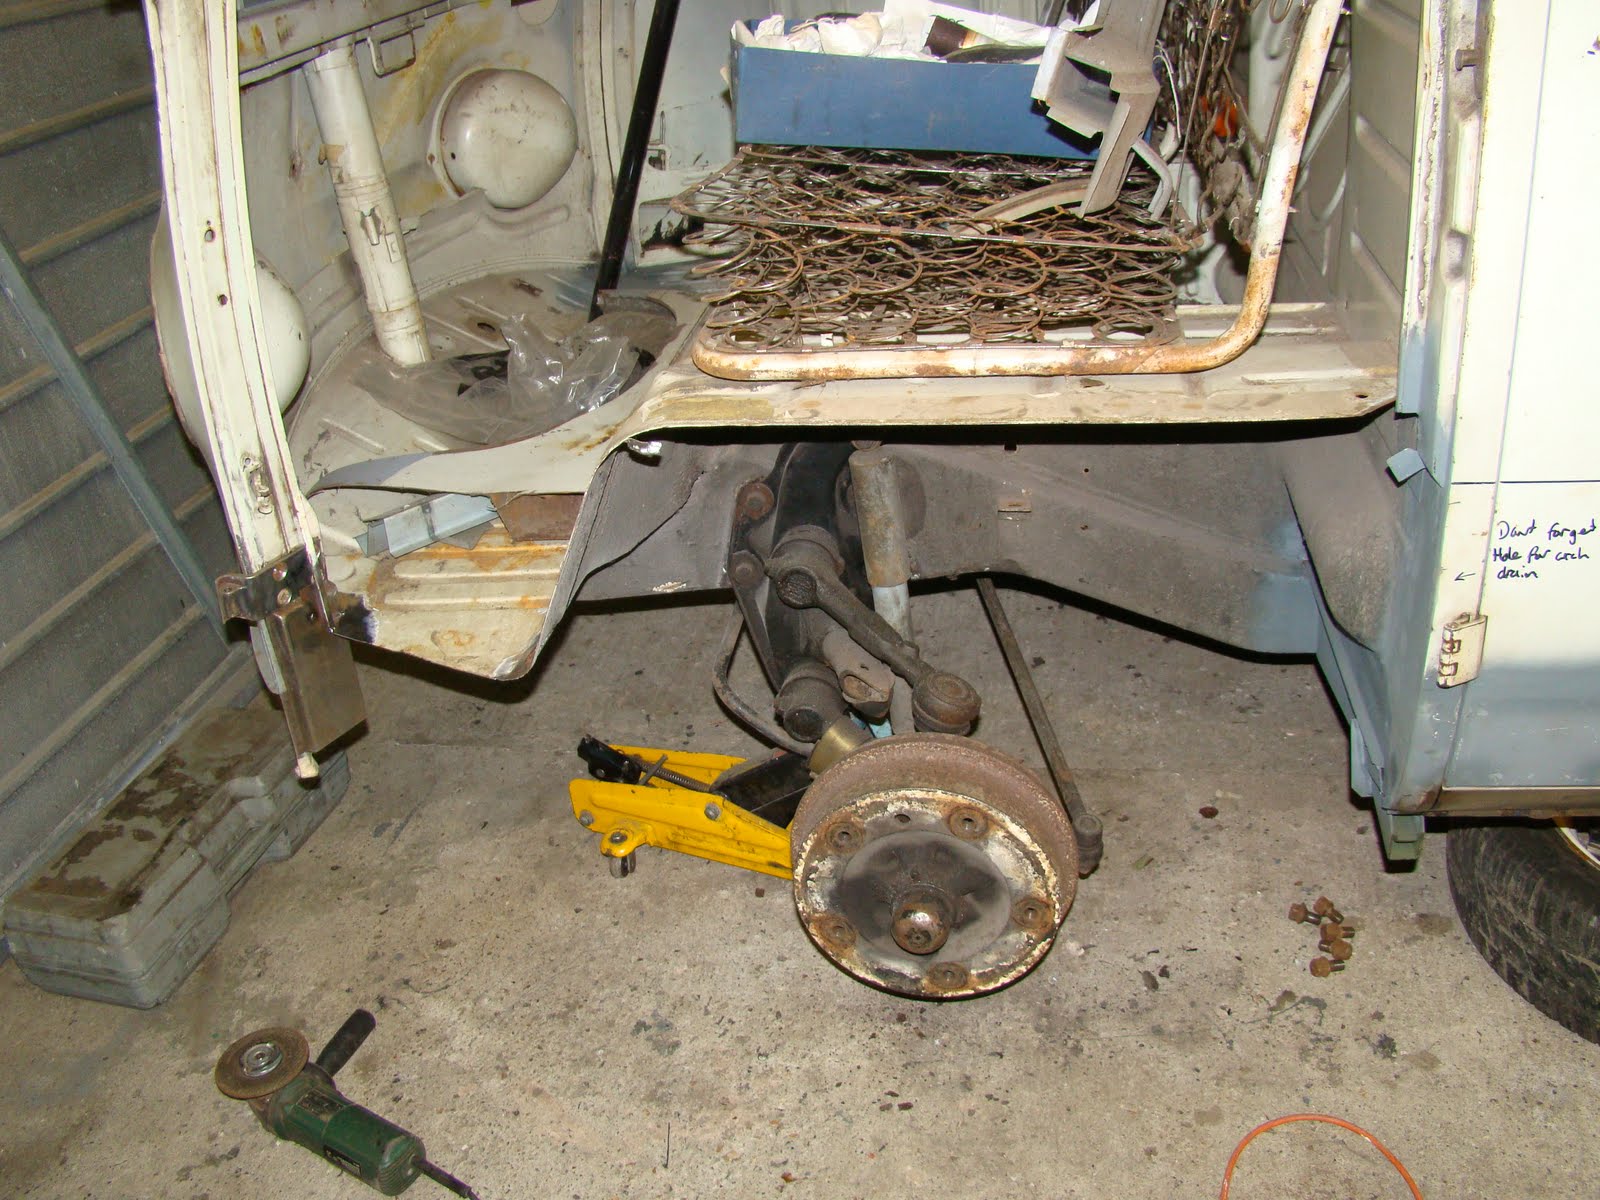
 Educated by the mistakes of the right wheel arch I attempted to fit the left side. I'd previously cut away the lower part of the arch to repair the bottom of the "A" pillar (that's the shiny bit in the bottom left corner) and front inner and outer valance. I cut the rest away with a cutting disc along the seal carrier and chain drilled around the two curves, this left me to grind away the spot welded strip left attached to the under side of the cab floor.
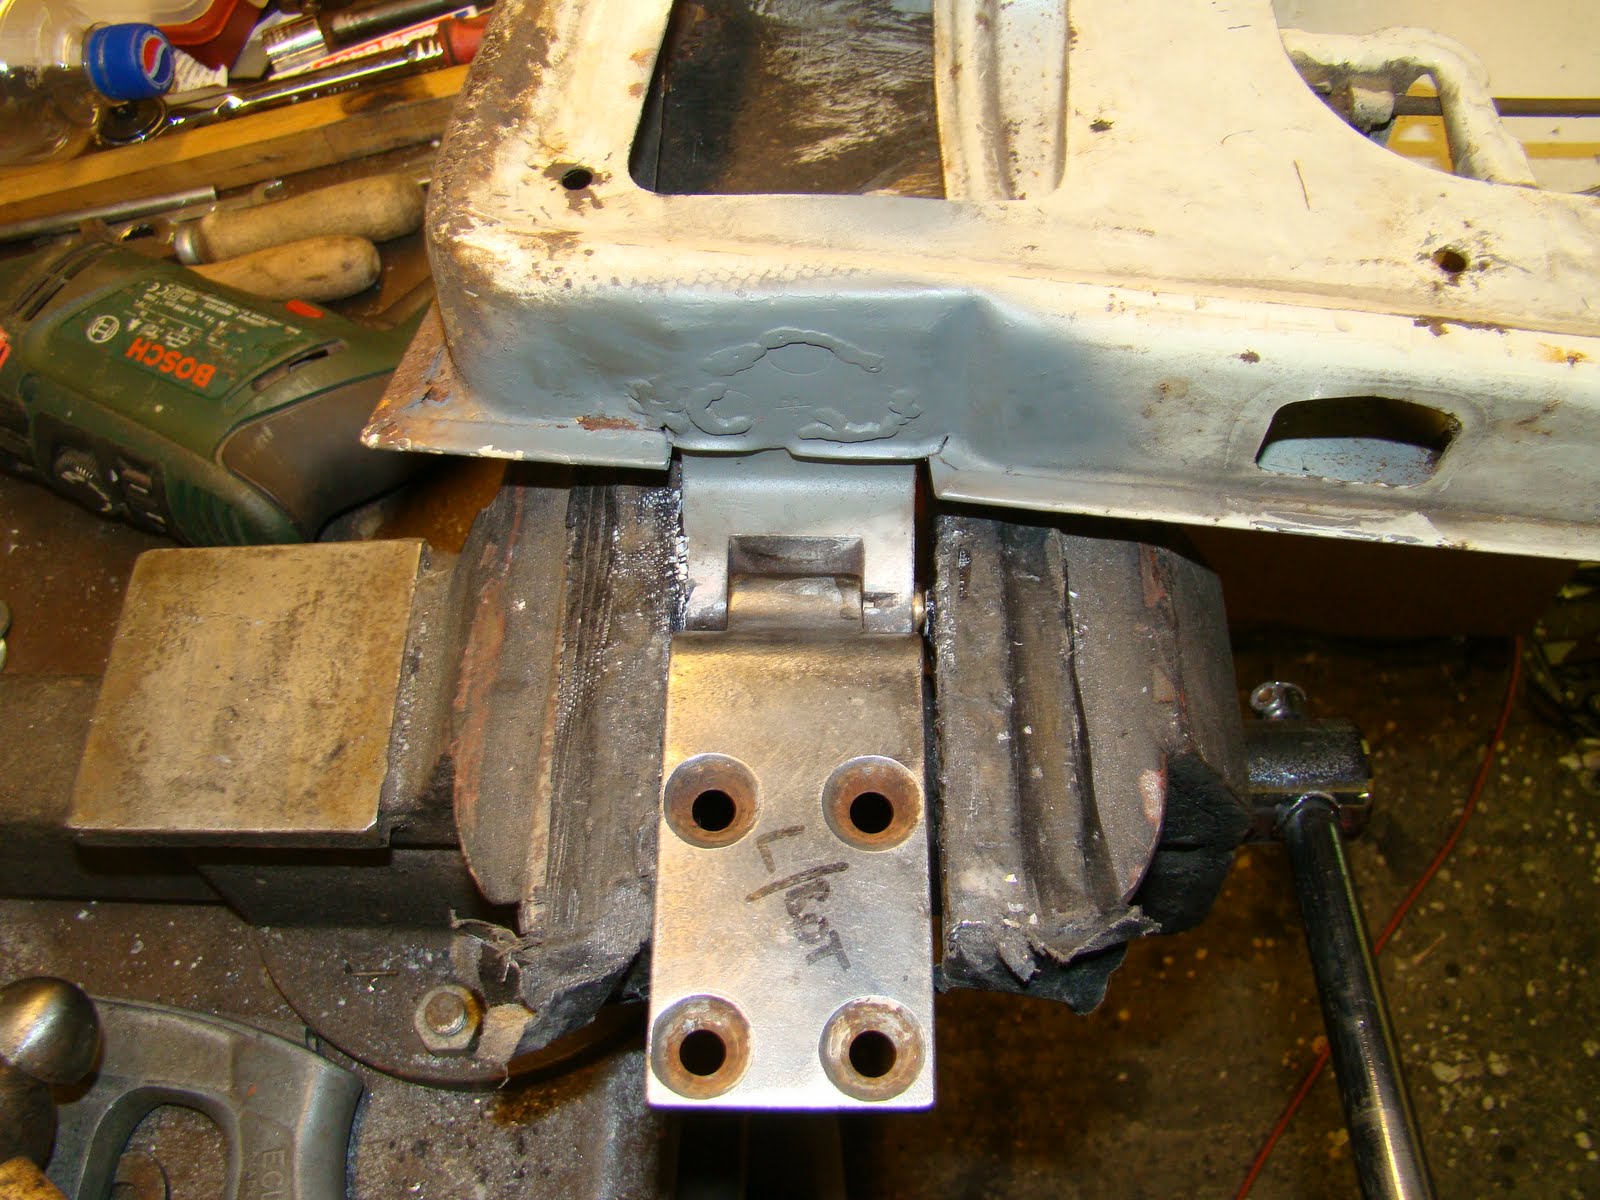 So that I knew the arch would be in the correct position I needed to fit the new cab door using over sized hinge pins. You can see the lower pin needed lots of persuasion, it was squeezed in the vice with plenty of heat after I'd bent two large G clamps. Yes, just like that bit in Casino...
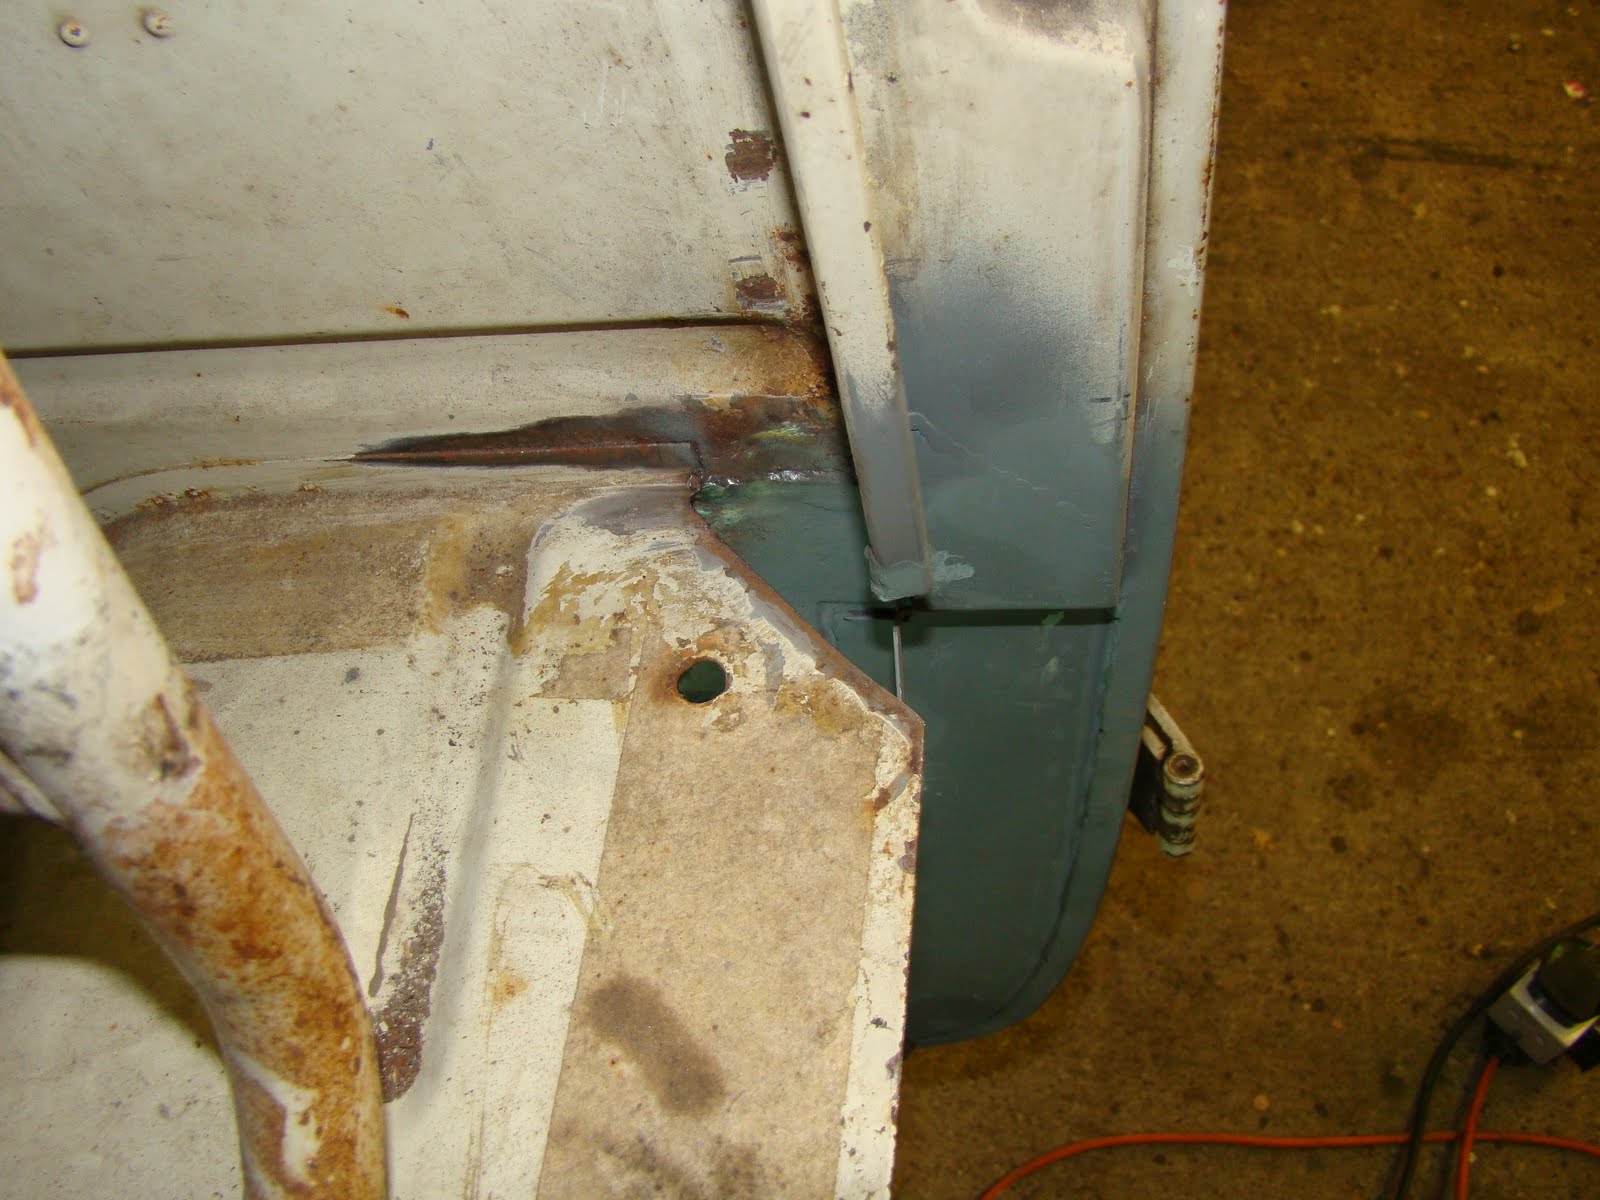 There were also sections of the cab floor to repair before I could start fitting the new arch
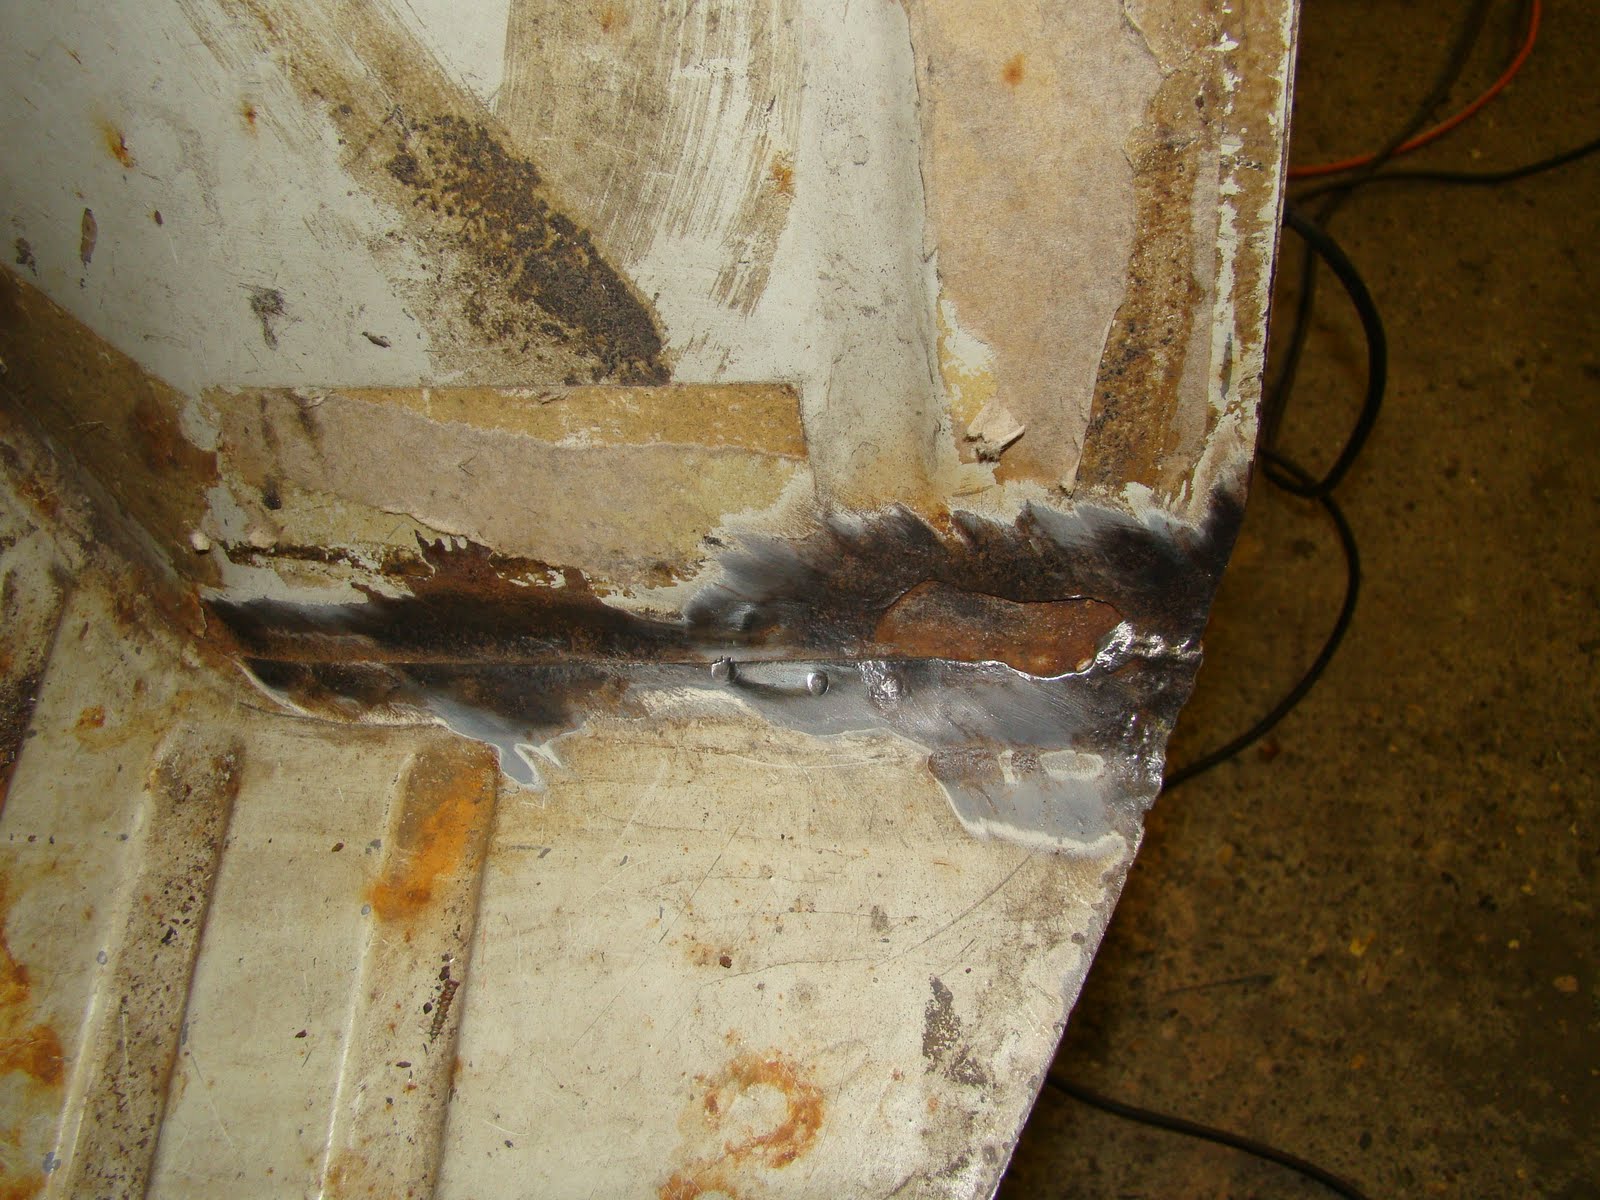 Another patch to cut away and repair correctly before I could get started
 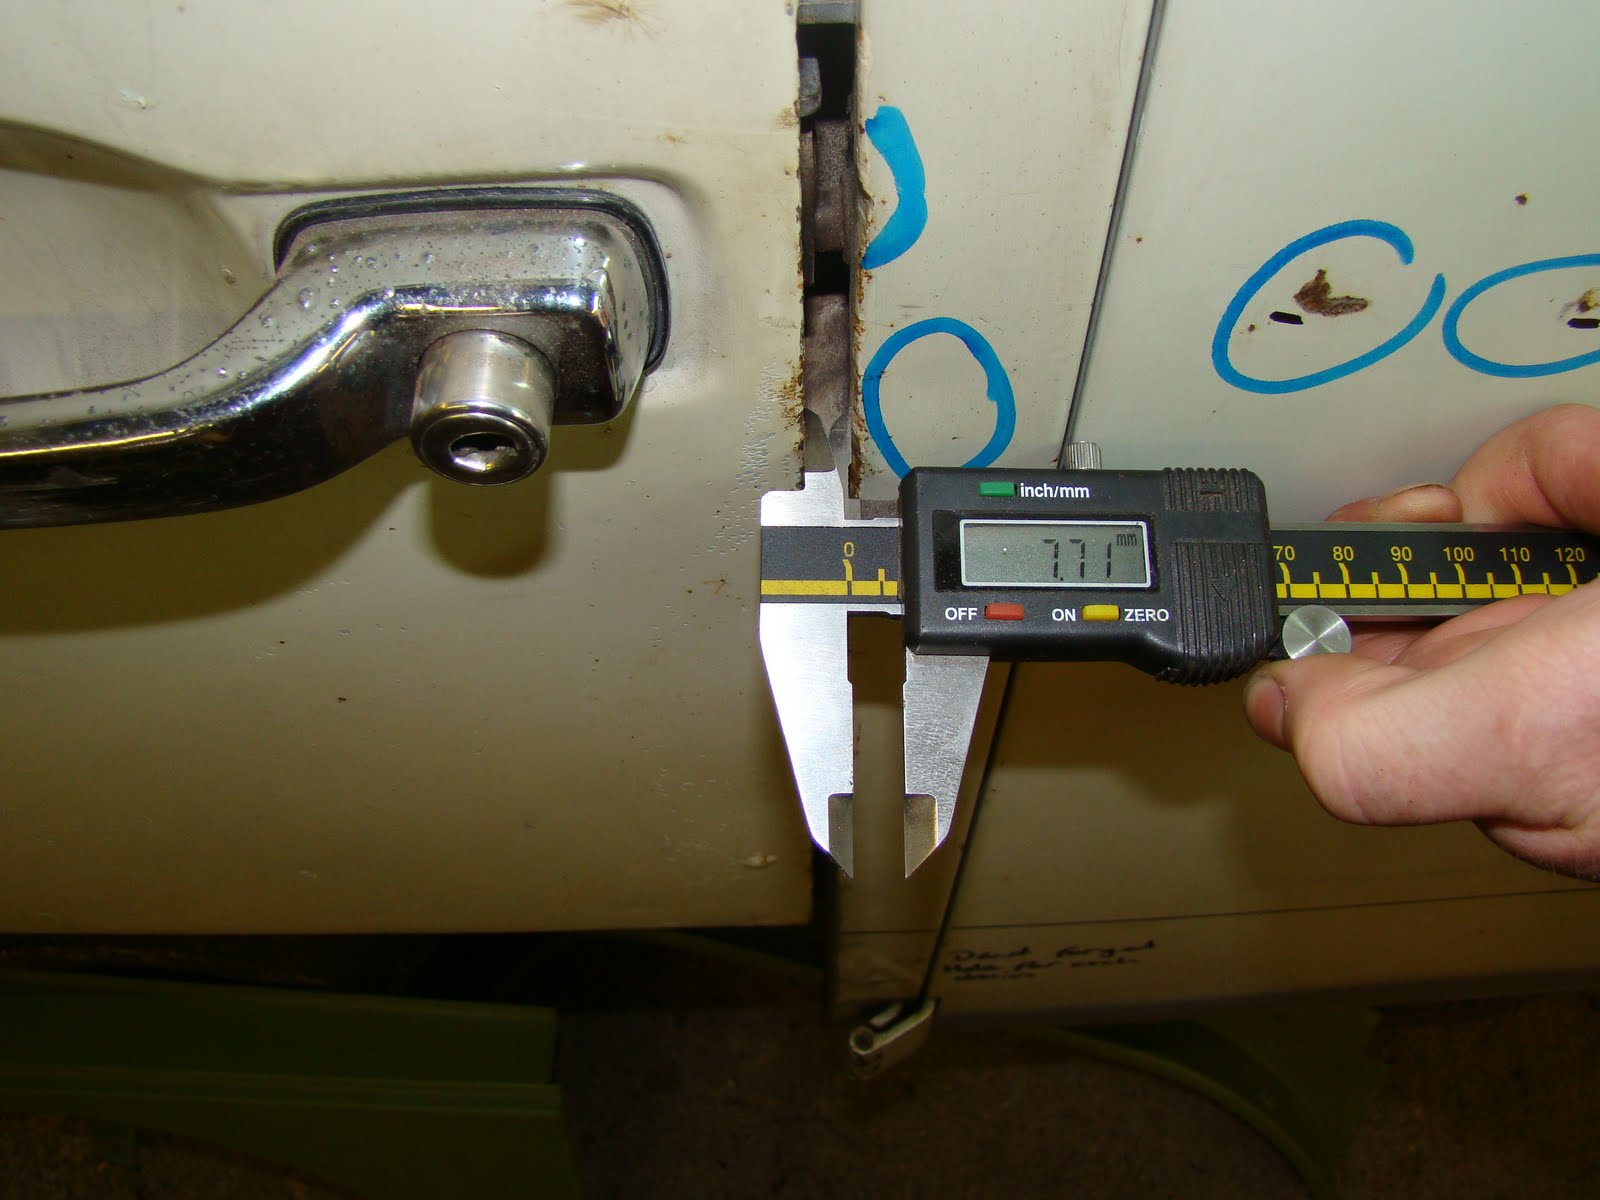 Once the cab floor was tidy I could fit the door, but as I closed it the latch would not sit on the pin The door gap was 7mm compared to 4mm on the other side, this could have been from a crash, getting my van wedged against the brick wall and an arctic lorry on a single track humped back bridge or from when I originally cut the out the arch and repaired the front valance. I tried strapping up the "A" and "B" pillars to pull them together but could only get about 1mm of movement.
So I decided to shim up my door hinges to get the correct gap so I could start fitting the wheel arch
Once the cab floor was tidy I could fit the door, but as I closed it the latch would not sit on the pin The door gap was 7mm compared to 4mm on the other side, this could have been from a crash, getting my van wedged against the brick wall and an arctic lorry on a single track humped back bridge or from when I originally cut the out the arch and repaired the front valance. I tried strapping up the "A" and "B" pillars to pull them together but could only get about 1mm of movement.
So I decided to shim up my door hinges to get the correct gap so I could start fitting the wheel arch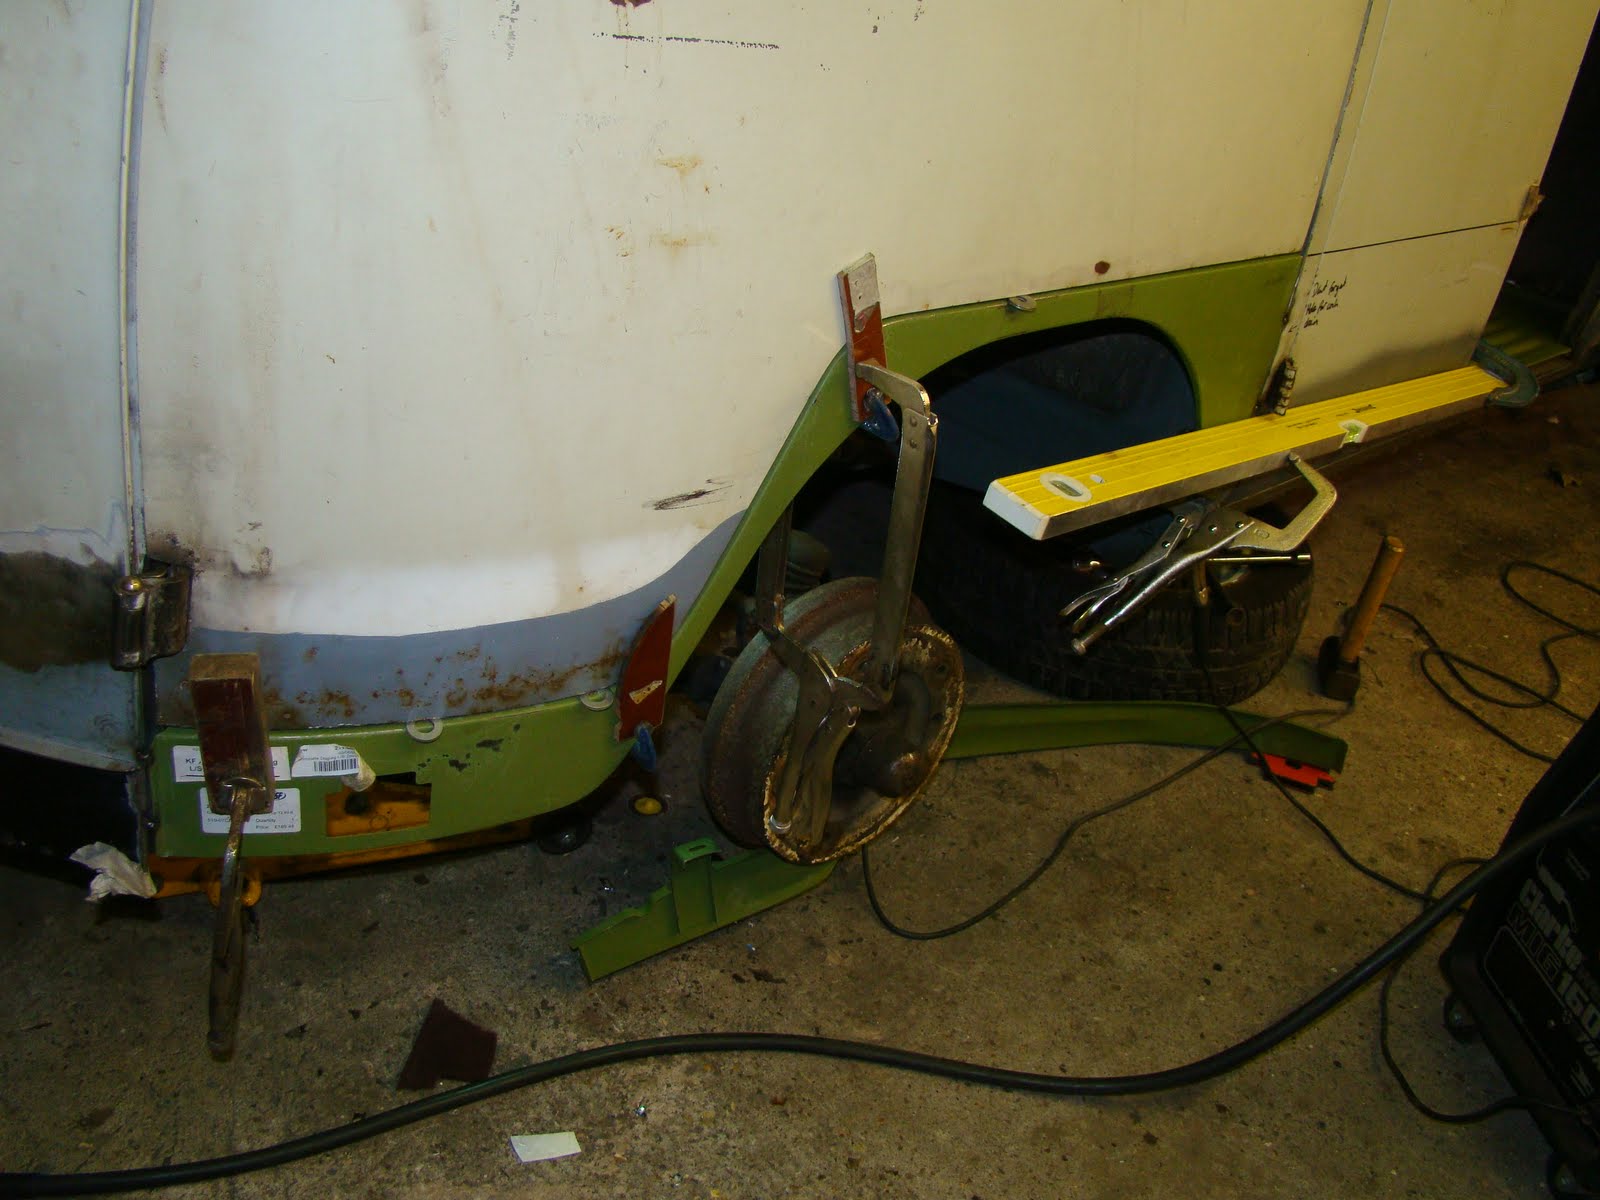 I started as I did on the other side by clamping just the outer skin into position anyway I could. The straight edge of the spirit level Is to make sure the skin stayed in line with the doors not just some thing i grabbed to clamp the arch in it position. By using thick washers you can just see poking out I got an even gap between the door bottom and top of the arch outer skin. I then welded a few tack welds in strategic places (these ideal tack weld spots were found after the arch fell off into my lap twice) to hold the skin so that I could remove the clamps, open the door and check the alignment.
 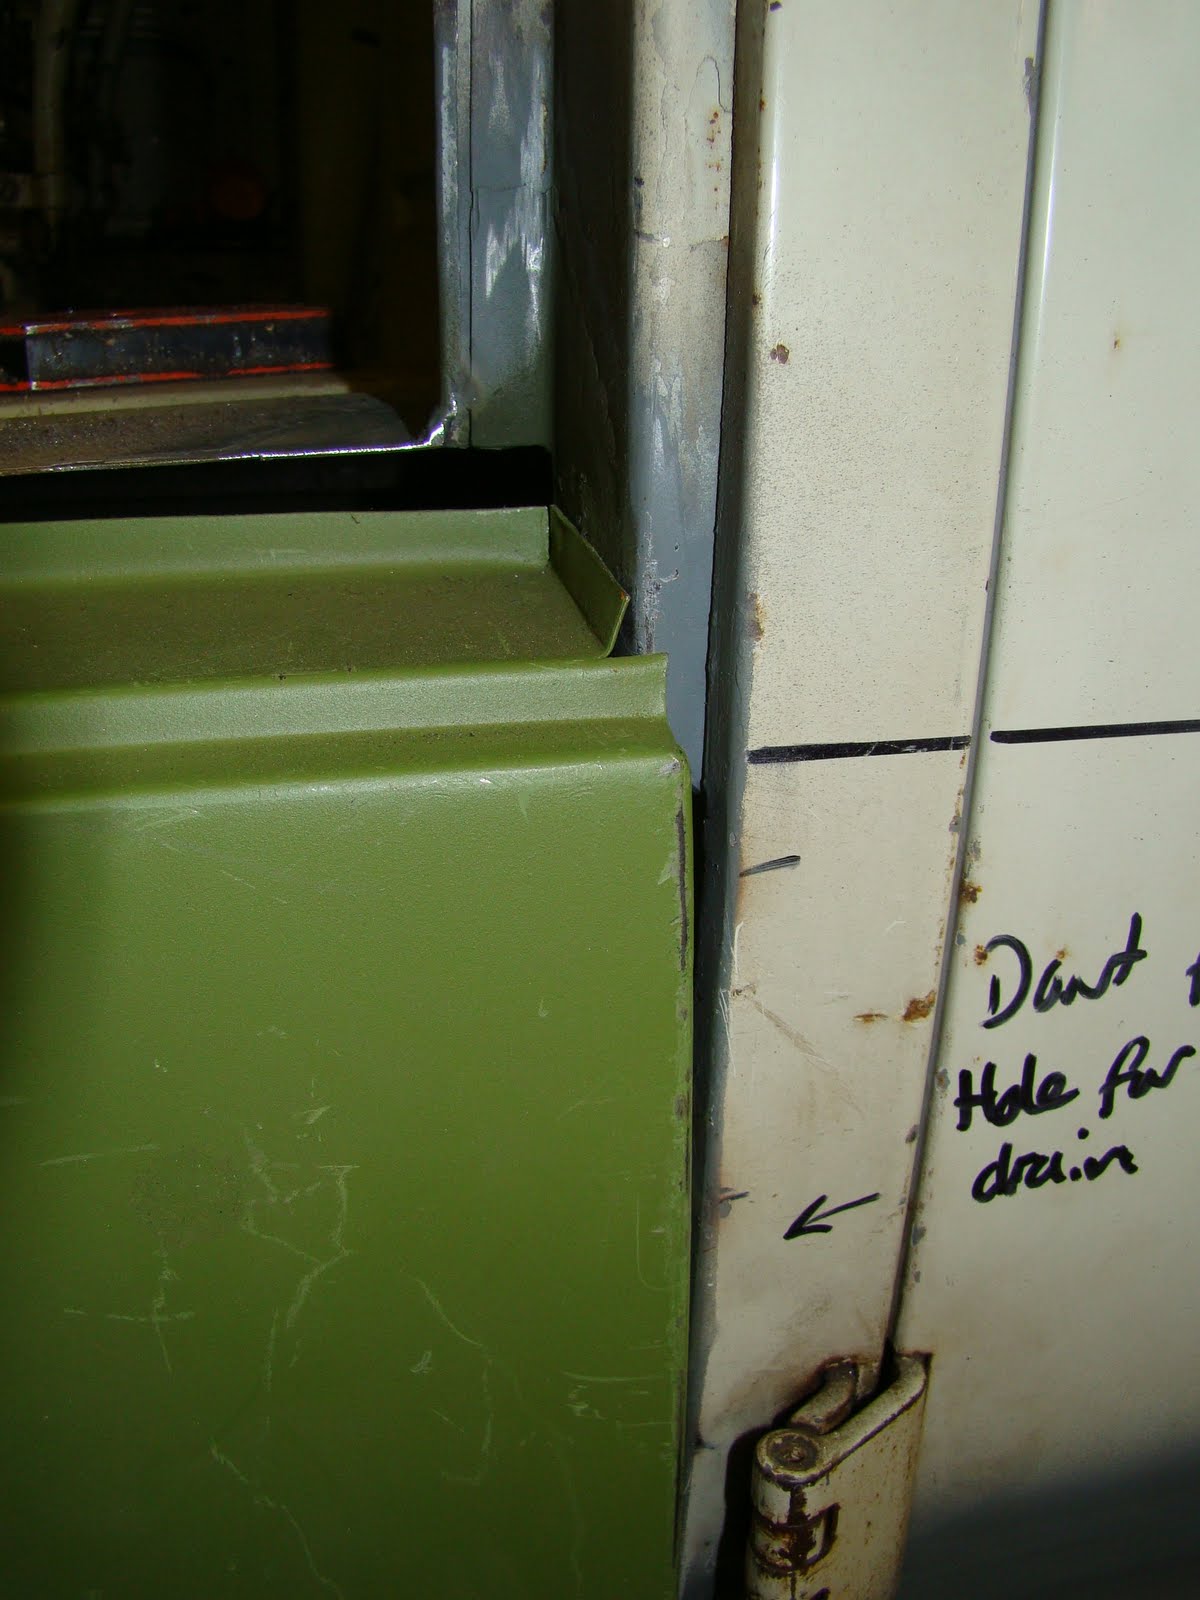 With the outer skin tacked in position and lined up with the bottom of the door, I found that the back edge curved forward from the B pillar at the top to give this gap, and the step under the door dropped away at the back corner.
This took a bit of panel beating to straighten up to fit.
And yes, when I'm working on the van and my phone rings I do sometimes use the van as a giant note pad.
 I then clamped the inner skin into position any where I could fit a clamp, I then marked where both skins would meet each other and the cab floor. This showed me the arch's position and where I needed to clean to bare metal for spot welding.
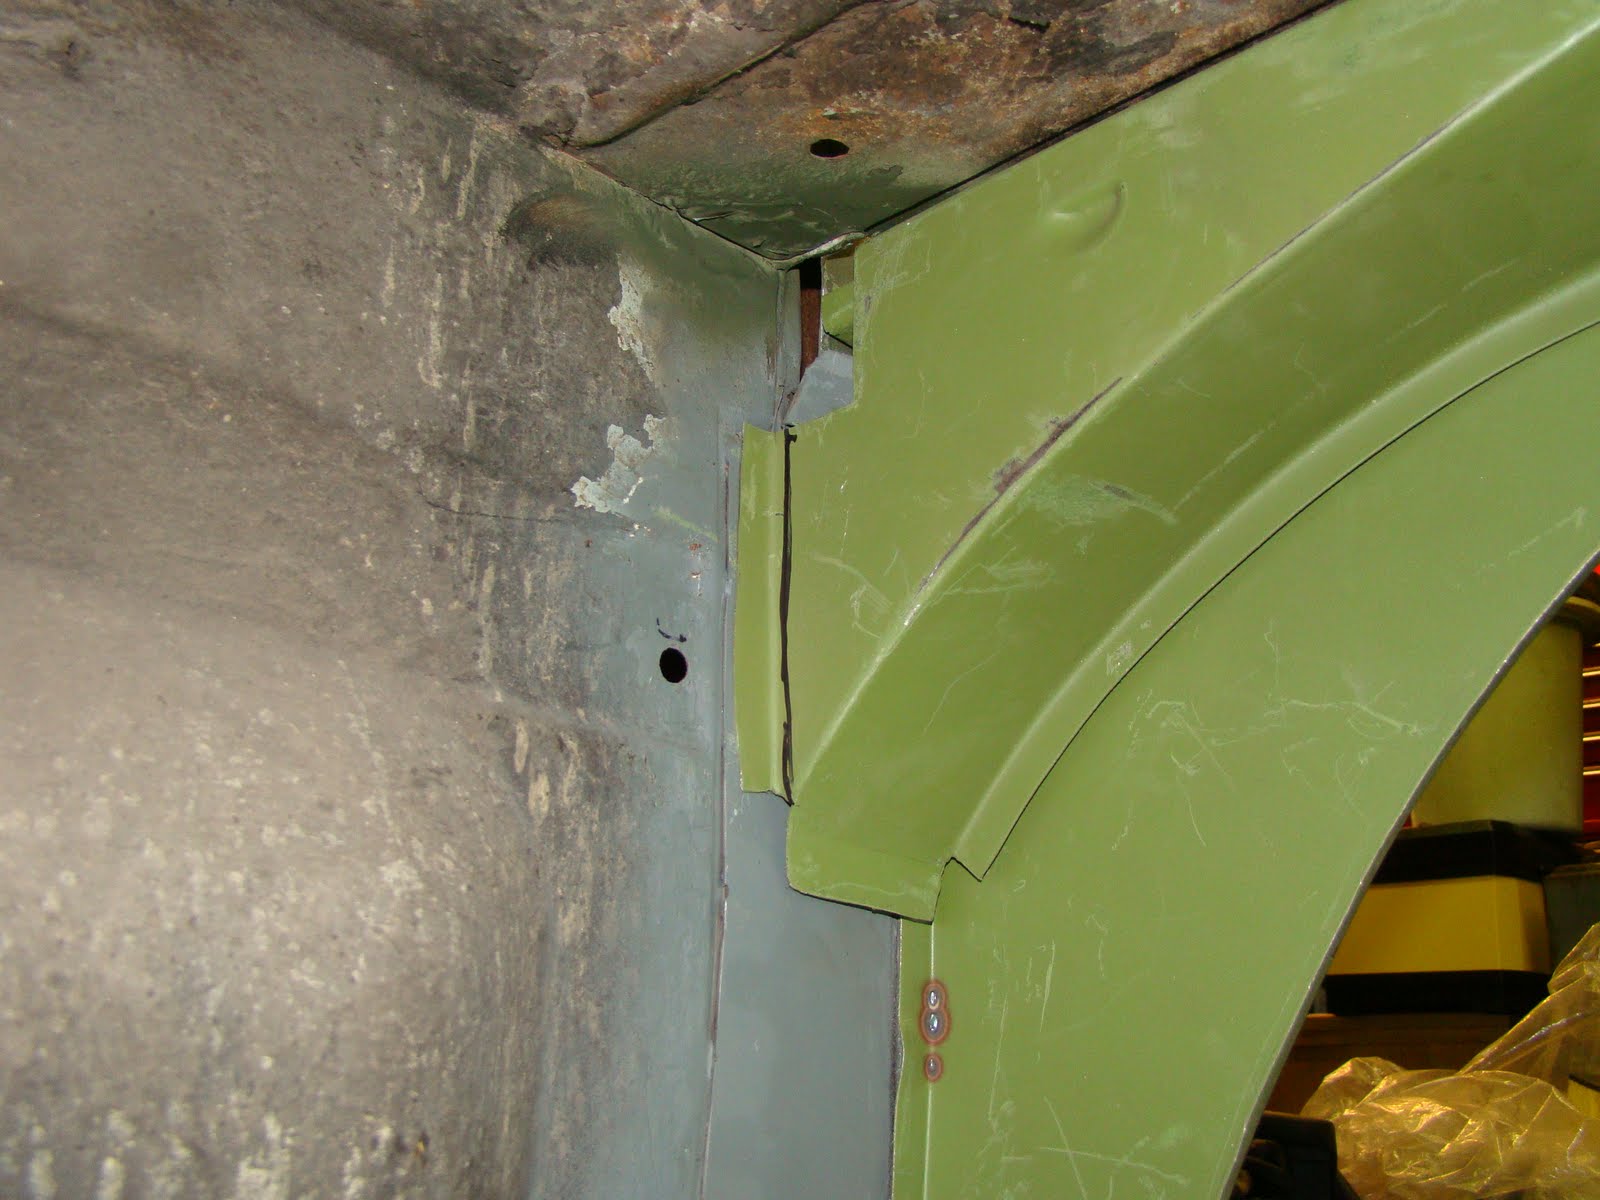 The back edge of the inner skin had a gap, this was probable from the same problem as my door position so needed the bends moving out a few millimeters.
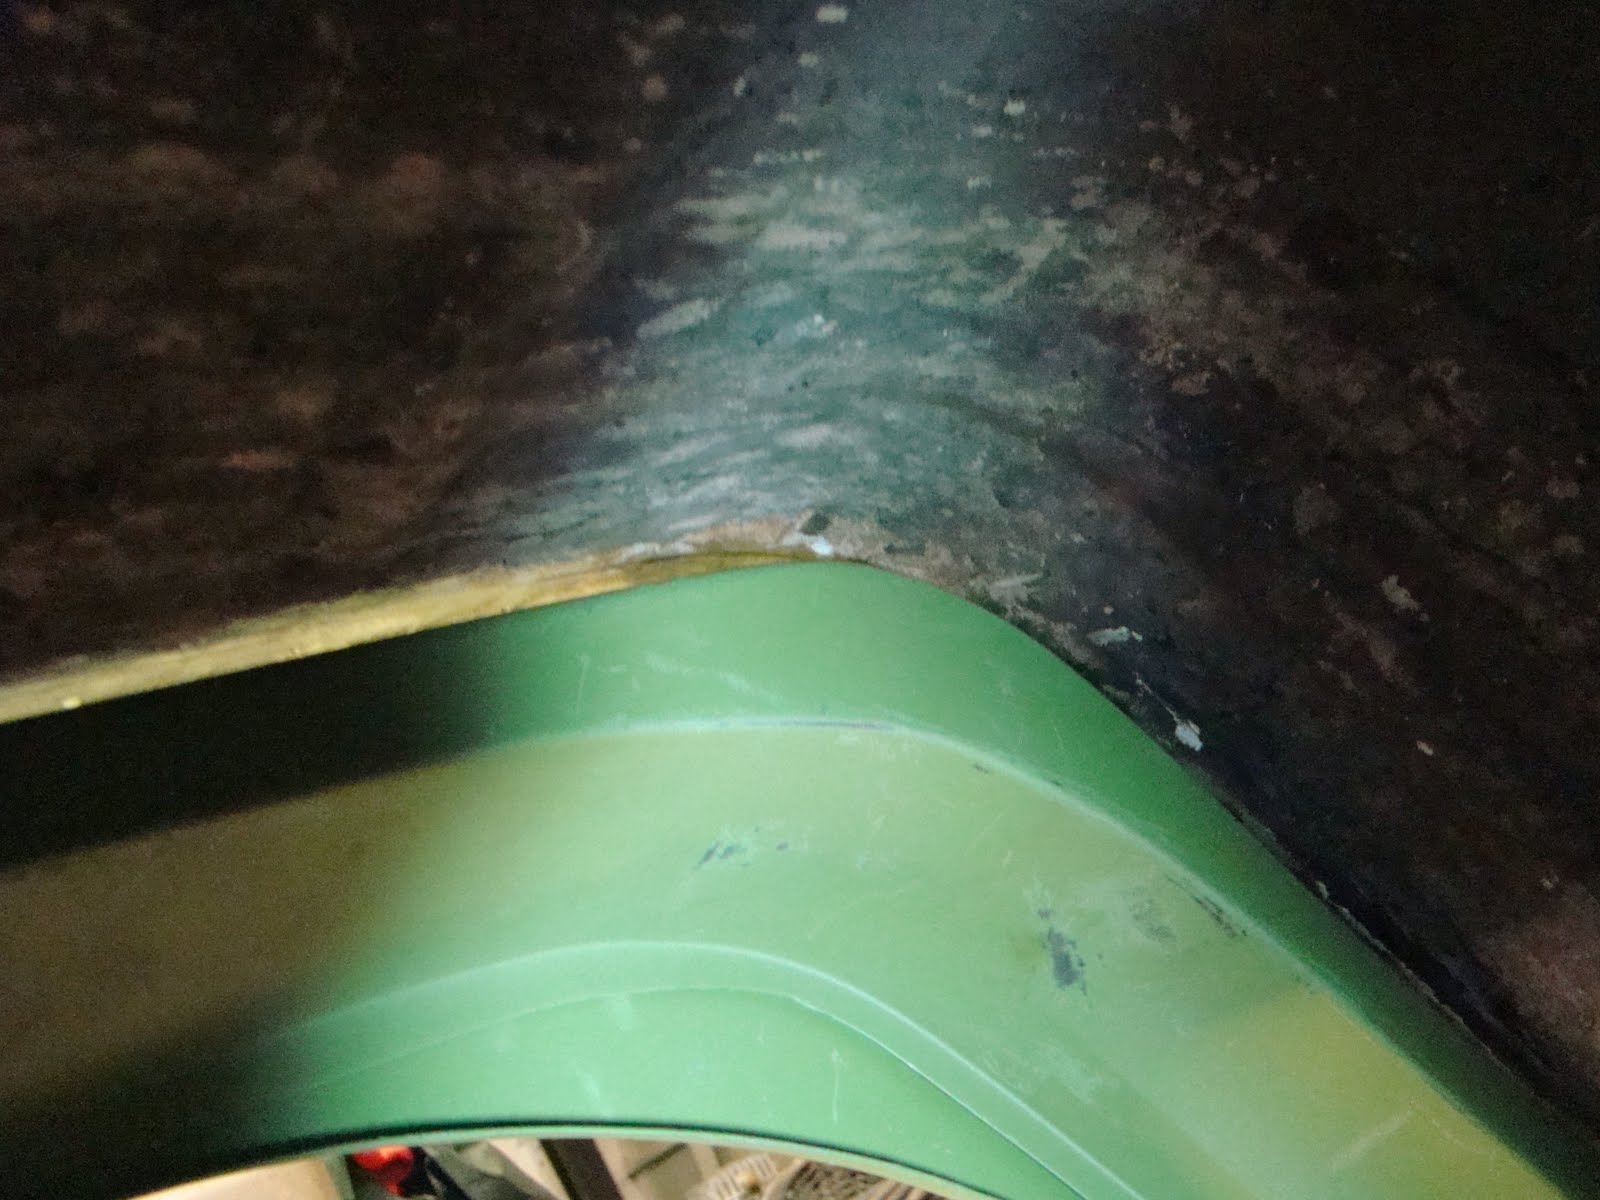 The curve of the inner skins at the top bend was to shallow, pushing the seal carried away from the top of the arch, so I cut a few small slits in the bend to shrink the curve to fit better.
 The lower part of the dog leg was also pushing down partly due to the way the piece was formed but also because of a larger radius at the lower bend. Again I cut some slits this time in the cab floor to increase the radius for a snugger fit. Then using the rod part of an axle stand on a jack to push the panel up into the desired position.
 Clamping the two skins together while trying to keep them in the right position was still very tight at the two bends. I had to cut a block that would fit into the seal carrier, then using two Daddy G clamps (not these, they are only babies) push the two skins together, I then drilled a couple of holes and used aviation skin pins to keep the inner and outer skins clamped together. These skin pins allowed me to keep trial fitting the panel with out the baby G clamps getting in the way.
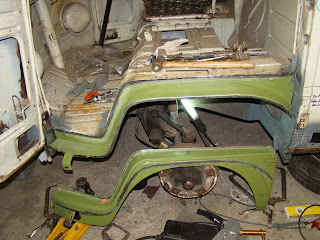
 After many trial fits making sure the inner skin was not pushing the outer skin out or that it was under the arch enough to have room for the seal carrier and having to re-adjust the door a few more times I was finally happy with the arches position.
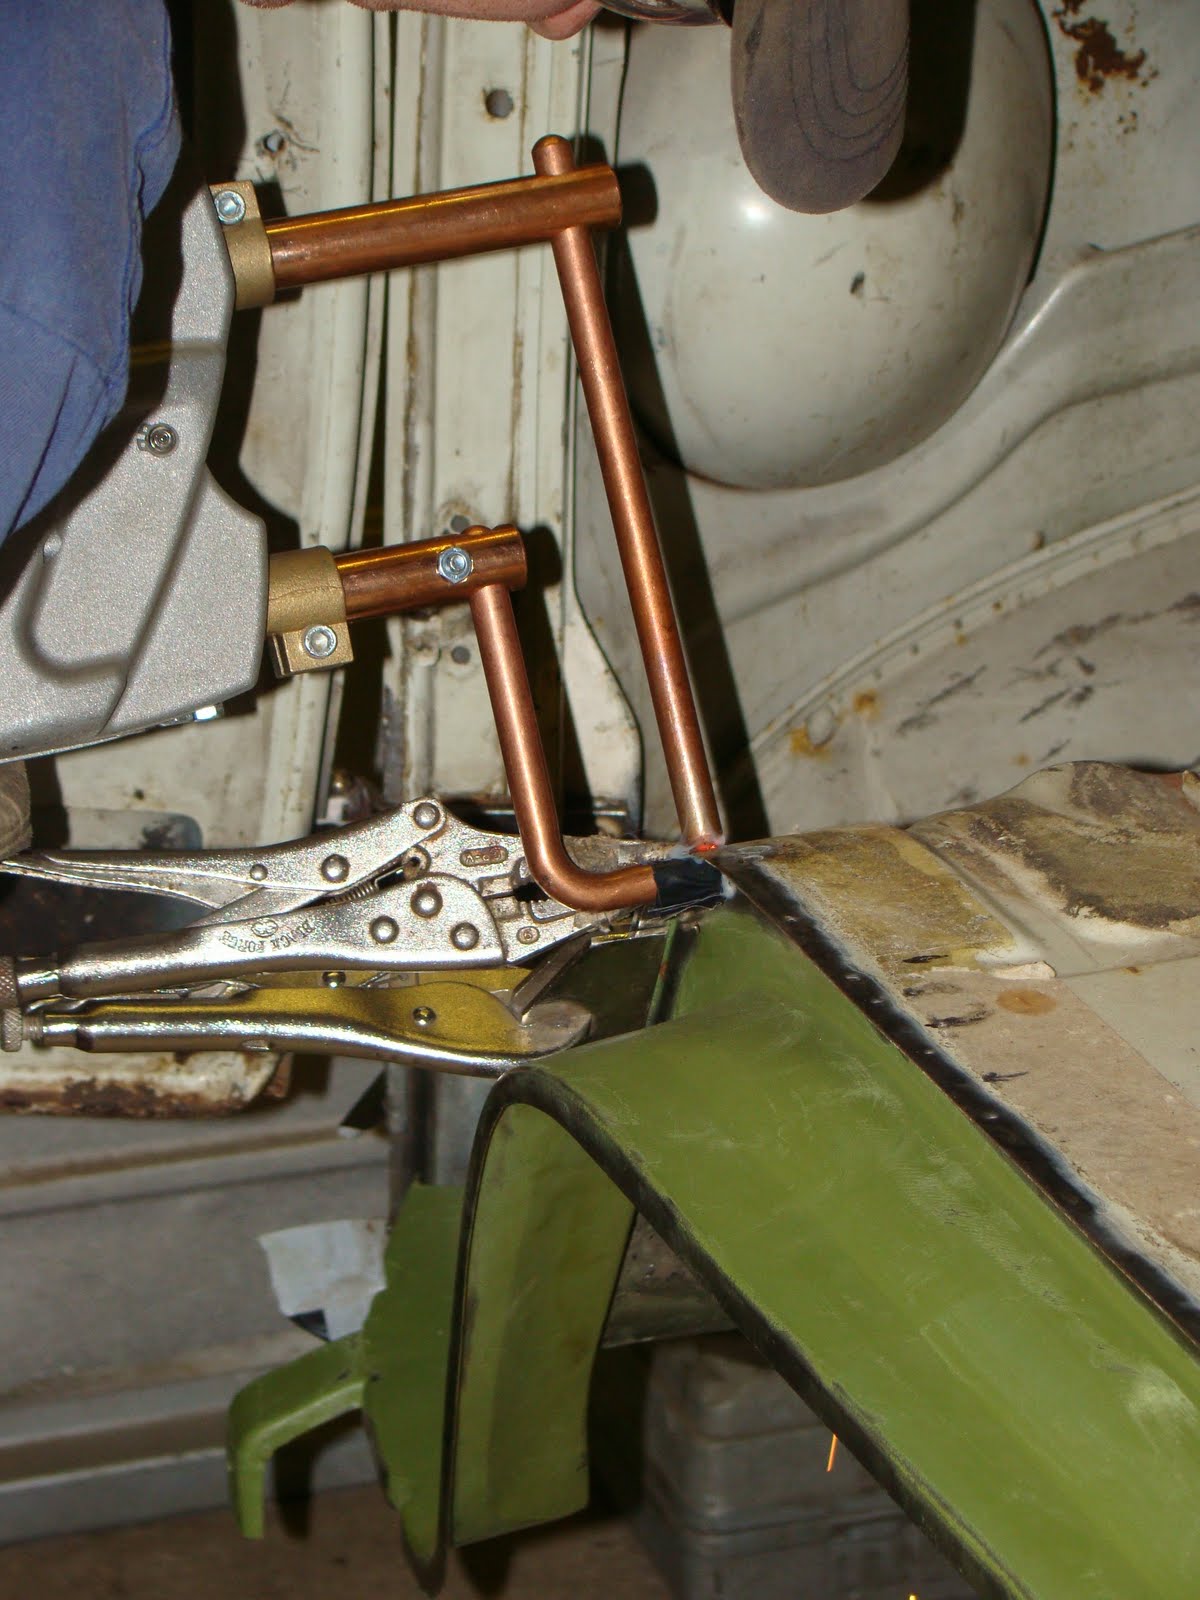
I wire wheeled all the paint off each skin both sides where it was going to be spot welded then positioned the inner skin in its marked position. Making sure both bends were tight against the cab floor skin, and that the sloped edge was flush, I set up the spot welder and welded the top bend first, then the lower still making sure there was no gap between the sloped edges.
 I then worked forward and back along the top edge with the spot welder to get the inner skin welded in its position.
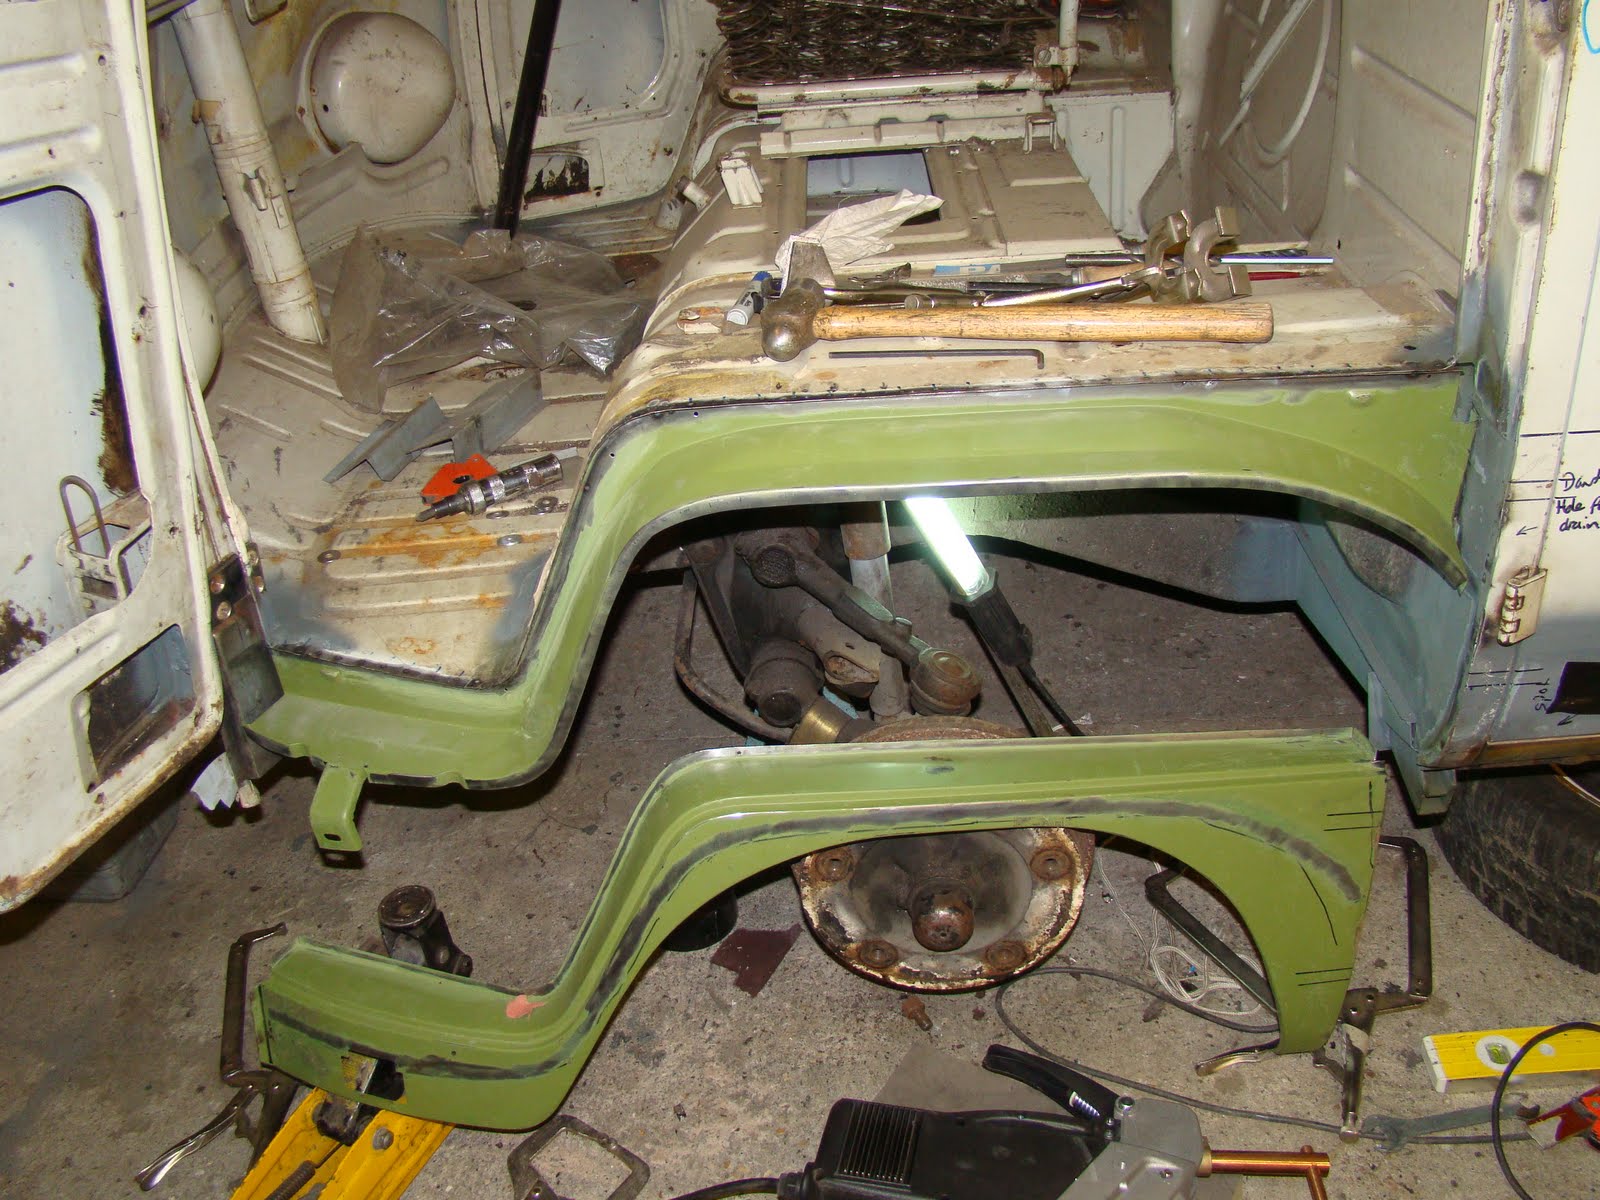 I then worked forward and back along the top edge with the spot welder to get the inner skin welded in its position.
One thing I forgot to do this side was make sure the bumper mount was in the correct position. On the other side I cut off the new mount and welded the original one in its place. so I may have odd bumper mounts. I wondered if I lose points for that if I enter the van for a Concourse D'Elegance?
 Using the skin pins I clamped the outer skin into position, and you can see how I'm able to close the cab door to check its position
 Using the skin pins I clamped the outer skin into position, and you can see how I'm able to close the cab door to check its position
 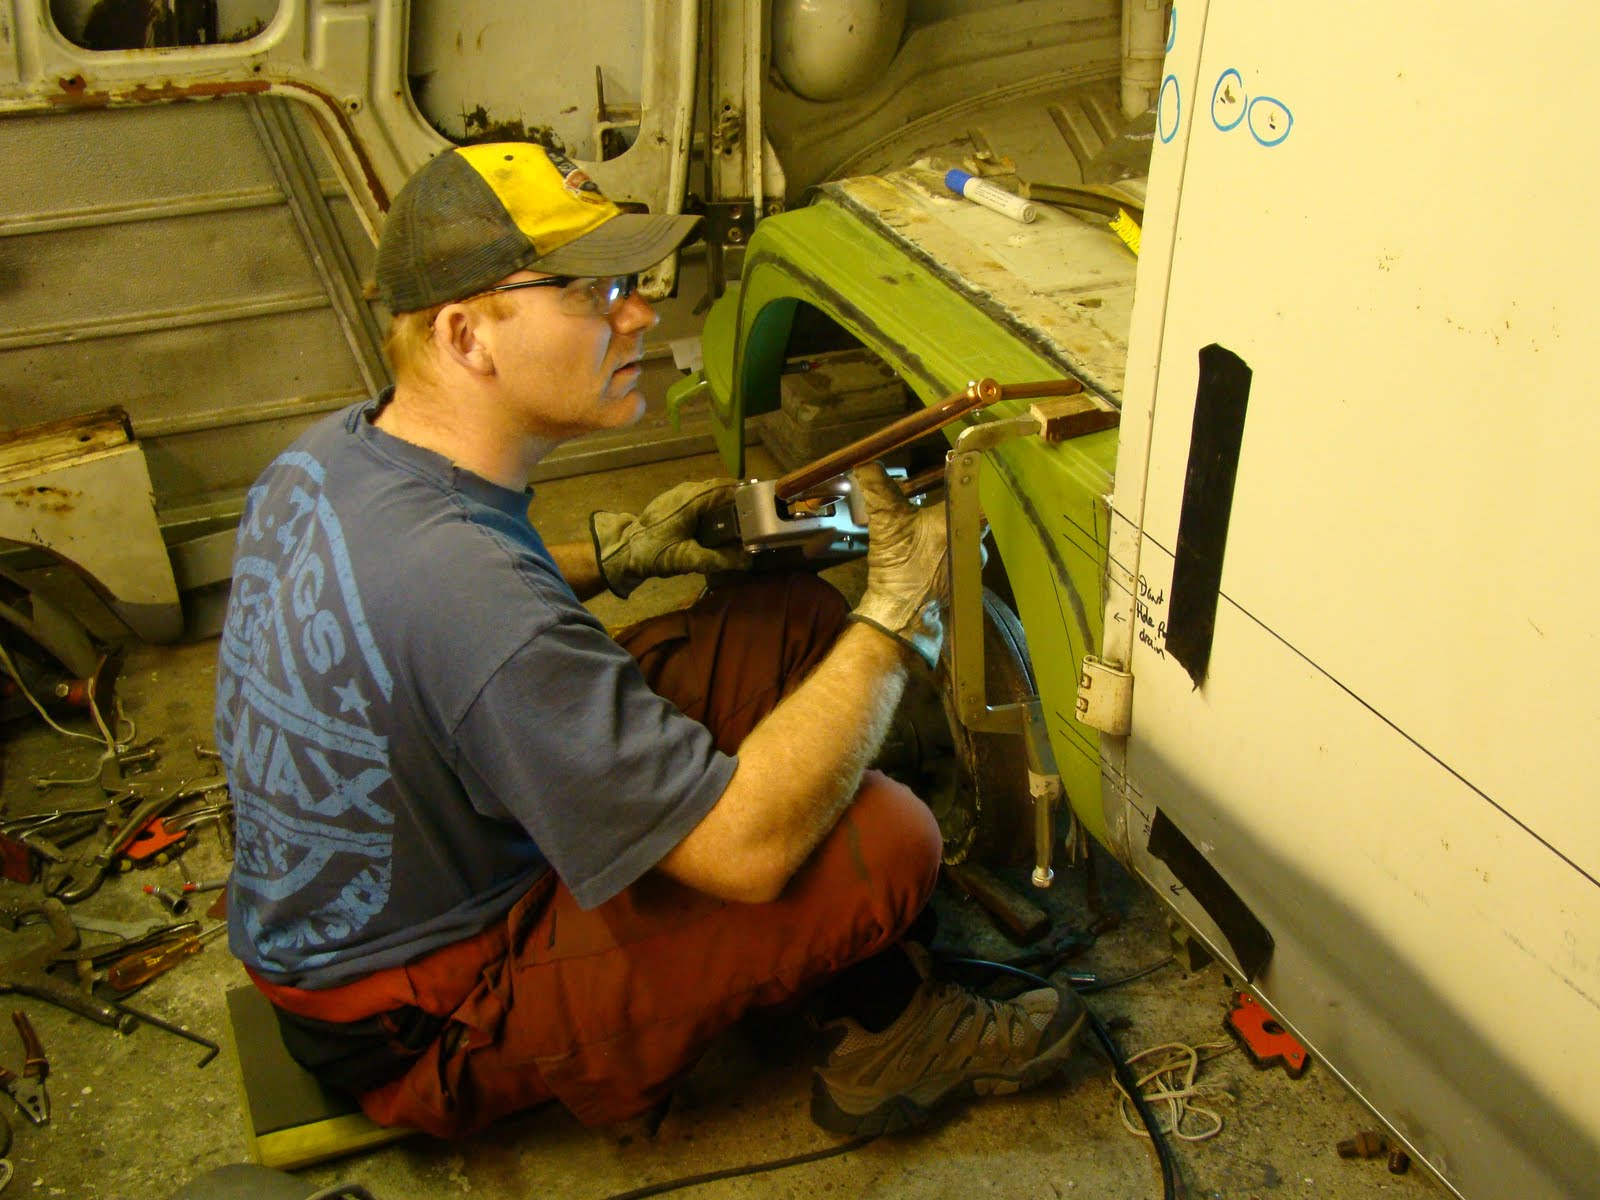 To ensure I got a good weld along the length of the seal carrier I used the block I made earlier to clamp the skins together at each spot weld.
My girlfriend Rachel turned up to deliver cola and cakes and was able to get this fine shot of me working, I did ask if she would stay and help but she seemed to have better things to do...
 Just so I could reach the corner welds I had to buy a set of longer probes that weren't cheap. I also insulated the end of the probes with tape because I kept arking to parts of the panel I didn't need to weld together, a bit like a Marvel Superhero doing work experience in a body shop.
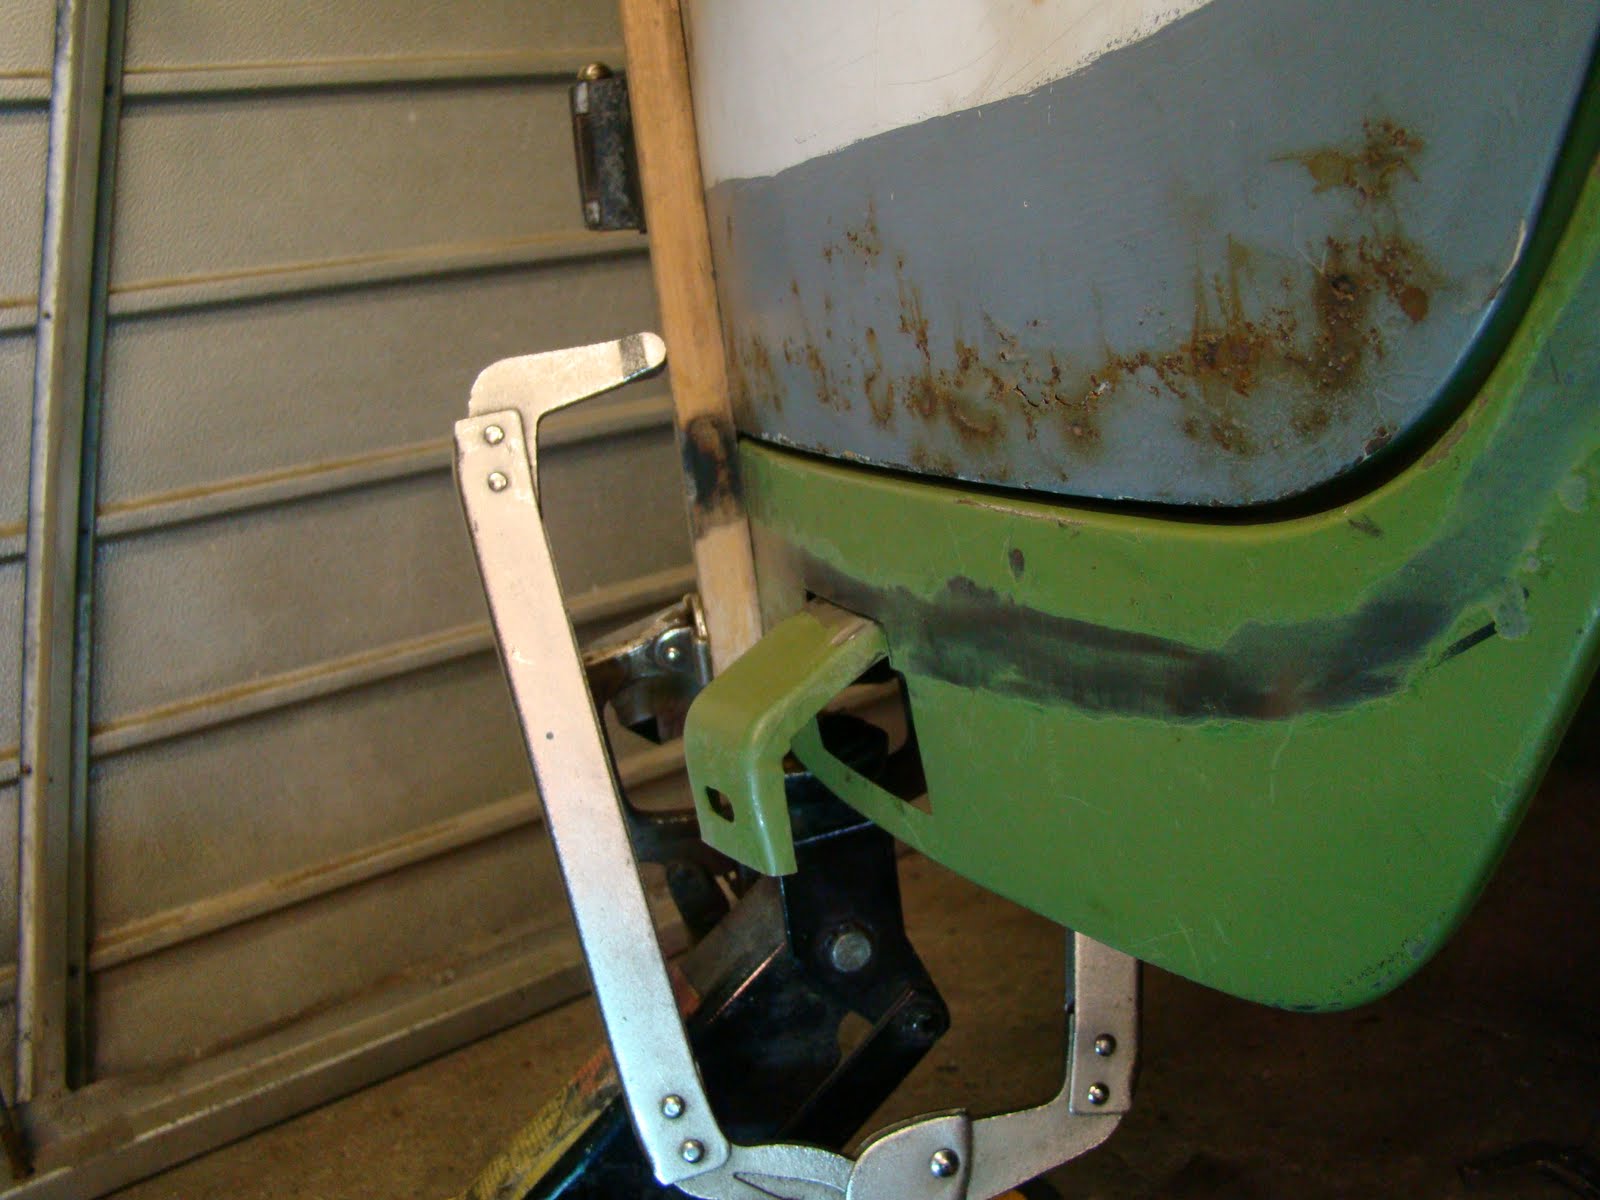 The last stage was to get the outer skin flush and spot welded and both ends welded.
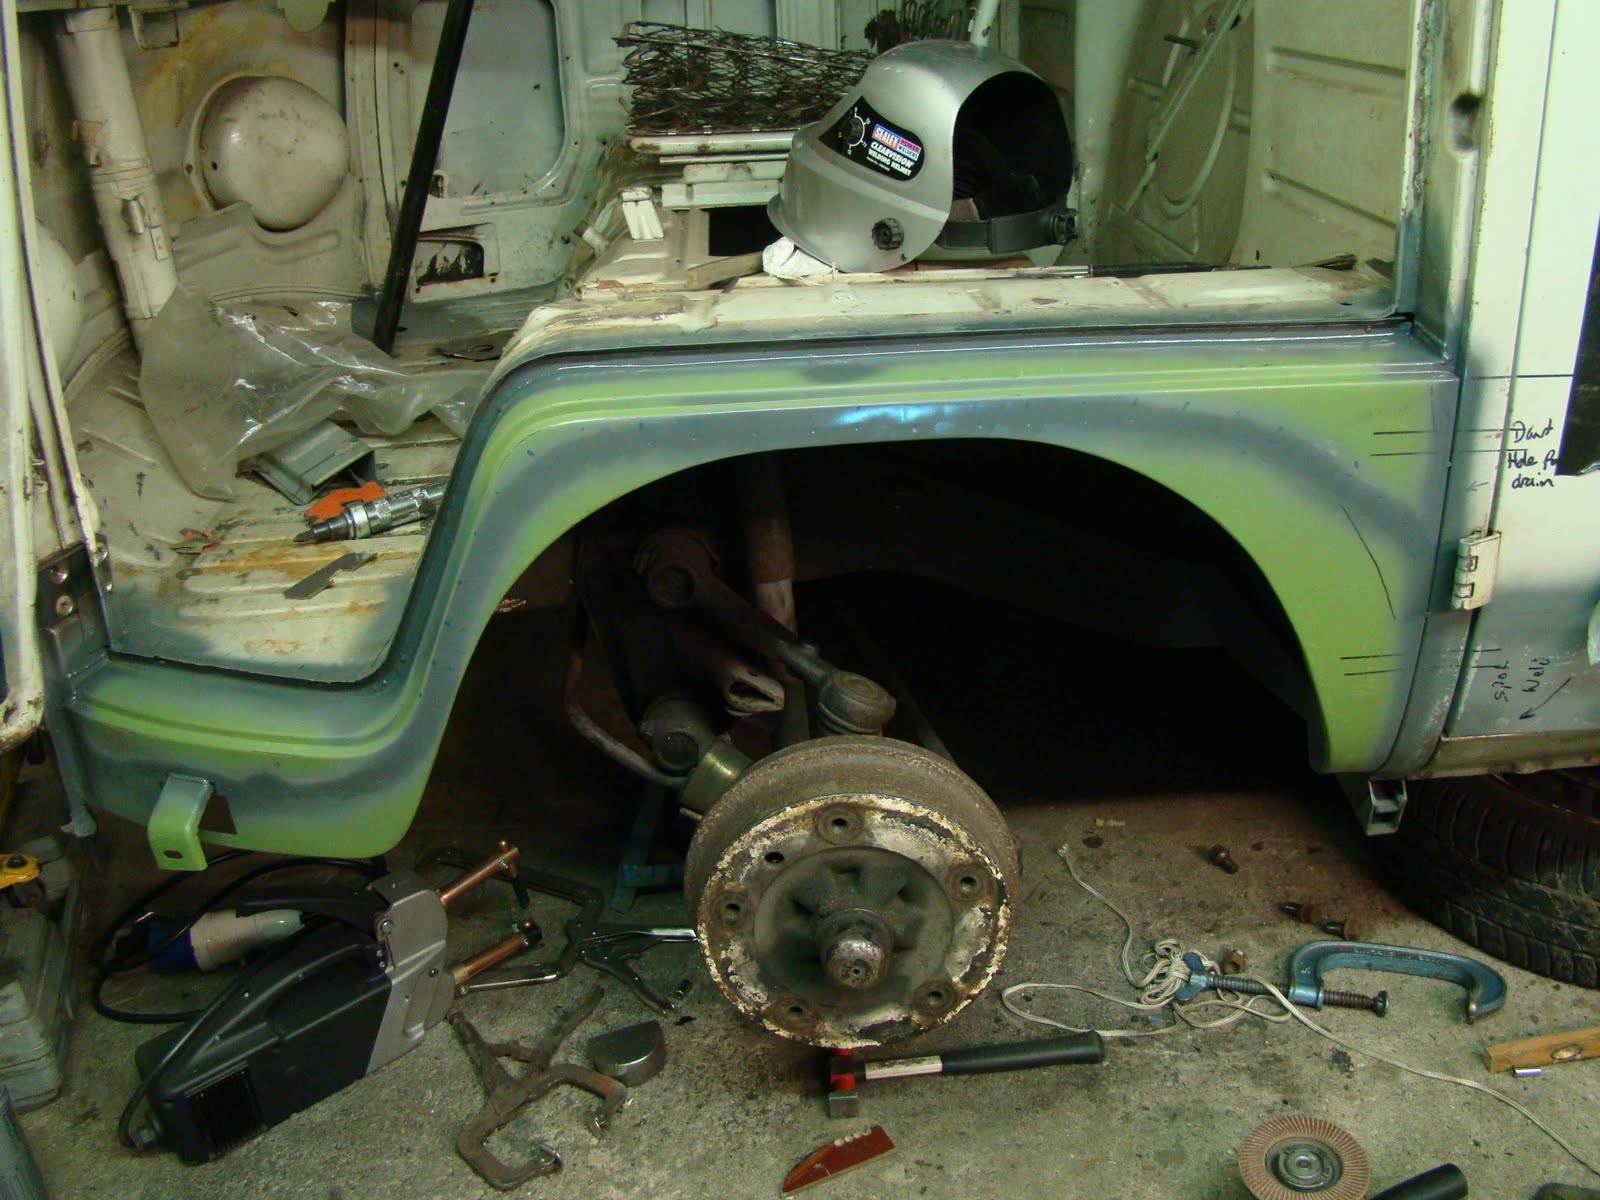
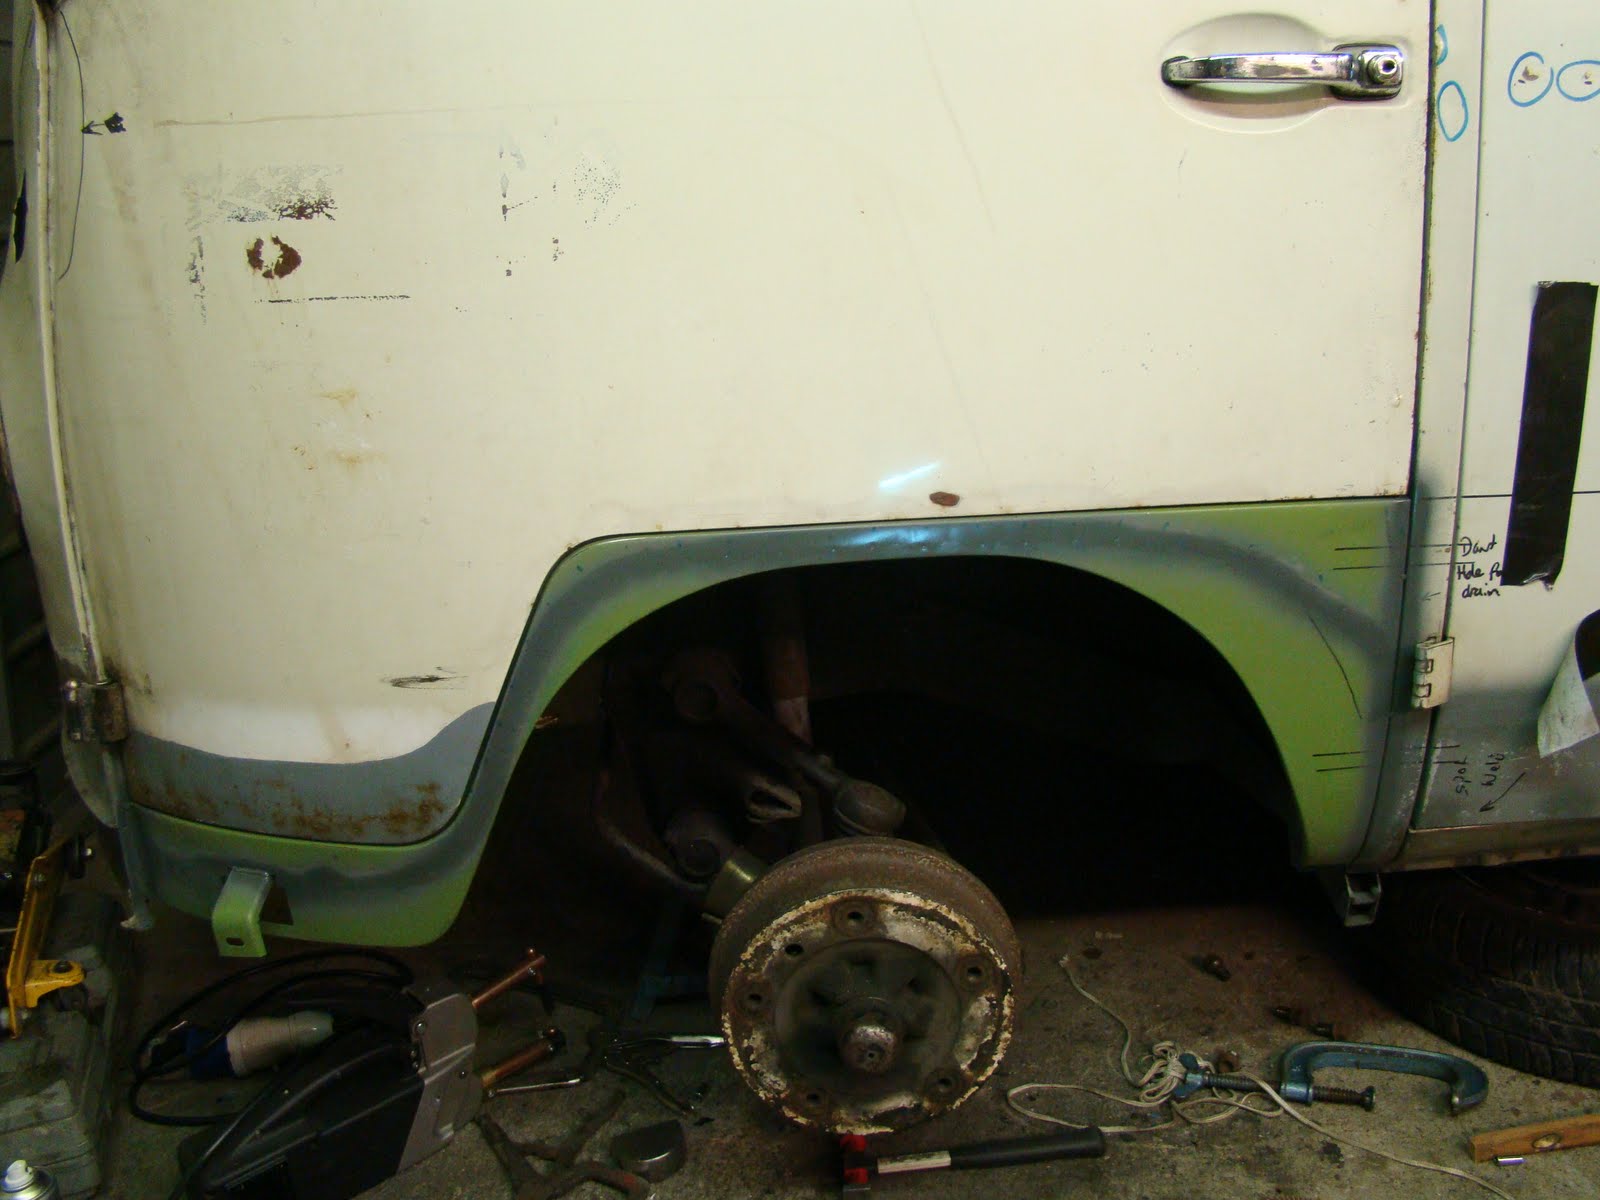
With the arch being one of the final body work jobs finally done I felt a great sense of satisfaction that the van is finally coming together.
It was very exciting to see it in almost one piece. I might have given myself a little clap too!


.jpg)
.jpg)
.jpg)
.jpg)
.jpg)
.jpg)
.jpg)
.jpg)
.jpg)
.jpg)


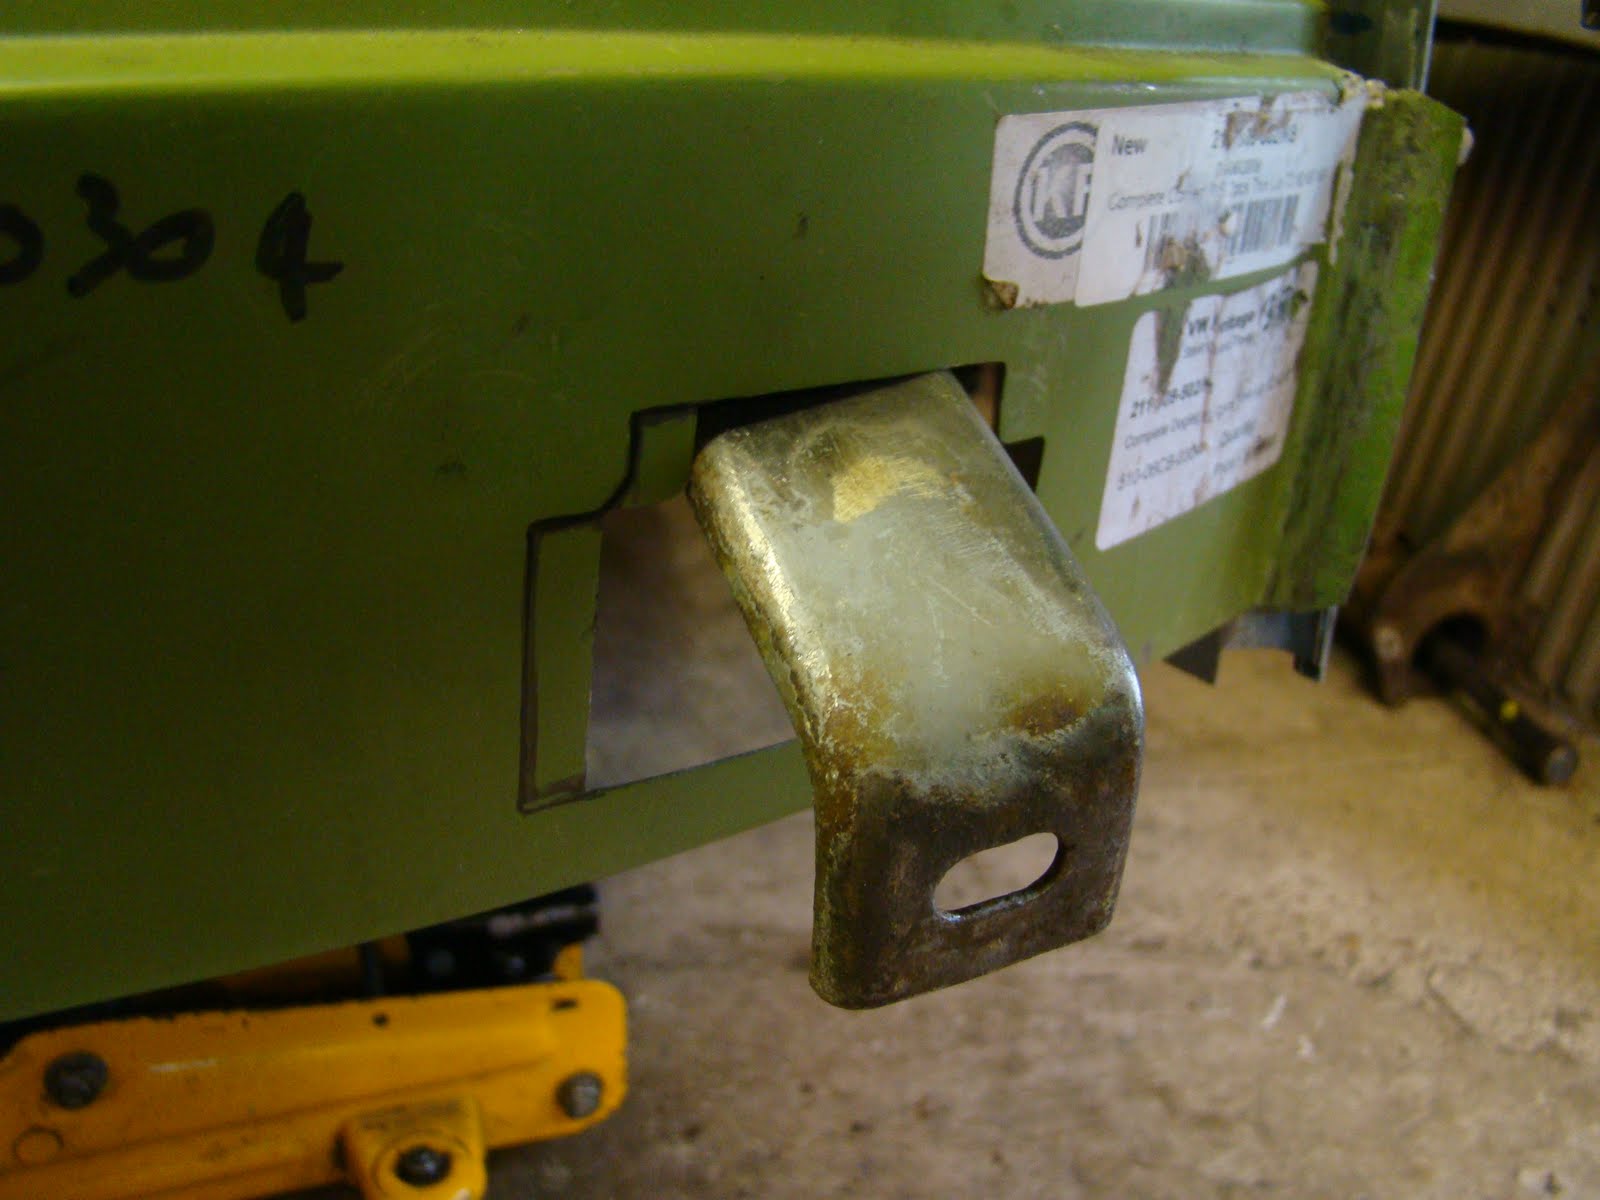


 With the top and middle edge tacked and the bends tight into their radius, I found that the lower edge was pulling away from the lower step. I'm not sure if this is from the panel fabrication or because of any warping of the bus when it had been moved, or worked on without the support of the arch there? This problum was solved with the use of an axle stand and 2 ton trolley jack to push it in to place. This also helped with the profile of the outer skin.